Light painting is a great way to spark creativity into your images and overall have fun experimenting with light and long exposures.
Get a few friends together, and you can create some awesome designs with very little equipment!
Whether you want to spell your name, draw endless circles, or just want to try out something new, light painting’s got you covered!
What is Light Painting?
Light painting is a photography technique in which you take a long exposure while moving a light around. The result should look like a light trail in mid-air.
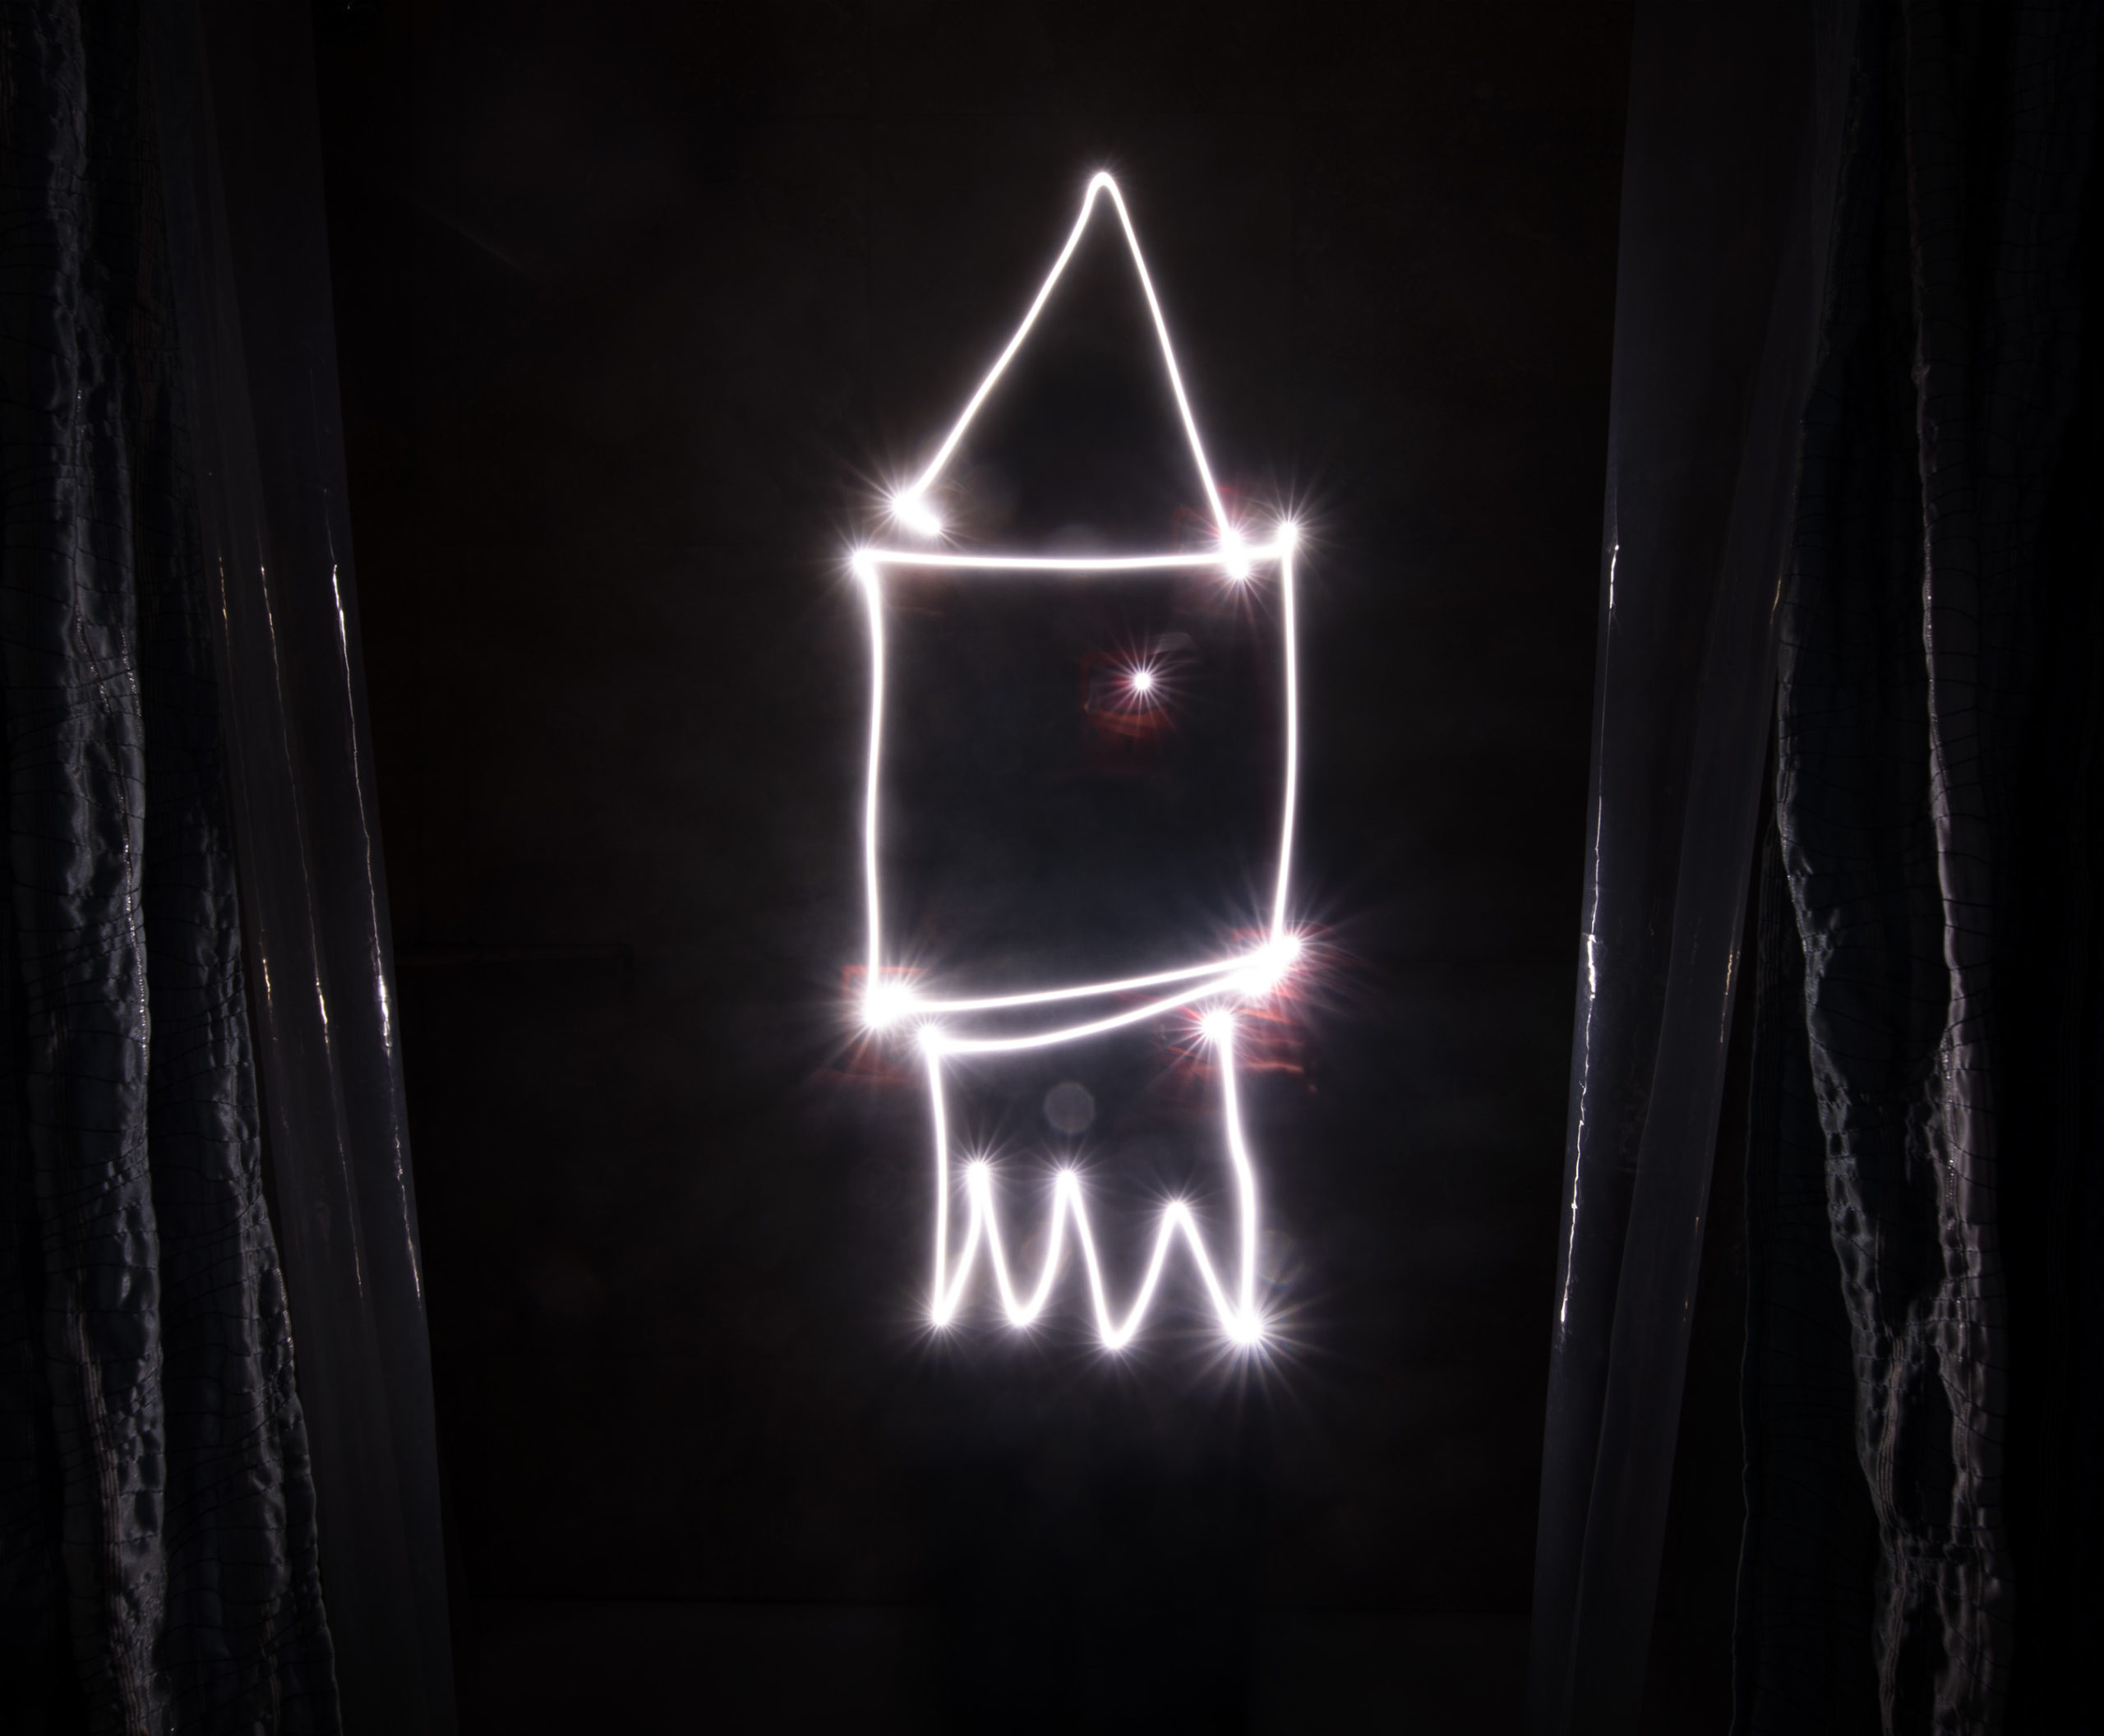
It is very easy to do and you can get as creative as you want with it!
What you Need
- A DSLR Camera with manual mode (or your phone)
- A lens
- A tripod
- A flashlight
- A dark room (location)
A DSLR is obvious. Since we will be taking long exposures of up to 30 seconds, your camera has to have the ability to go into manual mode.
You can also do this technique with your phone! There are many applications that let you shoot long exposures on your phones, which is all you need.
The lens focal length doesn’t matter as much but I would recommend a wide-angle lens when starting out. You will be able to capture the most that way.
Since you are taking long exposures, you will NEED a tripod. This will ensure that your camera doesn’t move or shake during the exposure.
If you don’t have a tripod, you can carefully place your camera on a table or a chair (this is what I did when starting out).
Next, you need a flashlight, DUH! The flashlight will be your tool in creating these “light” designs. Any flashlight will work, even the one on your phone!
Lastly, you need a dark room. This could literally be any room in your house. The best place I found that offers a lot of space and is really dark is the garage.
But again, you can do it anywhere that is dark. If you want to wait until night time to do it outside, you can. If you want to turn all the lights off in your bathroom and do it there, you can!
Camera Settings
The one unique aspect of this process is the camera settings. They will not be your usual night sky settings.
Since you are waving a flashlight around (which is very bright) you do not want to overexpose the light, ruining the effect.
So to combat this, keep your ISO at 100 and your Aperture between F/8 – F/16. Your shutter speed will be anywhere from 10-30 sec depending on how long you want to light paint.
Once you have your settings dialed in, make sure to switch to manual focus. Shine a light approximately where you or your friend will be standing and focus on that point.
If you are by yourself, have your self-timer set to 5-10 seconds so you have enough time to start the exposure and get in position.
Once your focused, turn off all of the lights, press the shutter button, and start light painting!
What to Draw
Now is the time for you to think out of the box!
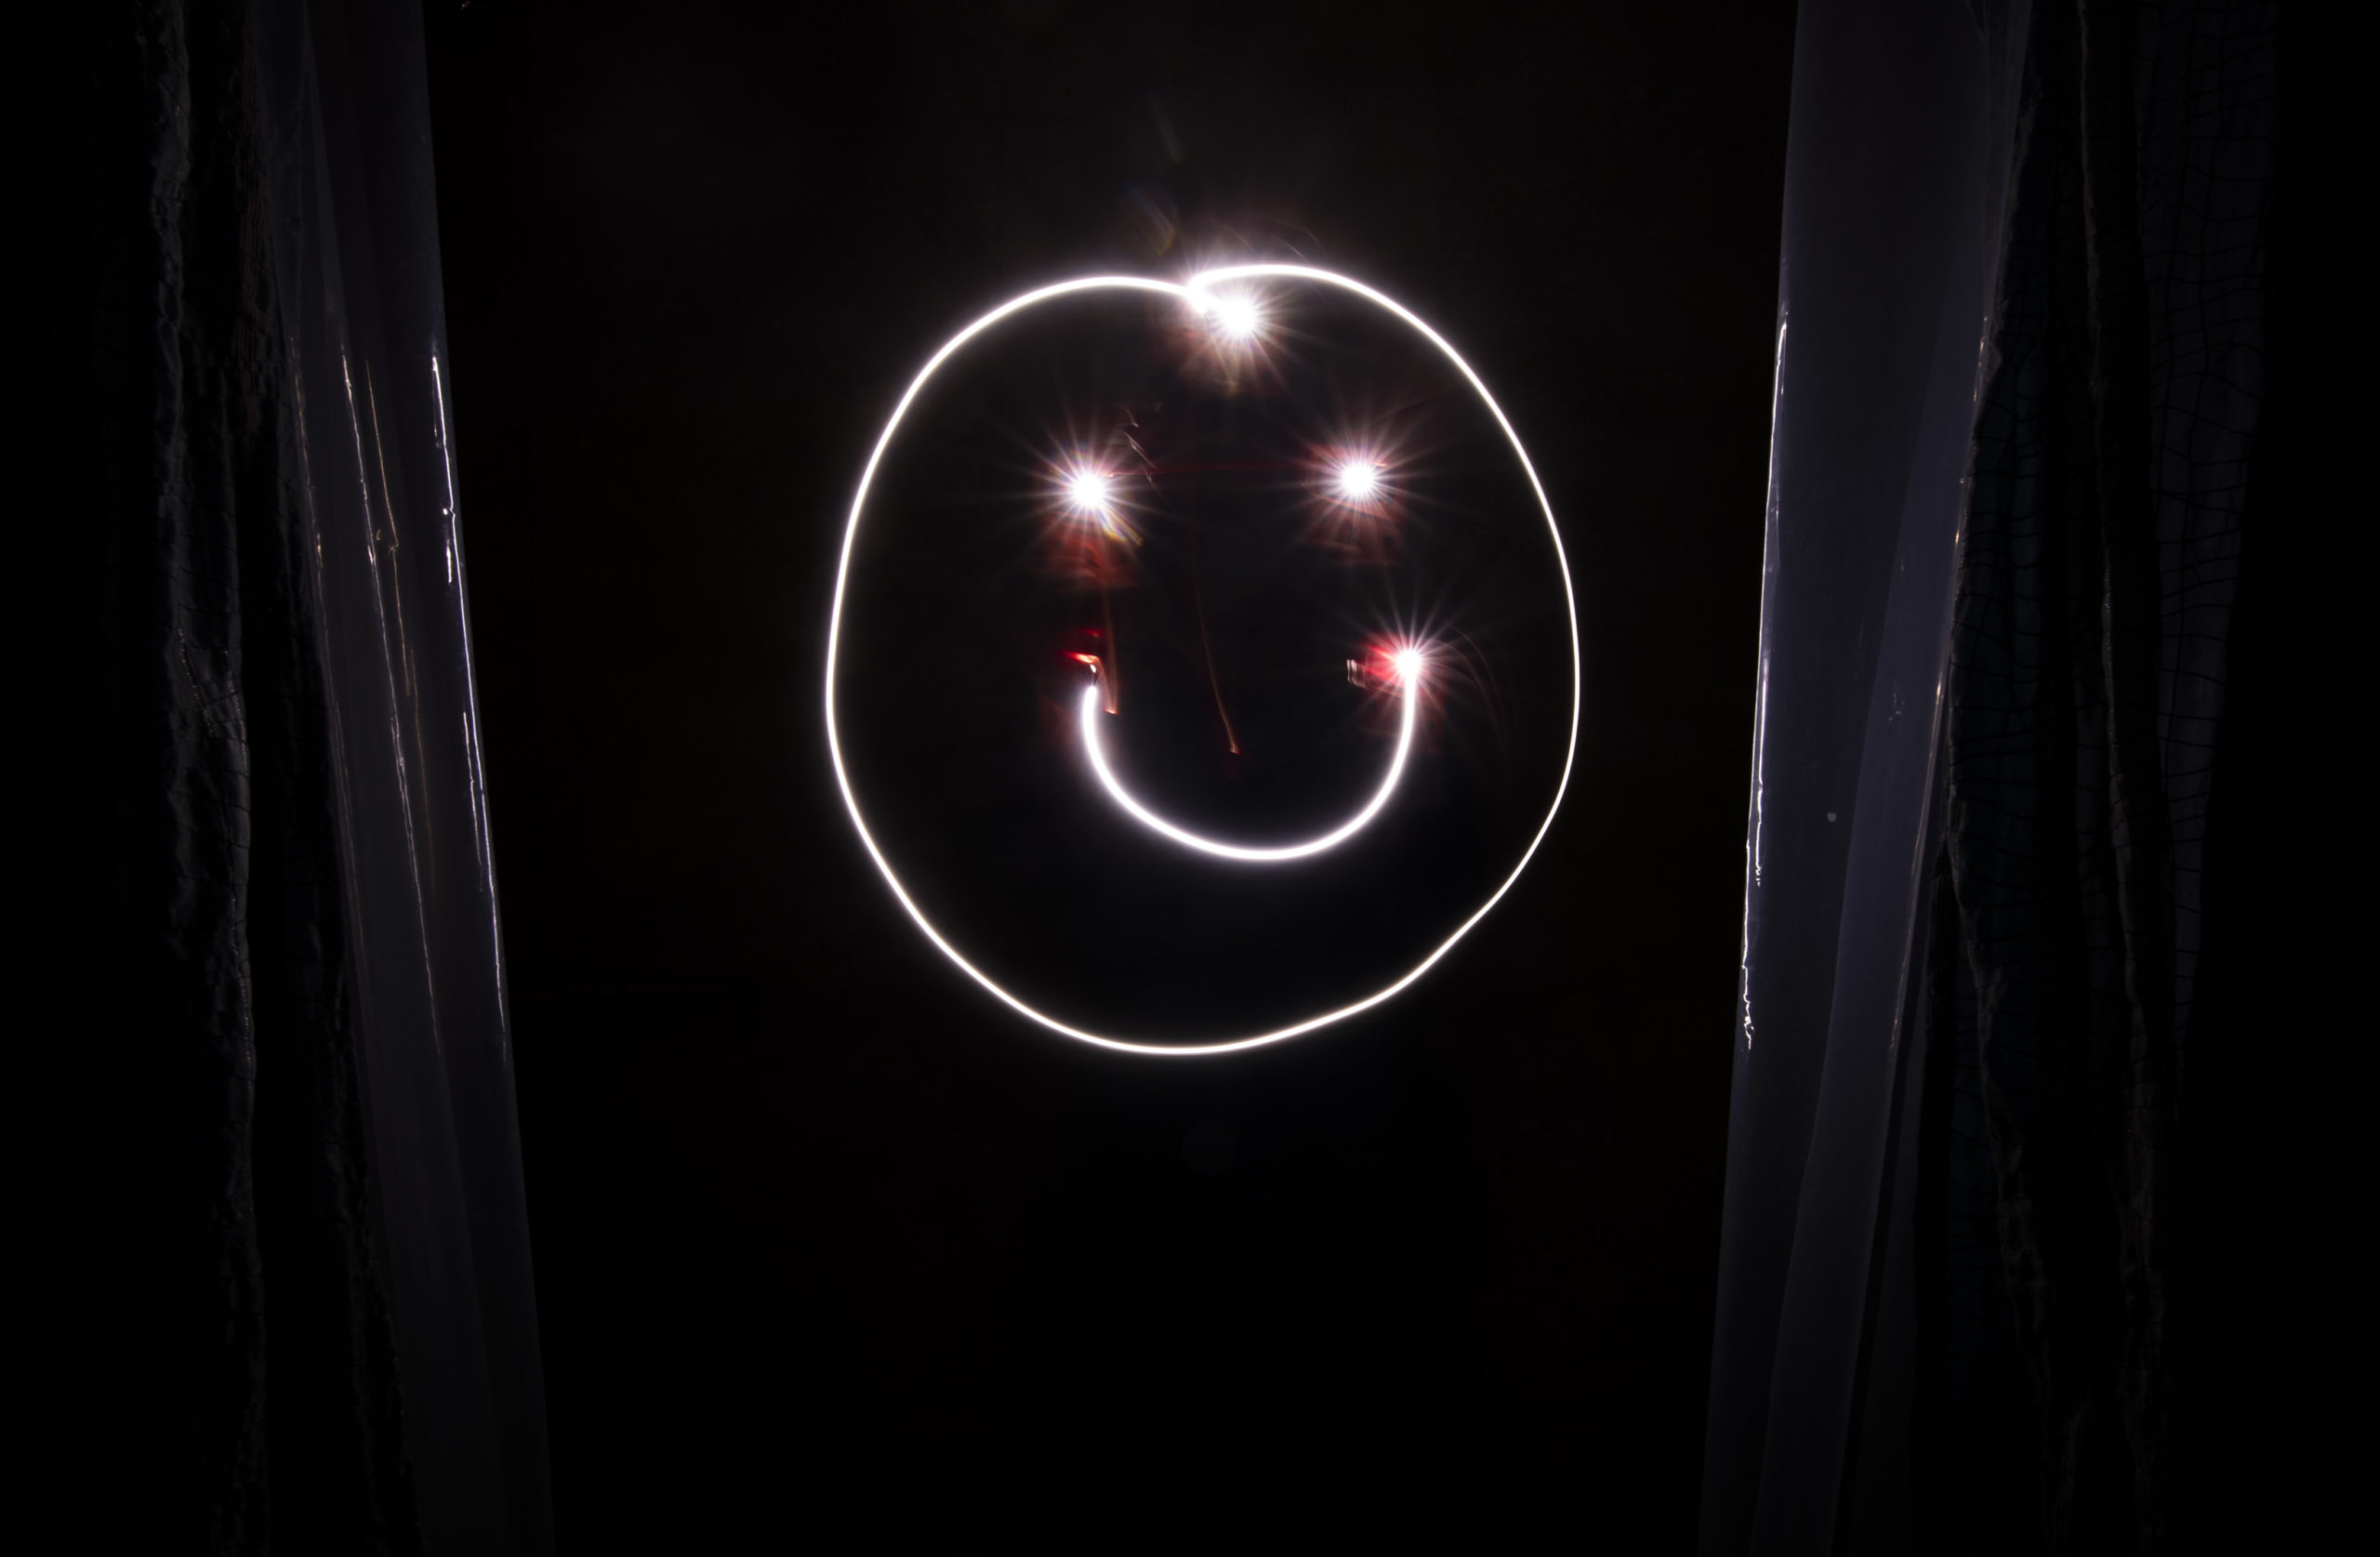
To give yourself some confidence you can start off by drawing shapes or symbols, to see how it works.
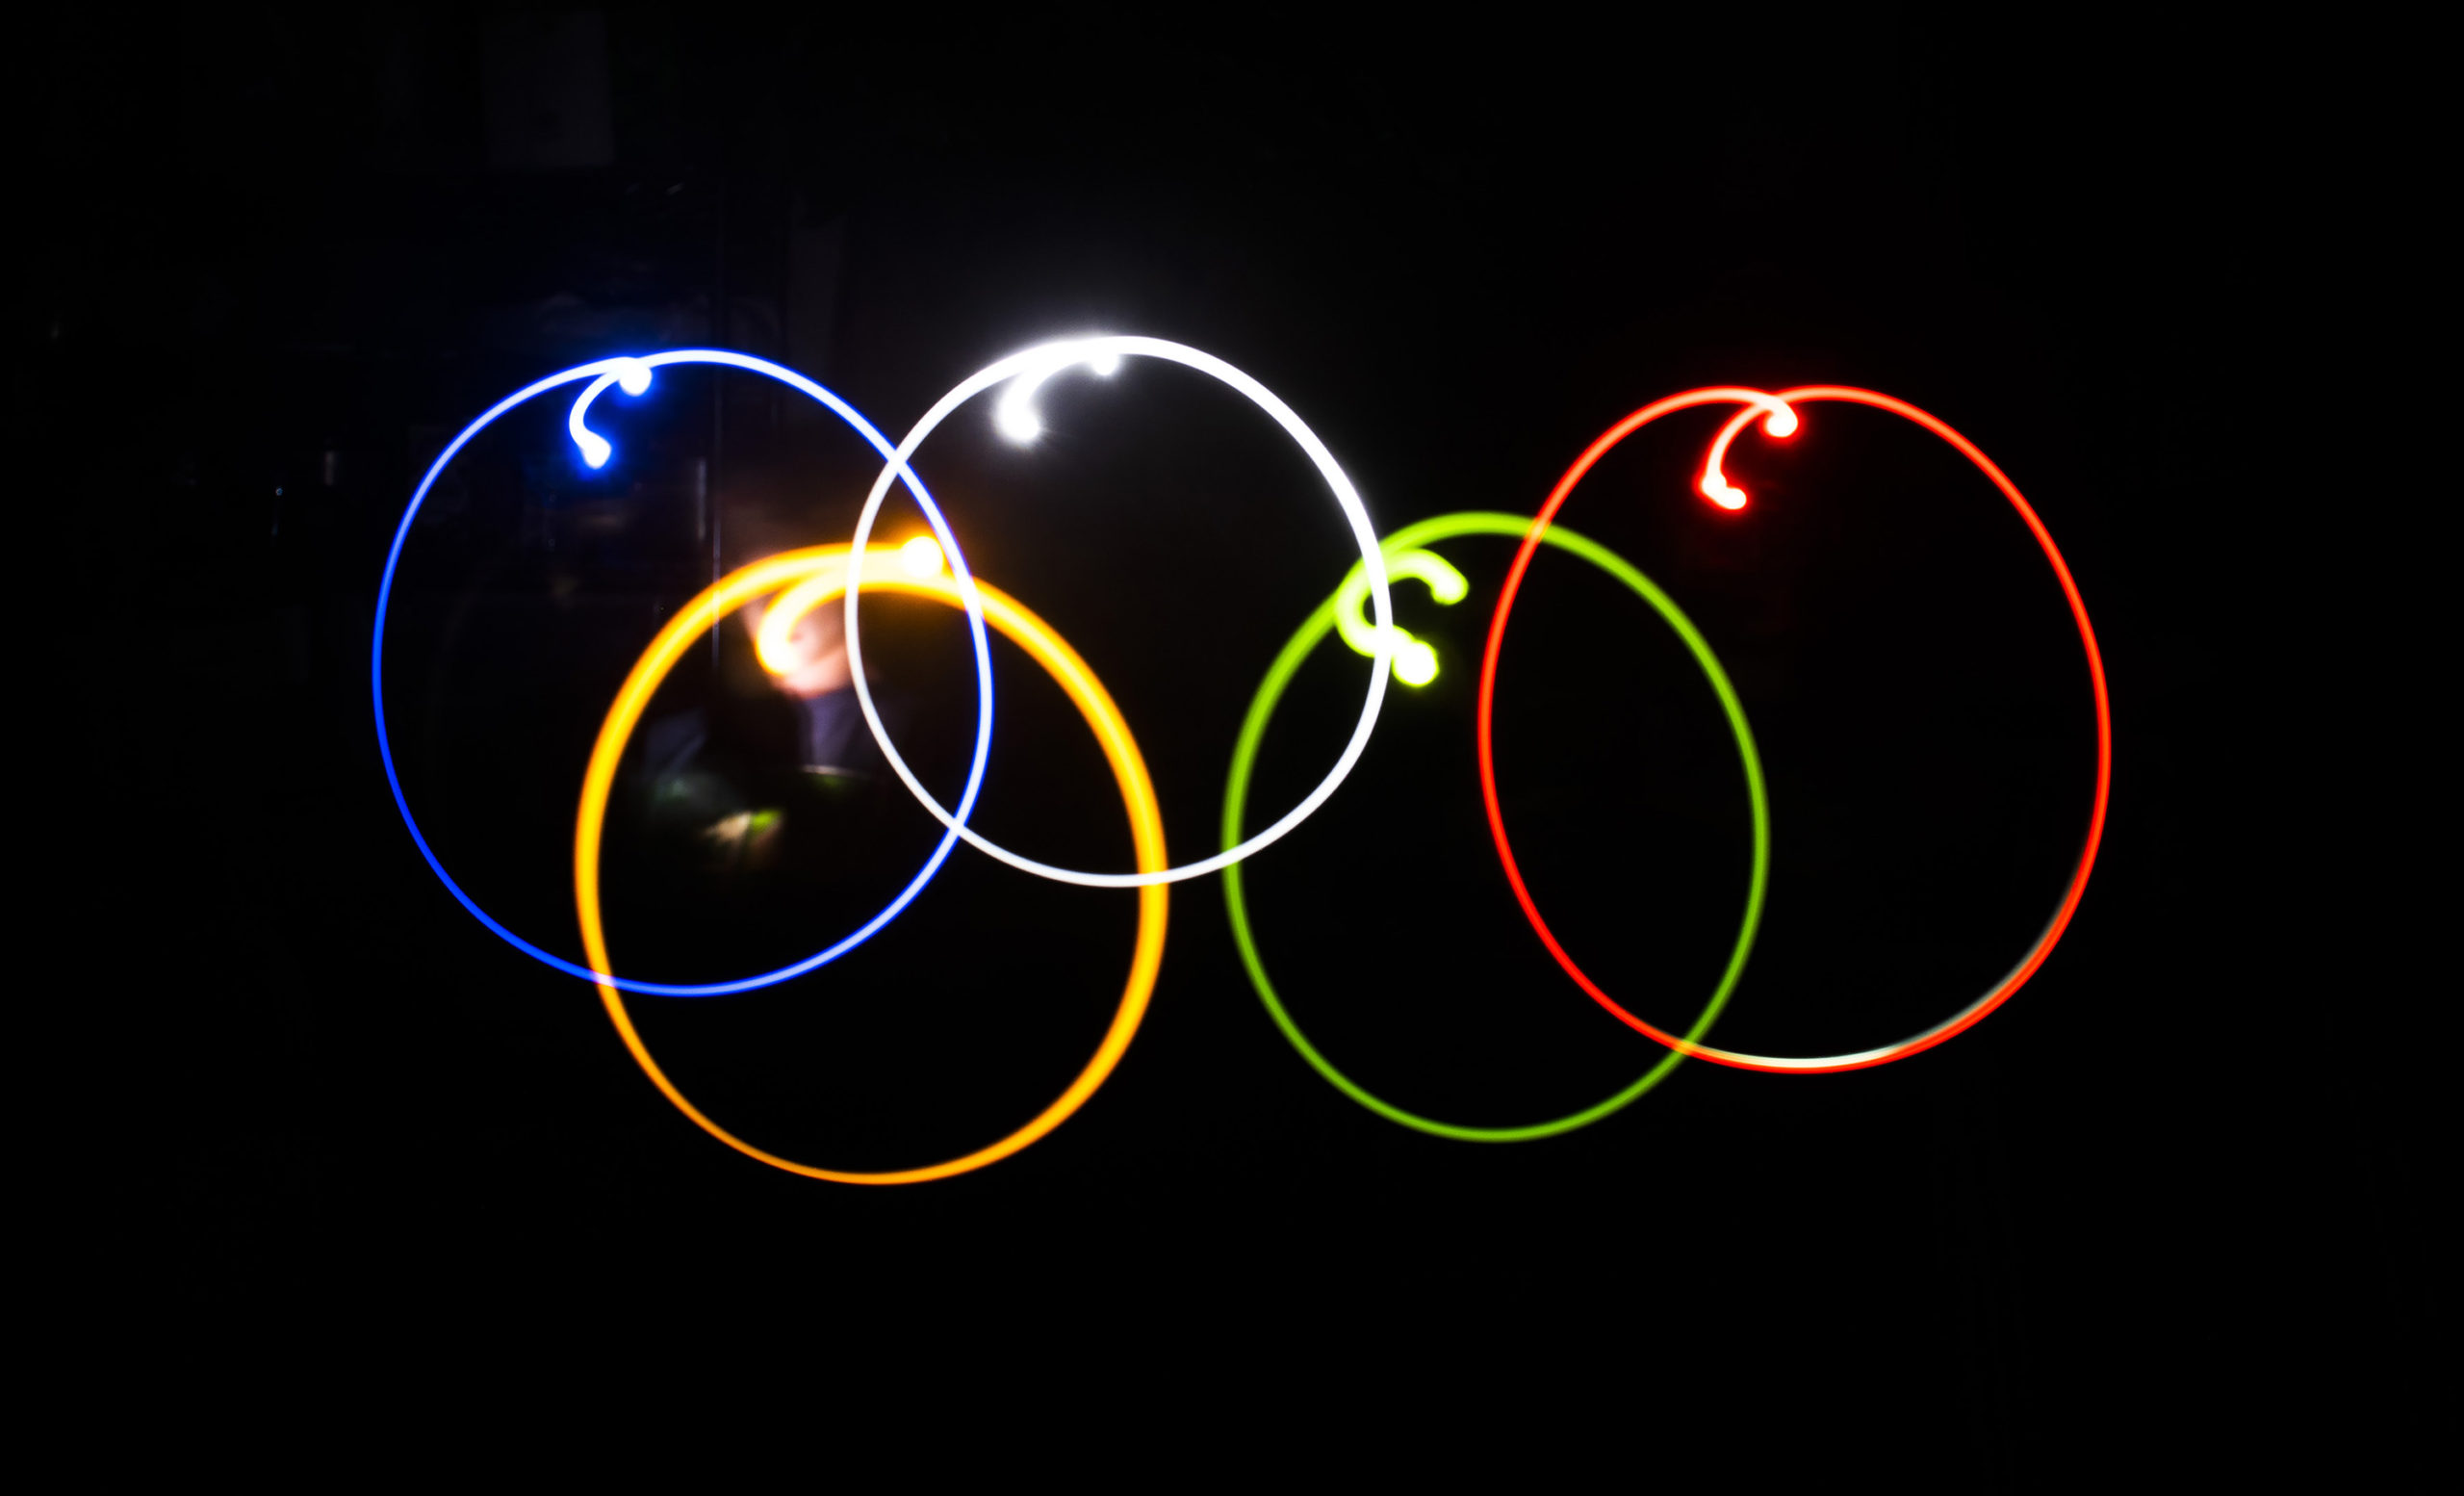
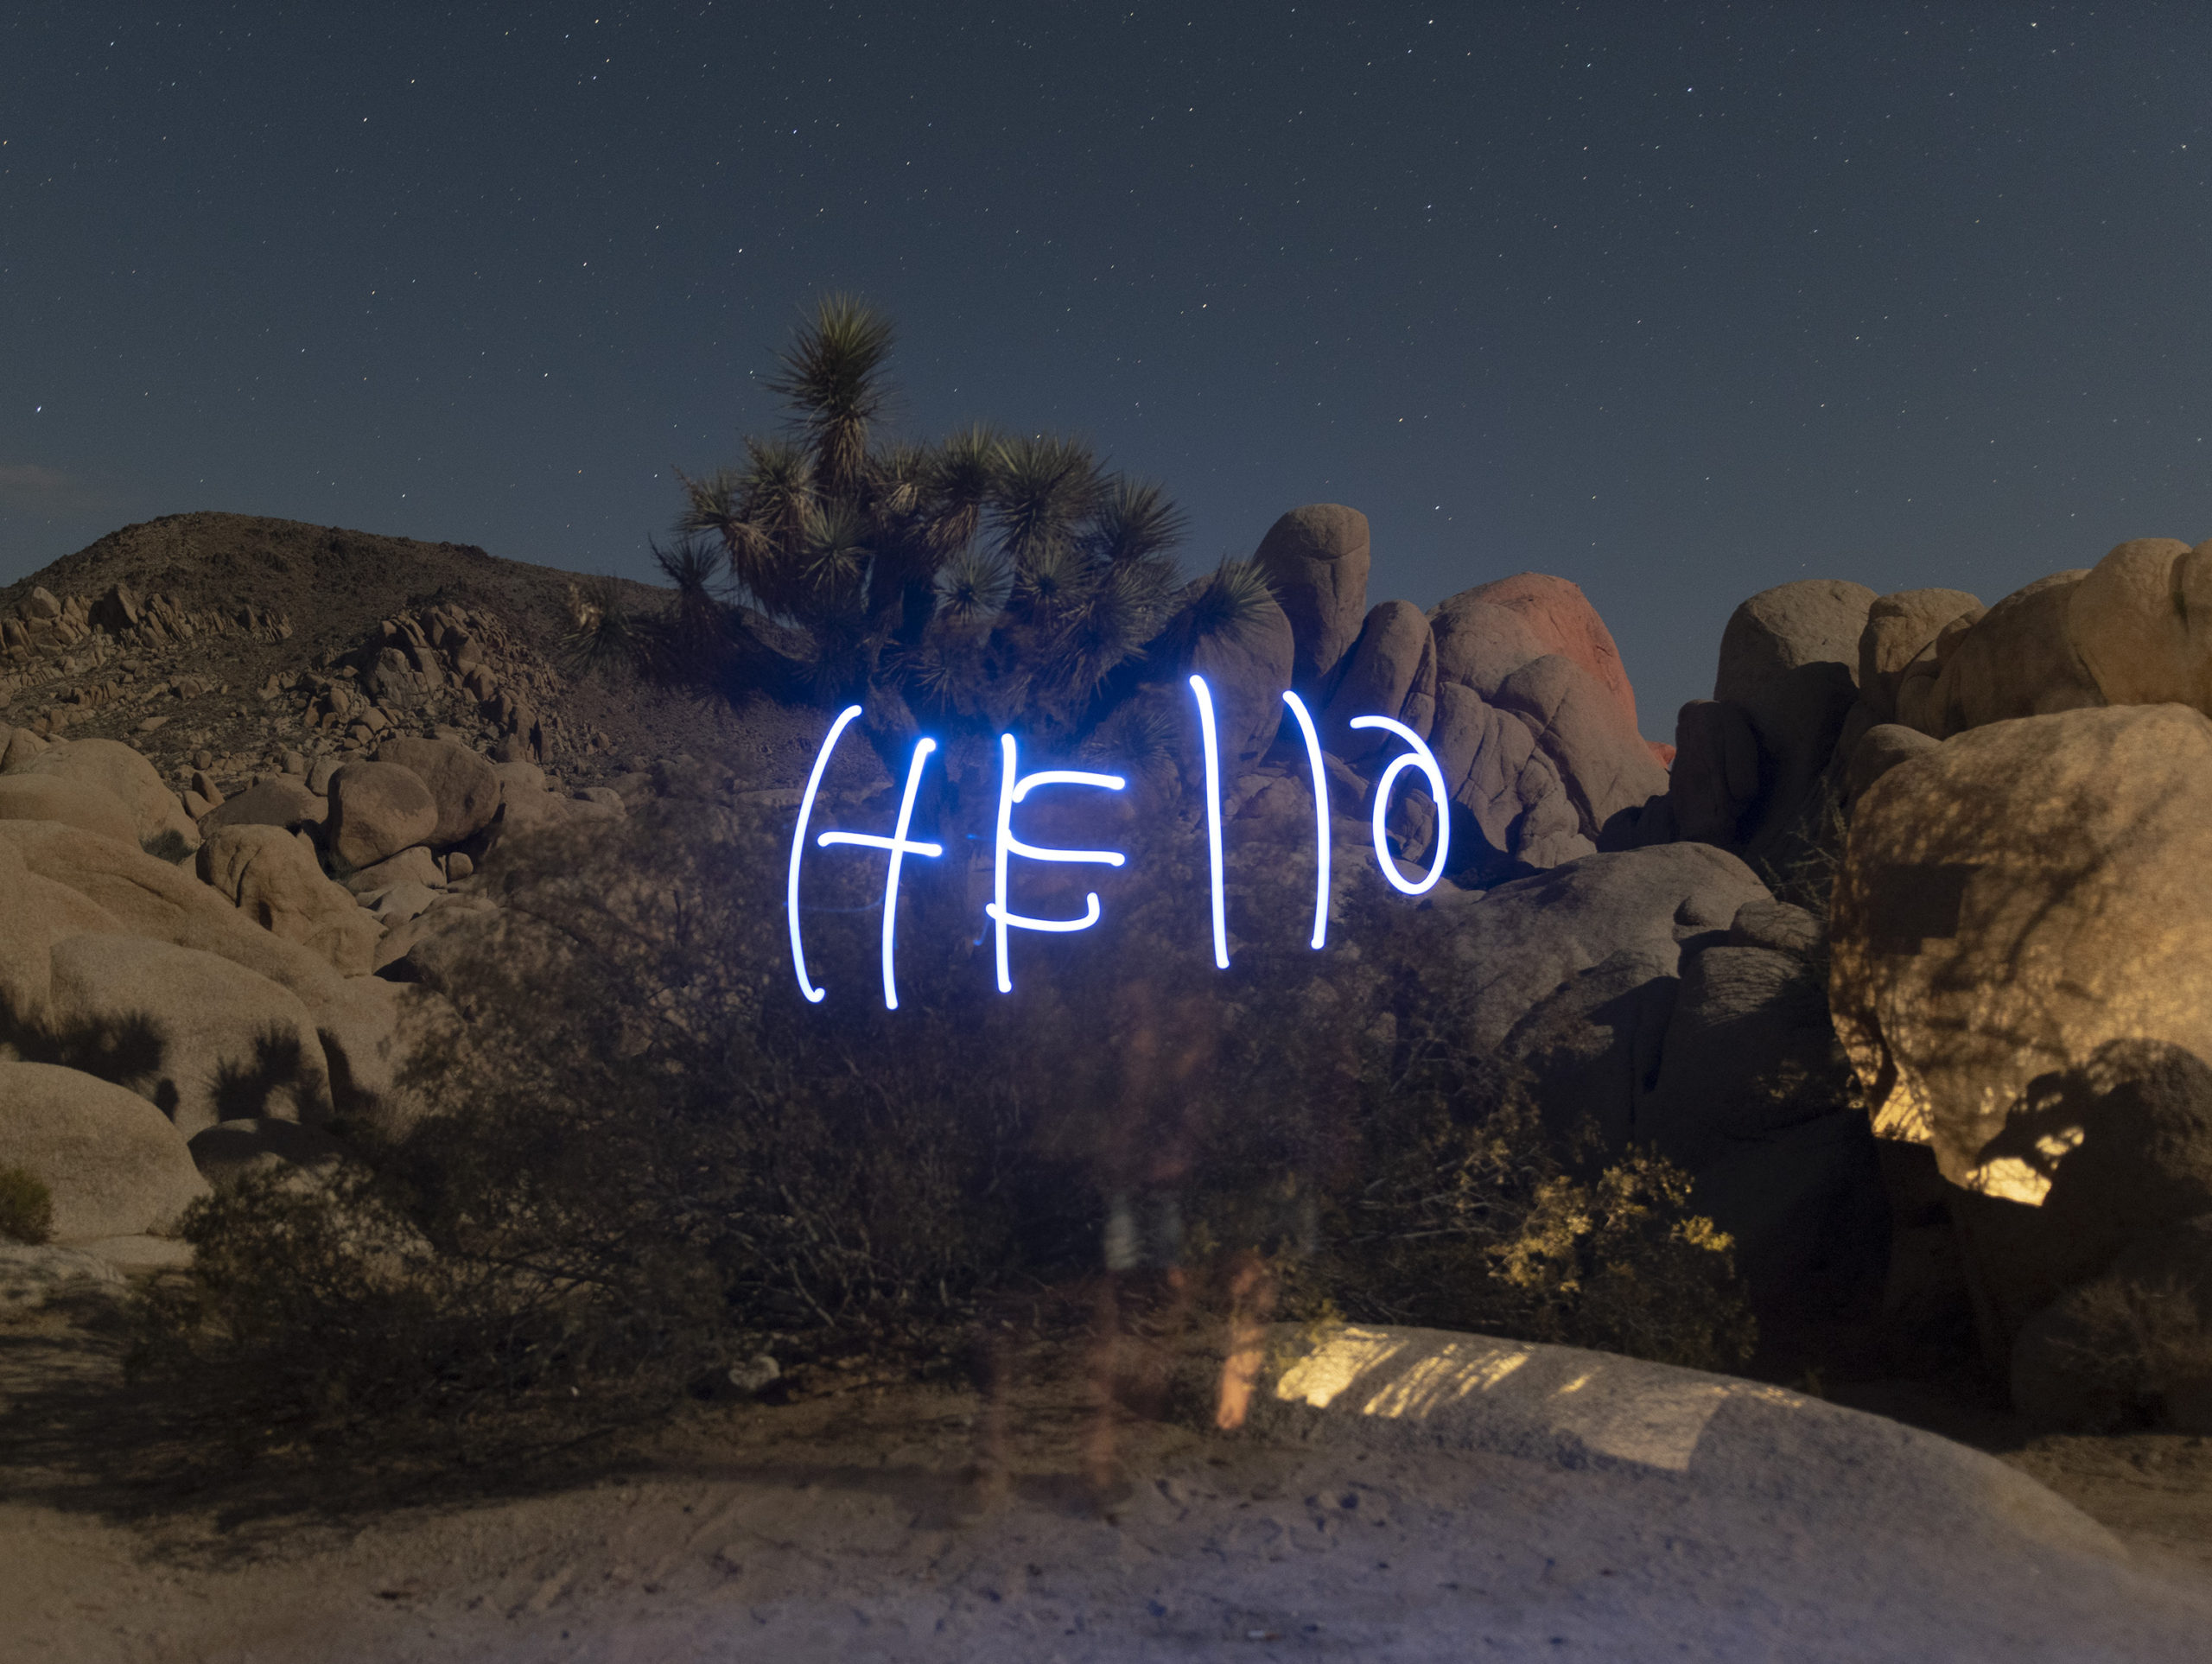
Next, you can try and spell a word or your name. If you want to draw any letters, you will have to write them backward.
Once you have mastered the basics, you can experiment with different colored flashlights! An easy DIY trick is to cover your flashlights with different colored tape.
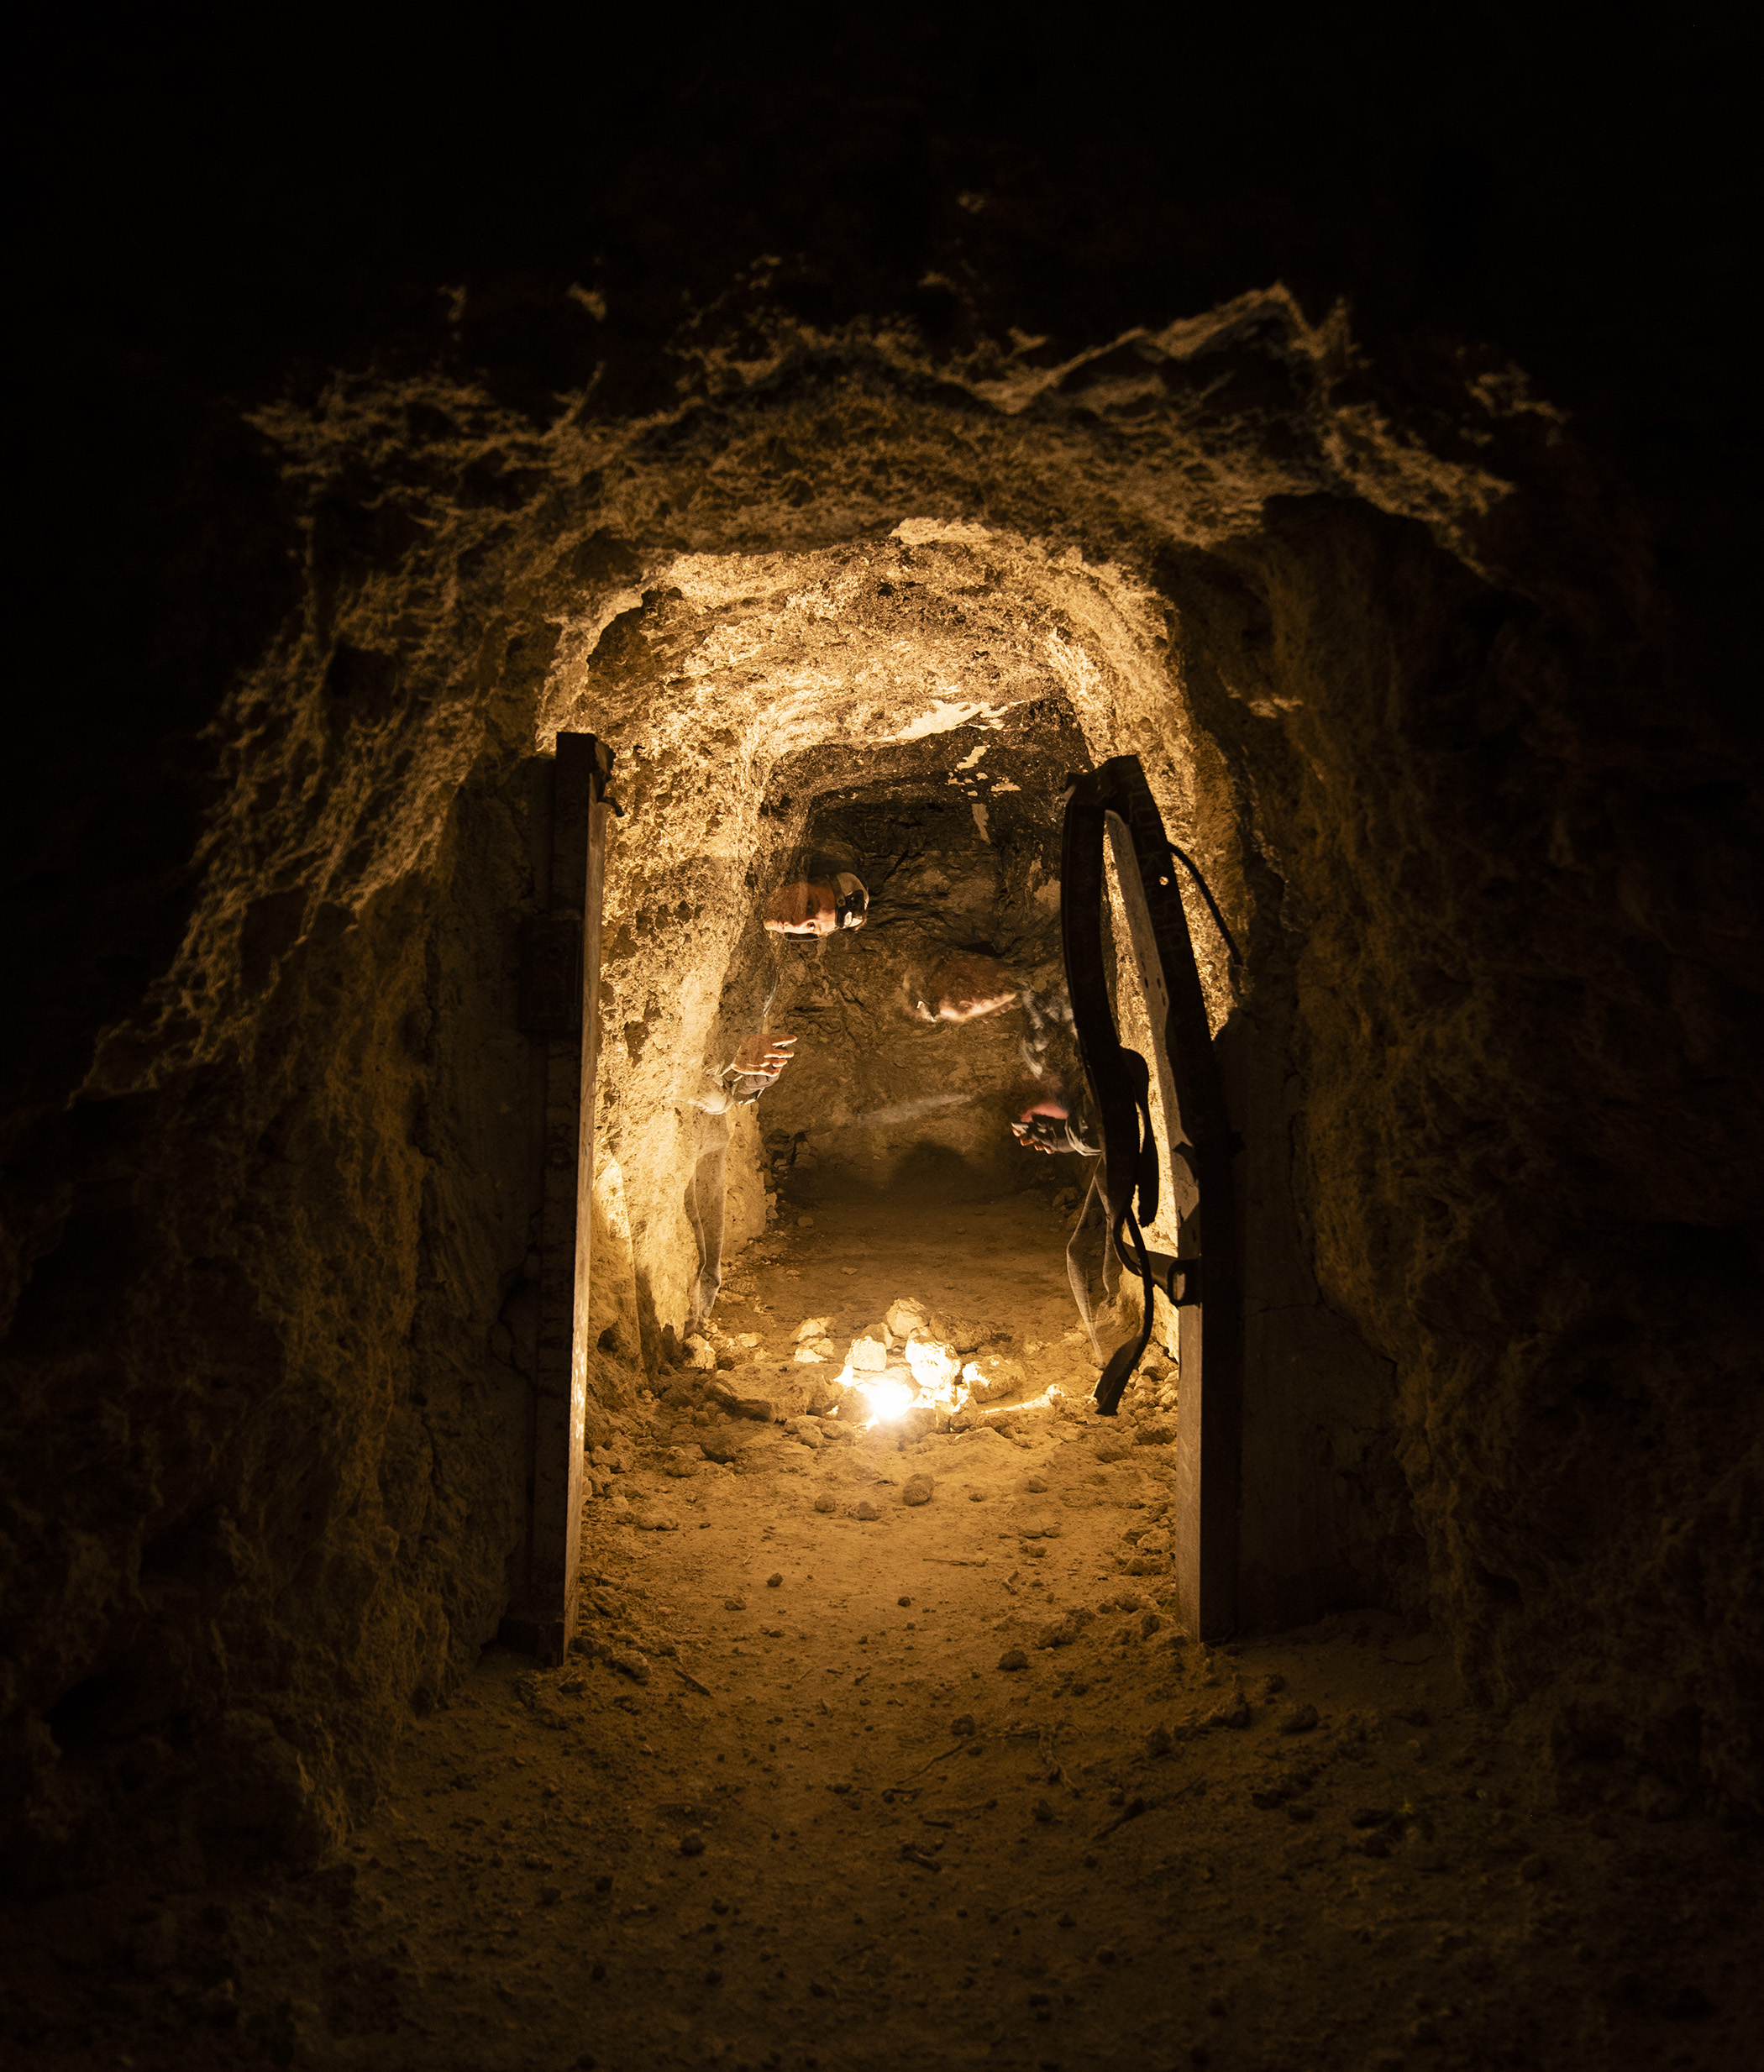
You can outline objects, your friends, or even paint yourself in the image multiple times. Another effect to try is to slowly zoom your lens during the exposure. Really the sky is the limit with this technique!
Have fun, be safe, and keep creating!
