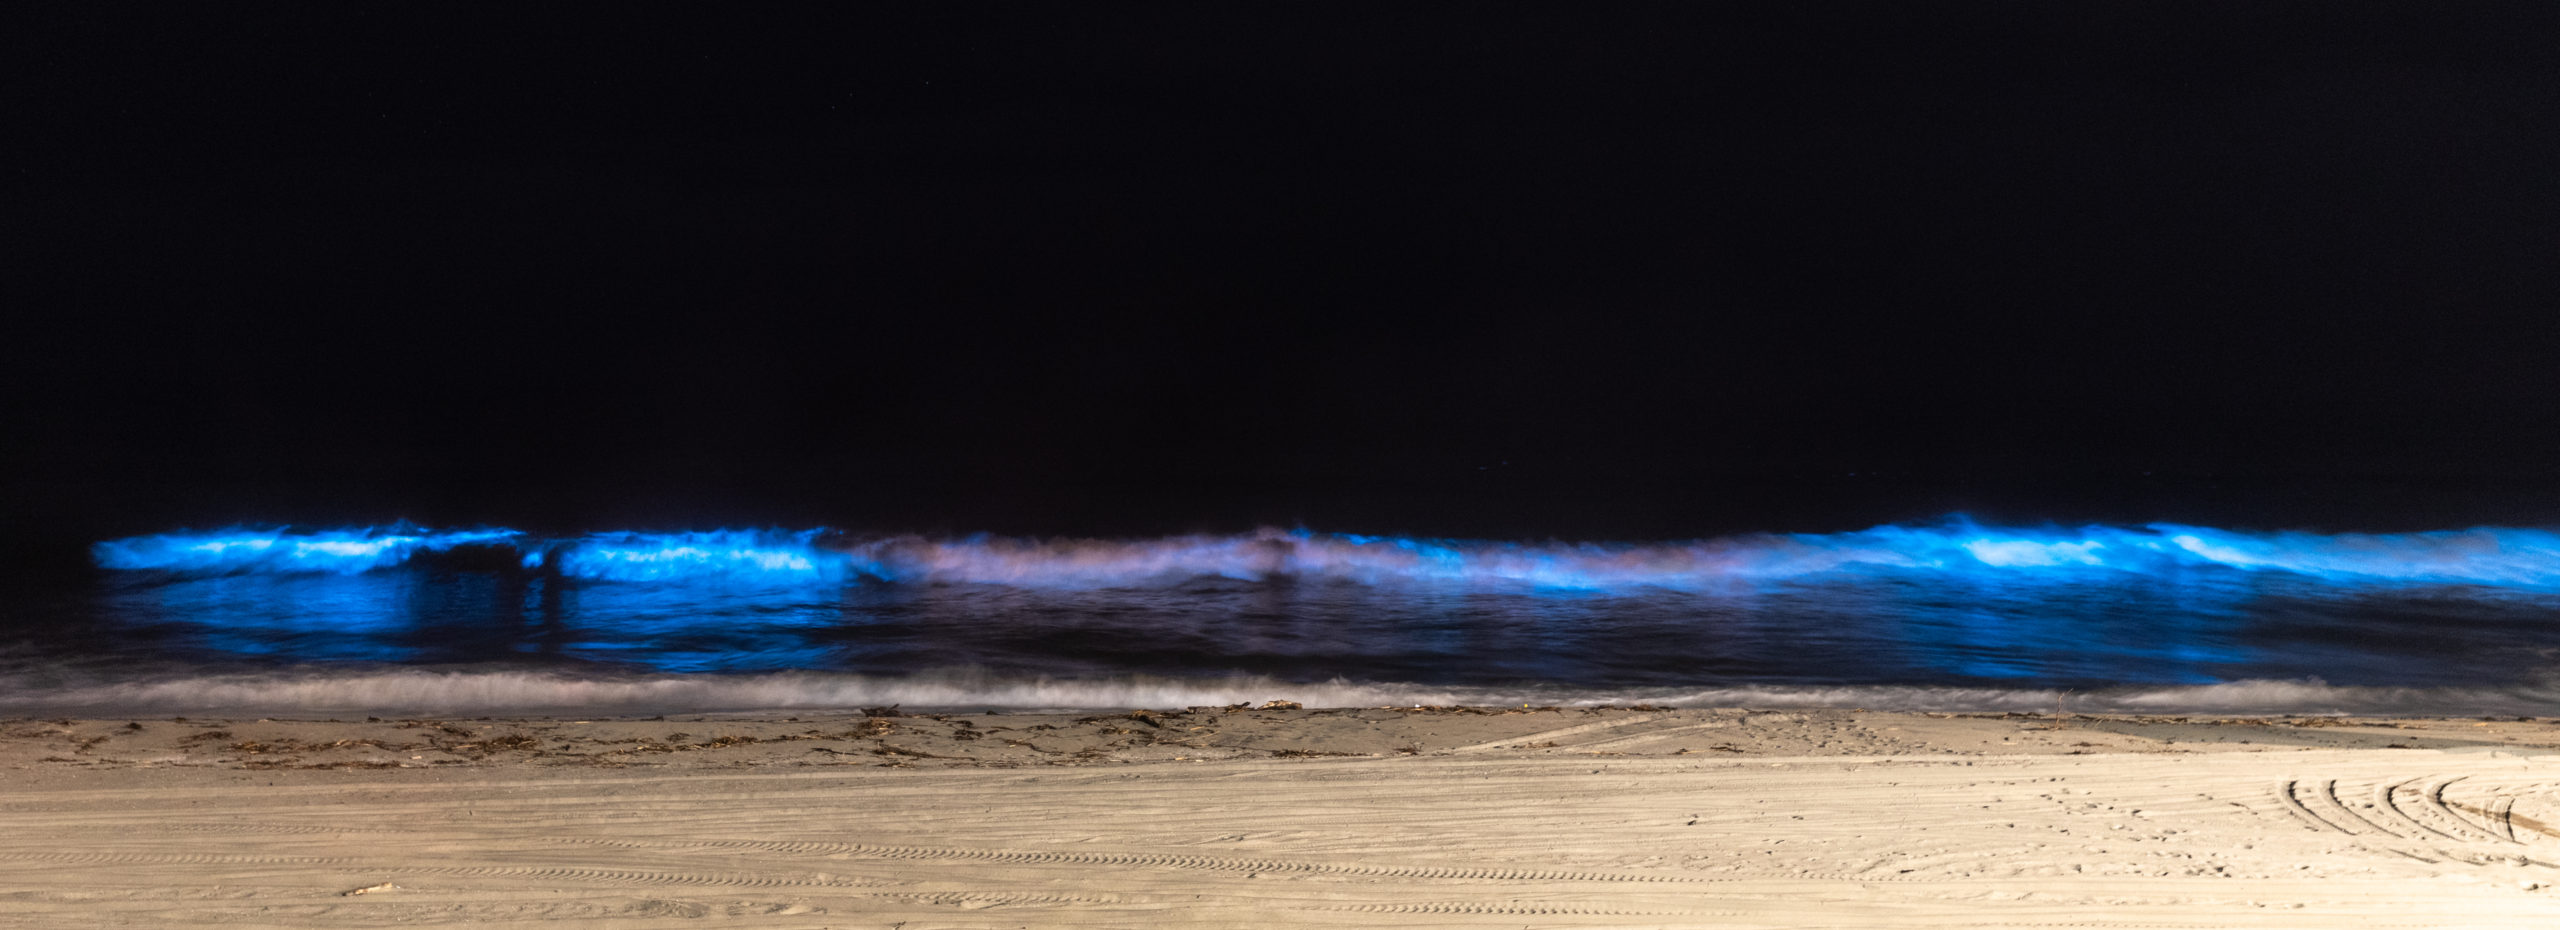
Right now, bioluminescence (or blue waves) is almost on everyone’s mind! It has become a great distraction from everything going on in the world right now.
It is a beautiful phenomenon to observe and an even better one to photograph! It is quite easy to shoot and you can make some great images with it!
What is Bioluminescence and where can I see it?
Bioluminescence is the emission and production of light from an organism. Some of these organisms include bacteria, algae, and jellyfish.
A chemical reaction occurs which produces light energy within an organism’s body. This is caused by the red and sometimes brown tides. Bioluminescence usually occurs near the summer months and sometimes in the fall.
All of this causes blue light to appear in the waves, making it a fantastic spectacle to enjoy!
Bioluminescence occurs all over the world! You can view it in Australia, Indonesia, India, and right now, California (specifically San Diego).
Camera Equipment
For camera equipment, you’ll need:
- Camera with manual mode
- Wide Angle Lens
- Tripod
- Shutter Remote
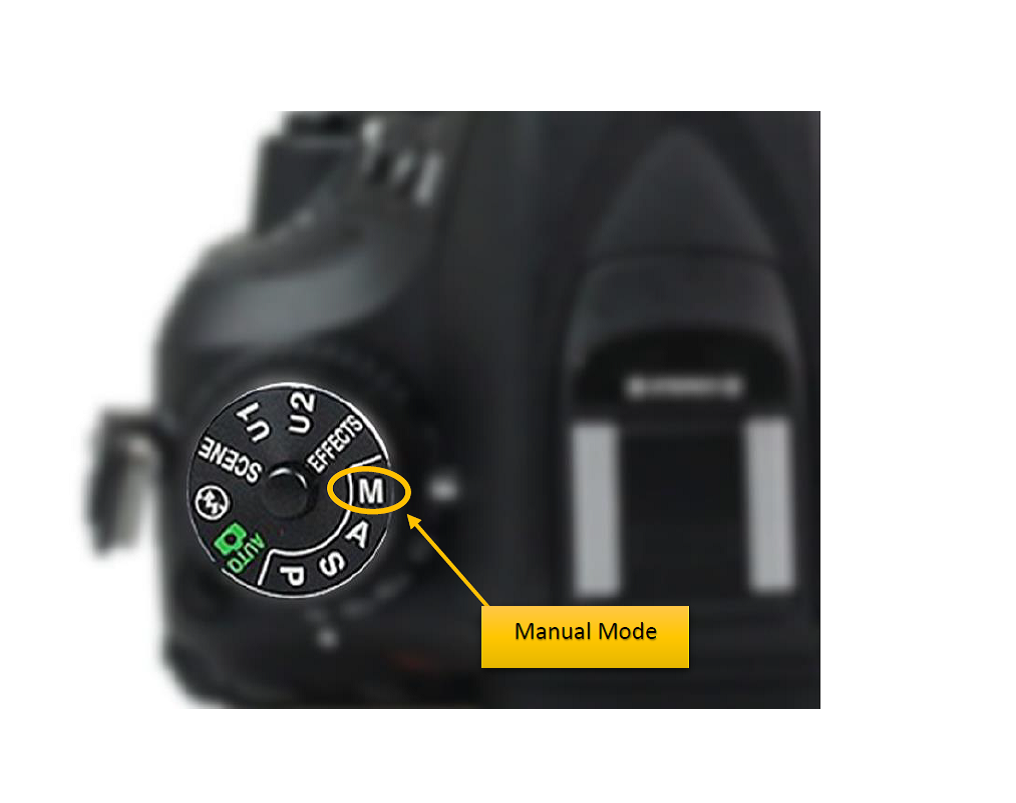
Camera with manual mode
You will need to have a camera that has a manual mode function so you can change all of your settings. An expensive camera IS NOT required.
Wide Angle Lens
You will want to have a wide-angle lens so you can capture more of the scene. The picture will look more interesting if you not only have the waves in the frame but also the beach and/or surrounding elements.
Tripod
A sturdy tripod is a MUST!
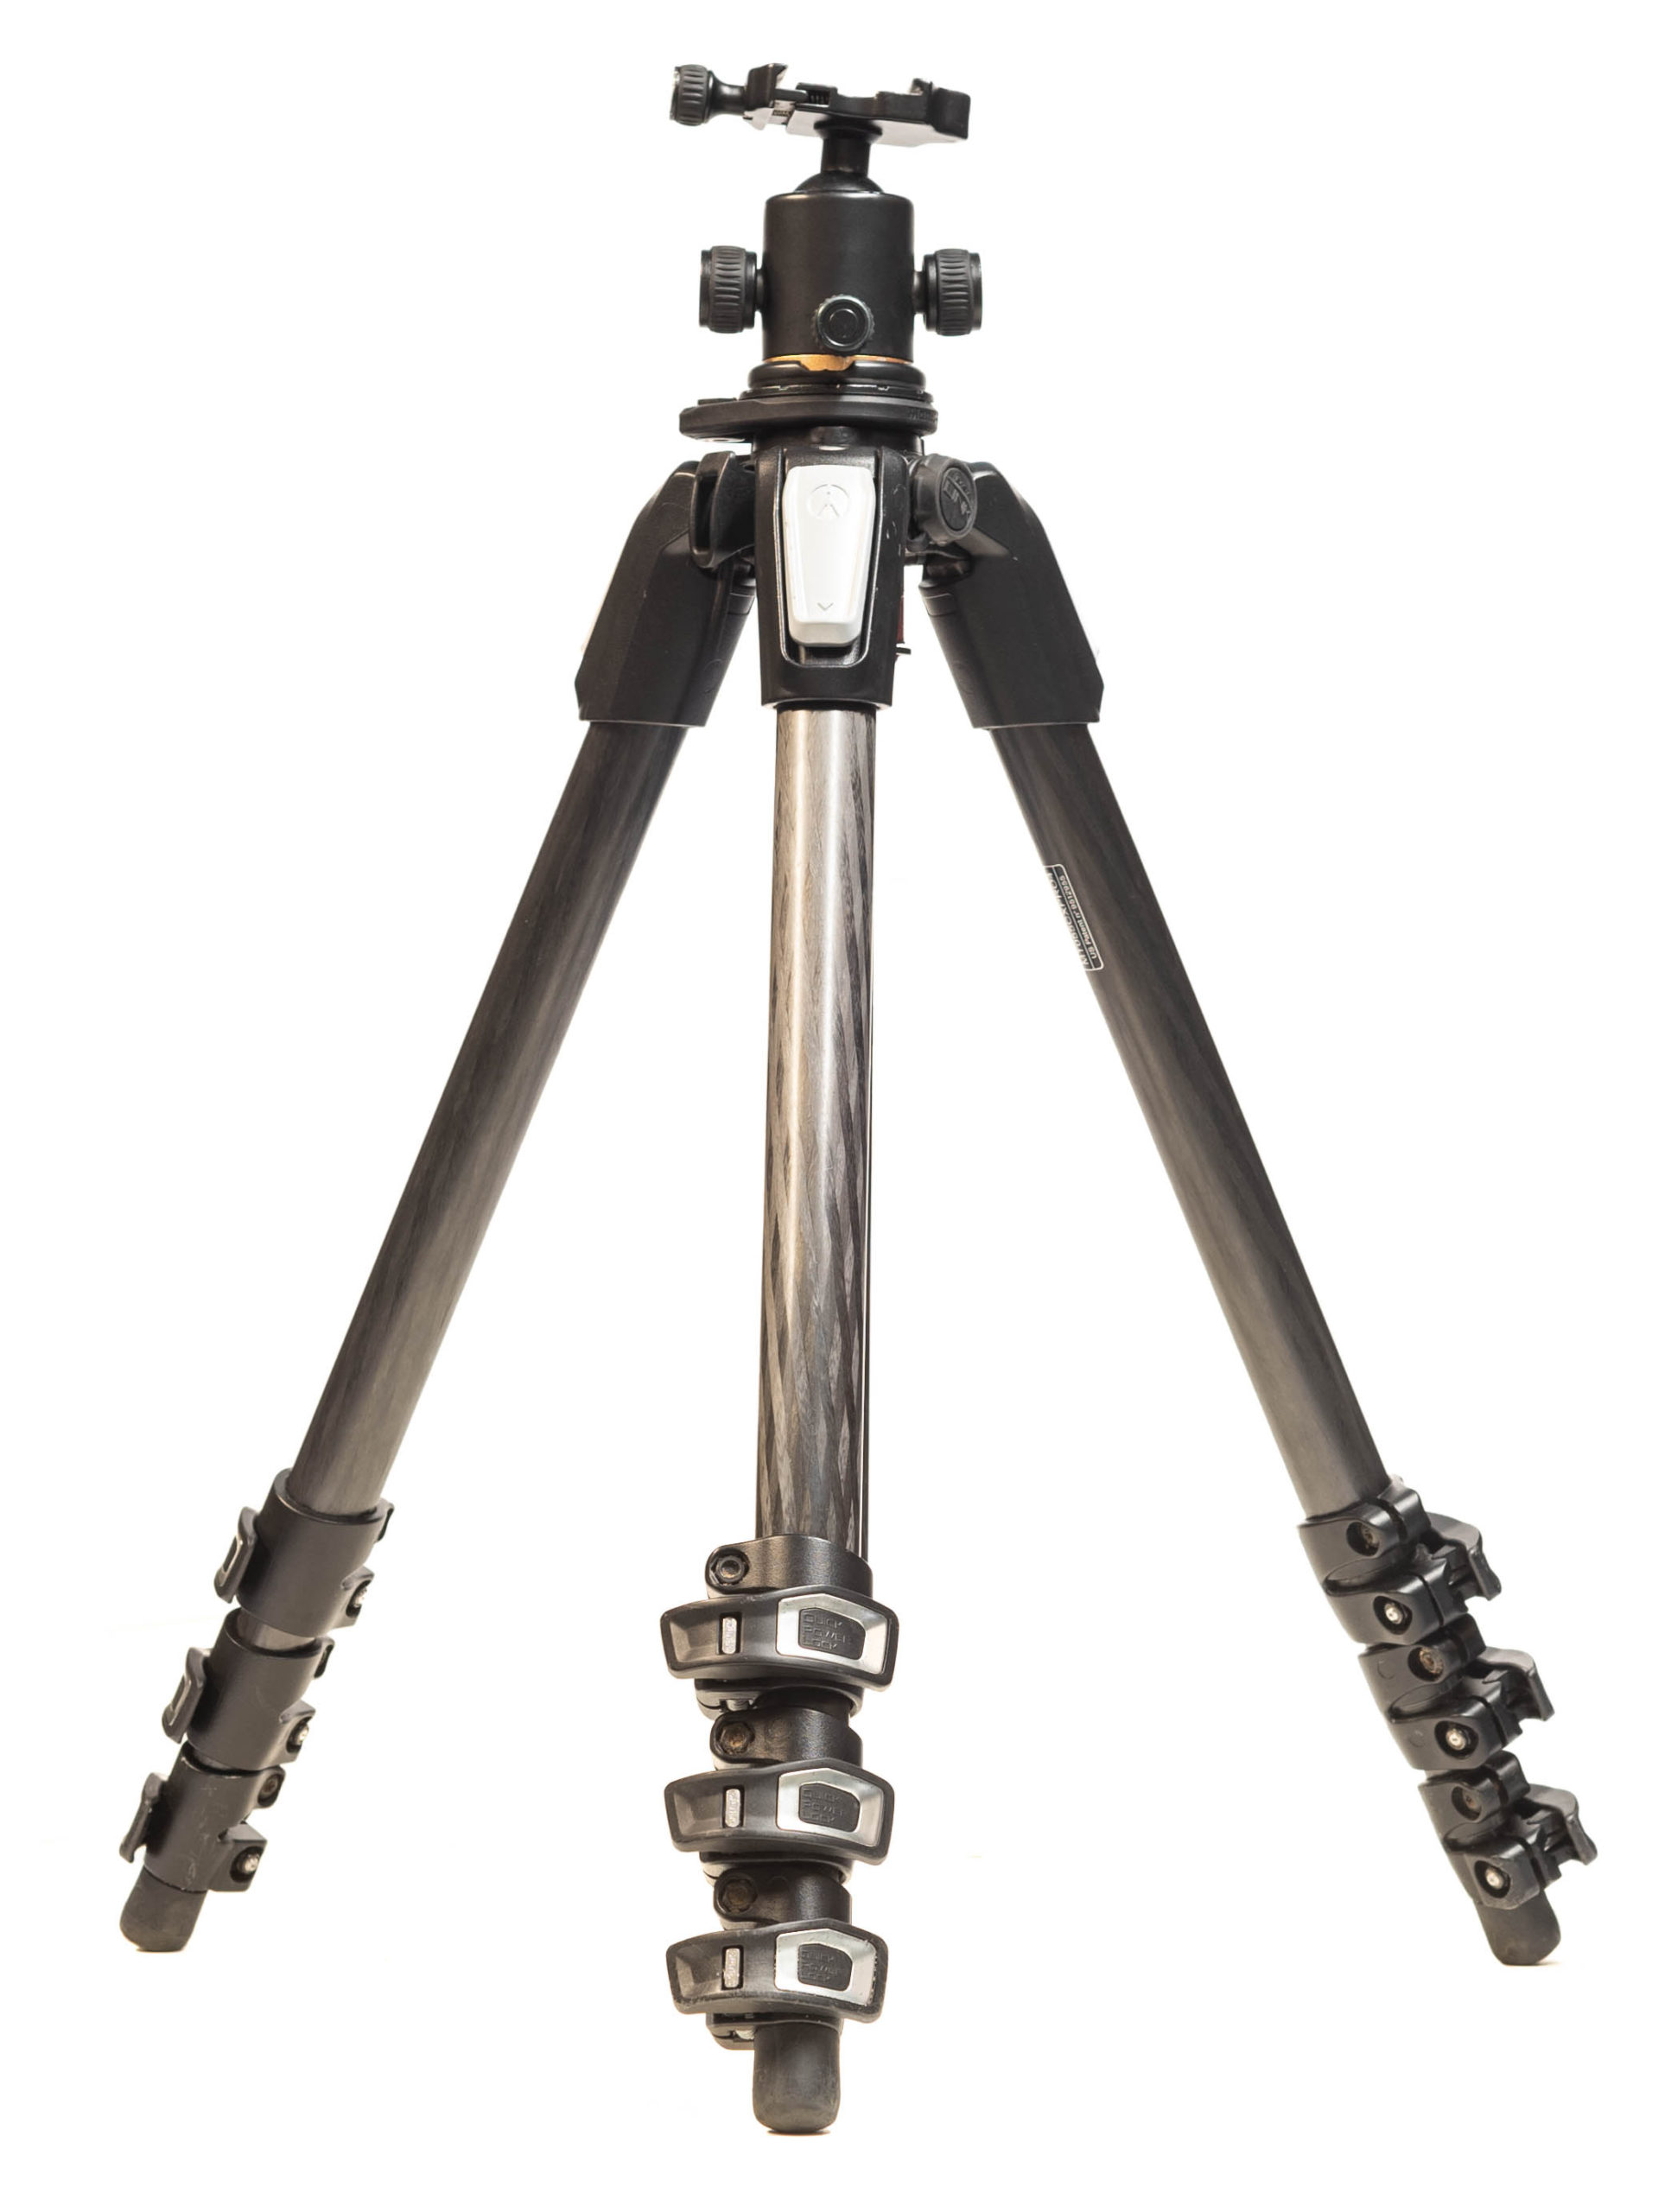
You will be shooting long exposures so a tripod is crucial to have. This will allow you to capture sharp photos and not blurry ones.
Shutter Remote (Intervalometer)
Any touch of the camera could ruin the picture. To combat this, use a shutter remote.
These remotes plug into the side of your camera and allow you to take a picture without actually touching the camera. Great, right?!
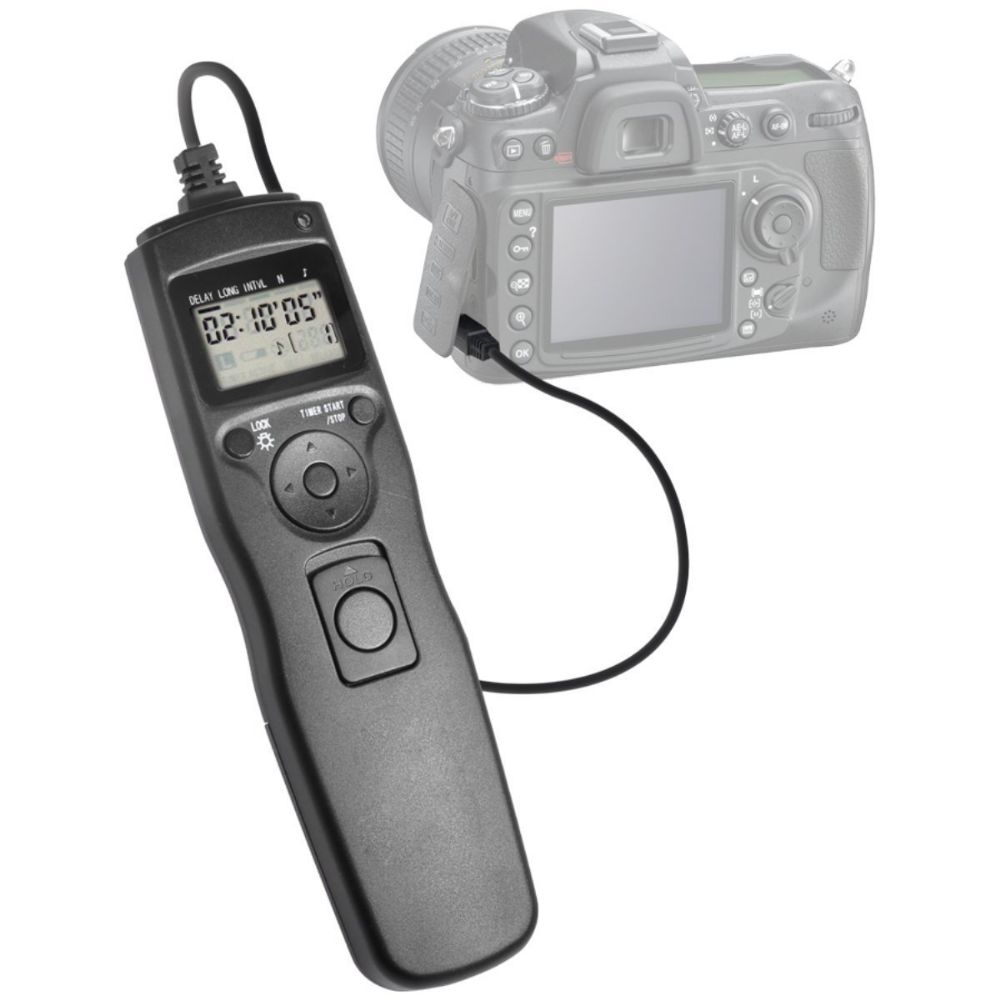
When purchasing a shutter remote, look for one that MATCHES your camera model. If not, the remote will not plug into your camera.
An alternative to a shutter remote is using the self-timer function on your camera.
I personally like shutter remotes more because there is no delay when taking the pictures (which will be especially important when shooting the bioluminescence).
Camera Settings
When shooting bioluminescence, camera settings will be very critical for capturing the detail of the blue waves.
Shutter Speed: 1 – 2 seconds
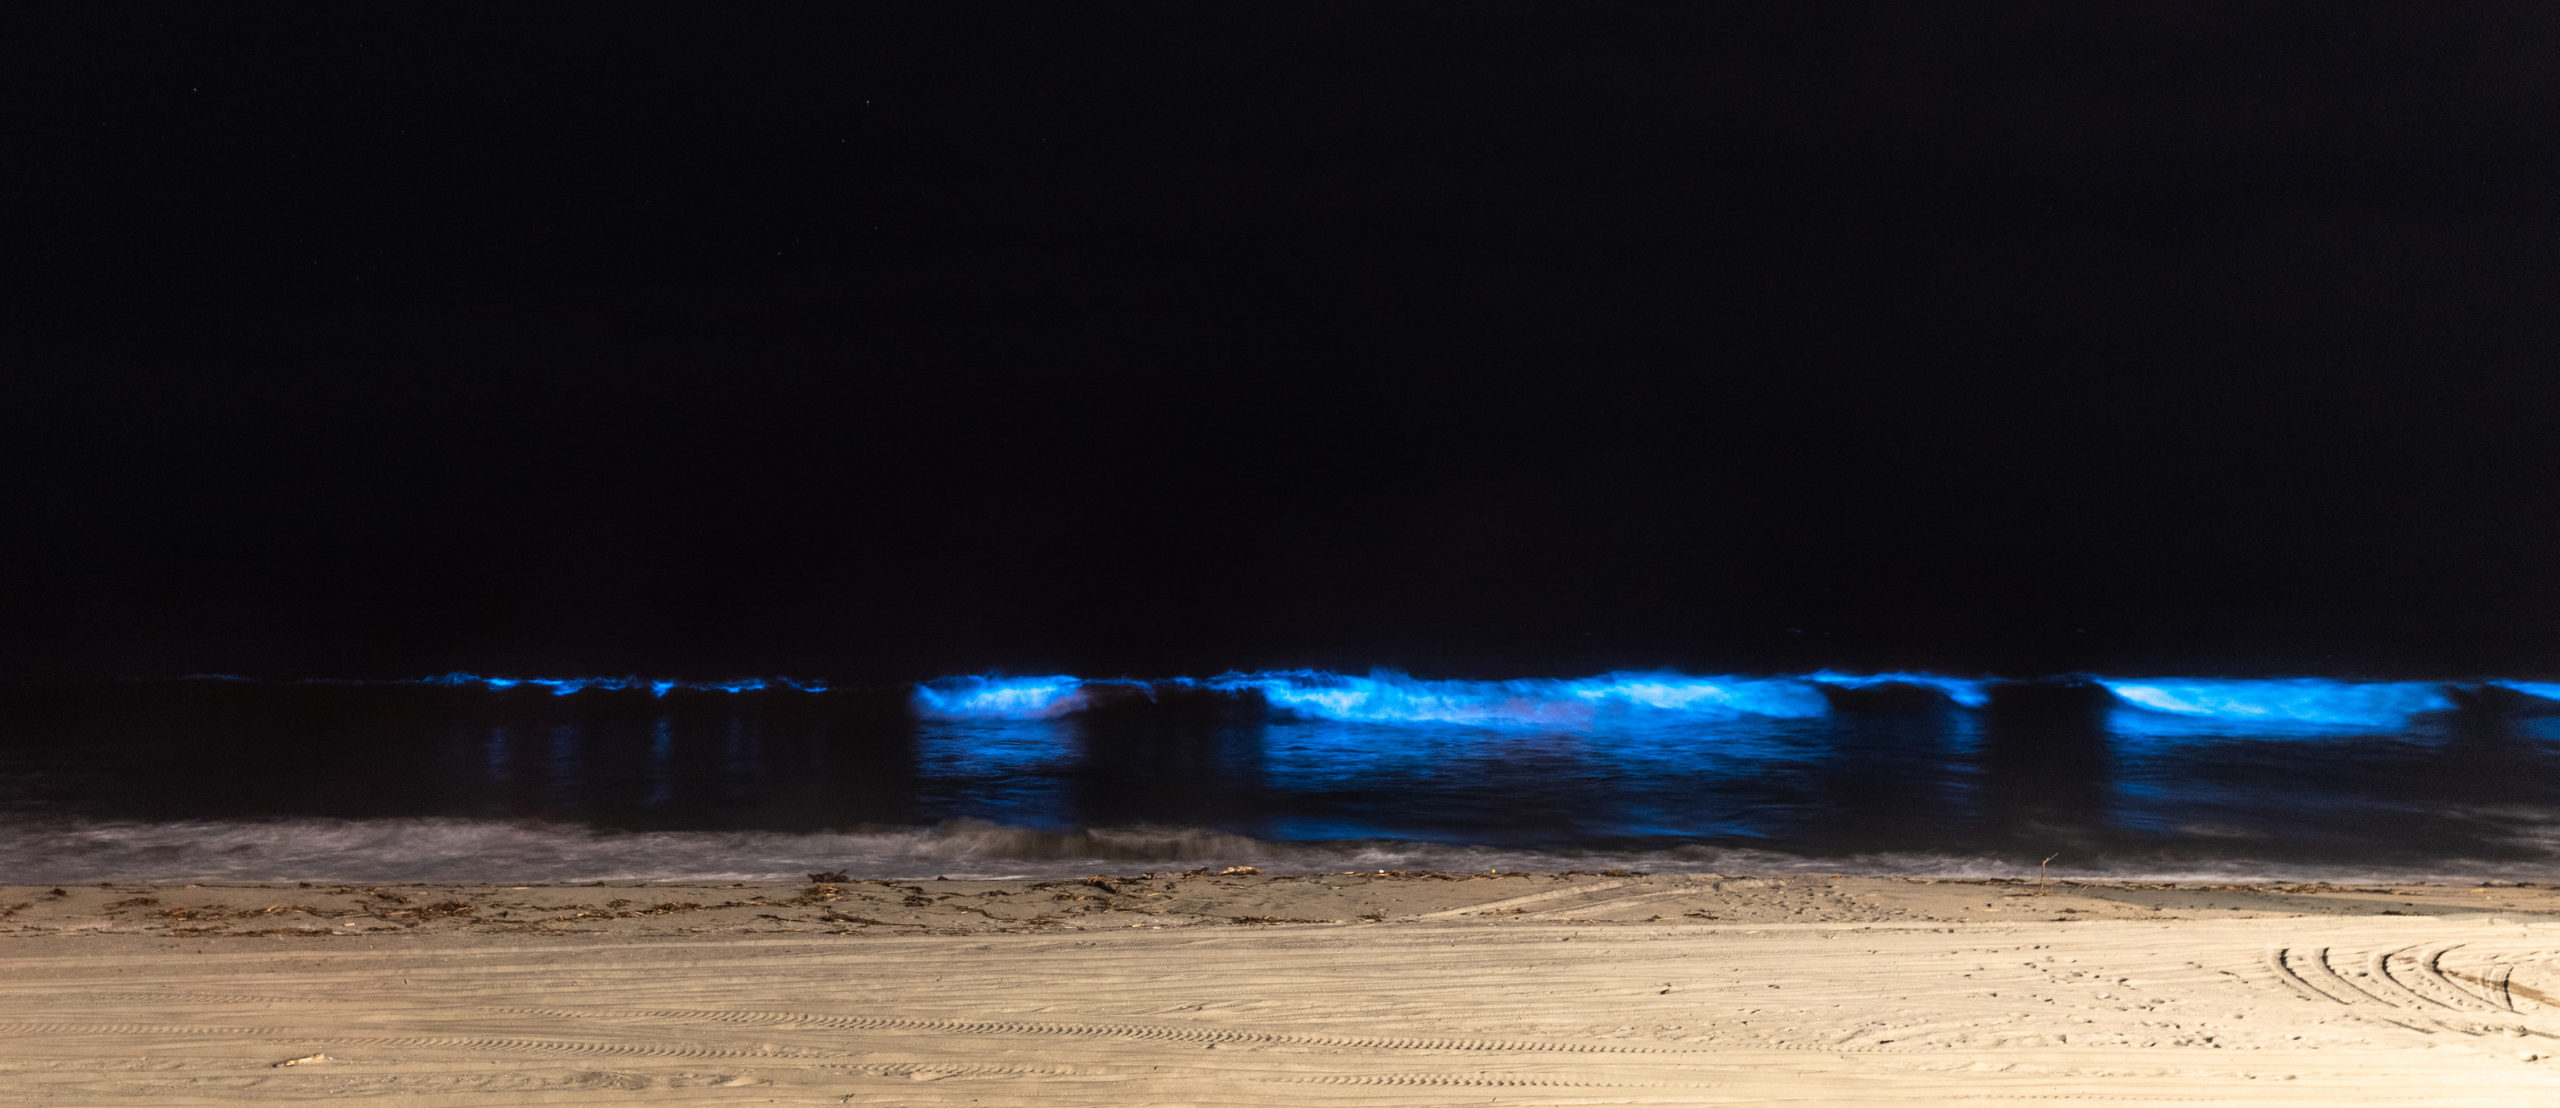
I found that a 1.6 second shutter speed is the perfect amount. It allows you to maintain details in the wave while not giving them a super smooth or “milky” look.

Taken with a 1.6 second shutter speed.
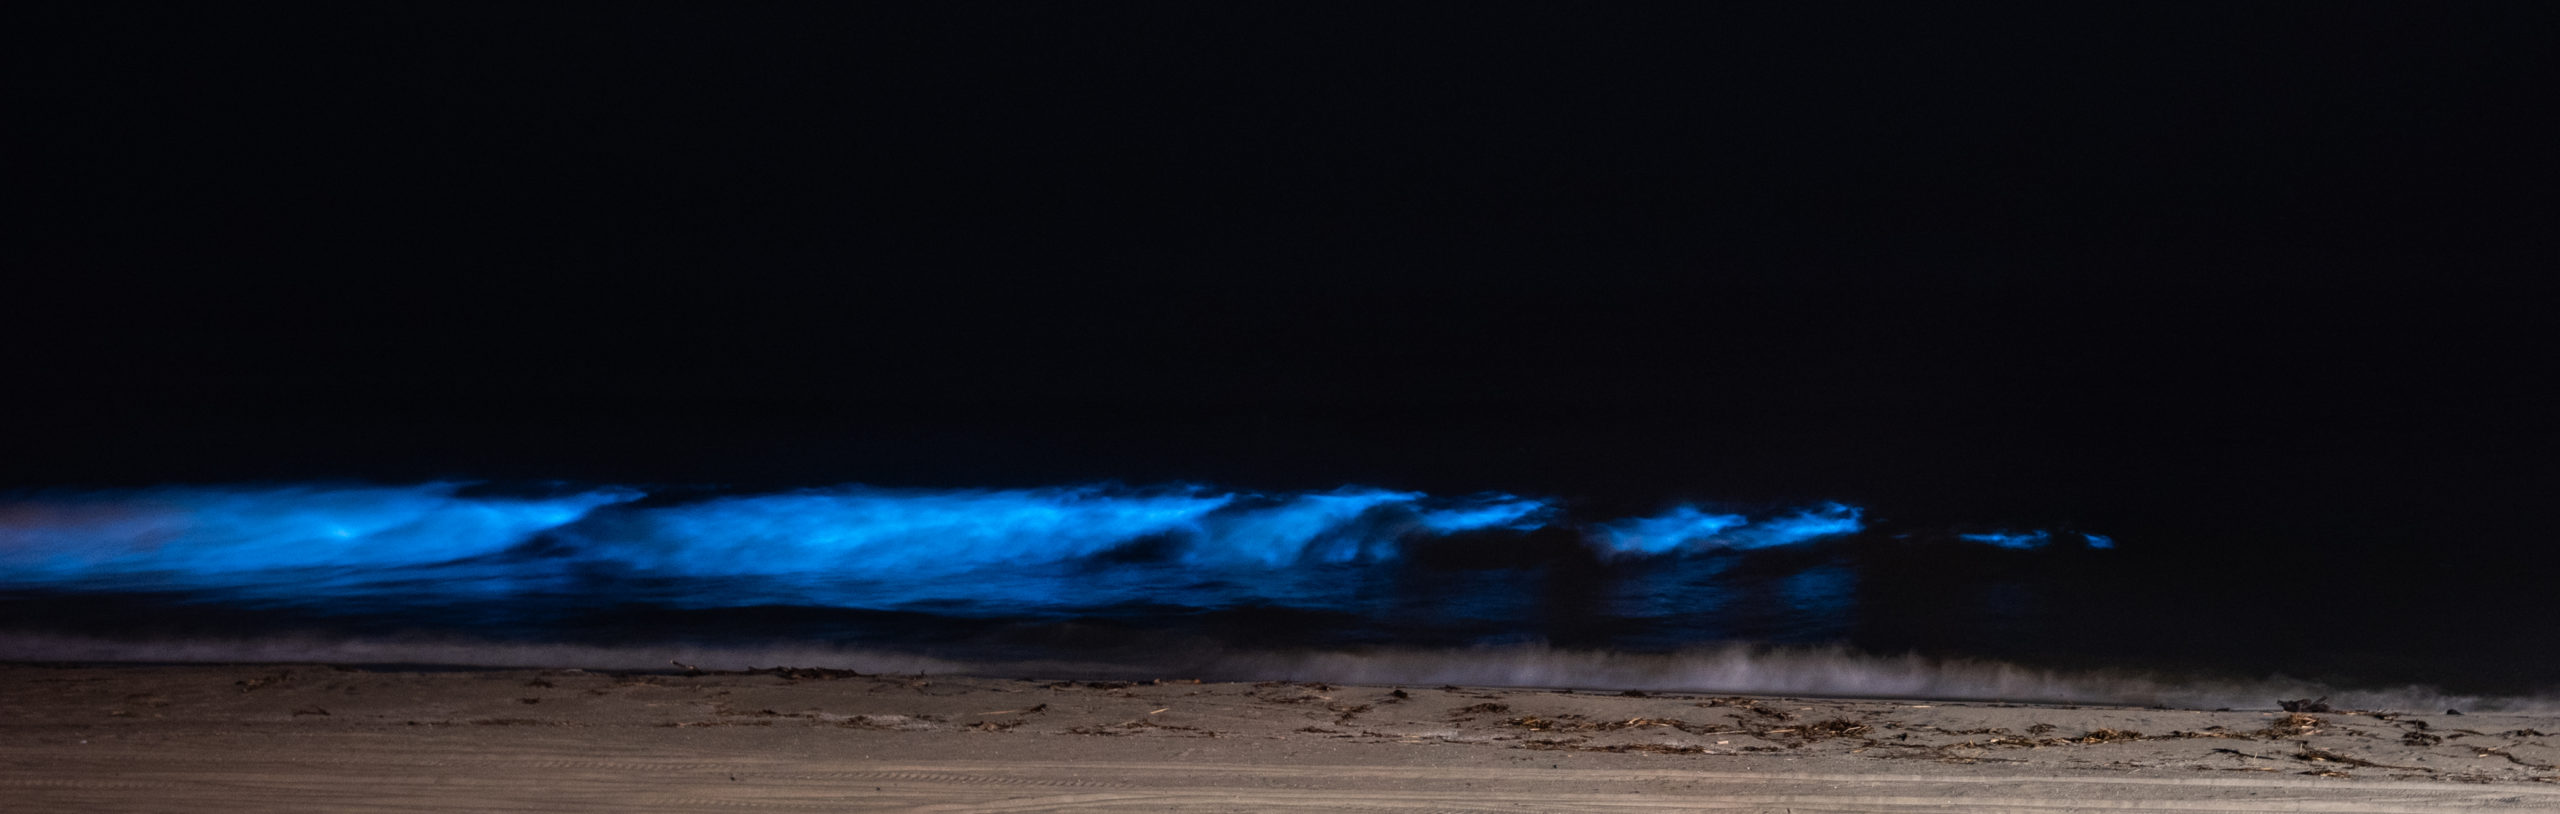
Taken with a 2.5 second shutter speed (less detail in the waves).
Any shutter speed higher than 2 seconds will blur the waves too much and the blue will be subsided.
Aperture: F2.8 – F/3.5
You will want your aperture the widest it can go so you can capture as much light as possible.
Since it is dark out, the shutter speed you will be using will not be enough to brighten up the scene. A low aperture will be able to compensate for this.
ISO: 100 – 200
You will want your ISO low so you don’t introduce noise into your image. In San Diego, there are many lights around the beach making it an already bright scene.
A high ISO would just blow out the picture, so you want to make sure you keep that setting down. If you are at a beach with little to no lights around, you might need to bump up the ISO to brighten up the exposure.
White Balance: Auto
Shooting with an auto white balance should give you the most accurate colors and not have the image look to warm (orange) or too cool (blue).
Image Format: RAW
Shooting RAW means that your images store more information, allowing for greater flexibility when editing the pictures.
Take a Timelapse
I highly recommend taking a timelapse when photographing bioluminescence!
In my experience, taking a timelapse is way more beneficial than just taking still images
The main reason for doing a timelapse is since the bioluminescence occurs randomly, it’s better to be shooting than see one and rush to take the picture.
Similar to photographing a meteor shower, you wouldn’t try and take the picture as you saw the meteor, you would have a timelapse setup.
Another benefit is while your camera is shooting, you can enjoy the view and not have to worry about getting the shot.
But Adam, if you shoot a timelapse, don’t you have to have software to create the timelapse afterward?
Nope. Since a timelapse is comprised of a bunch of still images, you can simply go through your shots and pick out the best ones!
For a timelapse, you will need a shutter remote. Set your interval to 1 second, so there is barely any time in between your images.
Now that you know how to photograph bioluminescence, go out there (safely and appeal by your city or state’s guidelines), take some shots, and have fun!