Incorporating steel wool into your photography can be a very fun activity to try out.
After the sparks settle, and the exposure finishes, you can create some awesome results, all the while expanding your knowledge of photography!
So grab your camera, a lighter, and some steel wool, and learn how to shoot steel wool photos!
What is Steel Wool Photography
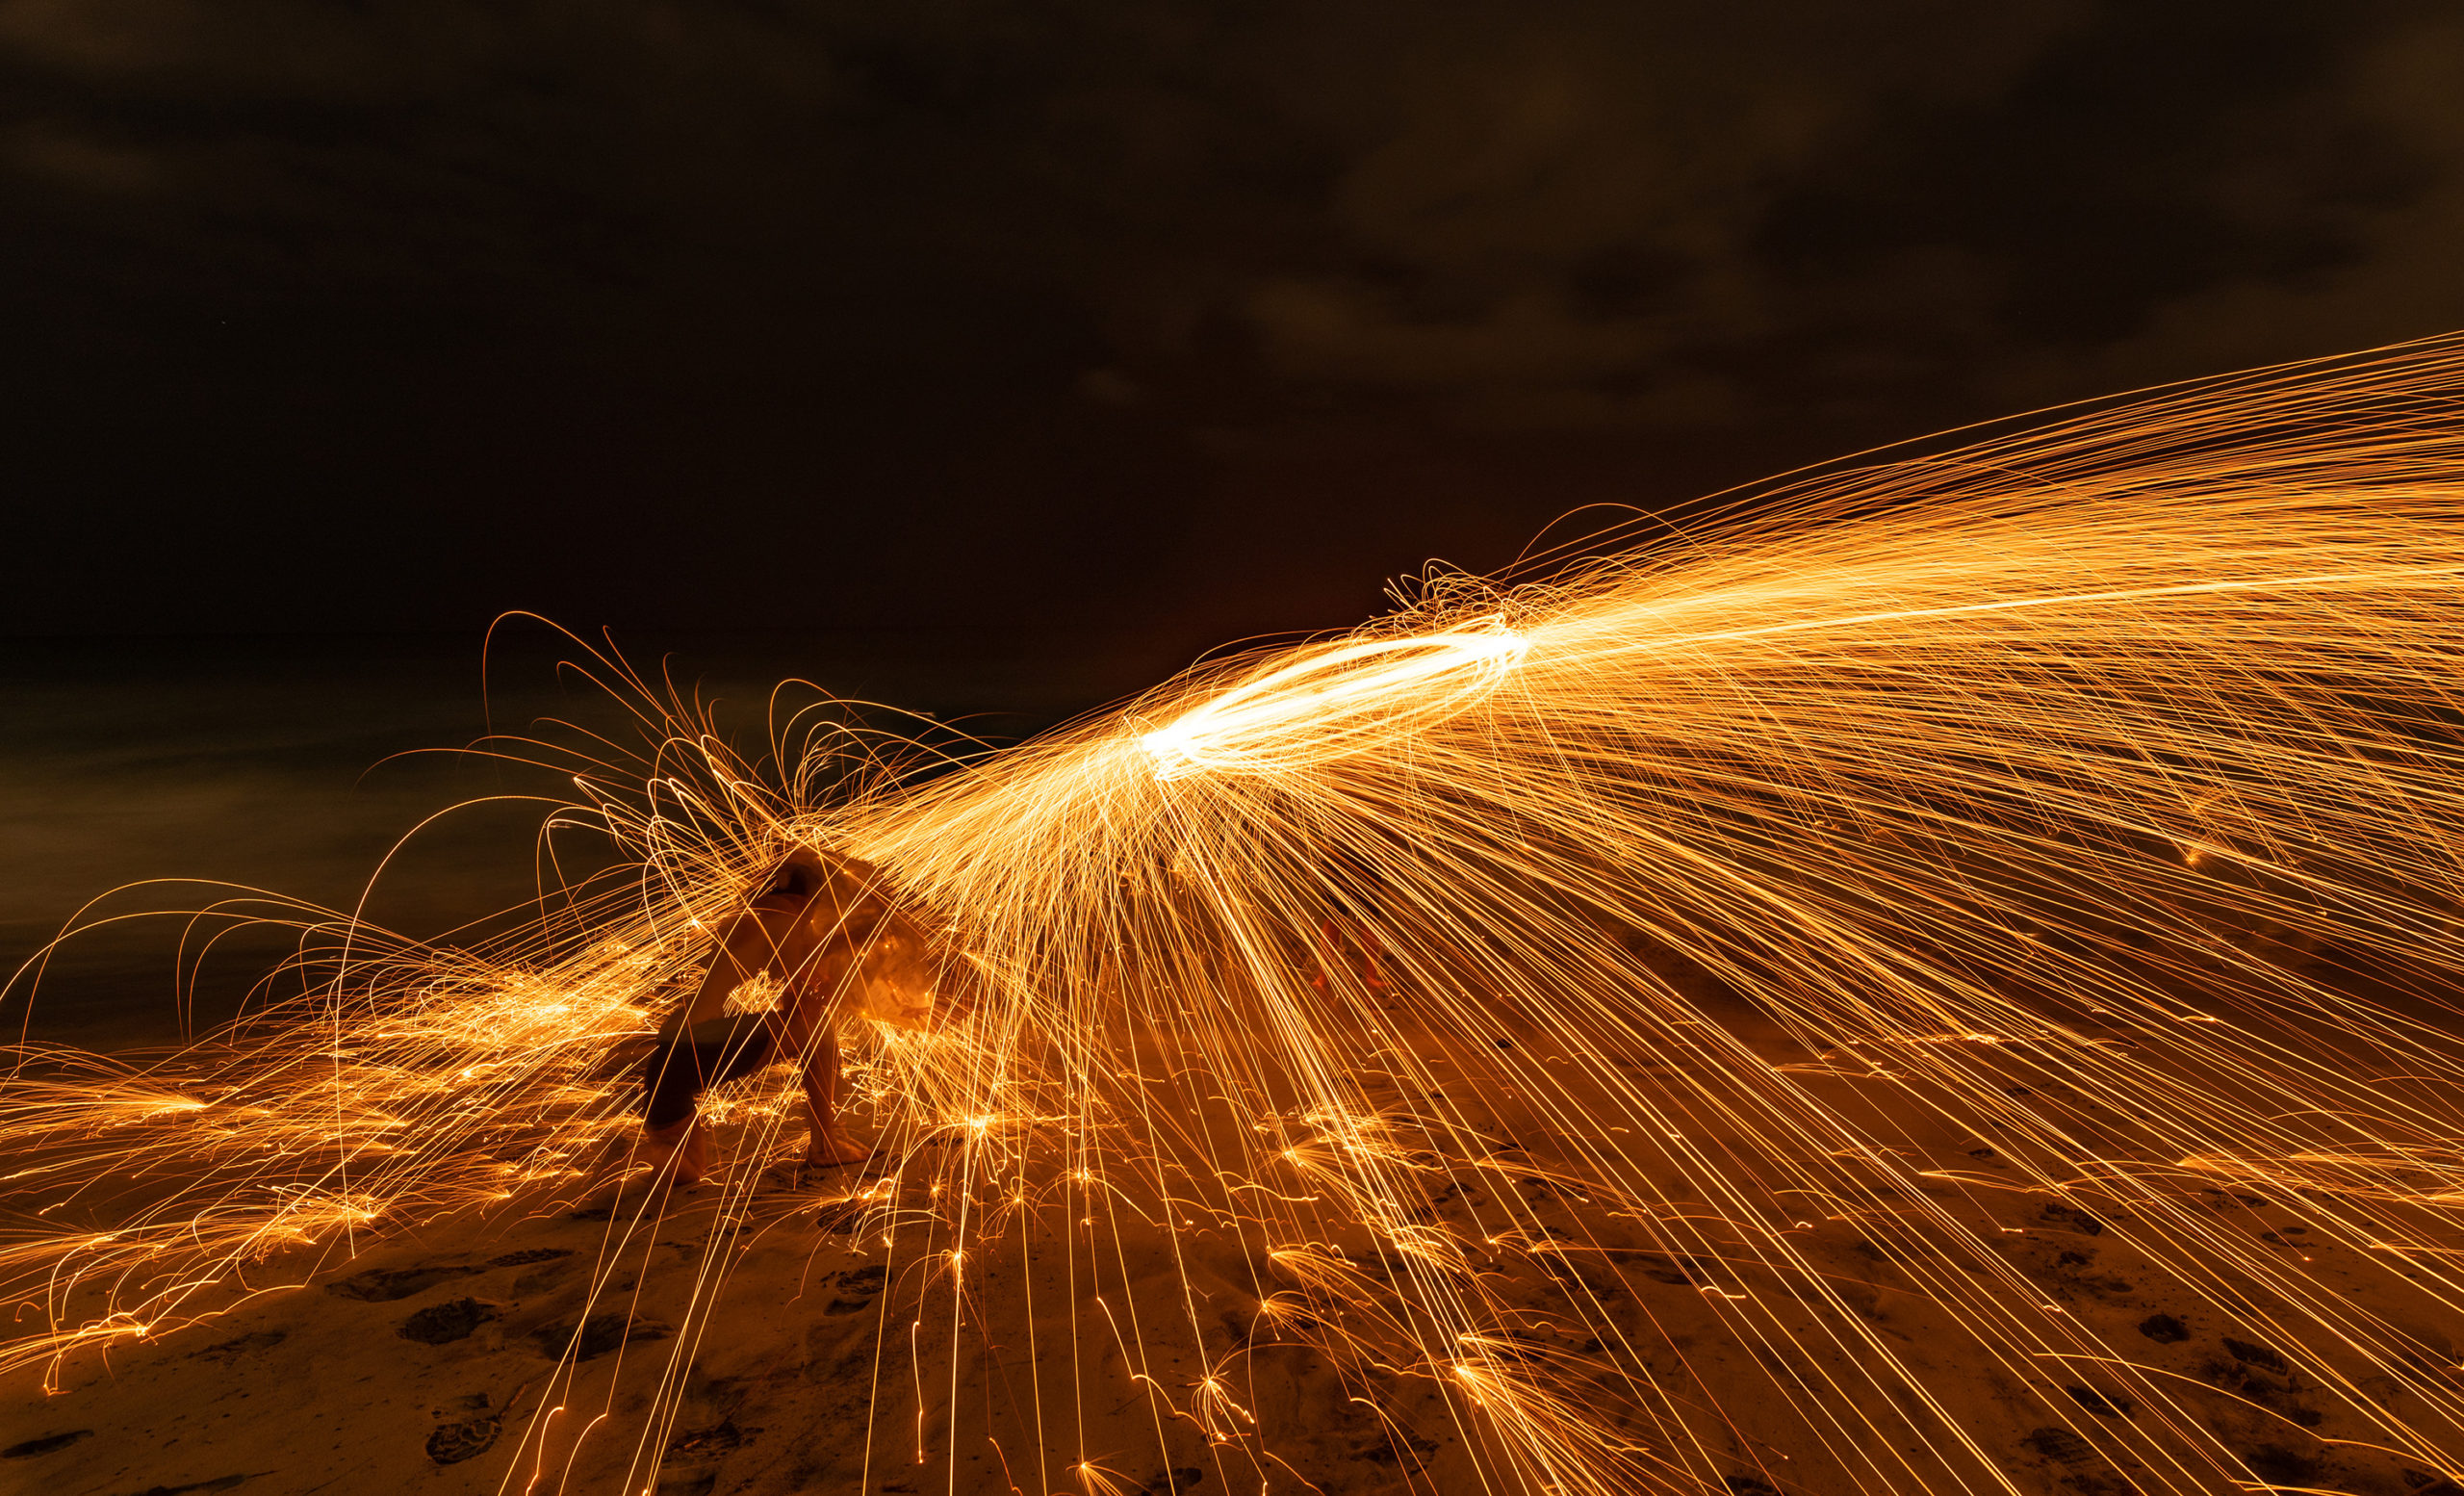
Steel wool photography is a photography technique in which you light steel wool on fire, twirl it around, and take a long exposure. The embers fly through the air and look like streaks of light on your camera.
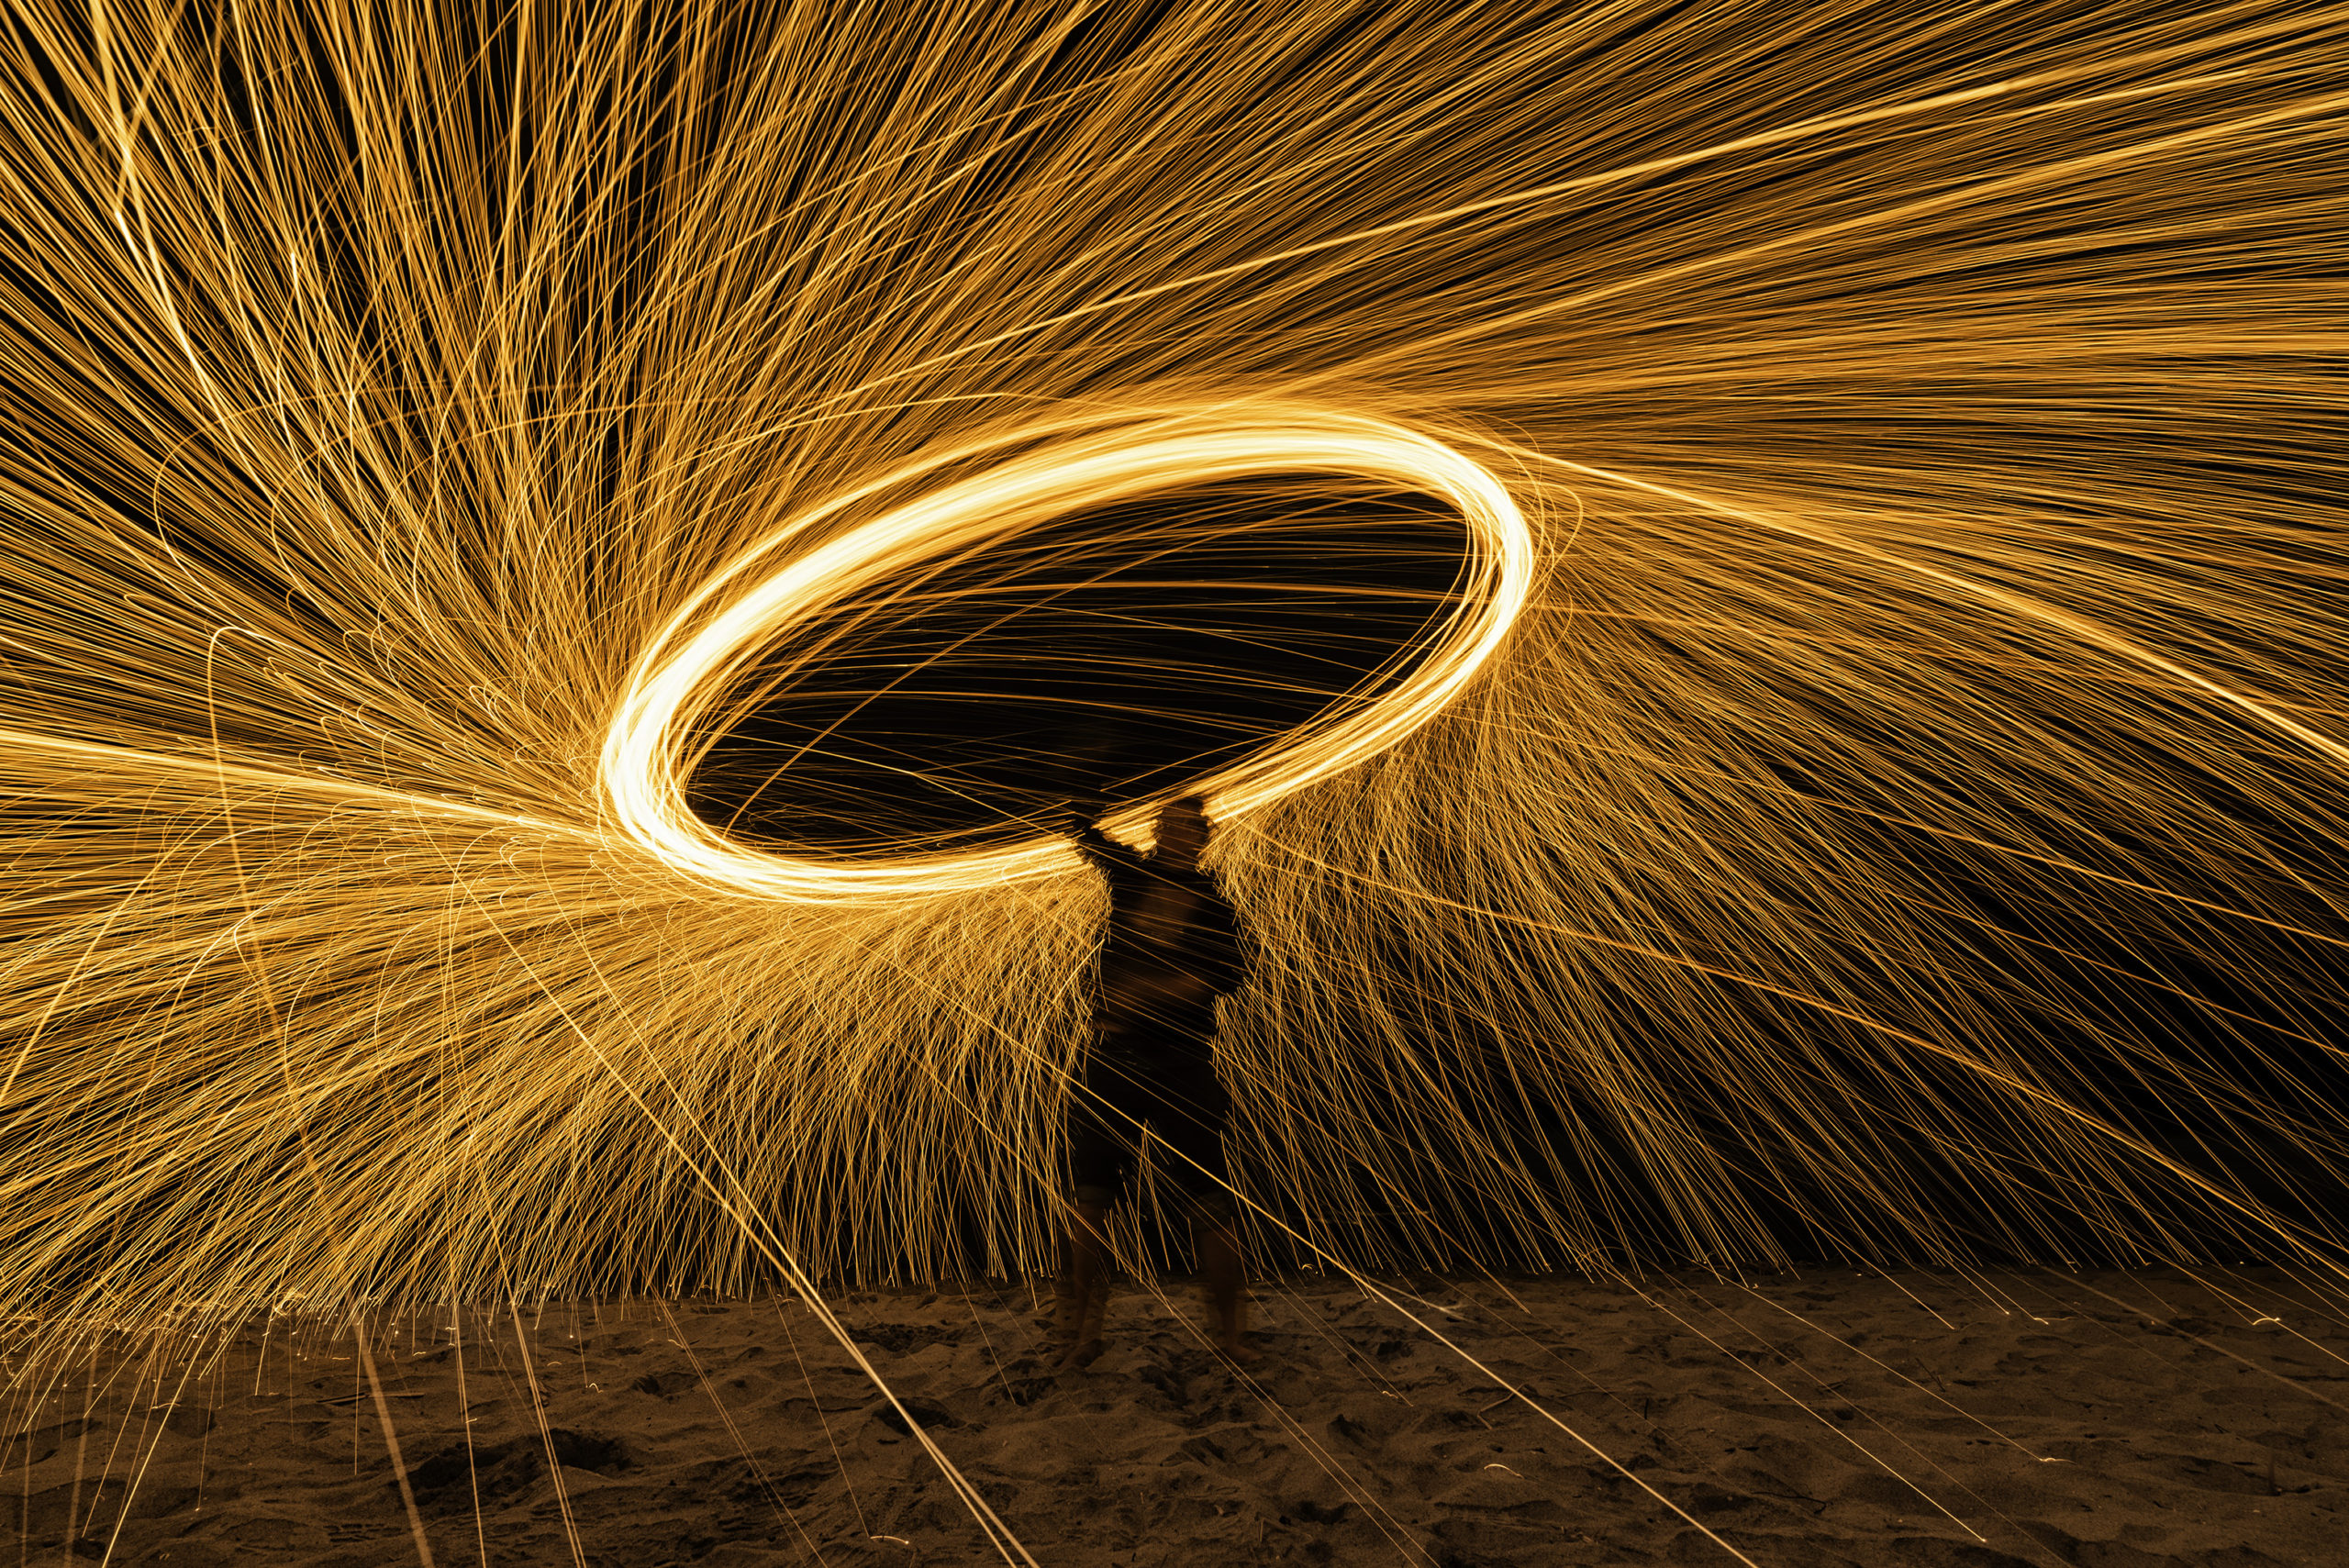
Similar to photographing a fire pit, you capture the light streaks from the burning embers. It can be a great activity to try out with some friends and create some memorable images!
Remember to be SAFE!
I want to first point out that you are literally “playing” with fire. Twirling around burning steel wool could result in injury and can be dangerous. If you do not take the necessary safety precautions, you could get hurt or start a fire. Be mindful of your safety and anyone else that is with you by paying attention to the list below!
Choose a safe location
When you are dealing with throwing fire around, you have to be extremely mindful as to where you are taking the picture. Make sure there are no flammable objects around (trees, dry brush, grass, vehicles). You DO NOT want to accidentally start a wildfire. You will be spinning the steel wool quite fast, meaning that the embers will be launched in all directions. Keep this in mind and give yourself plenty of distance between any potential flammable objects.
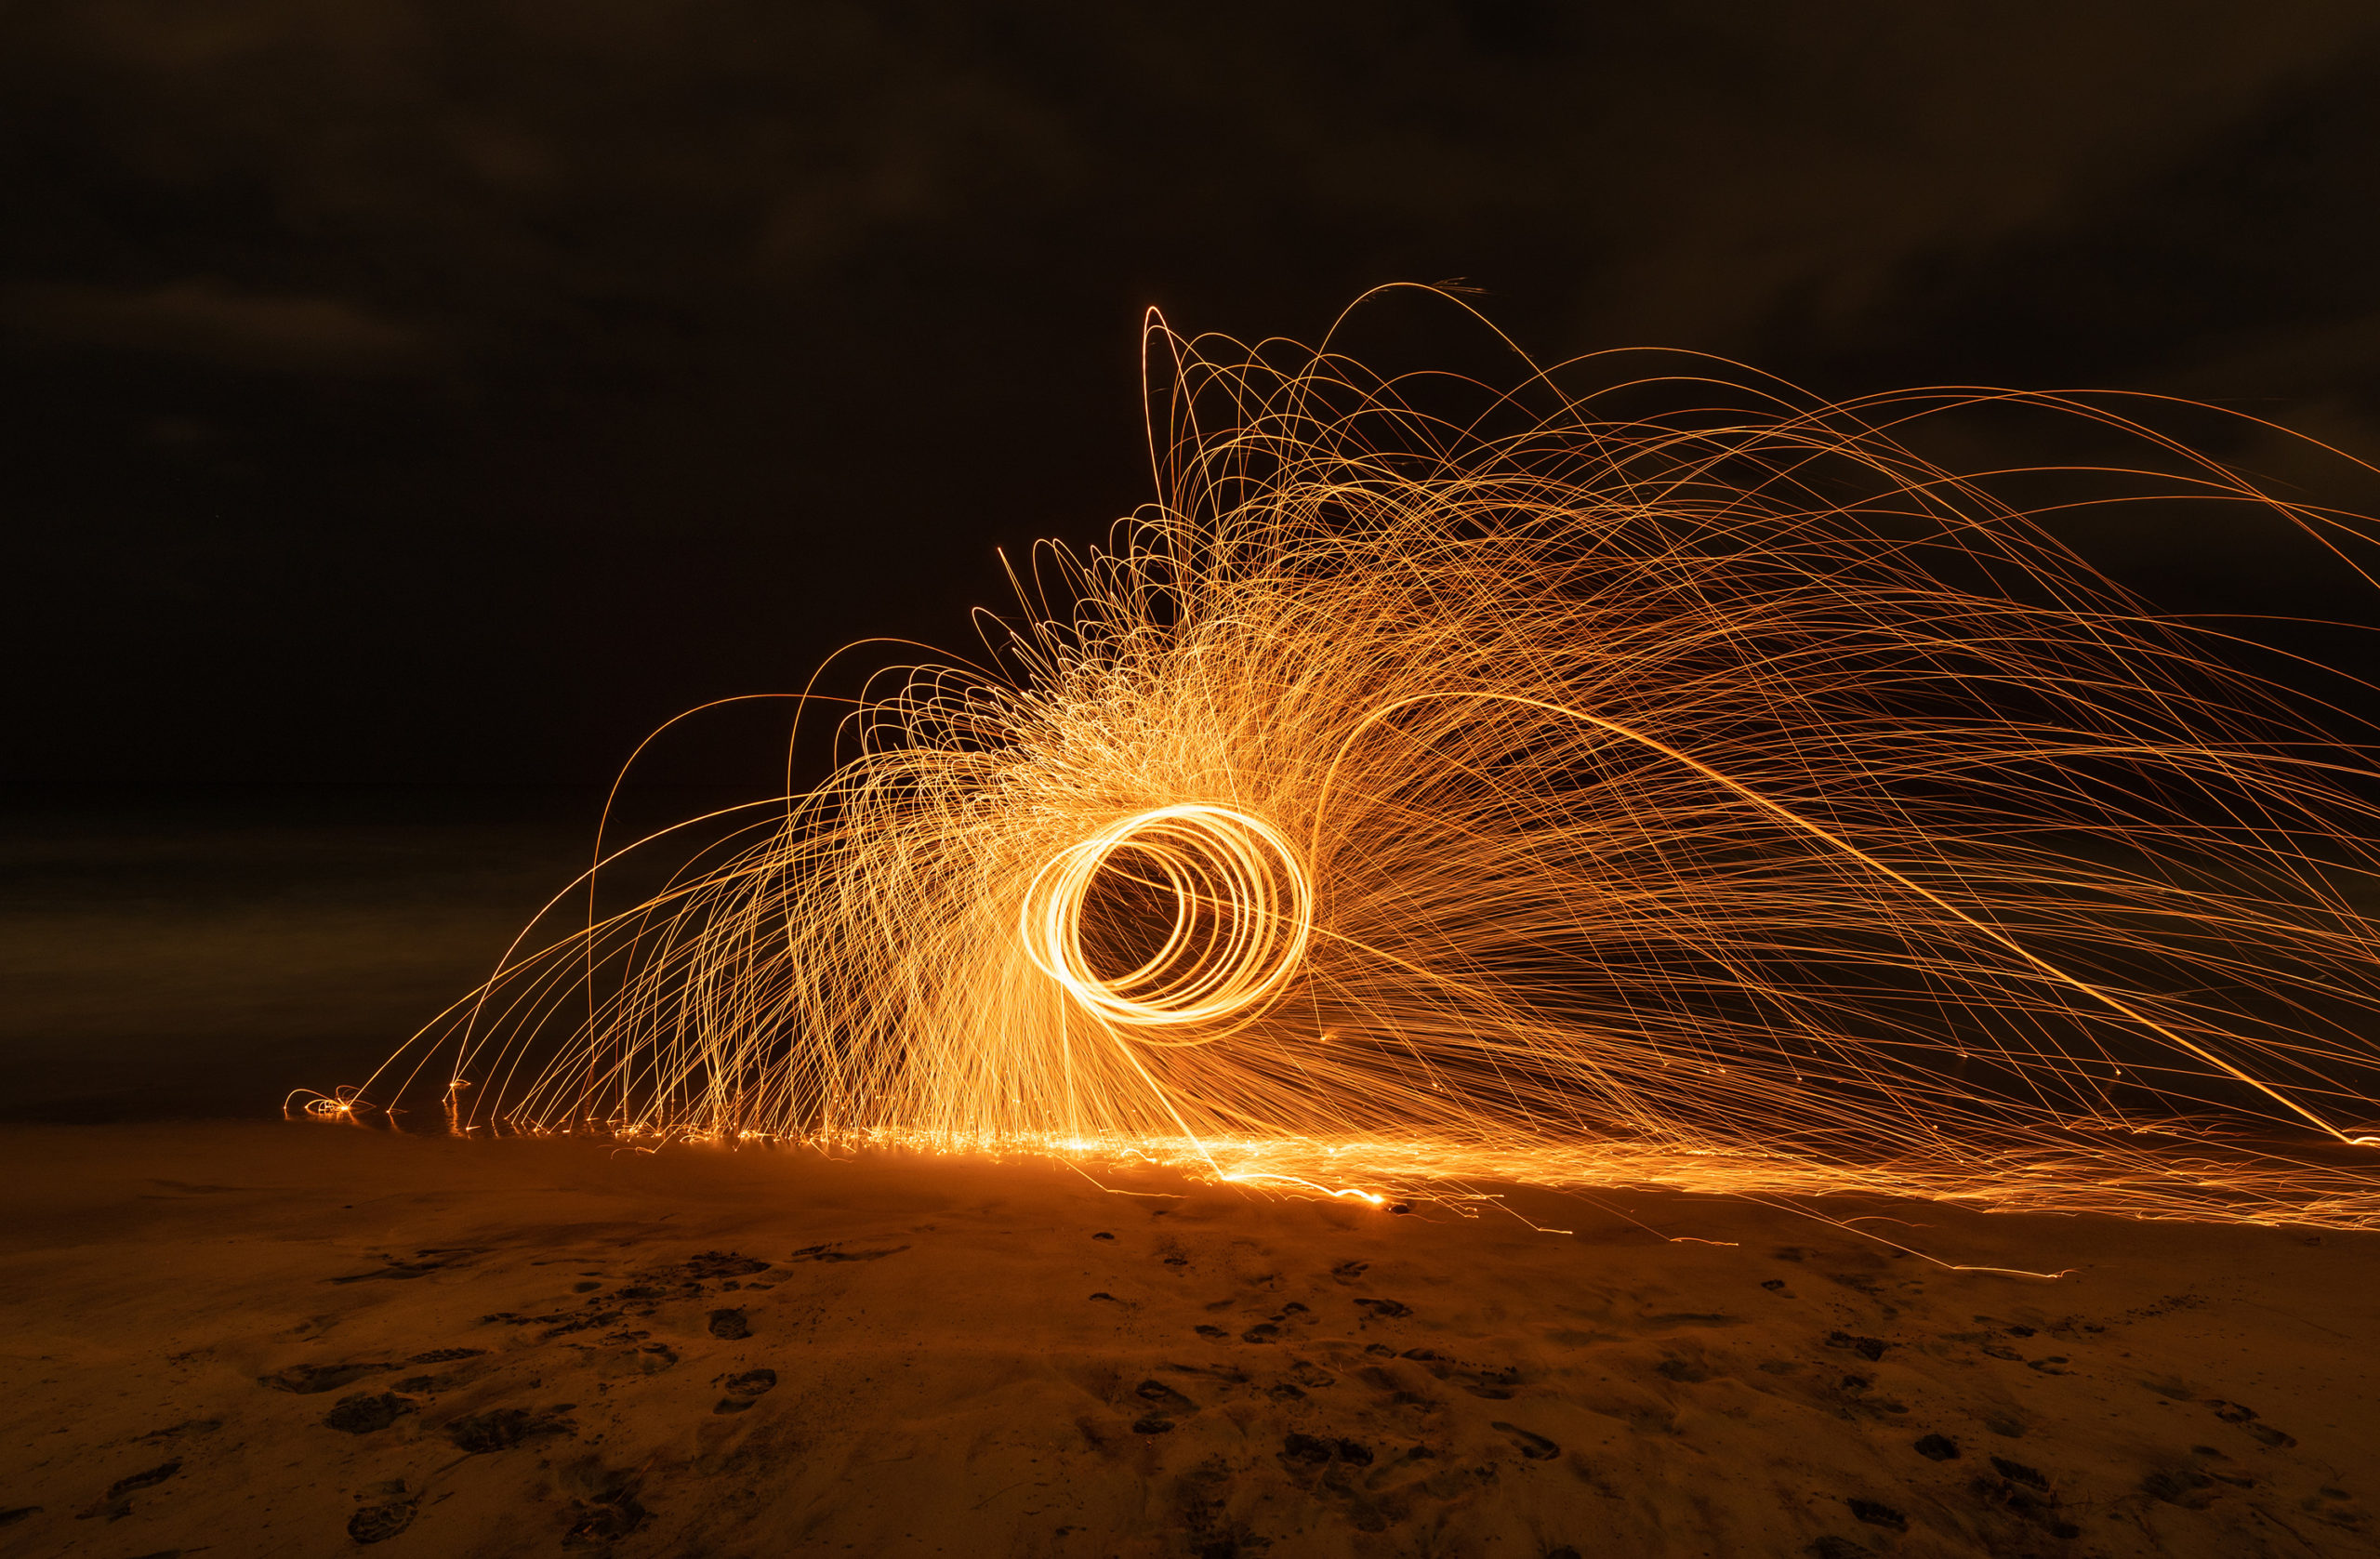
The beach is a great place to photograph steel wool safely.
Choose a time
Once you have picked out a safe location, make sure to go during the best time. If you have ever made your own fire when camping, you know that windy conditions make it nearly impossible to light a flame. Do not go when it is windy or you will have an extremely difficult time lighting the steel wool. It is also preferable to go when it is wet out, so possibly after a rainfall, or in the snow.
Wear Goggles
Your first piece of protective equipment to bring are goggles. Preferably the big scientific goggles and not the swimming ones. DO NOT assume that normal glasses will protect you, they won’t! You need something that creates a seal around your face.
Don’t have your skin exposed
When dealing with fire, you want to be covered up. This means no skin should be showing. Wear a sweatshirt/hoodie, sweatpants, long socks, and gloves. If by chance a spark or two does hit you, you will be safely covered up. I recommend wearing older clothes that you don’t mind getting burned.
Bring a fire extinguisher
Wherever you go to shoot, always bring a fire extinguisher with you. You do not want to take any chances, so be prepared.
Do not photograph around historic sites or wooden structures
Although the thought of a steel wool photo overlapping with a wooden structure or historic site seems cool, it is very dangerous. There have been numerous incidents where certain structures have caught fire because of steel wool photography. These places are extremely at risk to catch fire so PLEASE DO NOT try steel wool photography near these types of structures.
Scan the area for remaining embers
Once you are done shooting, always scan the area and make sure all of the embers are gone. The last thing you want is to drive off while a small ember on the ground creates a fire. They can burn for quite a while so if you see one, use your fire extinguisher or get some water and put it out.
Be Careful
It shouldn’t go without saying that this photographic technique is dangerous. Fire can cause damage, injury, and even death. Please proceed with caution so you can create awesome photos while staying safe!
Despite all the above safety recommendations, steel wool photography is still a risky venture. By partaking in this activity you do so at your own risk and I and/or Adam’s Trail Notes are not responsible or liable for any injury or damage caused.
Equipment you Need
- Fine grade steel wool
- Metal whisk
- Dog leash/rope
- Lighter
- Camera with manual mode
- Tripod
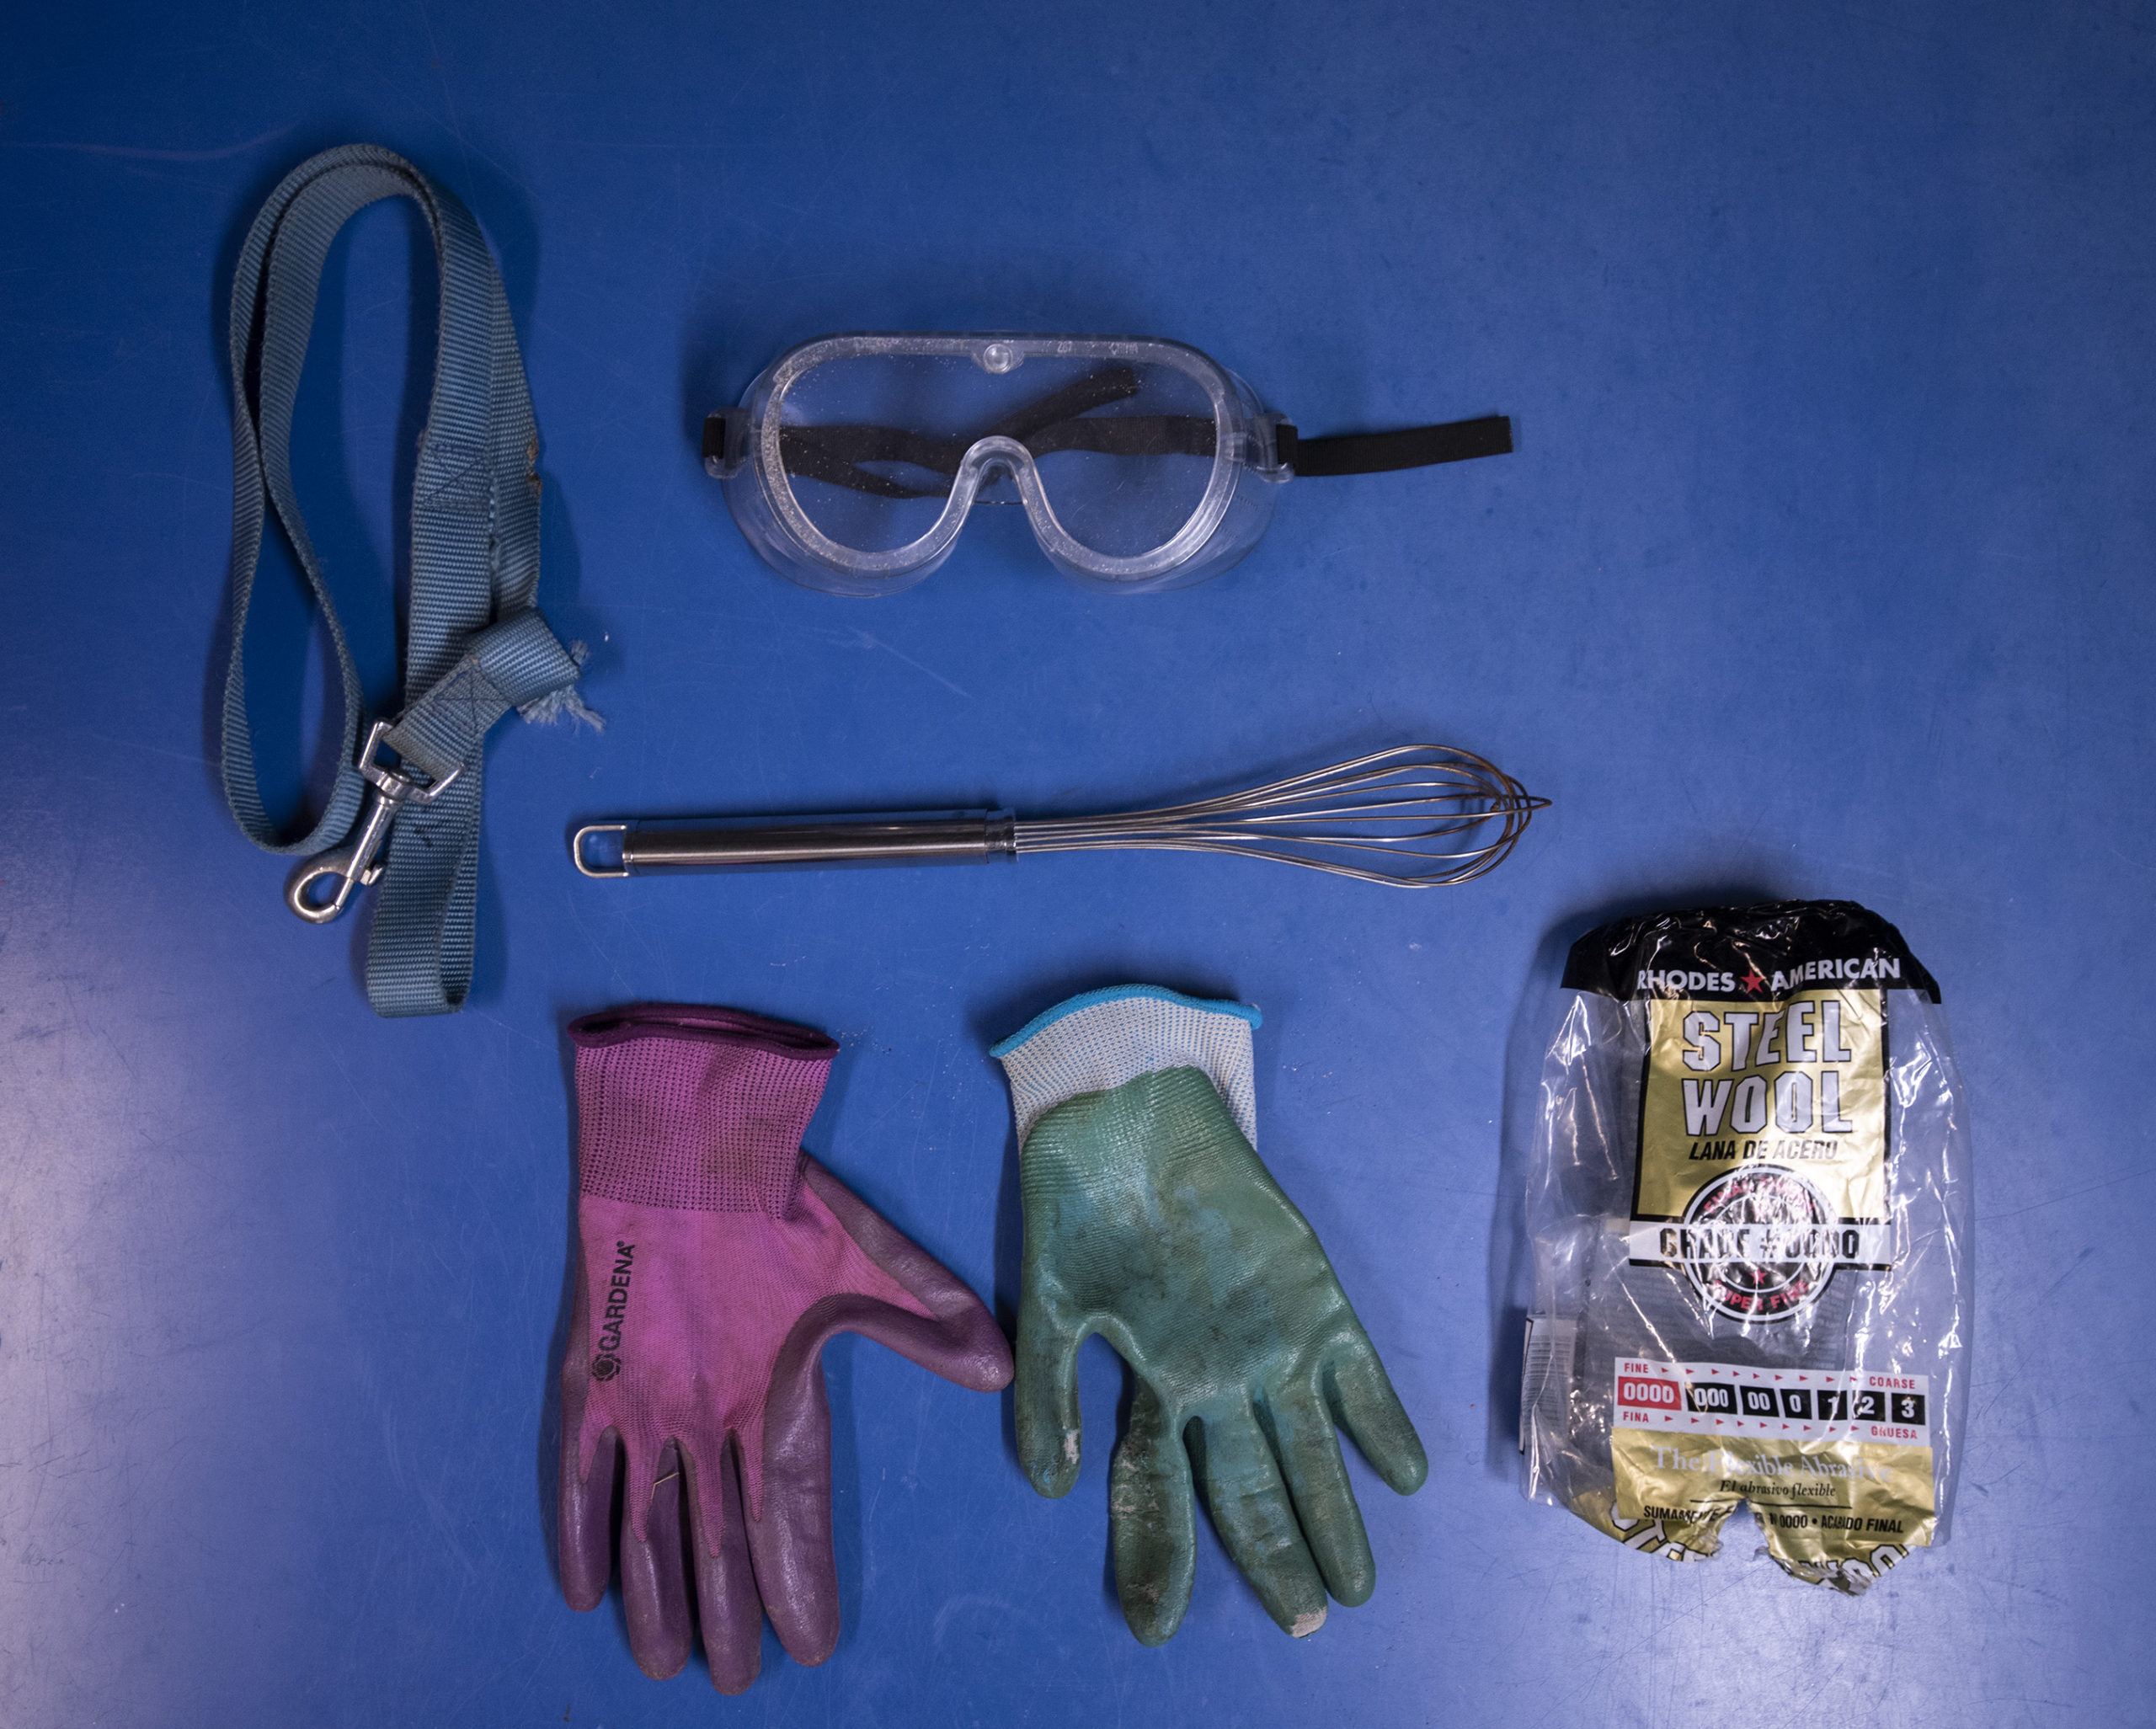
Steel wool comes in different grades, ranging from 0000 to 4. For the best photos, you will want very fine grade steel wool. The grade I use and recommend is 0000.
Any DSLR or Mirrorless camera that has manual mode will work just fine.
For lenses, I suggest a wide-angle of 15-18mm. This will allow you to capture all of the embers that fly and bounce around.
Since you will be shooting long exposures, make sure to bring a stable tripod so you capture sharp images!
The Process
1. Take a “patch” of steel wool out and shove it into the whisk.
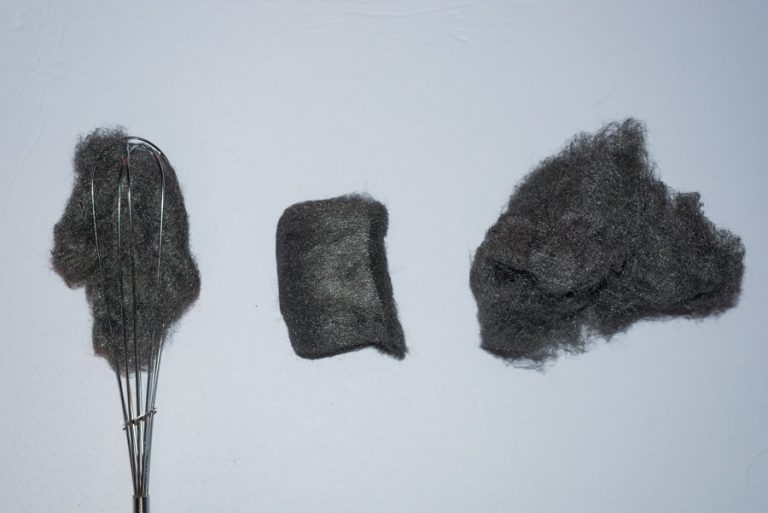
Credit: improvephotography.com
2. Attach a dog leash/rope to the end of the whisk. I recommend practicing by spinning the dog leash attached to the whisk beforehand.
3. Once the steel wool is in the whisk, take your lighter, and ignite the steel wool.
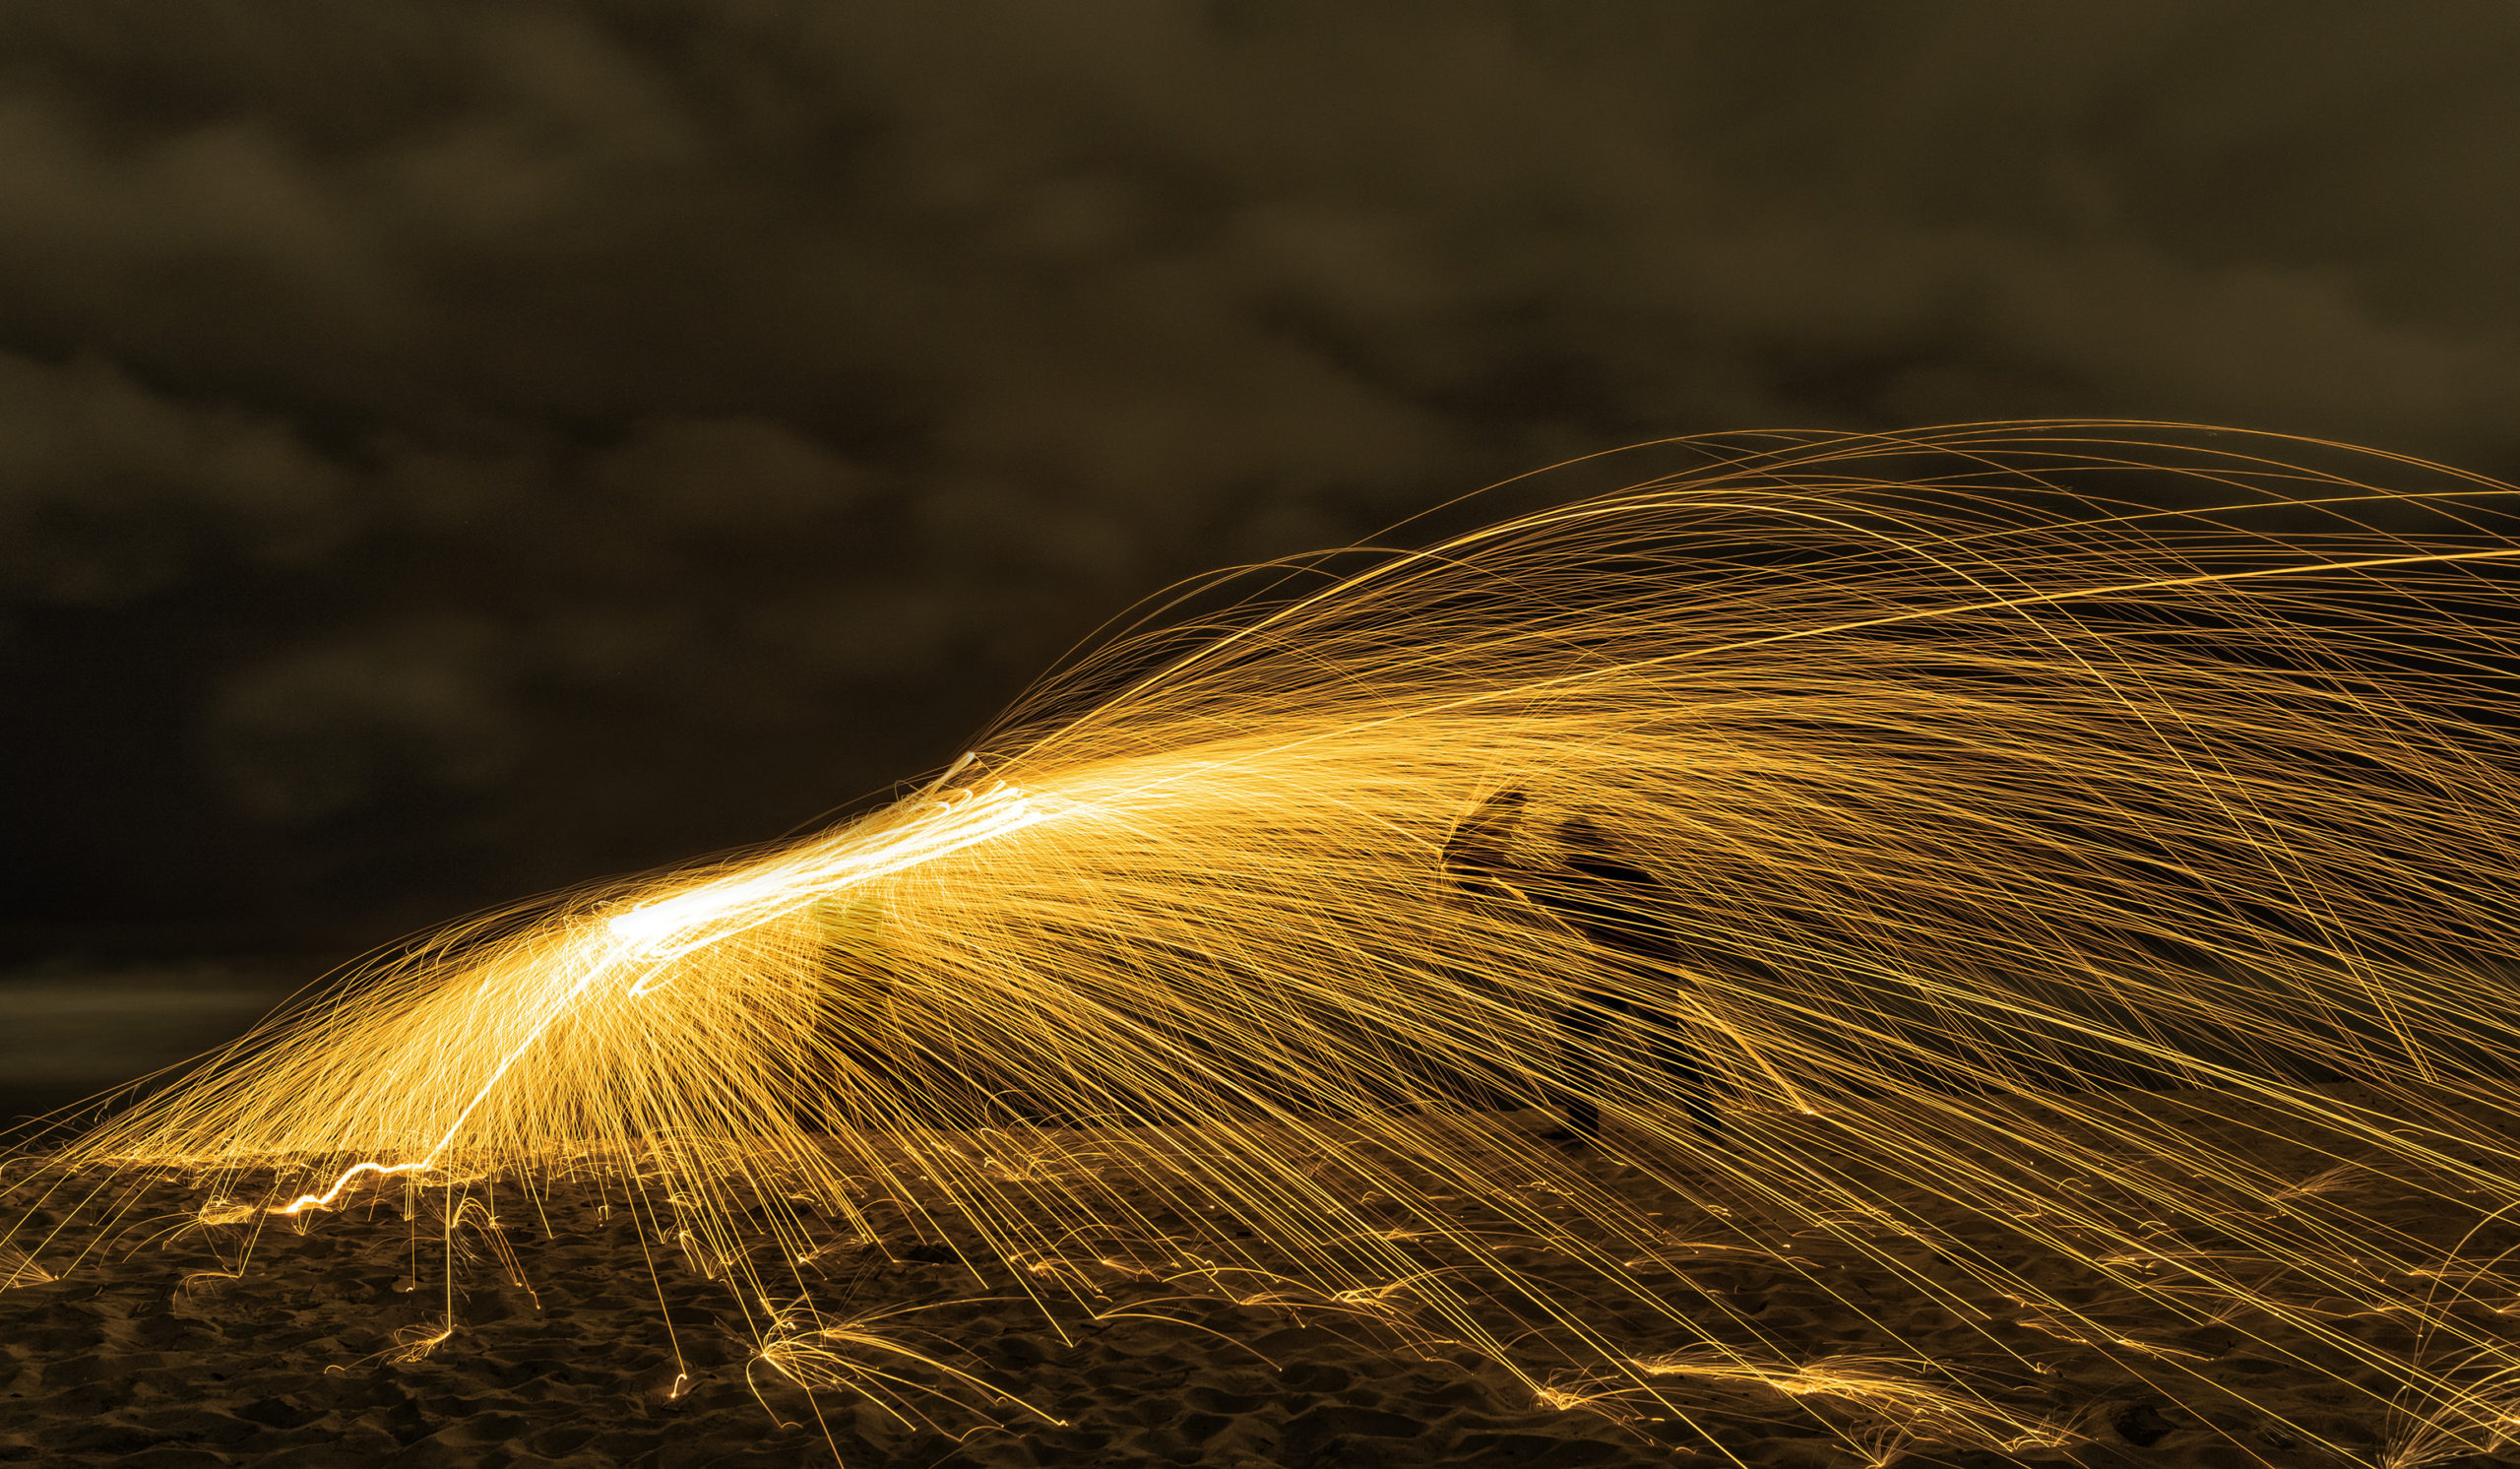
4. Once the steel wool is lit, it will start to burn. At this time, grab the dog leash and start spinning it any way you like. Sparks will start to fly around you. A normal amount of steel wool takes about 20 seconds to burn all the way through.
With 2 packs of steel wool, I was able to take 30 different images (30 different attempts). Hopefully, that gives you an estimate for how many shots you can take and how much steel wool you should buy.
Camera Settings
Shutter Speed
A shutter speed of 20 – 30 seconds will ensure that you capture the full length of the embers flying through the air.
Aperture
An aperture of F/8 – F/16 will keep your foreground and light streaks sharp.
ISO
An ISO of 100 – 200 will ensure that you do not lose any detail in the embers.
Shoot RAW
Shooting RAW will allow you to maintain all of the data in the image, giving you flexibility when editing.
White Balance
Choosing Shade or Cloudy will make the orange glow of the embers prominent and save you time when post-processing the images.
Being Safe
Before the person ignites the steel wool, make sure that you, your camera, and any other people are far enough way. Trust me, those embers will fly high and far. Multiple times, I have made the mistake of being too close and having to frantically run backward as embers started flying at me.
Before you try spinning with fire, practice with just the leash and whisk. Make sure you have your movement down and can maintain it for 20 – 30 seconds. If you are photographing with other people be sure to communicate what you are going to do so they know where they need to position themselves.
Get Creative
Besides being safe, have fun! Unleash your creativity and try out different spins and techniques.
You can walk backwards while spinning, go in circles, move side to side, or do the classic lasso.
If you really want to get creative, add props into the scene. A popular method is to have someone hold an umbrella (hopefully one that you don’t care about getting ruined) and pretend it’s raining.
If you are in a group, ask around, and come up with unique ideas. The picture is only as great as the creativity behind it!
Have fun, be safe, and keep photographing!