Shutter remotes can be an extremely valuable tool that can help you elevate your images and your overall whole photographic process!
Shutter remotes, or intervalometers, allow you to control your camera without actually touching it. This feature can be very helpful in many cases and can save a lot of time in the long run.
Once you know how to use shutter remotes to their fullest potential, you will be able to confidently take amazing images, time and time again!
Helpful Tips
Before we get into all of the technical aspects, I want to give you some helpful tips I wish I would’ve known in the beginning.
First off, shutter remotes/intervalometers, require 2 AAA Batteries. There is no on and off switch on the remote. Once the batteries go in, the remote is automatically turned on. The only way to “turn off” the shutter remote is to remove the batteries.
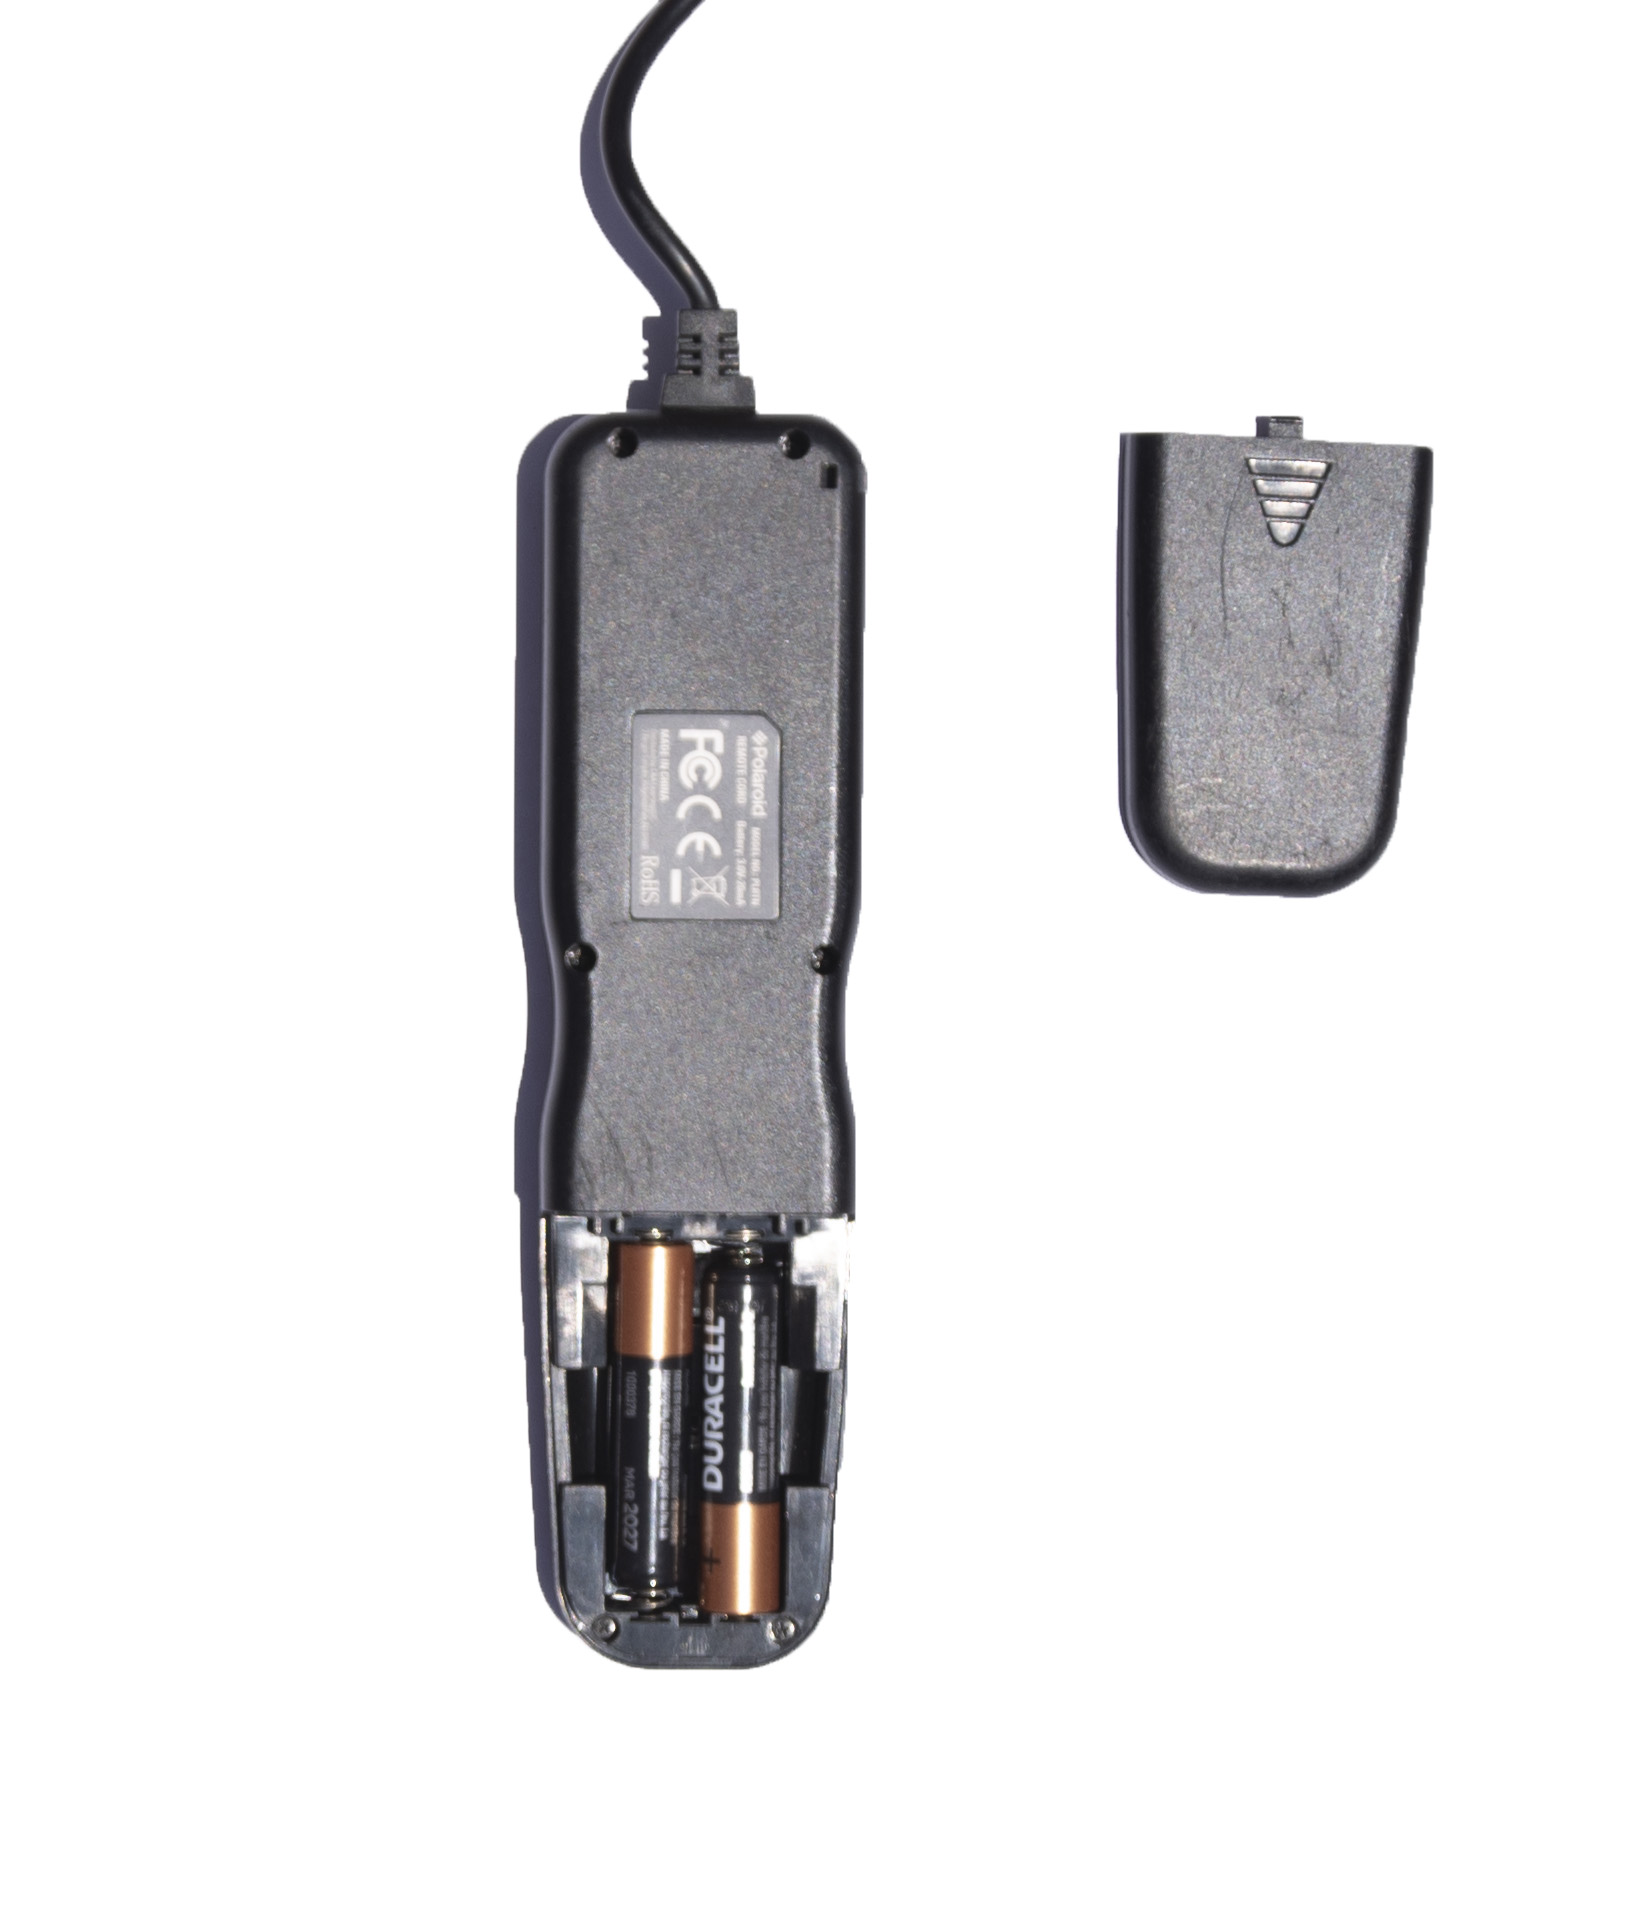
If you are going on a trip, I recommend bringing a bag full of AAA Batteries so you can use your remote at any instant.
The second tip is before you buy a shutter remote, ALWAYS make sure that it matches your camera model. The remote plugs into the side of your camera, and of course for some reason, each camera model and manufacturer has a different port.
So always make sure the remote you’re about to buy is compatible with your camera!
Also, if you search “intervalometer” on Amazon, you might come across a $100 one. YOU DO NOT need to buy these! The $20 – $30 ones are perfectly fine! In fact, I still use my $25 shutter remote that I bought about 3 years ago.
When to use one?
Shutter remotes can be used in a number of situations.
To obtain sharper photos
Shutter remotes can be an amazing tool to capture sharp images. They function as an alternative to the self-timer mode on your camera. Not only do you have to actually wait for the self-timer to count down (wasting your time), you are also pressing down on the camera.
The seconds that pass from when you press the shutter button to when the image is taken might not be enough time to minimize all of the shakes.
A shutter remote removes both of these concerns. Once you click the button on the remote, the picture is taken. No waiting, nothing.
You also never touch the camera, hence the name shutter “remote.”
To take a timelapse or self-portrait
The other main function of a shutter remote is to take a timelapse. Although some cameras have a timelapse mode built into them, using a shutter remote makes the whole process a lot easier.
And if your camera doesn’t have a timelapse mode, then a trusty shutter remote is to the rescue!
Another area where intervalometers come in handy is for self-portraits. Let’s say you’re out in nature, all alone, and see a really cool vantage point. You can just imagine how cool it would look for you to stare out into the vast landscape! But there’s one problem… no one else is around to take the picture for you.
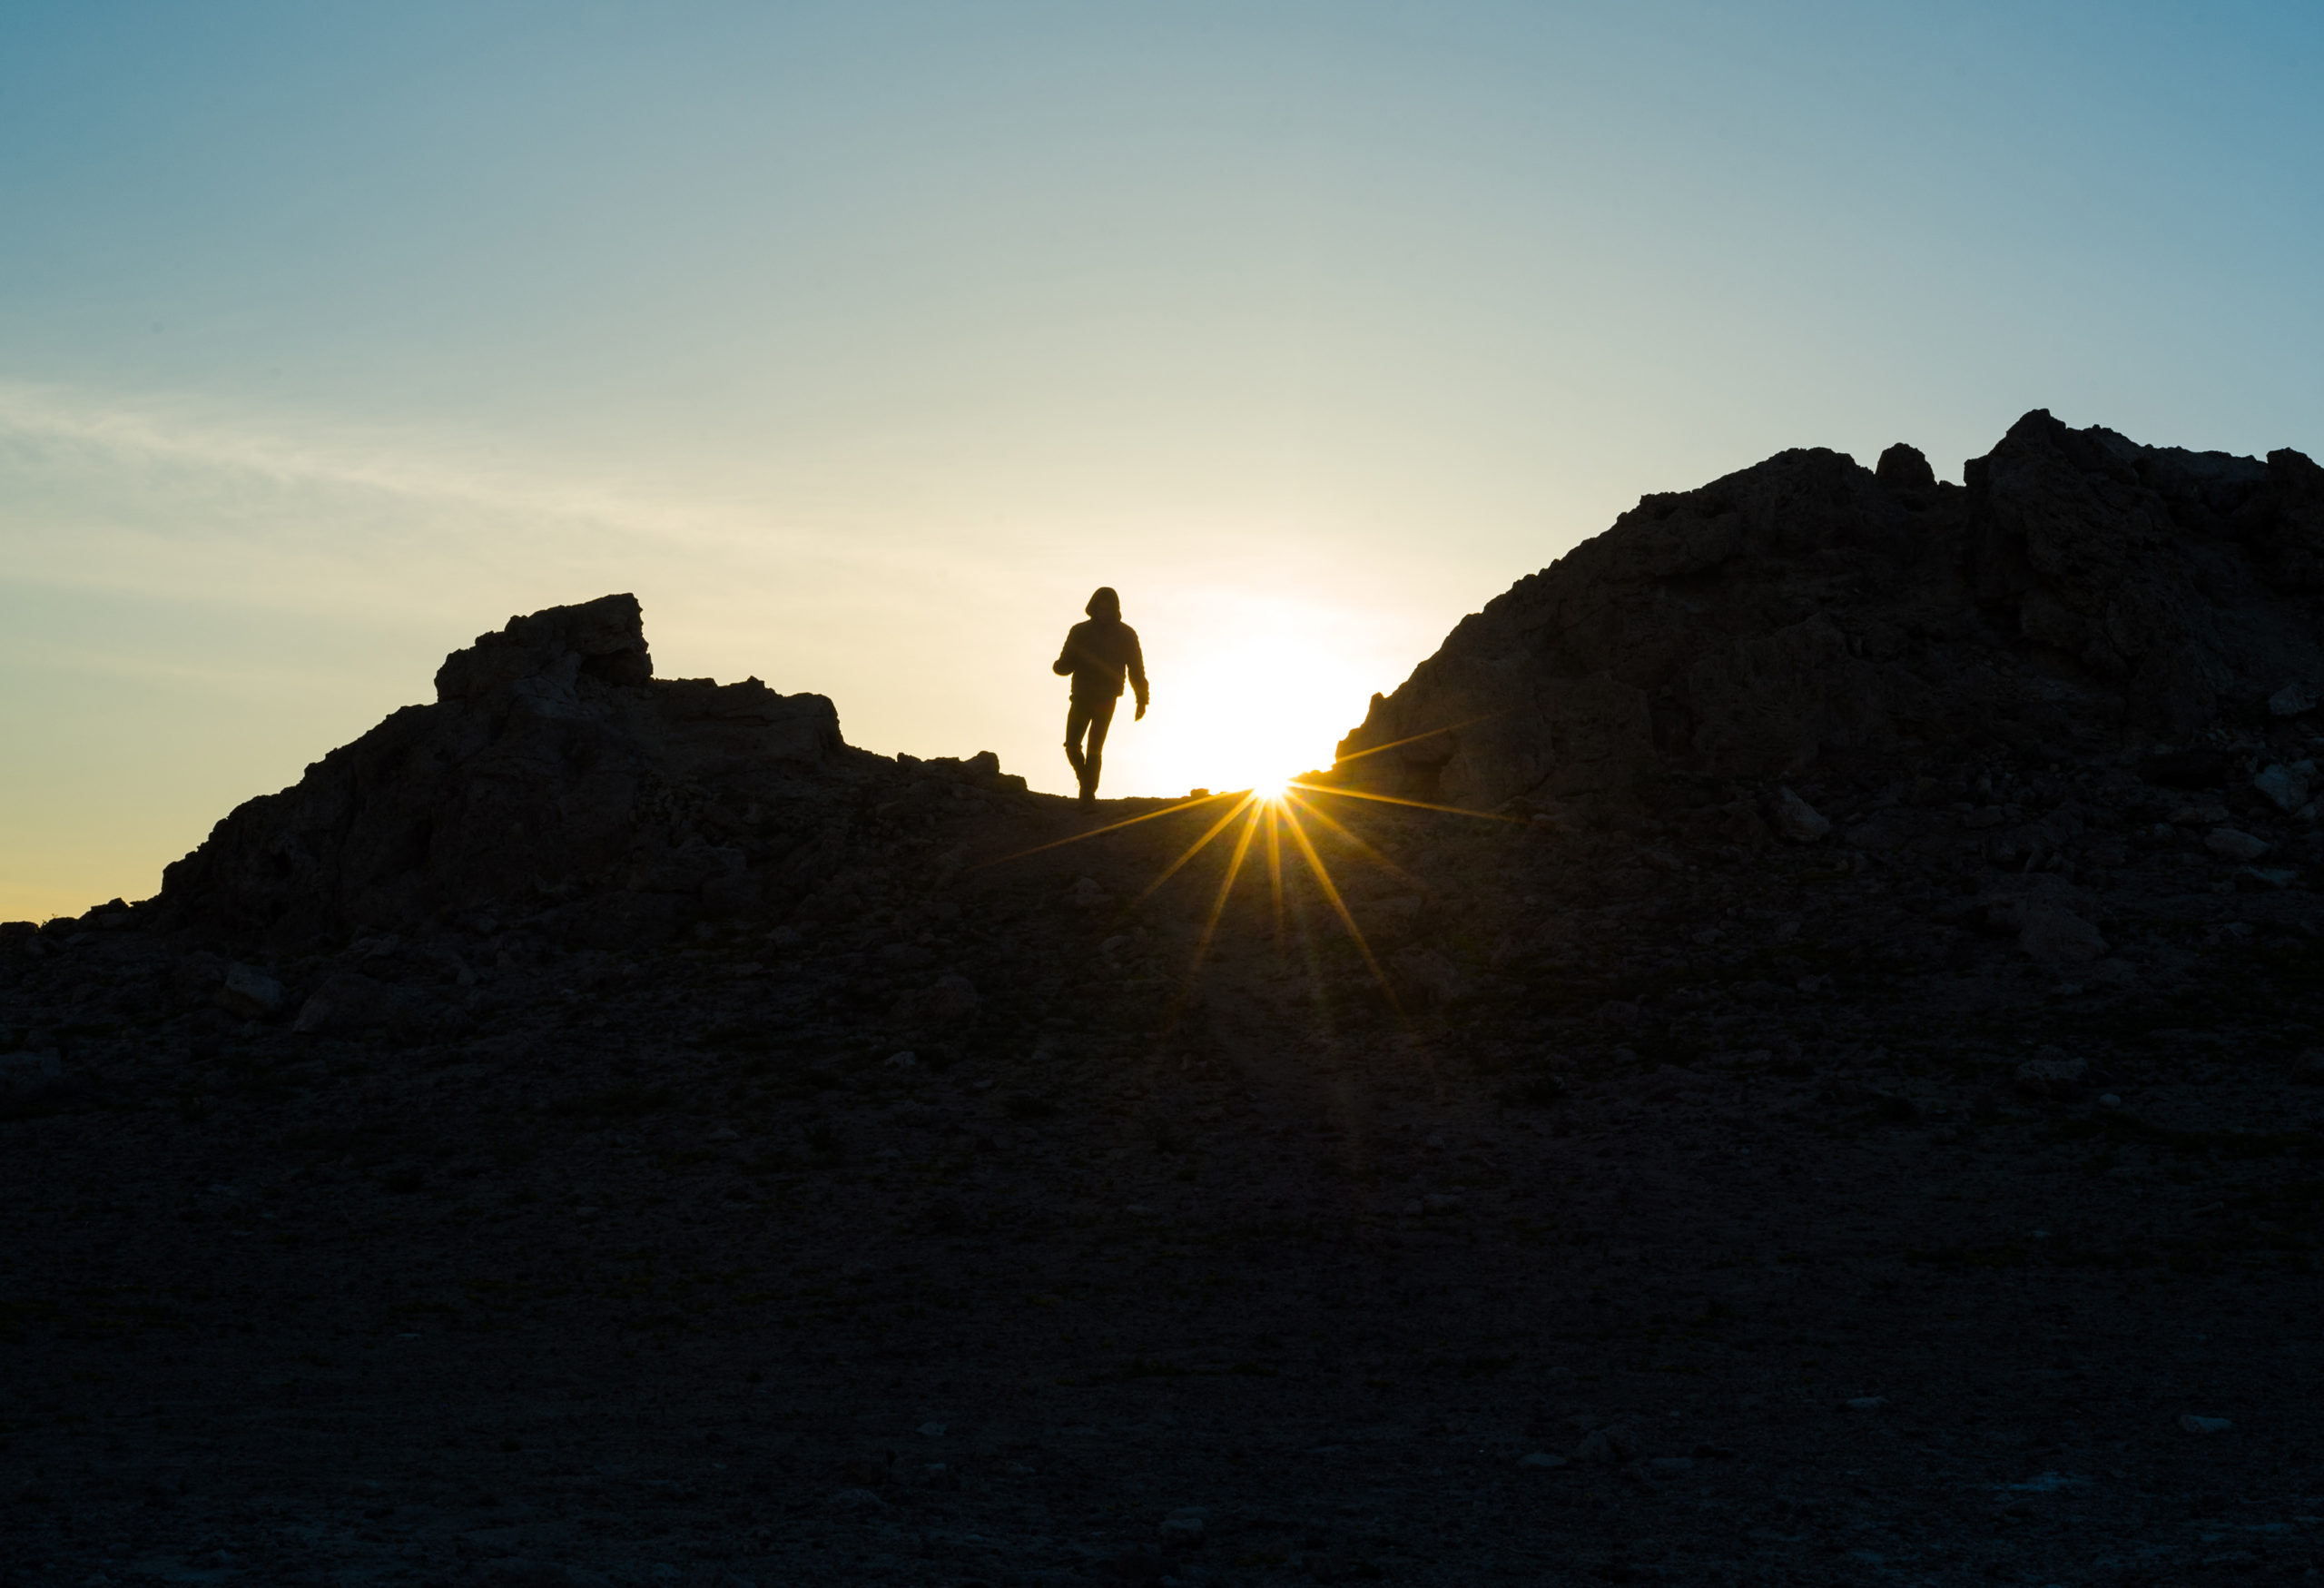
This is where a shutter remote can come in! Set it up just like a timelapse (I’ll explain more below), set your interval (also explained below), to 1 second, and snap away. 99% of the images will be of you just walking to the spot, but once you’re in position, the camera will capture the moment perfectly!
What do the buttons and display mean?
Now for the fun part, to find out what all of those buttons and options on the display mean! Once you learn these, you will have full control of your shutter remote and the possibilities will be limitless!
Starting with the display, I’ll go left to right through all of the options and tell you what they all do.
DELAY
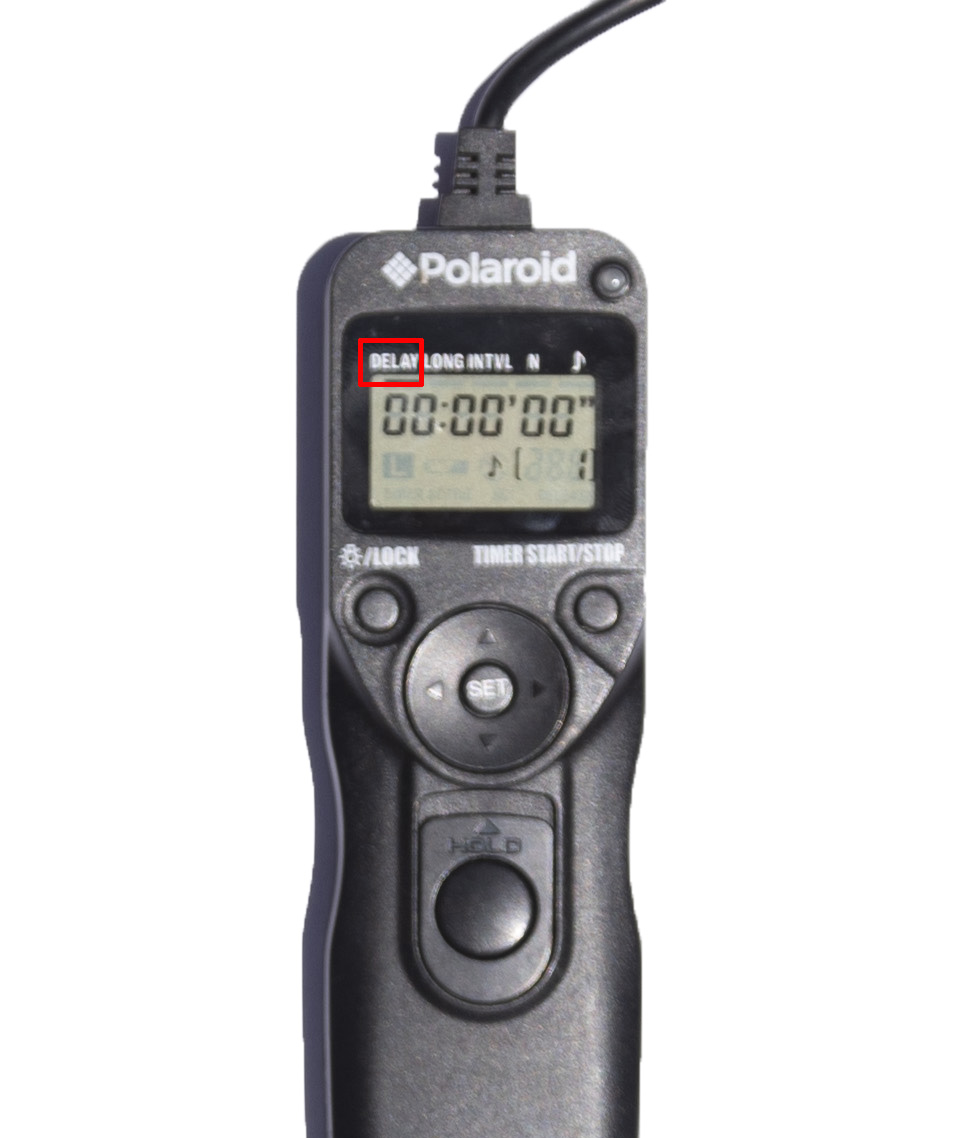
Delay is the option to delay your photos… no surprise there. Basically, the number (or time) you put into that slot is the length the timer will count down until it takes a photo.
You can think of delay as the self-timer function on your camera. But in this case, you can use delay for other situations instead of reducing camera shake. You could use it to take a self-portrait, family portrait, or use it to take pictures at the exact time you want to take pictures.
If you know the sun is going to rise in 20 minutes, instead of starting a timelapse now, just set the delay to 15 or 20 minutes. Once it counts down, the shutter remote will automatically start taking pictures!
LONG
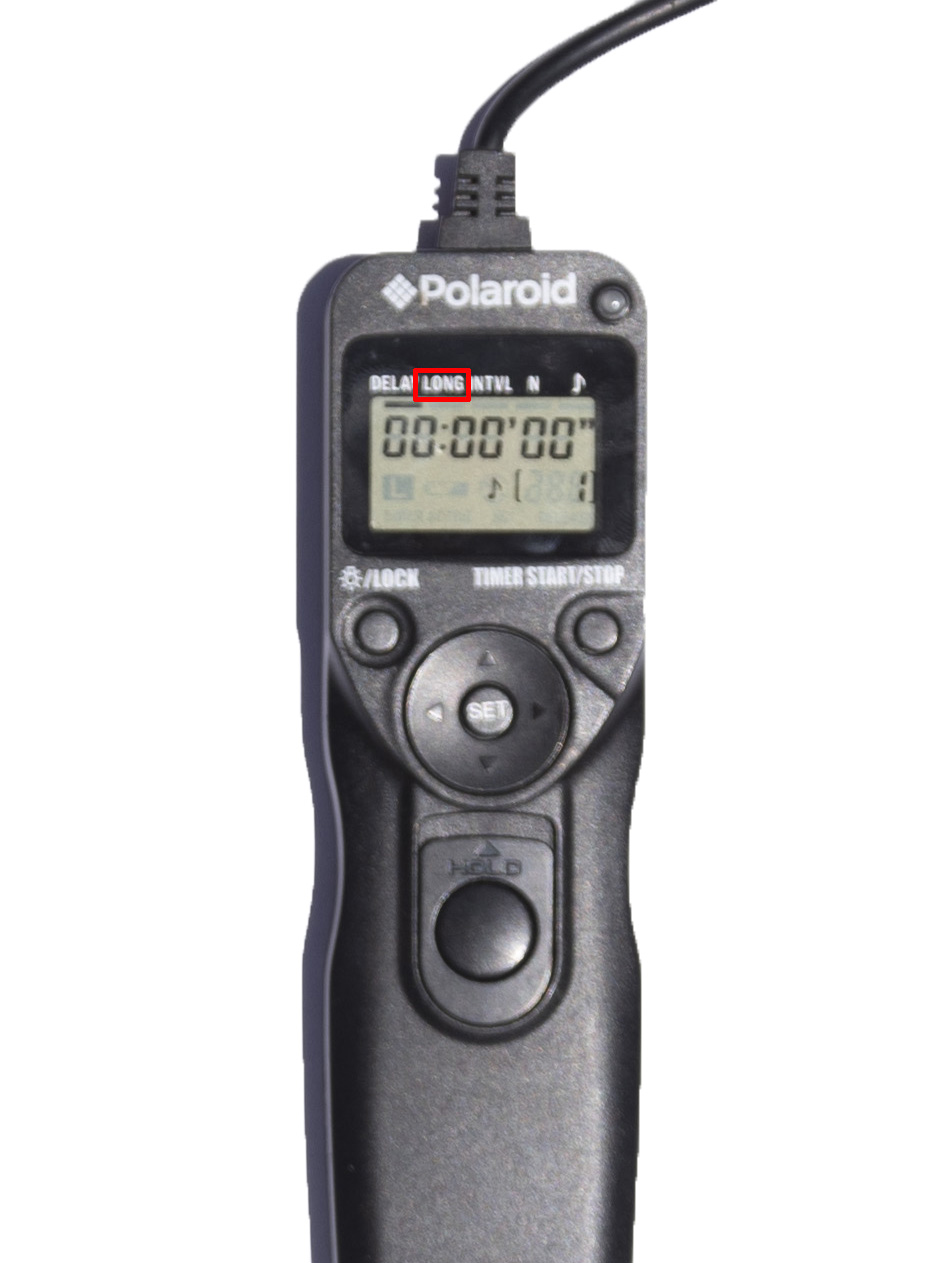
The Long function equivalates to the shutter speed of the camera. However, this mode is only valuable if the shutter speed is over 1 second.
So if you set the Long function to 45 seconds, the exposure will be 45 seconds.
INTVL
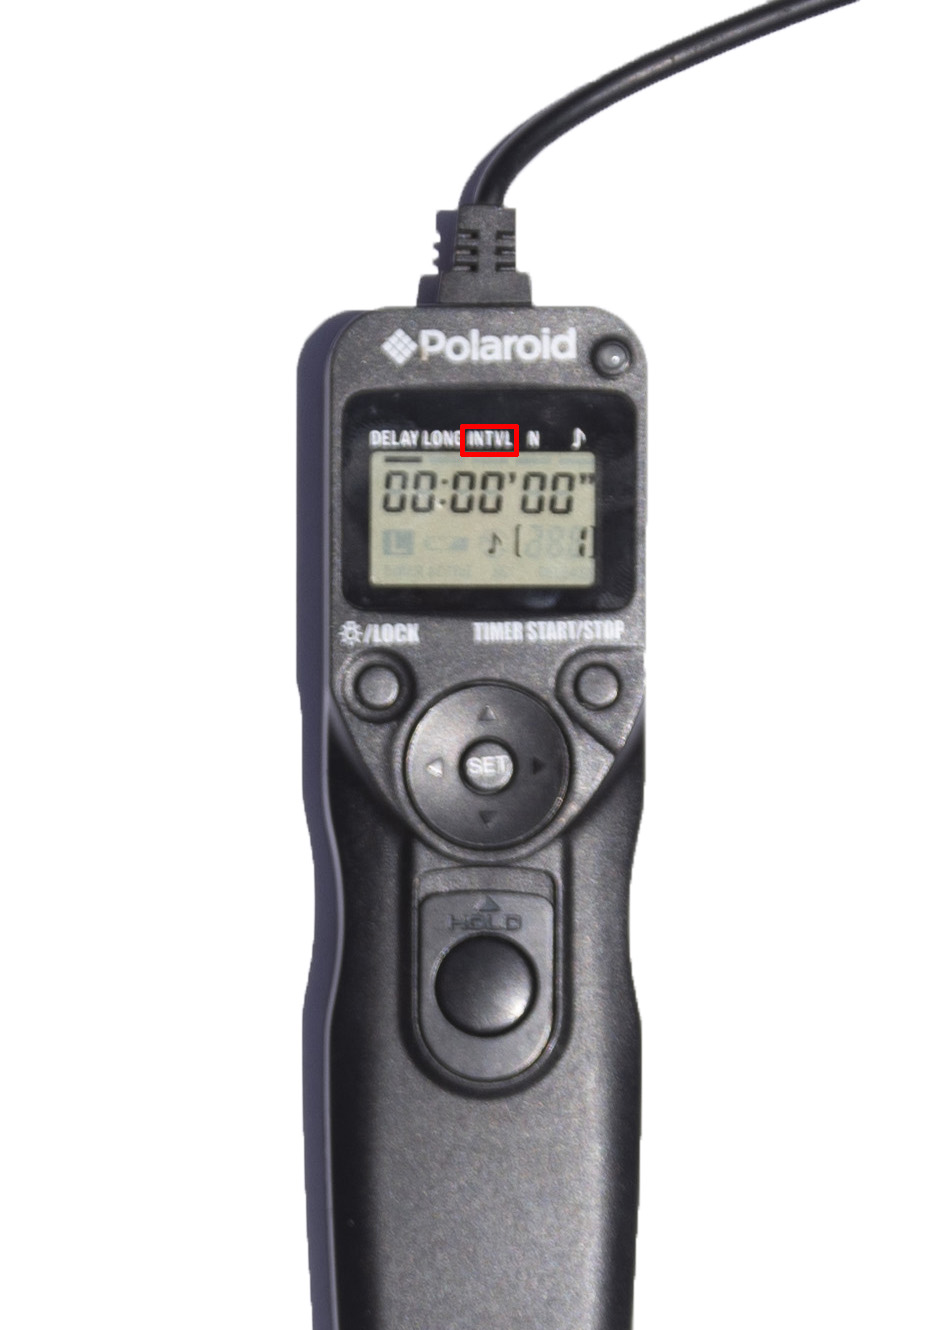
This is probably one of the most important functions on a shutter remote (besides the actual shutter button obviously).
The interval is the time between two shots.
You can have intervals range anywhere from 1 second to a few minutes or even a few hours!
The way you decide on a correct interval is to know the situation you will be shooting. Intervals are very important in timelapse photography because they control the flow of the resulting video.
An easy way to simplify different intervals is the faster the motion (people walking on streets, cleaning your house) the smaller the interval – like 1 – 5 seconds. The longer the motion (stars rotating, slow-moving clouds) the longer the interval – like 20 – 30 seconds and beyond.
If you read my article on capturing star trails, you will know that an interval of 1 second is best. But Adam didn’t you just say to use a longer interval for photographing stars rotate across the sky? Yes, but since you are using around a 30 seconde exposure time to take ONE picture of the stars, only having a 1-second interval will still act as having roughly 30 seconds in between shots.
N
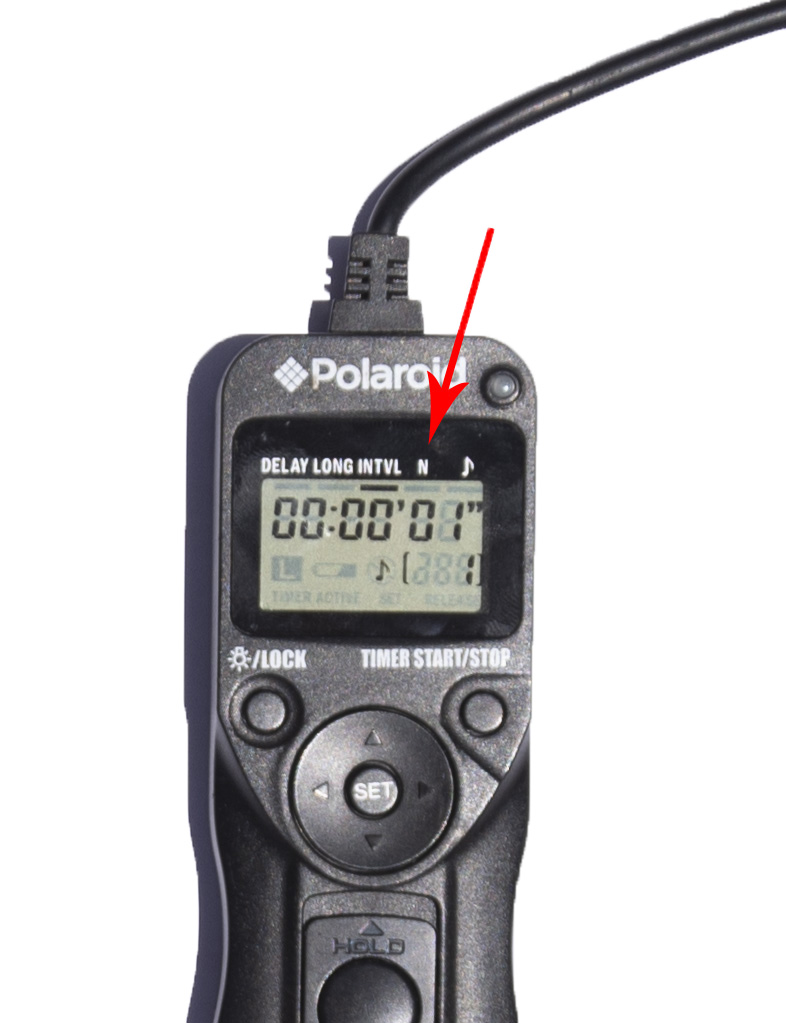
The N stands for the number of shots. If you are only planning on taking 50 images of a scene, set N to 50. There is also an infinity option (looks like –), which I personally always set N too.
This means that the only time the camera will stop taking pictures is if the battery dies or the SD card runs out of storage. For me, having the number of shots set to infinity allows me to not have to worry when to stop the timelapse.
♪
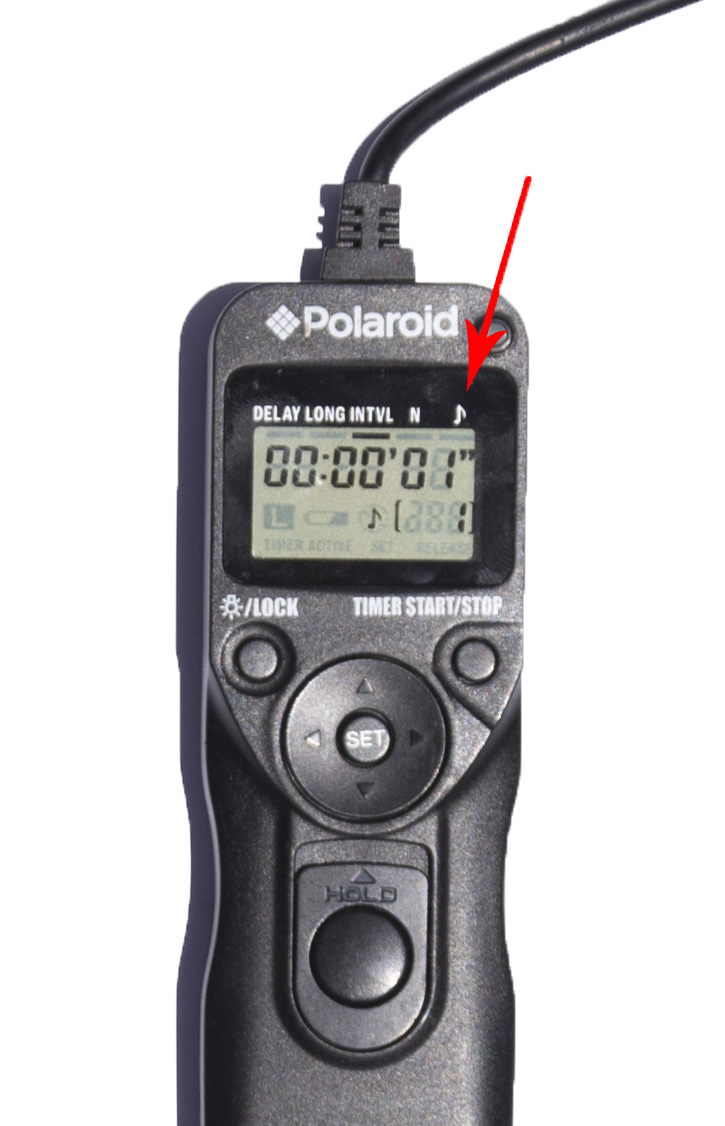
This music symbol is just the beeping sound the shutter remote makes every time it takes a picture. If you don’t want the intervalometer to make a sound, you can simply choose the crossed-out music symbol.
Having the sound on can waste the battery on intervalometers and can become very irritating very quickly. The only times I have it on are to confirm that the shutter remote still has a battery in it and is continuing to take pictures.
Timer Start/Stop
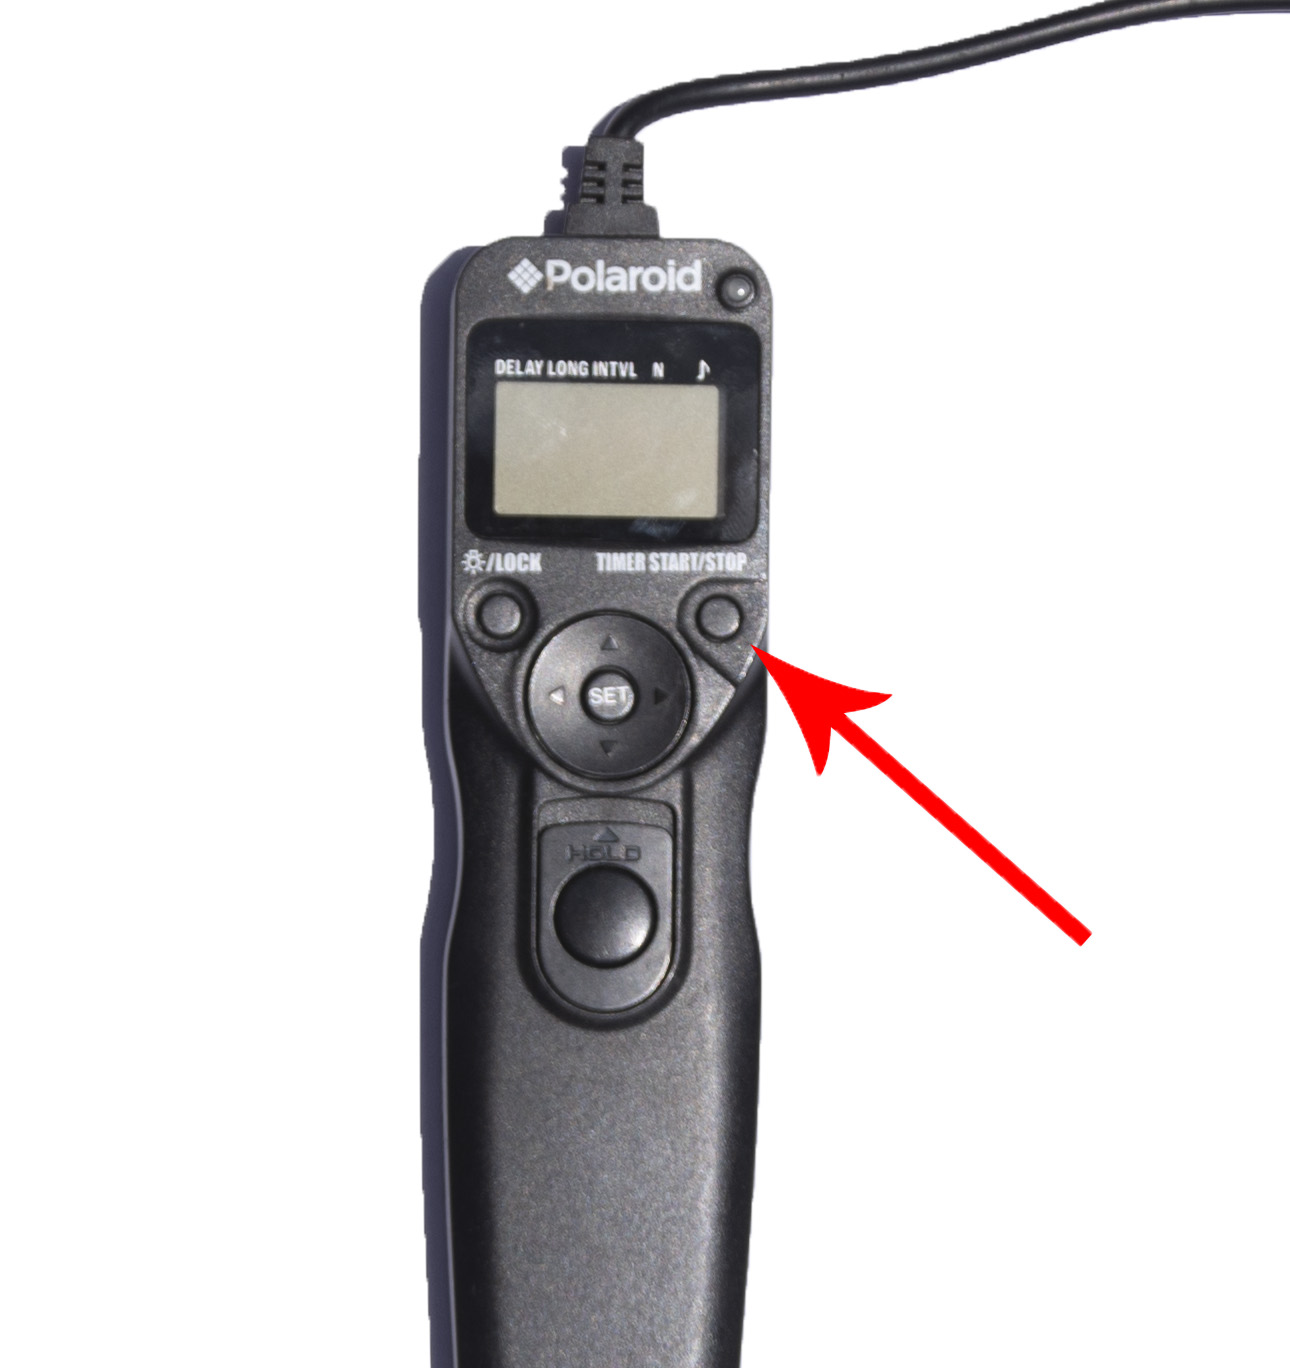
Moving down and to the right of the screen, you will see a start/stop button. This is the button you will press if you want to either start or stop a timelapse.
Only press this button once you have all of your settings configured in the remote.
Light/Lock Button
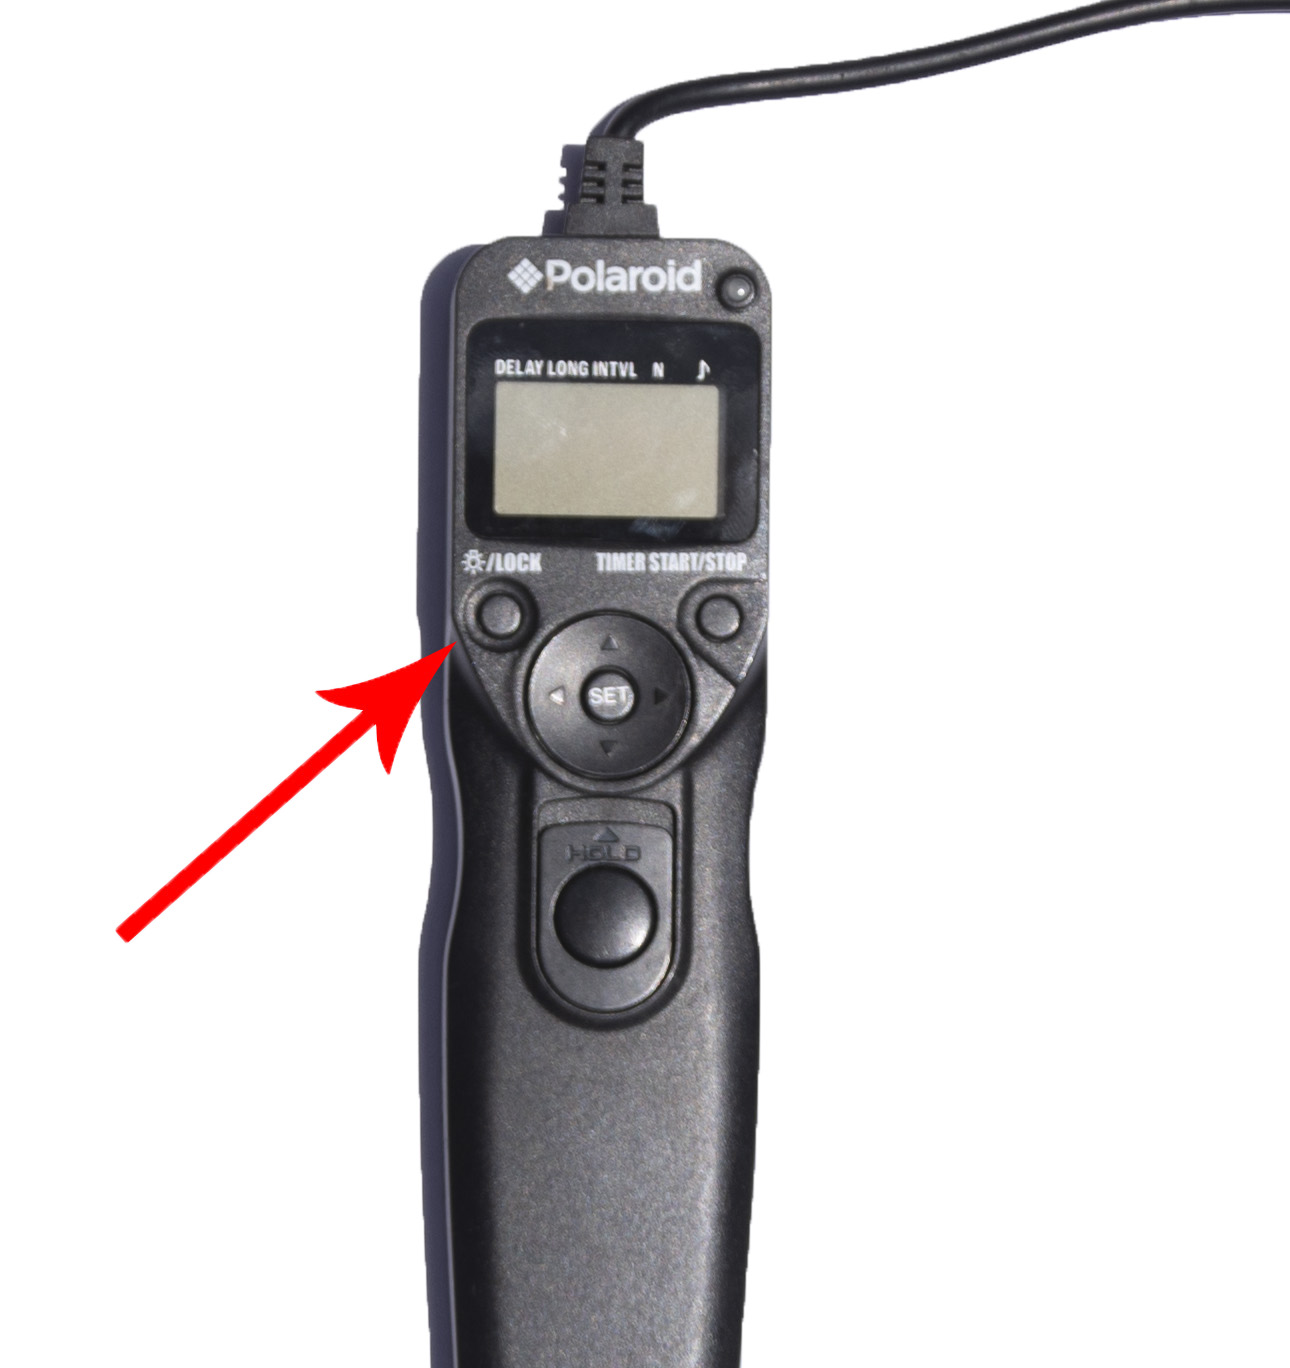
The light symbol on the top left is a button you can press at night to illuminate the screen. If you hold the button, it will lock all of the settings.
The Directional Pad
The directional pad is how you will move from Delay to Long etc. on the screen. After you change a setting, press SET before moving to the next option.
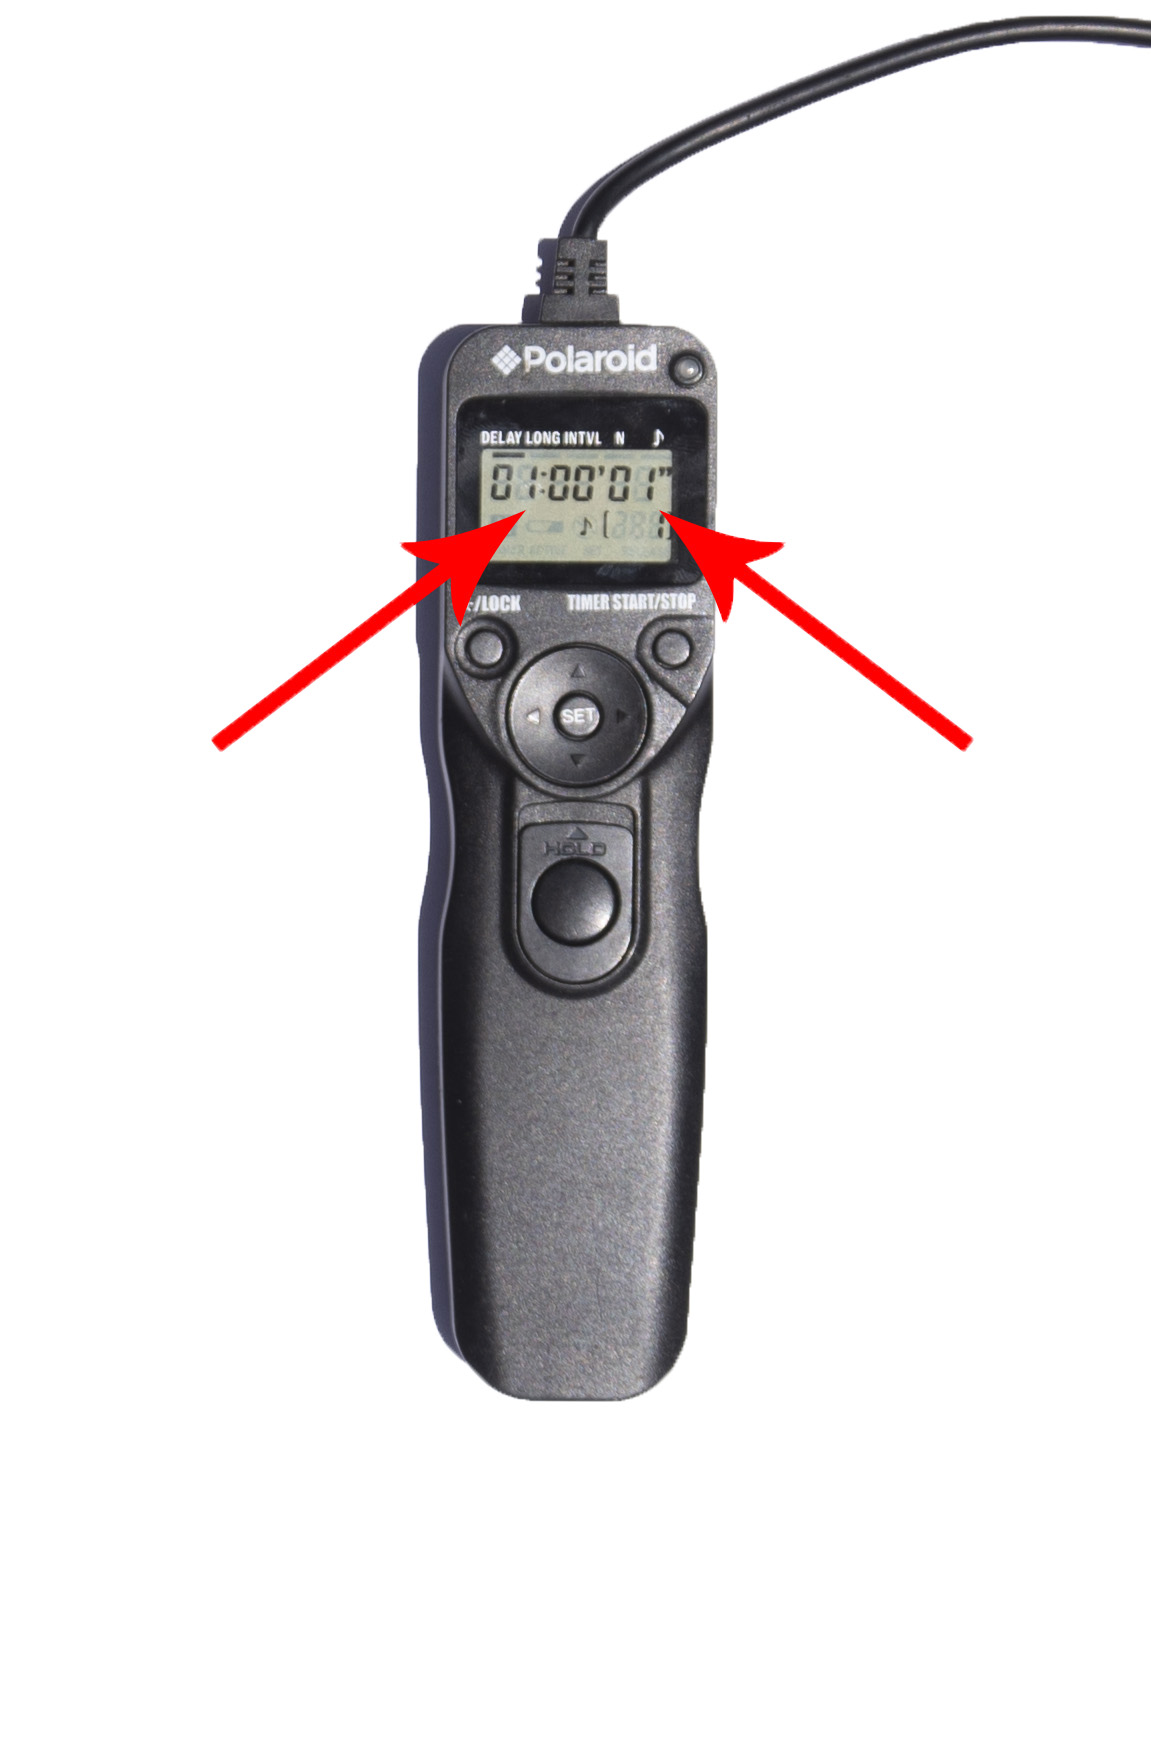
The left side represents hours and the right side represents seconds.
A tip here is to make sure you are setting the correct time. The shutter remote gives you the option of choosing between seconds, minutes, and hours, with seconds being on the right, and hours being on the left. I have made the mistake multiple times of assuming I set my interval for 1 second when in reality I set it for 1 hour. Always check to make sure your settings are correct!
Shutter Button
The shutter button is pretty self-explanatory as it is the button that allows you to take a picture while not having to actually touch your camera.
You will also notice a HOLD option, where you can hold down on the shutter button and slide up. Once you do this, the button will lock into place and an exposure will be taken for as long as you want.

Once you slide the button up, you will see a timer on the screen showing you how long the exposure has been so far. This is a great function to have so you don’t have to take out a timer to see how long the exposure has been going for.
Now that you know how to properly use your shutter button, go take some awesome images and timelapses, stay safe, and have fun!