Please note: I was sent this product for free to test out and review. All of my thoughts on the product and company are my own.
As a photographer, color is everything. It helps us, the artist, describe how we’re feeling through our images. The colors in our photos are what allow us to express our art into the world and redefine the scene the way we remember it.
Colors are extremely important in bringing emotion into the photograph/video and having our creativity and perspective represented in the piece of artwork.
I believe the need for color management in photography/videography is absolutely necessary.
That is why it is crucial to get a color calibration device for your laptop and/or monitor display. Personally, when deciding what device I wanted to use, I chose the Calibrite ColorChecker Display, and I loved it!
The Calibrite ColorChecker Display is a great device for artists who are looking for their editing devices to be calibrated with 100% certainty!
Unlike its predecessor and the more expensive Calibrite ColorChecker Display Pro model, it has limited measurement speed but simpler software.
Calibrite Products vs X-Rite: What’s the difference?
Now, if you’re confused as to why you haven’t heard of Calibrite devices, it is because they transitioned from their original company, X-Rite.
If in the past, you have researched any device calibration devices, you most likely had x-rite devices appearing in your search.
Calibrite devices are the exact same, just under a different company name.
The software is also rebranded, with the i1Profiler software being used on the Pro and Plus versions (now called ccProfiler), and the i1Studio now being called ccStudio (this software is used with the ColorChecker Display).
Now with that, all cleared up, let’s talk about the performance of the ColorChecker Display!
How does the ColorChecker Display work?
The ColorChecker Display can accurately measure colors on projects and monitors and then compare them to a known value.
By using the information from a measured color monitor and the original, it can then create a color profile based on that particular monitor.
It is built to have your monitor deliver accurate colors in all color-managed applications. These apps include Adobe Lightroom, Photoshop, video editing programs, Windows 11, and most web browsers.
By calibrating your device properly, you have a better chance of obtaining a good match between your screen and printer.
Before I explain the setup, I want to give you a little background on my display. I currently have the BenQ SW271 27” 4K Monitor. Depending on your display, you might need to get a different model (i.e. the Pro, Plus, or Studio version).
How to Setup
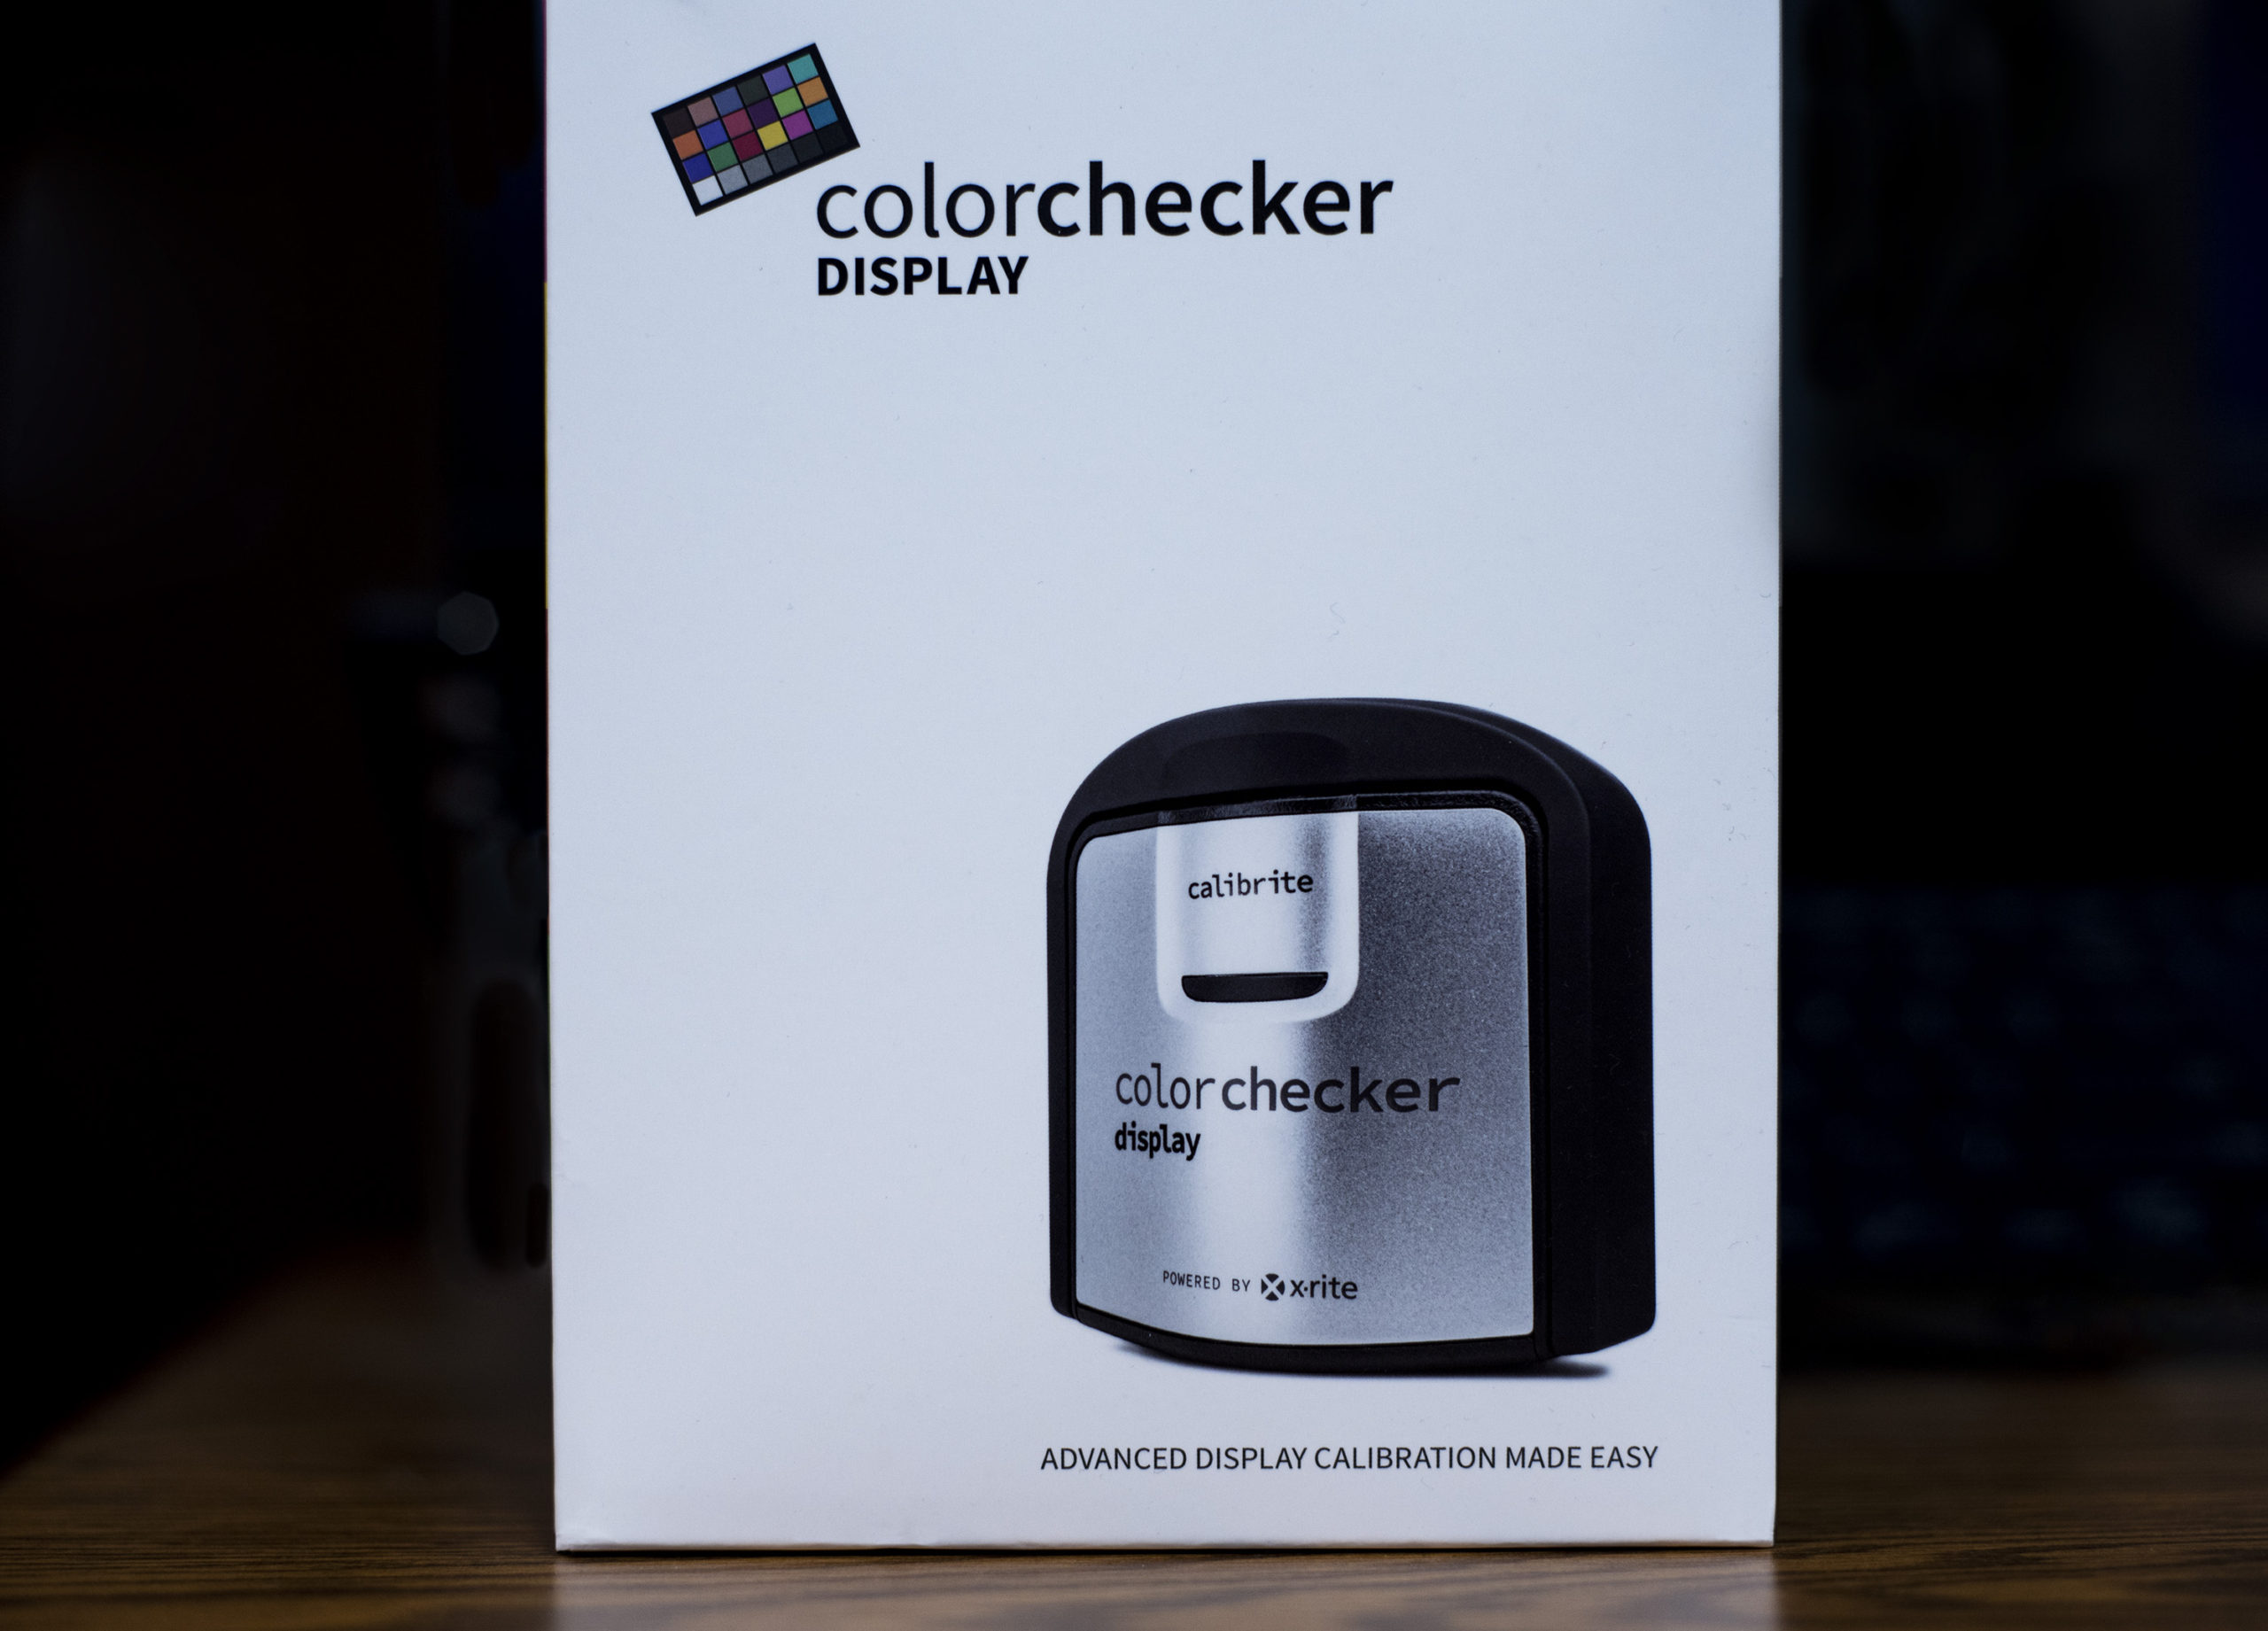
Straight out of the box, you get the ColorChecker Display and a USB cable that attaches to it.
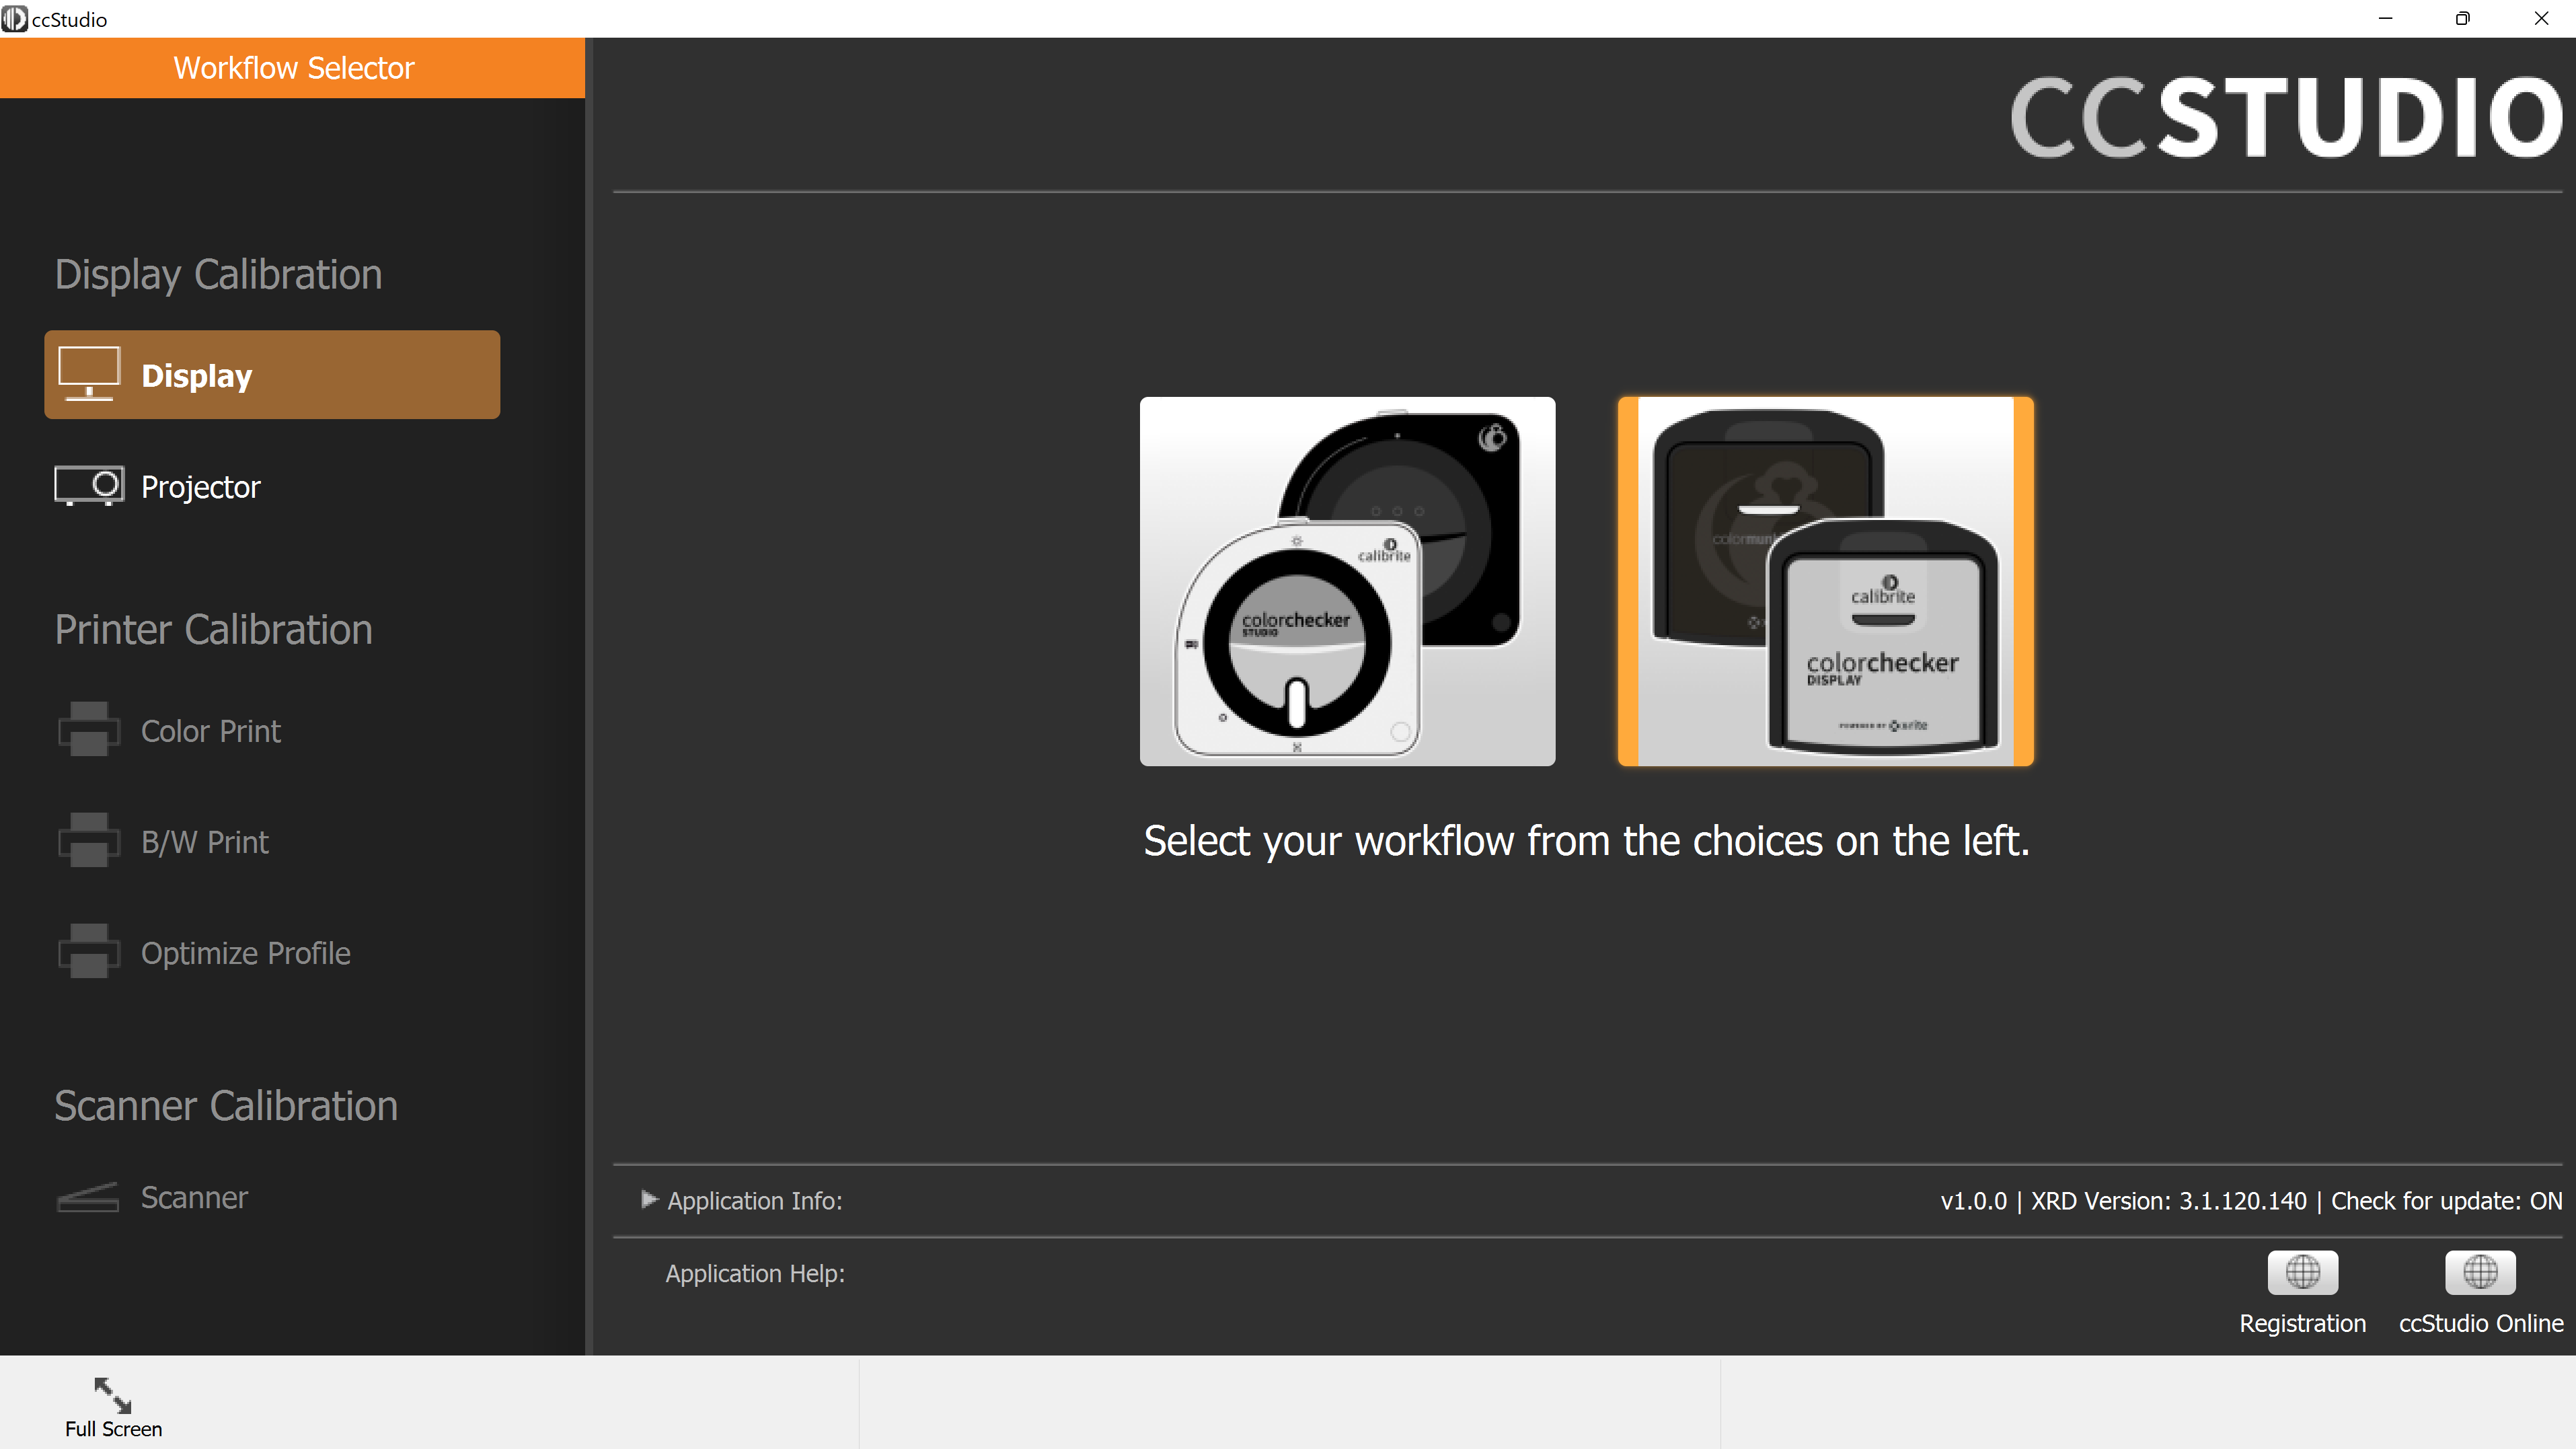
1. On your computer, download the ccStudio software. Once that is launched, plug the device in and open up the software.
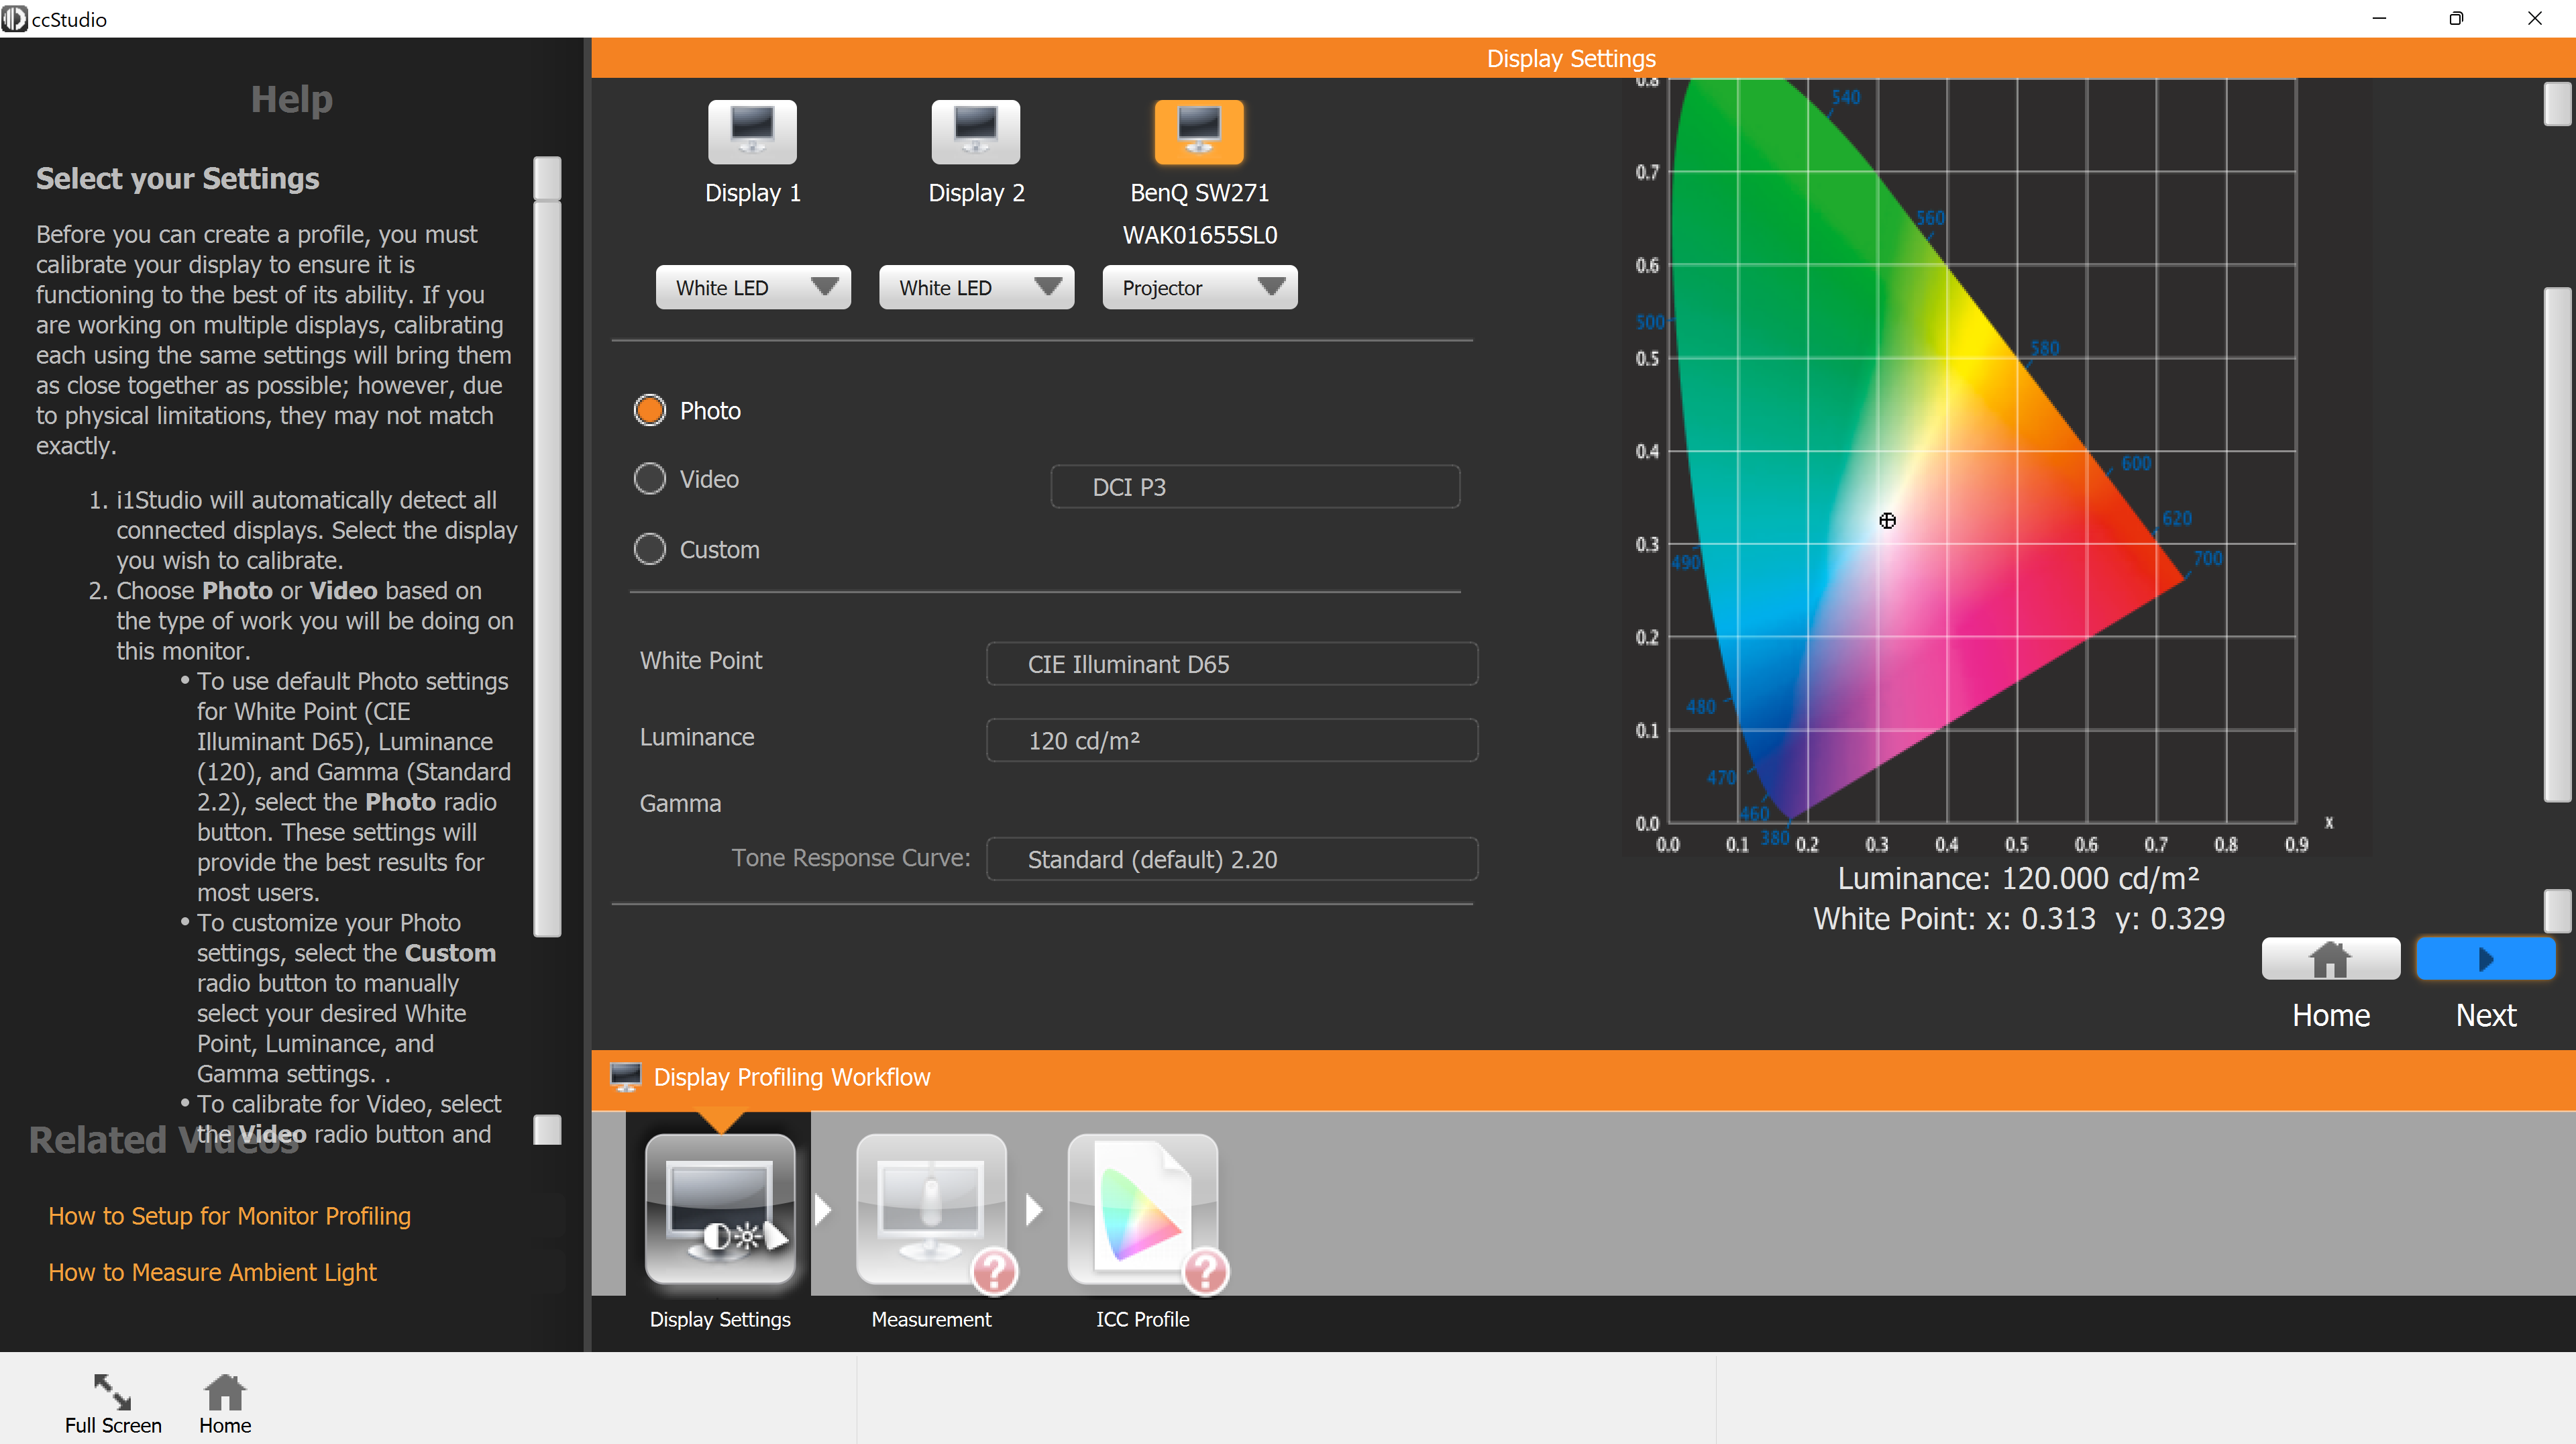
2. After selecting your display, it gives you a few options on what to calibrate it for depending on your needs. Since I mainly do photography, I set it to Photo and it gave me a default value of DCI P3.
3. Once you complete the Quality Indicator, click Next in the bottom left.
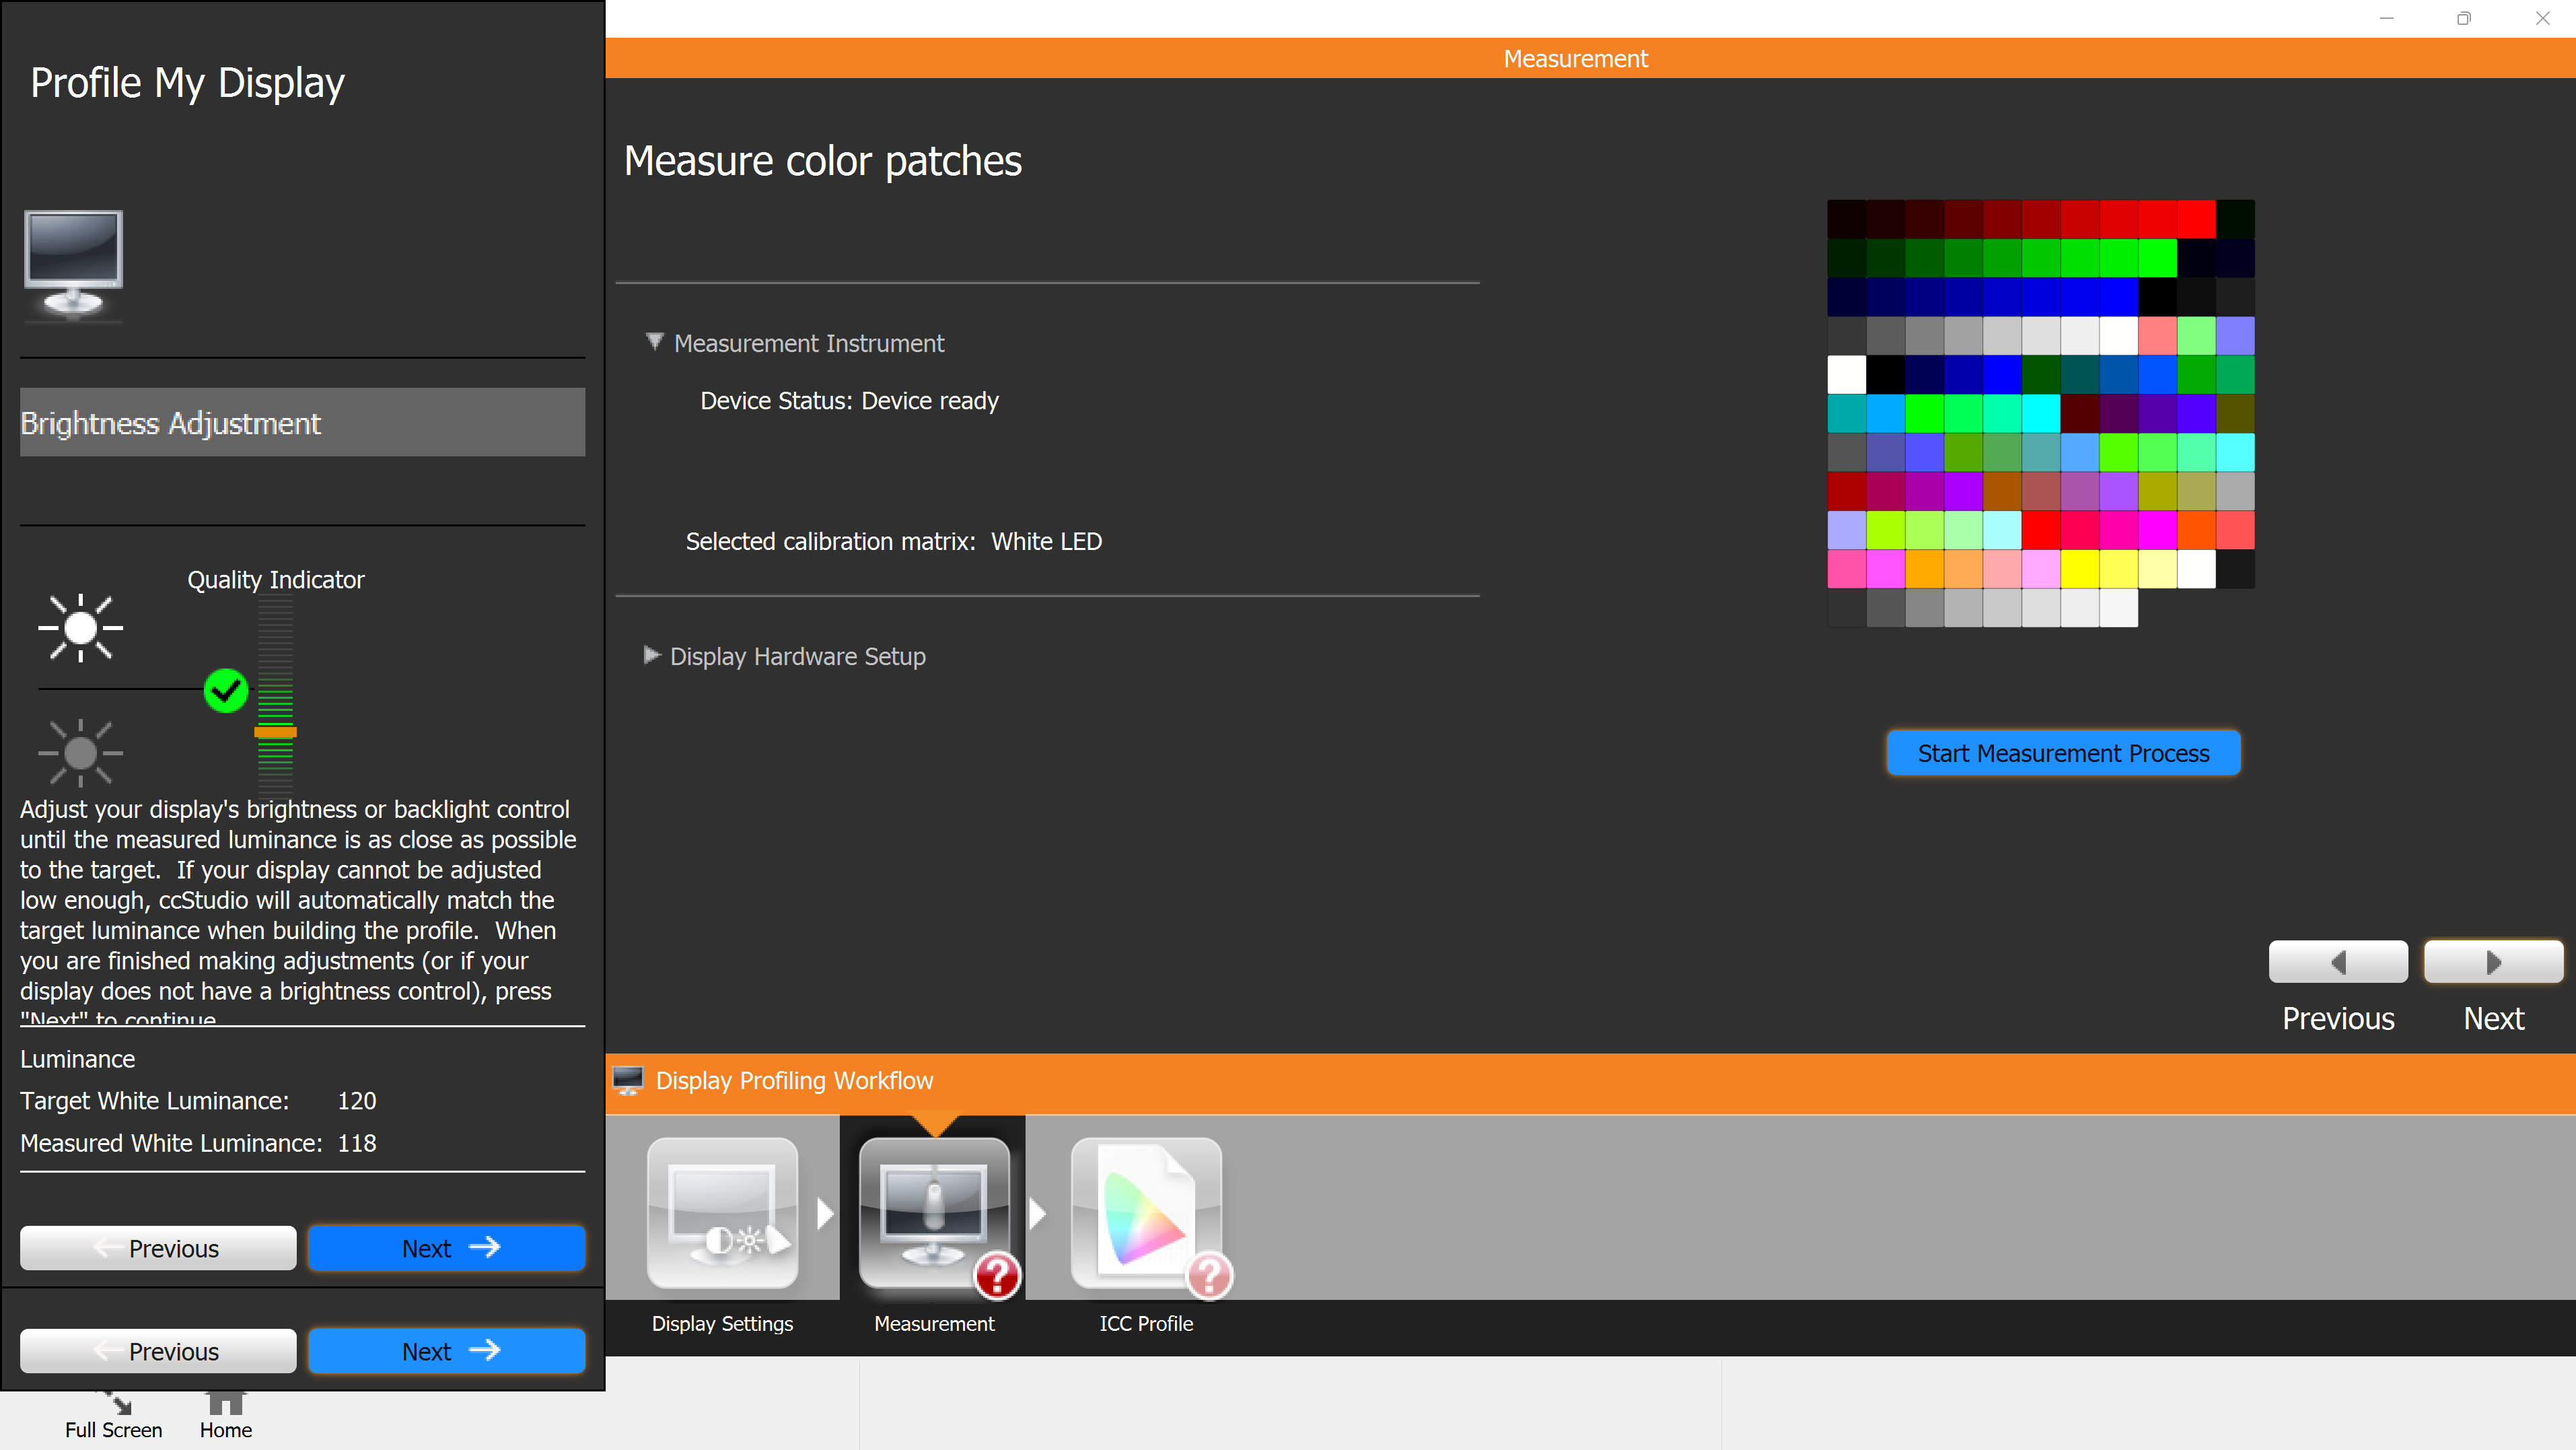
4. Place your calibration device flat on your computer and adjust the weight until the device is lying flat in the center of your screen.

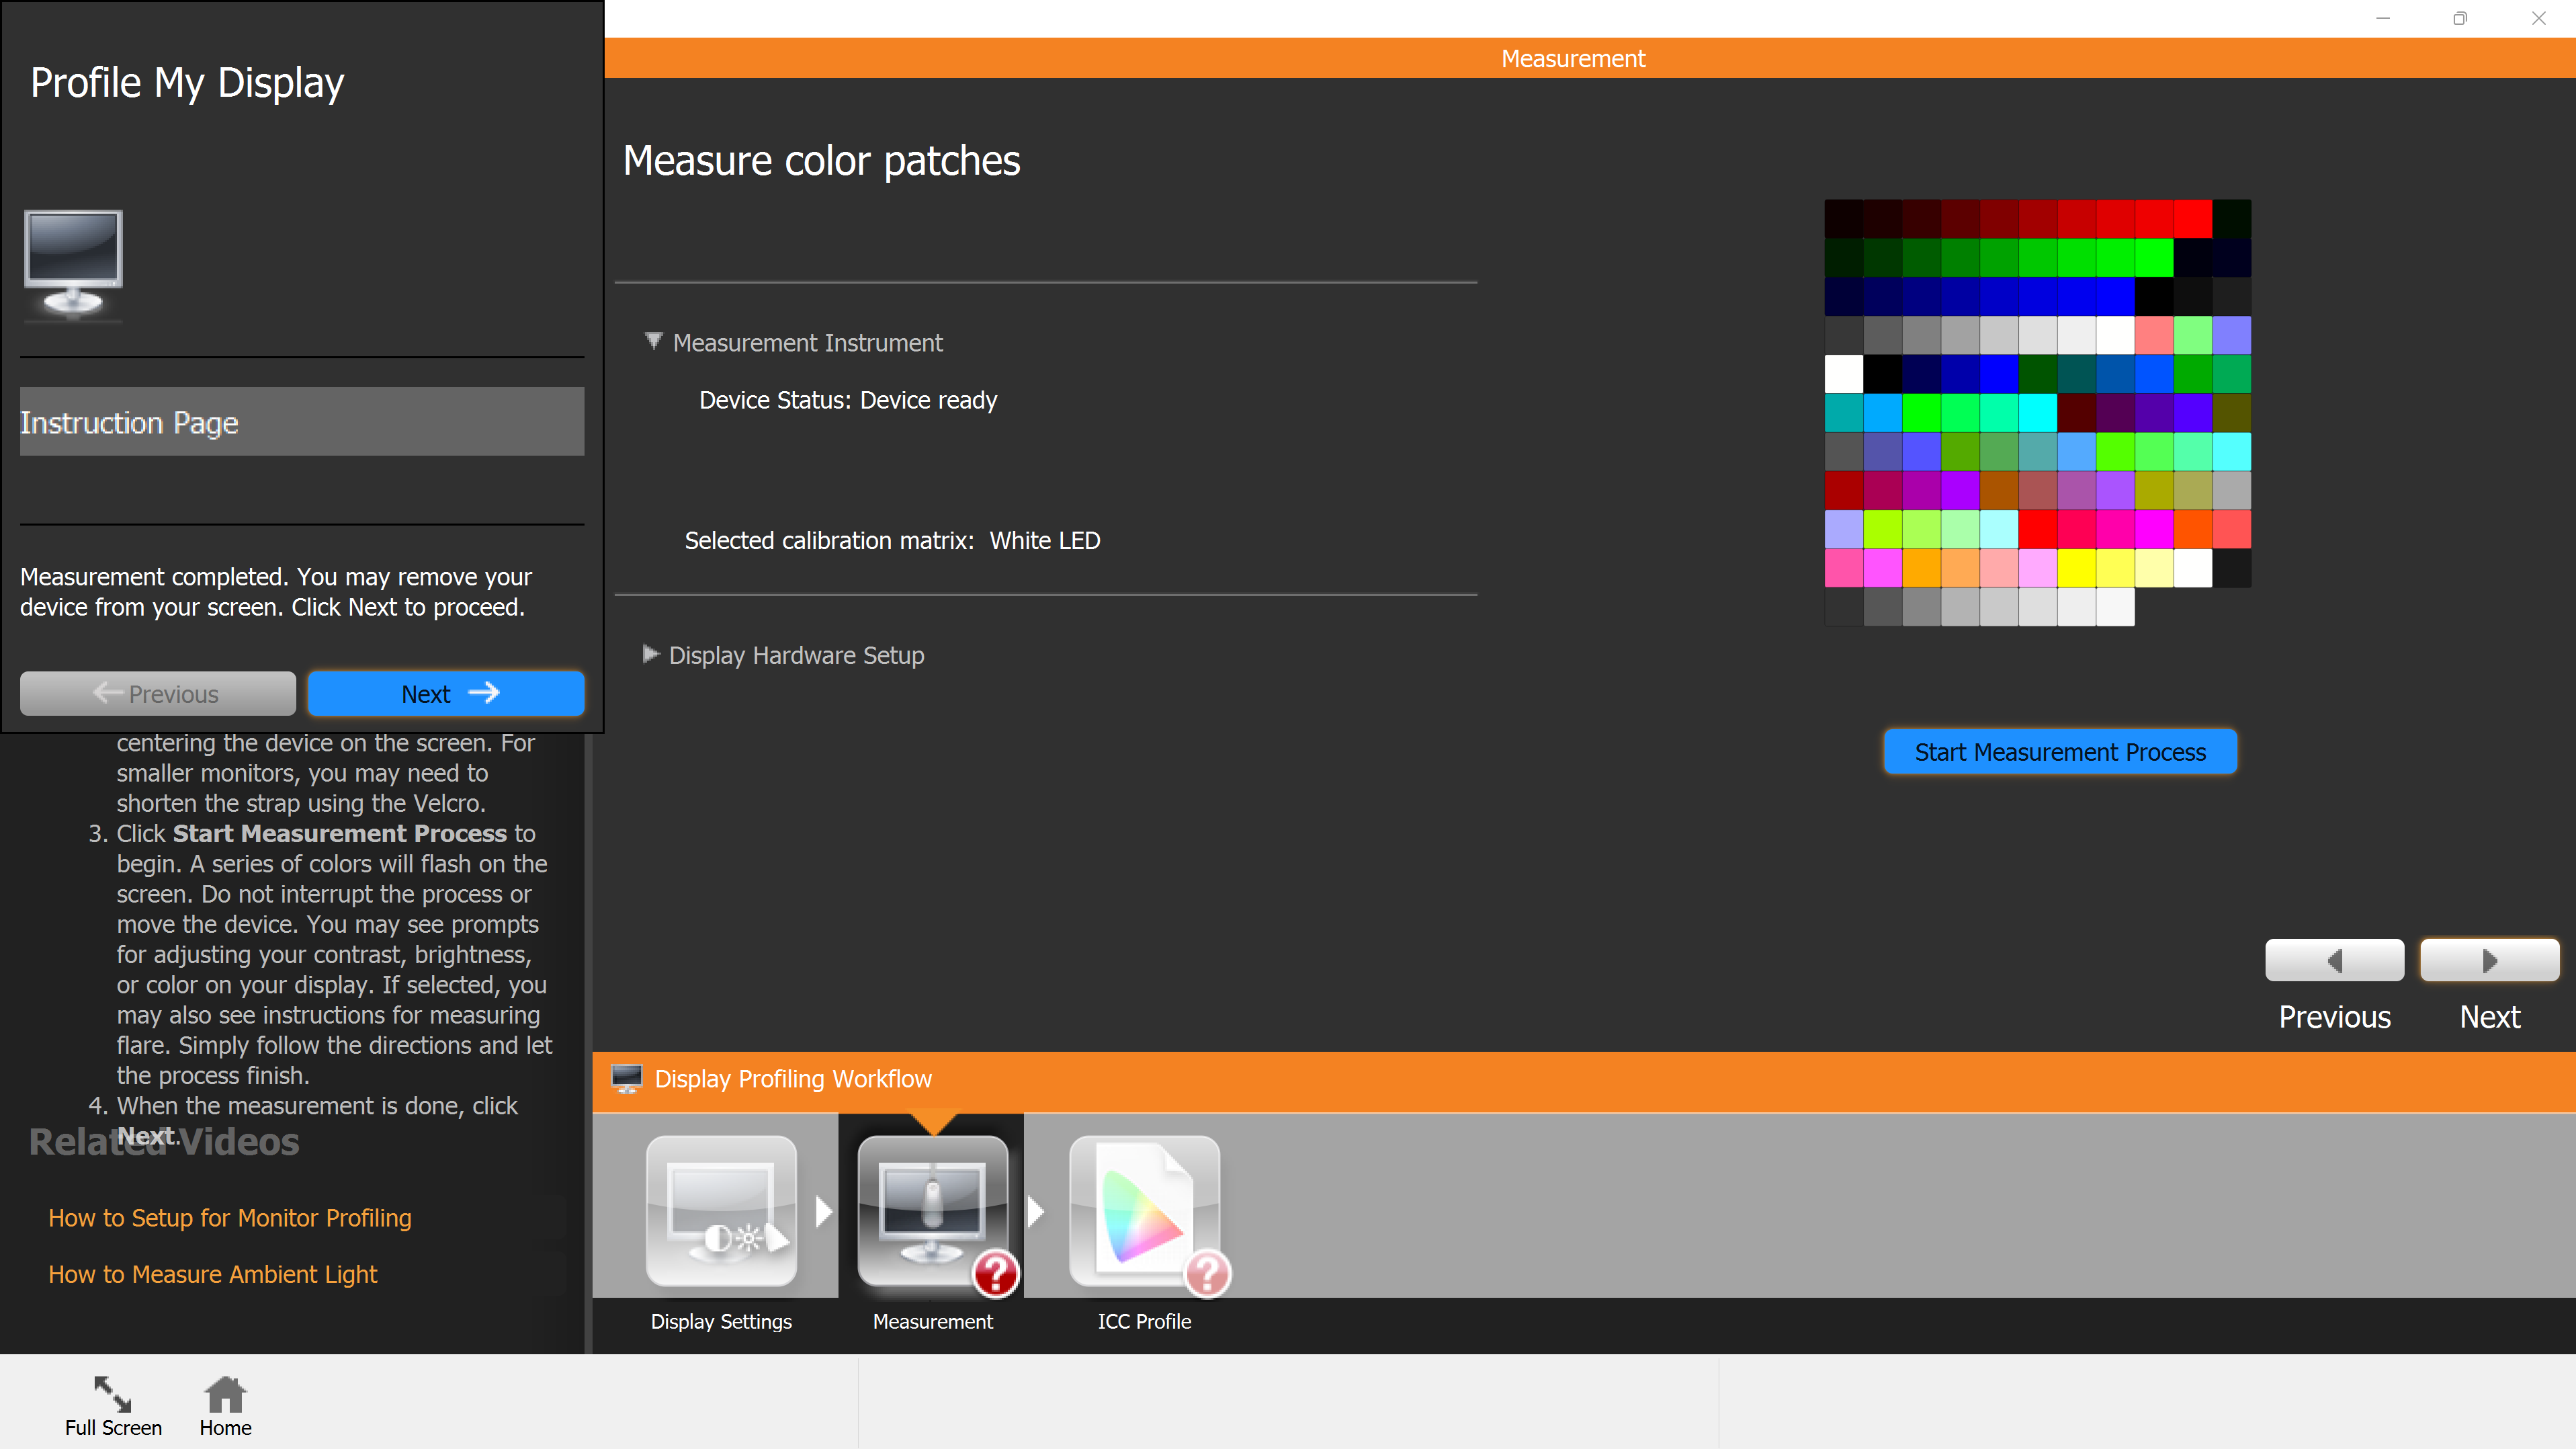
Your computer will then cycle through different colors. For me, this process took about 3 minutes to complete.
5. After it processes everything, remove the device and click Next to continue to the last step.
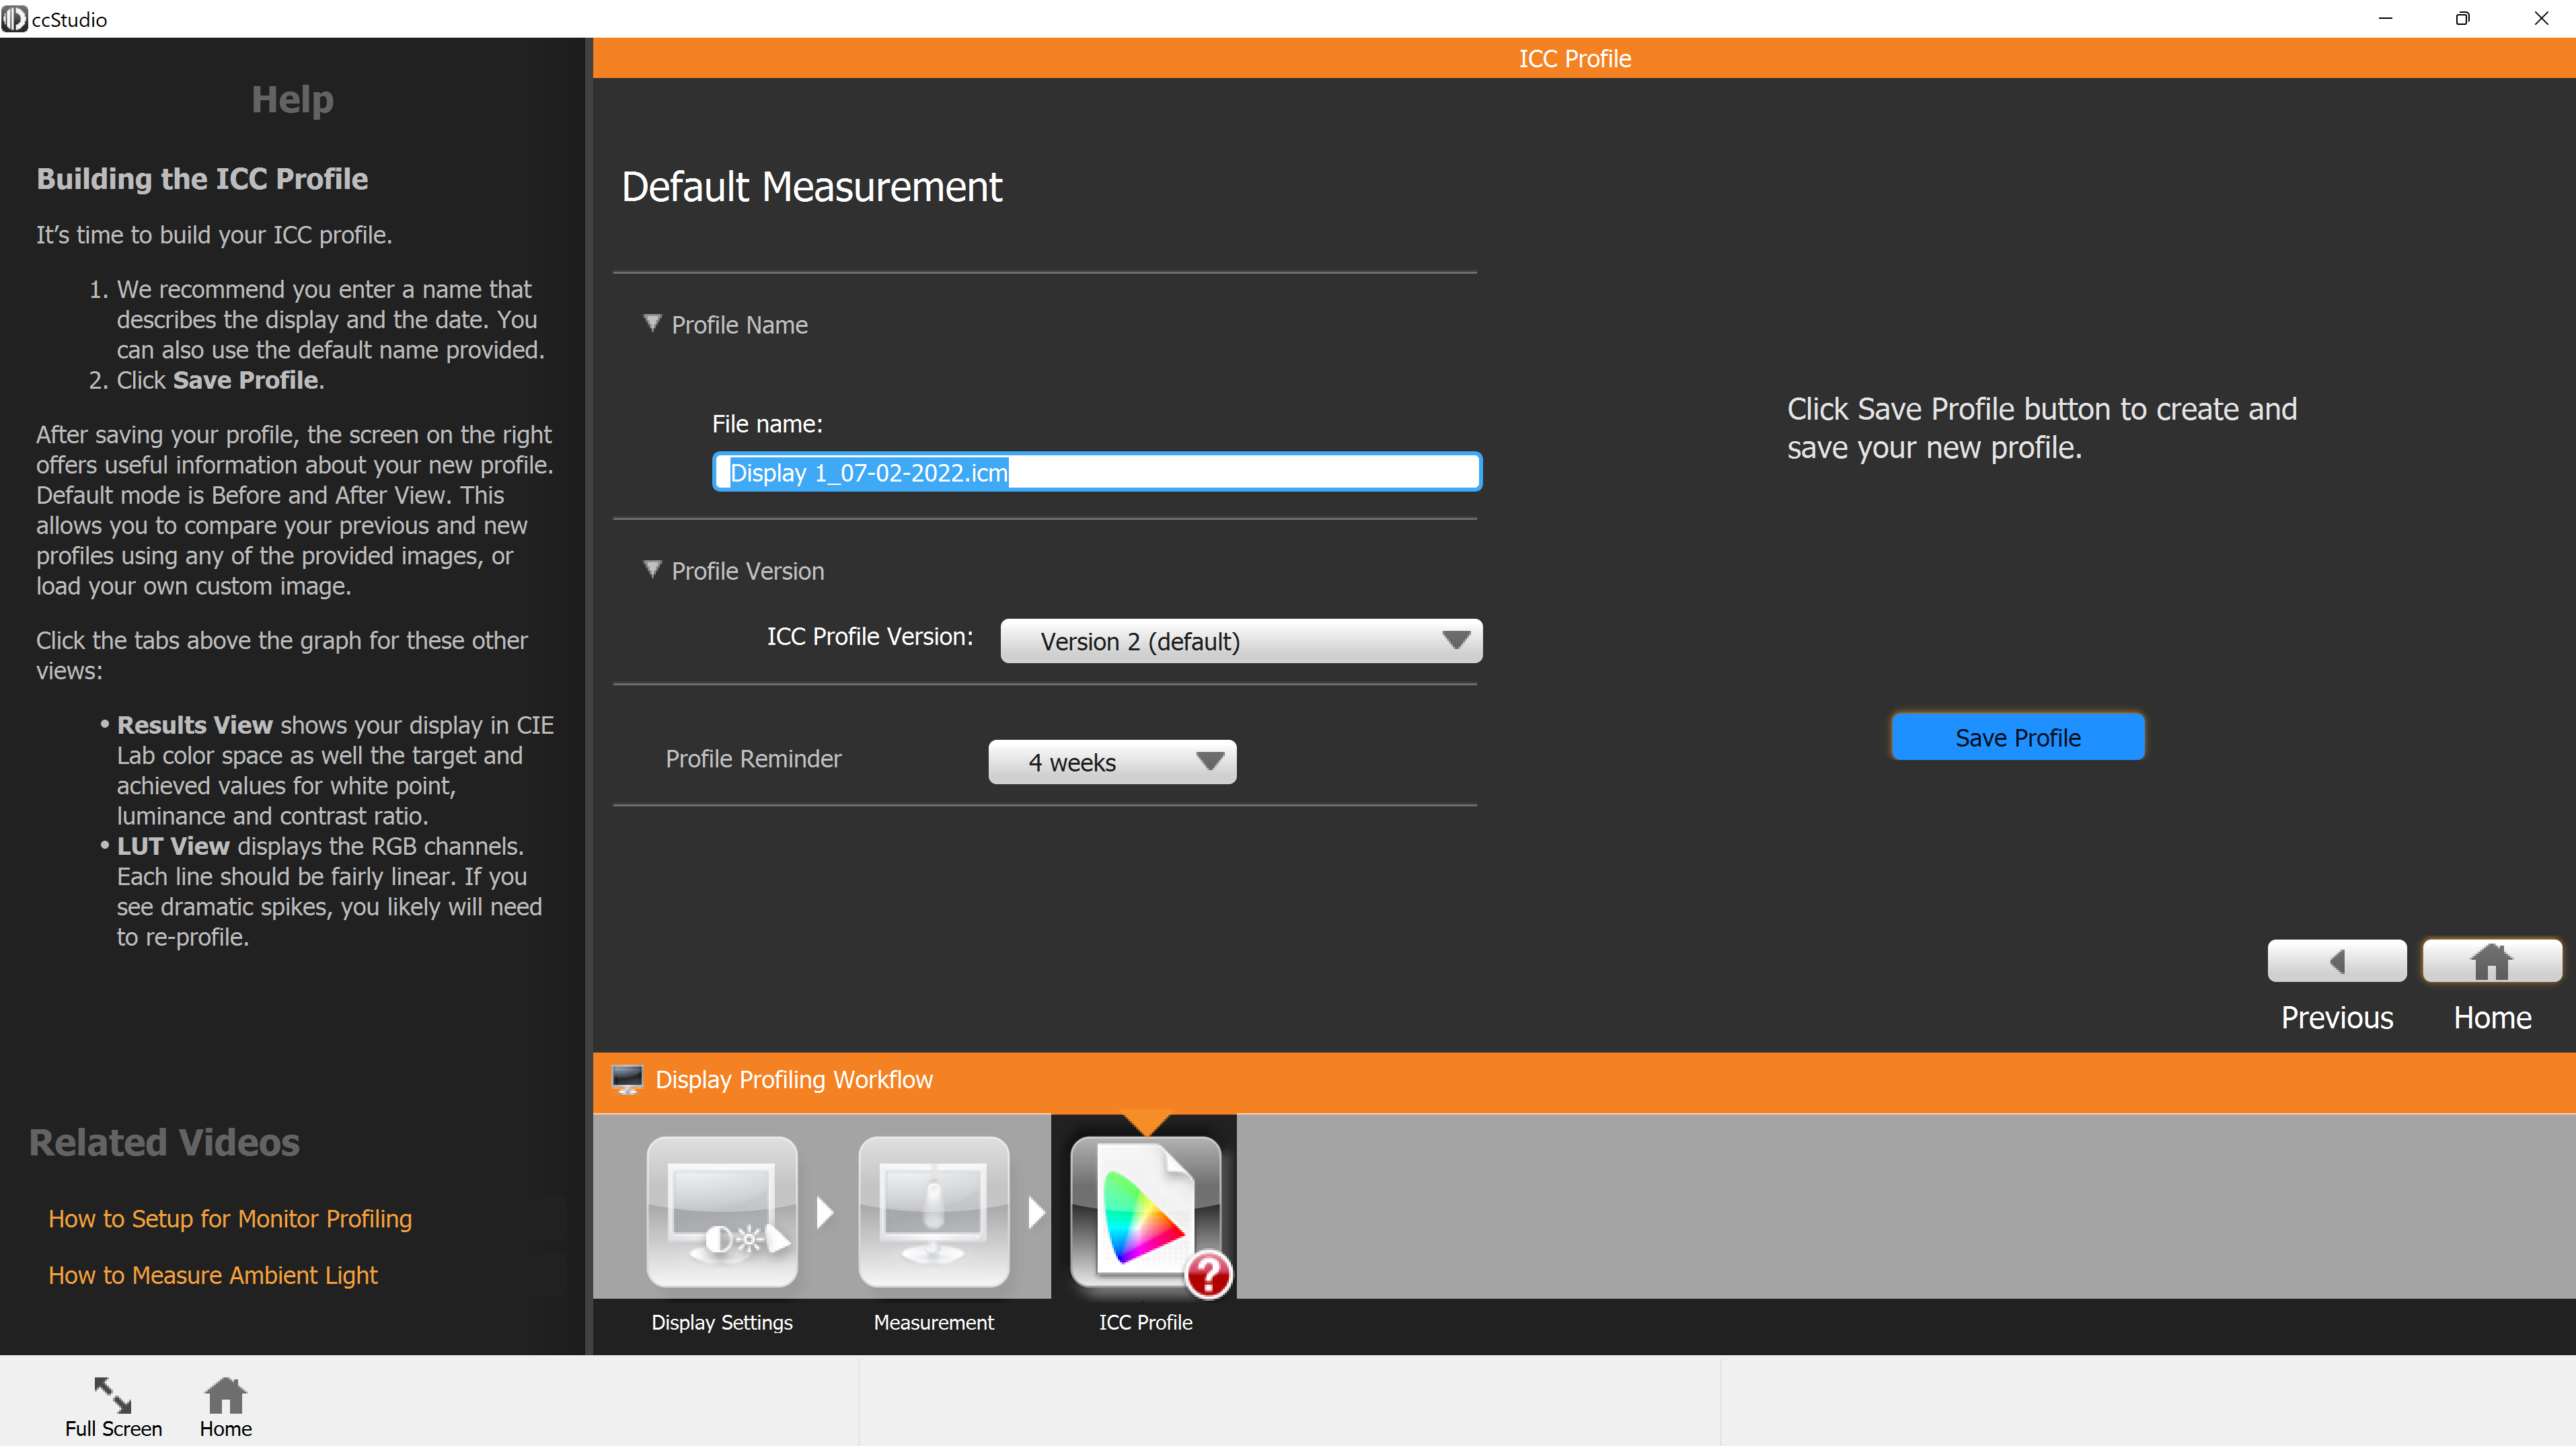
6. Save the profile and you’re done!
User Interface and Test Results!
Overall, my experience using the ColorChecker Display and ccStudio was very simple and straightforward.
Coming at the situation as a first-time user, I didn’t know how many videos I was going to have to look up to learn how to use the software.
But after opening the software, I realized how simple the user interface was. From not knowing anything about the software prior, I was able to follow the rules and began calibrating in less than a minute.
Downloading the software only took a few minutes, and once I clicked through the first few slides in the software, it began calibrating.
The calibration part took around 3 minutes to complete and then it was done! My monitor was calibrated and the colors looked great!
The one issue I ran into was the brightness level it wanted my monitor at. When you first start the calibration process, it asks you to change your brightness level until it says it’s okay to move on.
For my monitor it had me lower my brightness significantly, and when the calibration process was complete, I had to raise it up again to meet my viewing standards.
Besides that, the entire process was smooth and quick, and had my monitor looking great in no time!
Final Thoughts
Understanding how colors work and blend together is very important when wanting to improve your photography and editing skills as a whole.
And using the necessary tools, such as the ColorChecker Display, is extremely important when wanting to obtain accurate colors. This way the image looks the way you want on the web, in print, on social media, and on a clients’ computer.
Big thank you to the calibrite team for sending me the device and allowing me to test it out and review it!
You can purchase the ColorChecker Display for $169, or check out more of their products by clicking here.
As always, have fun, stay safe, and keep photographing!