Night photography can be an incredible time to go outside your comfort zone, experience nature, and create awesome, unique images!
With astrophotography becoming increasingly popular, there are some important tips that can assure you have the best (and safest) time out there, all the while taking great pictures and creating awesome experiences to look back on.
So without further ado, here are the 10 best tips to make sure you come out successful when shooting the stars!
1. Decide on a subject or area to shoot at
Before you start packing your gear and heading out into the unknown, decide where you want to shoot and what you want to shoot.
Because of light pollution, many of you will have to drive at least an hour away to see a considerable number of stars or even the Milky Way.
It is way better to know exactly where you are going and to make a plan. Instead of just driving until you get away from the lights, do some research beforehand.
To find out the best areas near you to shoot the stars, use the Dark Site Finder map.
Look up images of the location you are planning on visiting and see what others have taken there. This is not necessarily so you can just copy those images, but more or less so you get an idea of the area.
Images others have taken can provide great inspiration, especially to somewhere you have never been before. Look at the pictures and the surrounding landscape and start to map out other ideas you might have.
I found it useful to write down shots I plan on taking or techniques I want to try out. Maybe I want to photograph that one subject but from a lower angle, or try a panorama of the stars.
Whatever the case is, write it down! I have been out in the field numerous times, came back to edit, and realized I totally forgot to try that technique or obtain that one shot.
This also goes for directions. Remember that a lot of the best spots to get away from everything and everyone are areas with little to no cell service. DO NOT rely on your phone for directions.
Either take a map, write out the directions on a piece of paper, or screenshot the directions. But please do not be surprised if you are ready to drive home, only to find that Google Maps is offline.
Another tip is to let someone know where you are going and how long you plan on being gone. This goes for any type of nature photography, but especially night photography.
2. SCOUT YOUR LOCATION DURING THE DAY!!!
Now, some of you might be thinking about why I put the next tip in all caps. Am I really that enthusiastic about scouting during the day? YES!
One of the most beneficial factors you can do for your night images is to scout the area during the day time. I cannot stress enough the wonders this will do for you.
The same location can look quite different during the day as compared to at night.
First off, it will make you very comfortable with the area, which can be a huge time saver at night. Because again, at night, it is pitch black out! Those trail signs are not going to magically be lit up telling you where to go.
Even during the day time, certain trails can be easy to get lost on, so imagine trying to hike that same trail at night, but for the first time. Not a good idea!
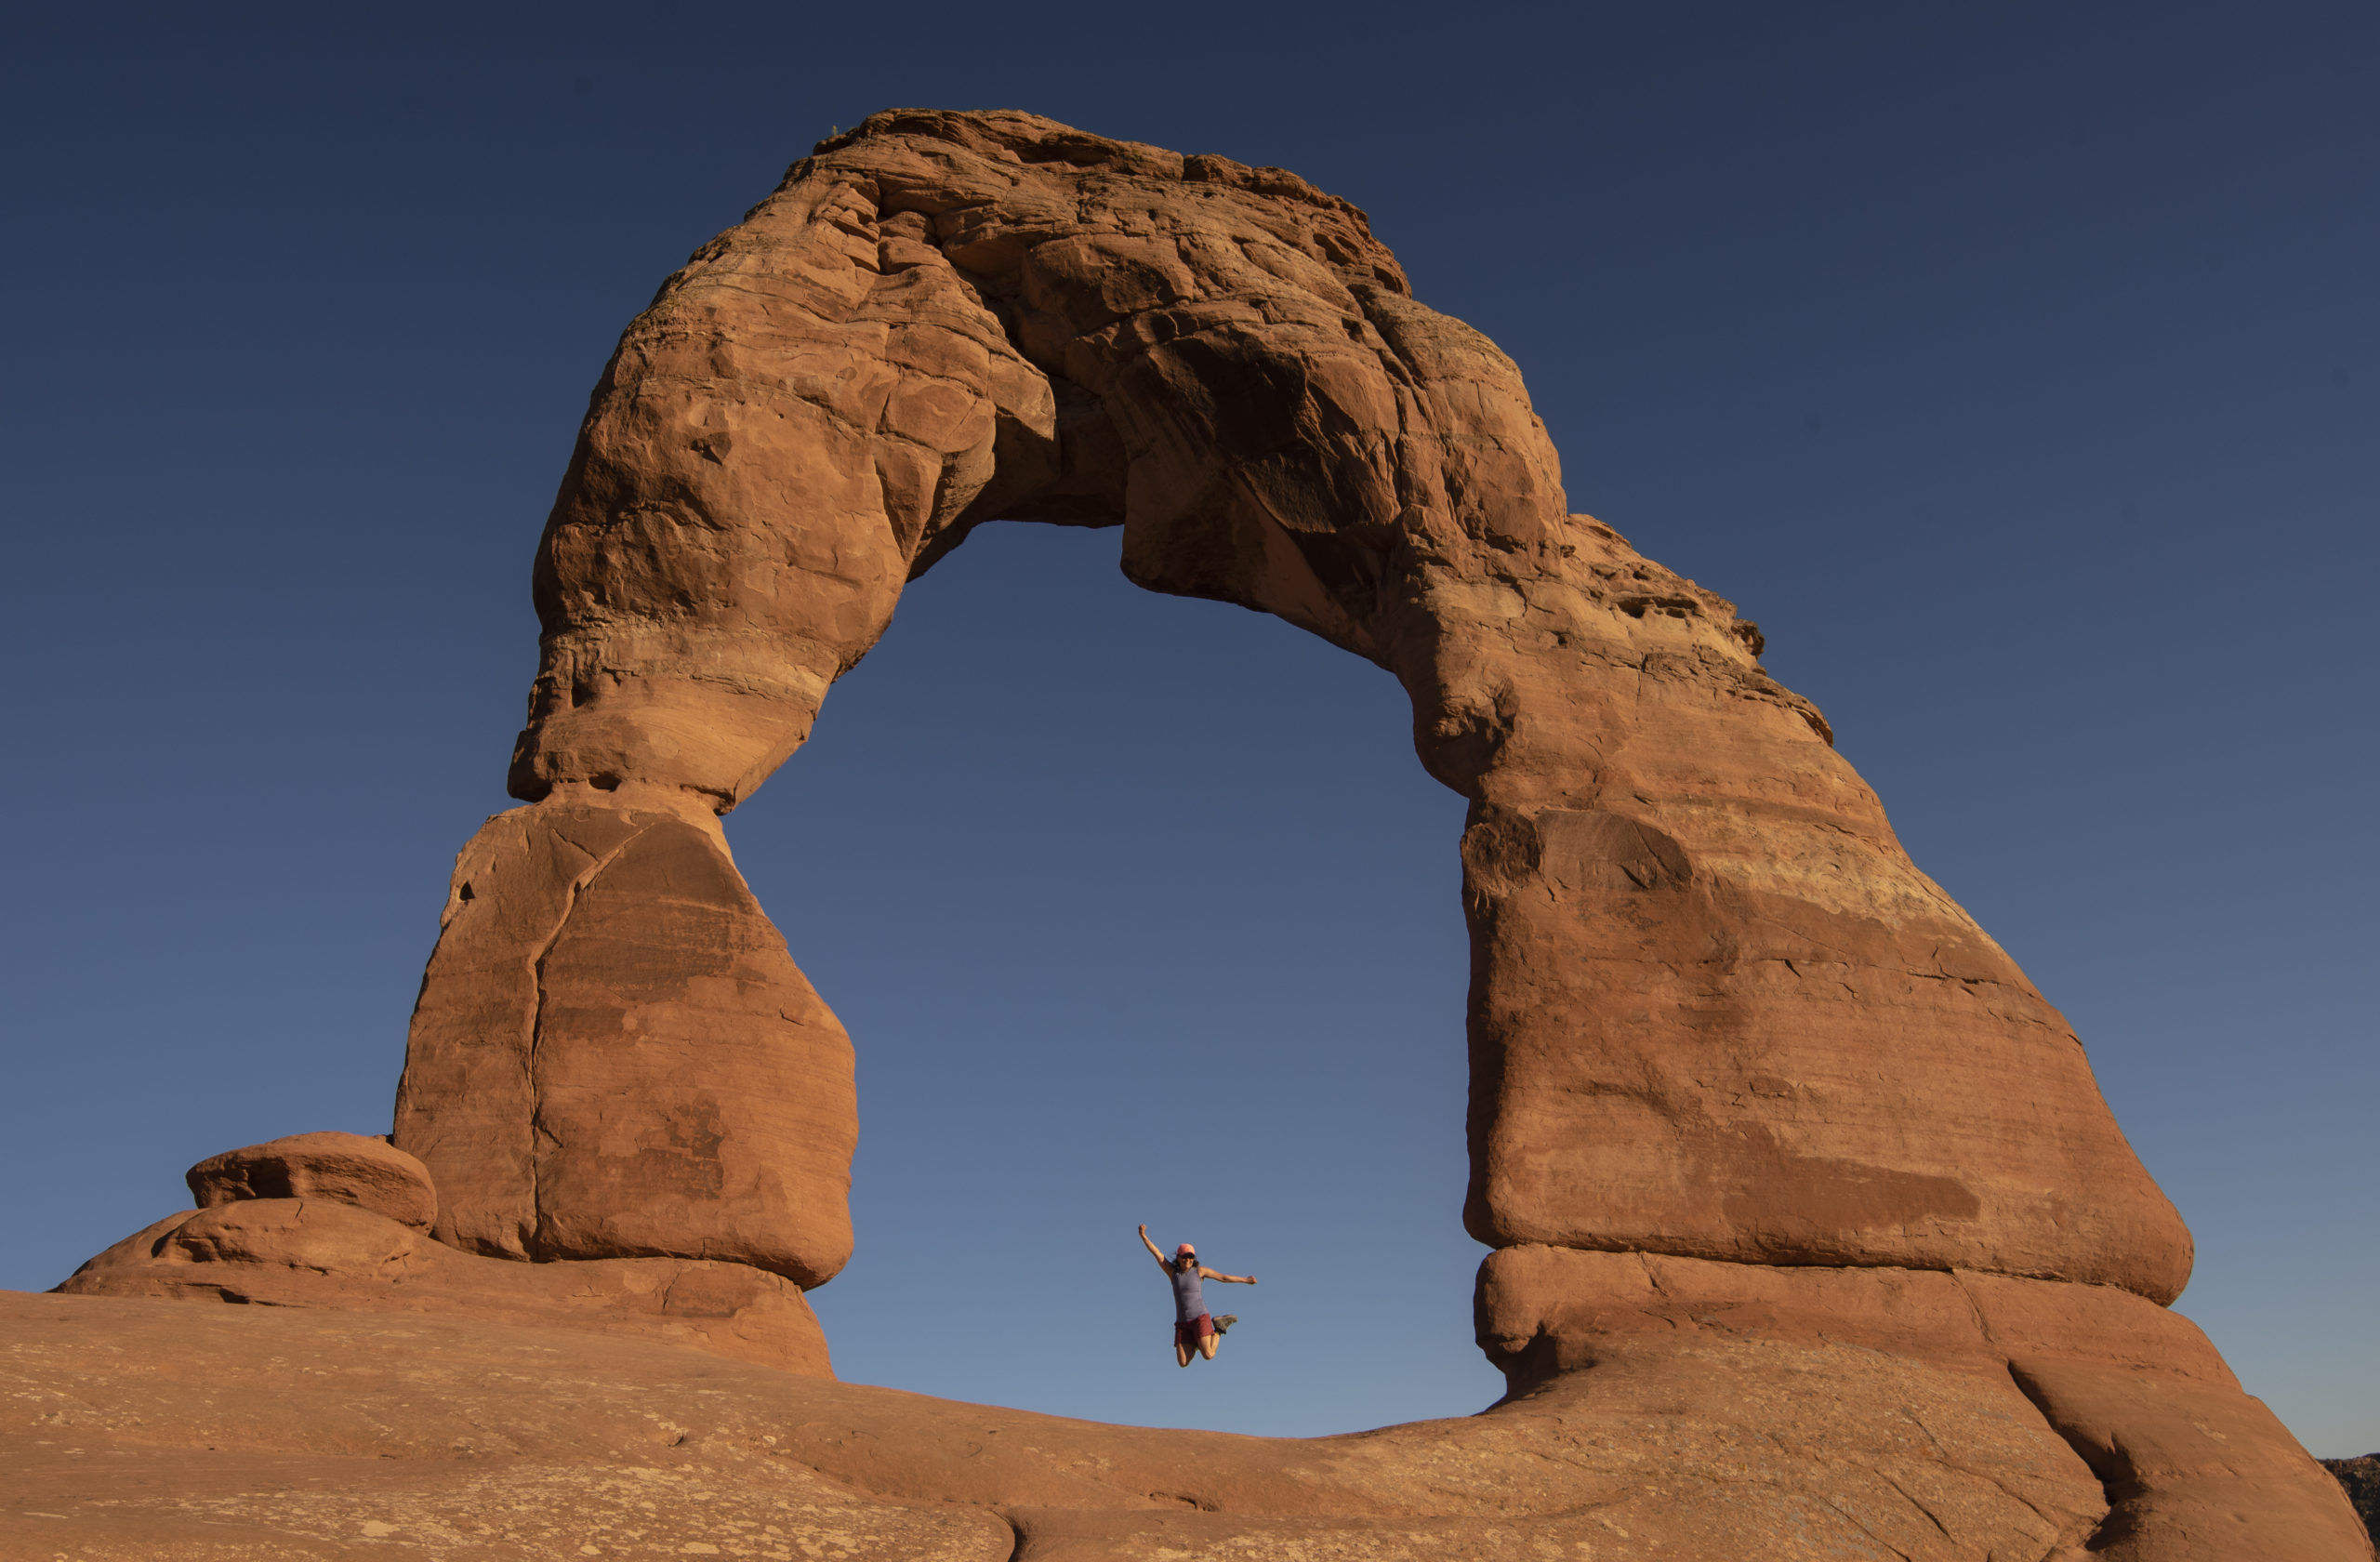
Scouting during the day is also useful because you can see your subject during the day and get even more ideas than what you may have gotten with your research.
If you have ever been somewhere that you had researched relentlessly on the Internet, you can agree with me that it always looks and feels different in person. That is why it is extremely beneficial to hike around the area when you can actually see it.
Take some test pictures, figure out the best way to climb up that rock, or how to find your way back to your car or campsite.
There have been numerous instances where I see people who have never been to the location before, try and visit it during the night. The result is them shining their flashlights everywhere and walking aimlessly, continually getting lost. Do not be this person!
Trust me, when you visit and/or photograph an area during the day, it will do WONDERS to your images at night.
3. Be comfortable using your camera at night
The next tip is similar to the one previously mentioned. Know where your buttons are on your camera before you go and shoot at night.

Just like the landscape at night, you will not be able to see your camera. But Adam, I have a flashlight, can’t I just illuminate my camera like that?
Yes, but I recommend doing that only when you need to. If there are others around, shining your flashlight on your camera every 10 seconds can become very obnoxious.
It also continuously ruins your night vision, making you not see the stars as clearly.
Sure, I don’t want you to randomly guess and accidentally hit the delete button instead of the view button, but be mindful of the light!
The best way to combat this is to just study where all of the buttons are and where your main controls are.
By the time you are out shooting, you should be very comfortable in knowing where the zoom button is compared to the menu button or live view button.
In the end, this will save you a considerable amount of time!
4. Bring a STURDY tripod
I will always and forever preach the importance of a sturdy tripod. Especially when it involves night photography.
You will be shooting long exposures of up to 30 seconds. Any, and I mean ANY shake of that camera can create blurry images, ruining the exposure, and wasting your time.
Make sure you have a sturdy tripod that can hold the weight of your camera and one that doesn’t budge if you accidentally tap it. A trick to make your tripod even sturdier is to clip your backpack (or any kind of weight) to the center column of the tripod.
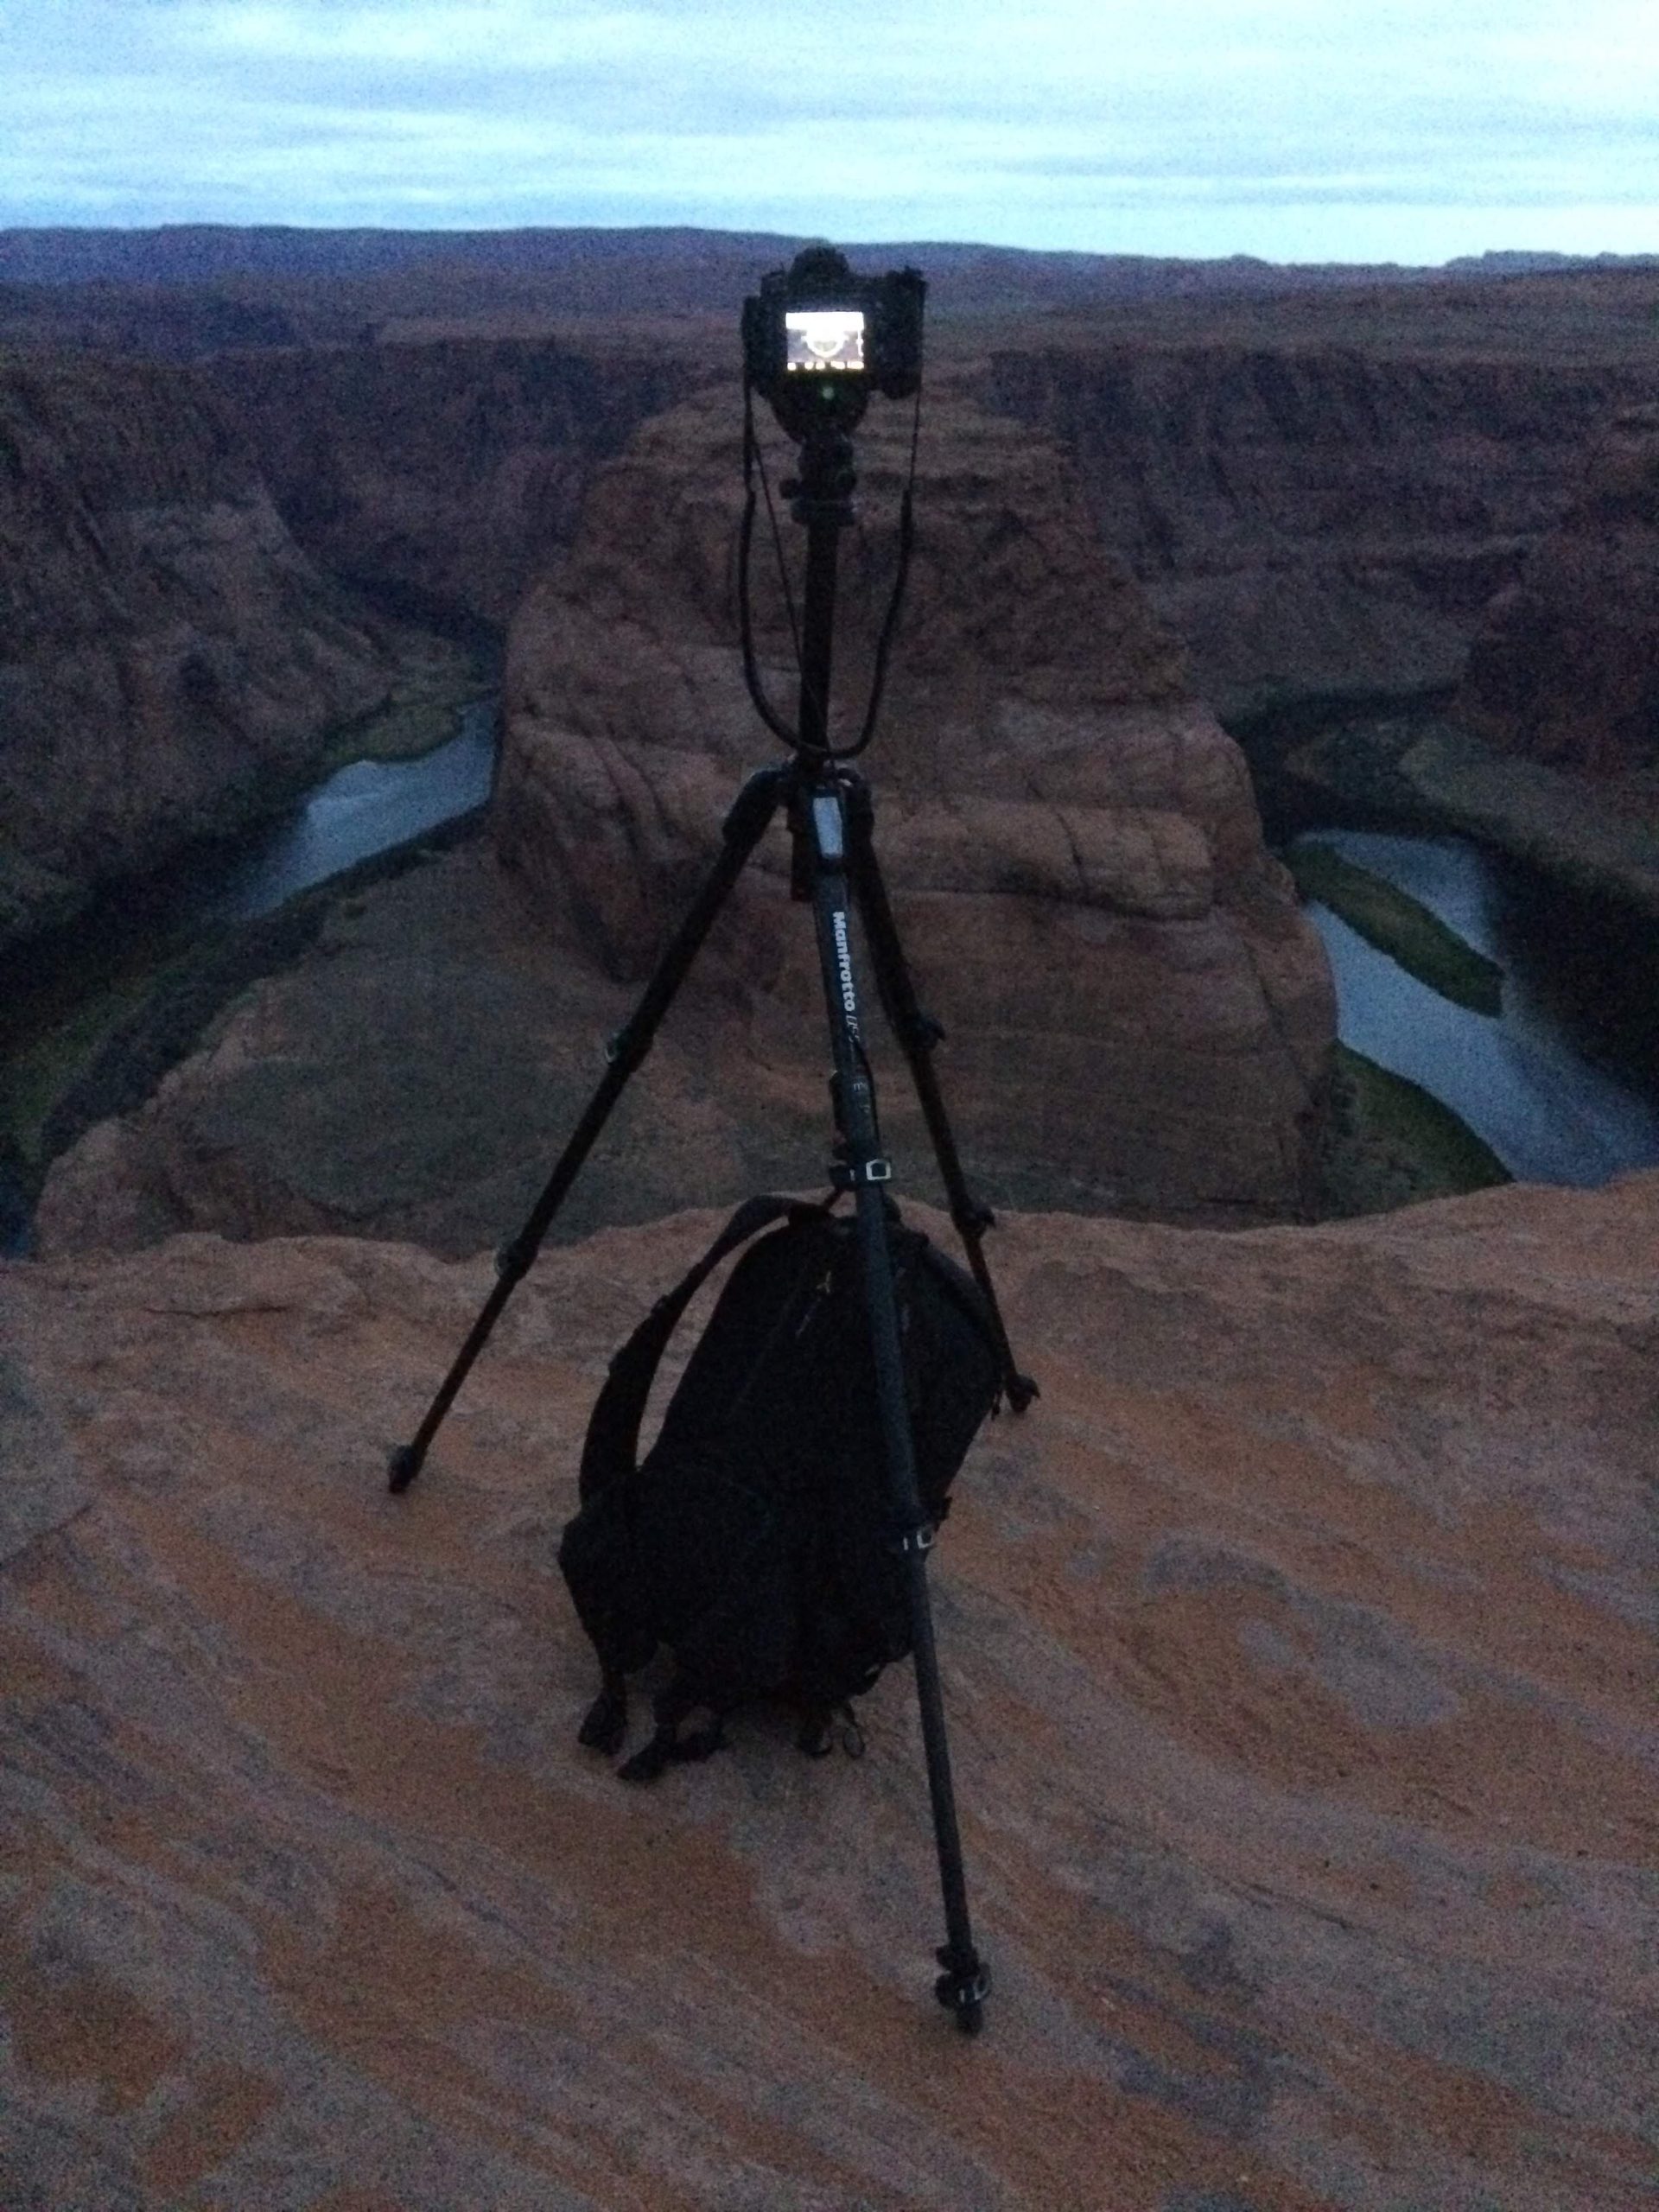
This will weigh it down and make it increasingly sturdier.
5. Bring extra batteries for flashlights
During the night, unexpected things can happen. Batteries can die, random noises can keep you up all night (I promise night photography is fun), so it is best to be prepared.
I definitely recommend bringing extra batteries for not only your camera but also your flashlights.
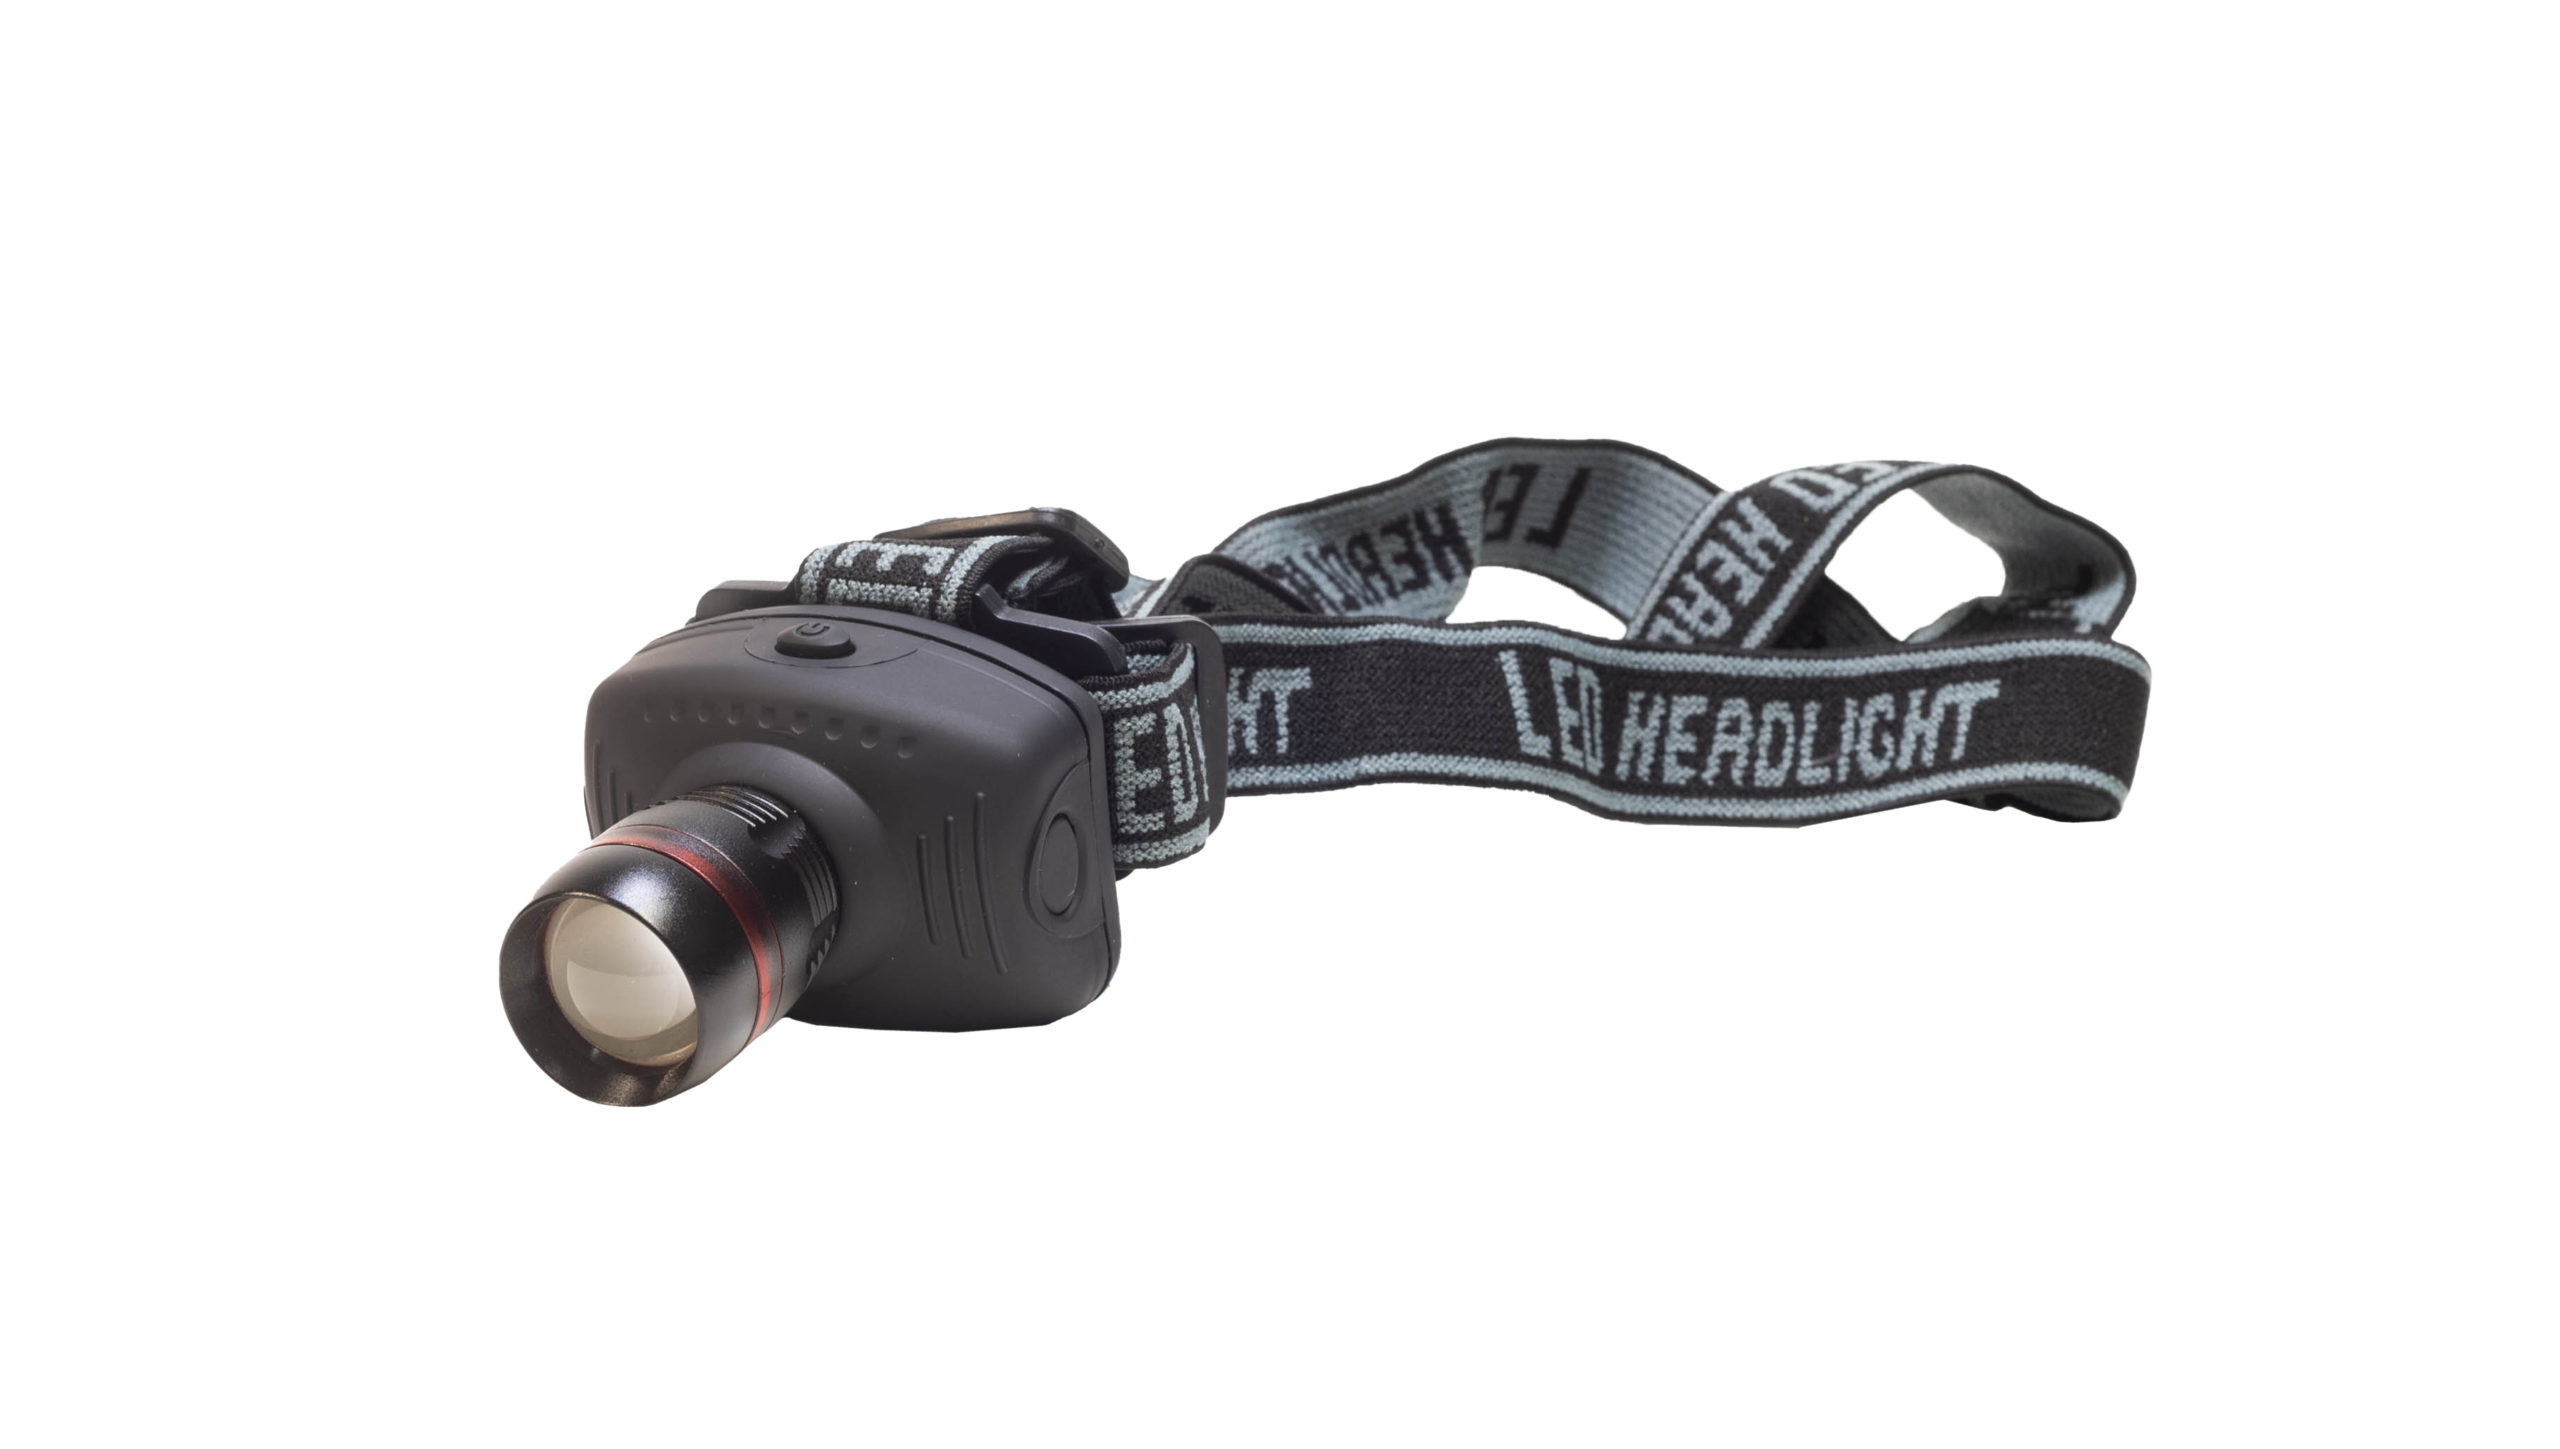
That’s right, flashlights, not a flashlight. Remember that these tools will be your only source of light, so bring extra. DO NOT rely on your phone flashlight. If your phone dies, then what?
Always bring backup flashlights and backup batteries. Hopefully, you won’t have to use them, but they are a great safety net to have. And they don’t take up that much space. Also, red flashlights are preferable as they help you preserve your night vision.
6. Bring someone along
Applying the buddy system in night photography can be very beneficial. Not only does it give you the chance to share the experience of stargazing with someone, but it also is safer.
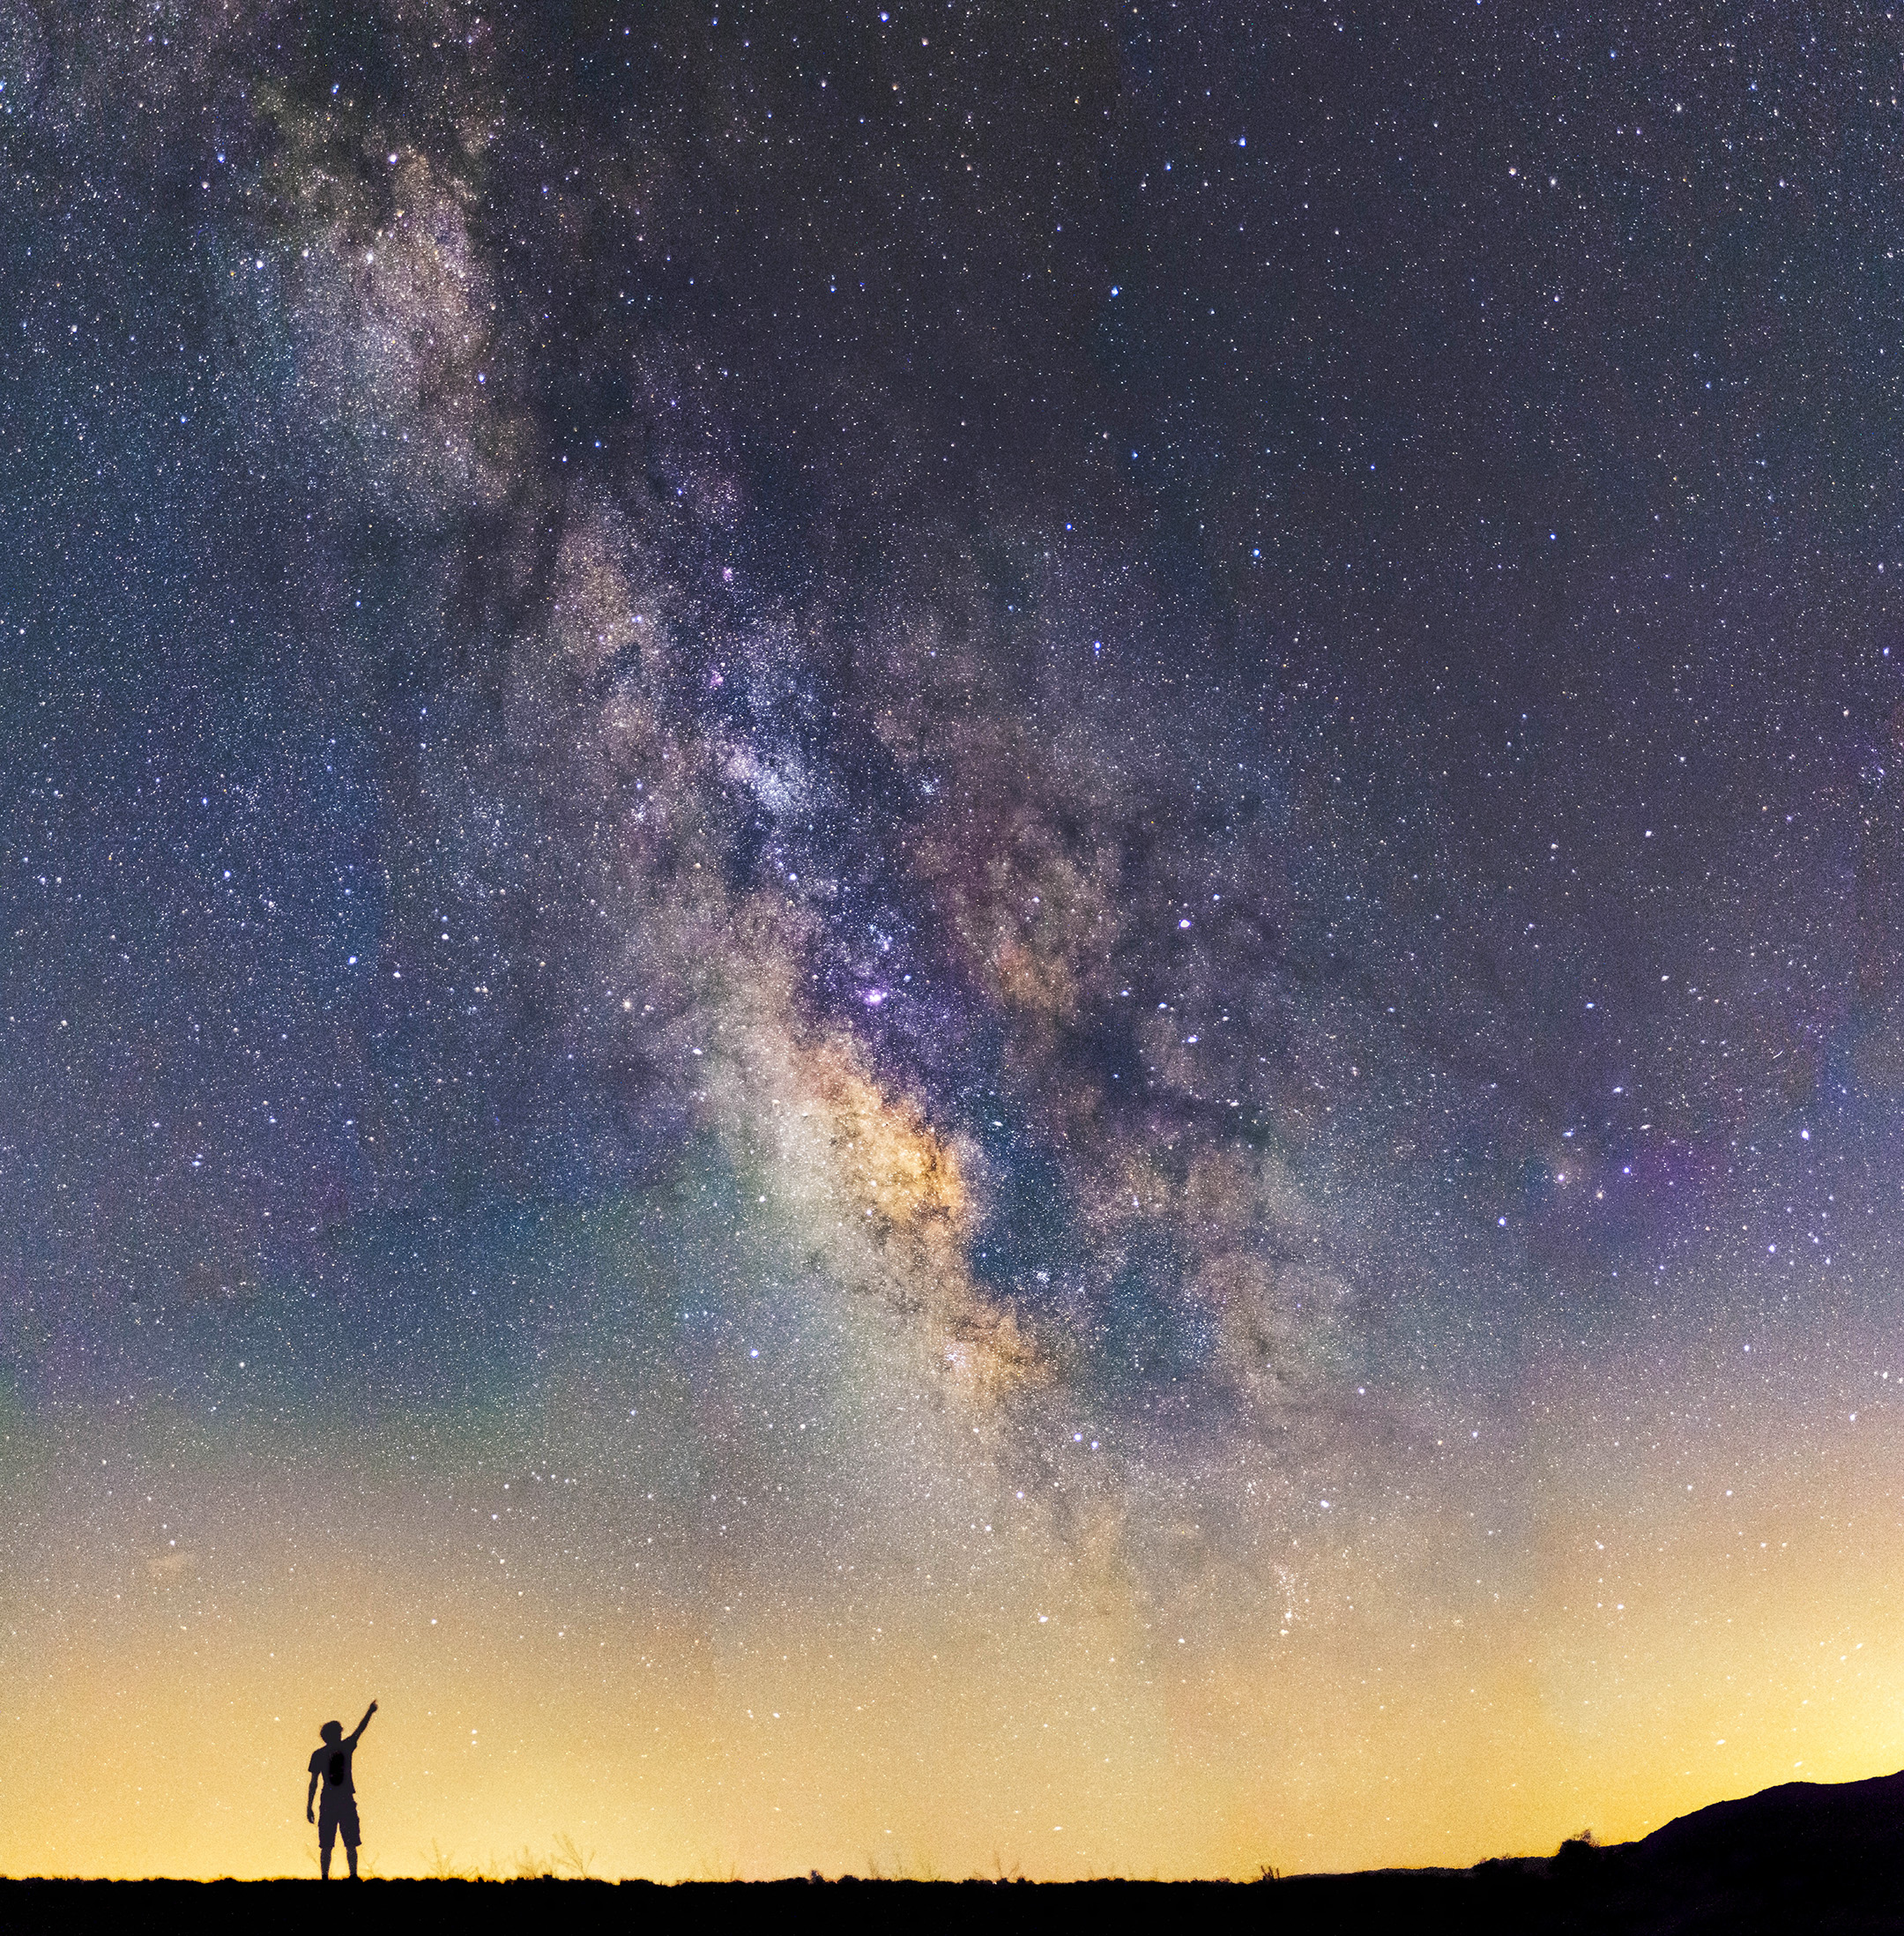
When going out alone at night, in a place you’ve never been before, always see if someone can go with you. This way, if you get lost, your friend is close by. If you run into any other trouble during the night, your friend is close by.
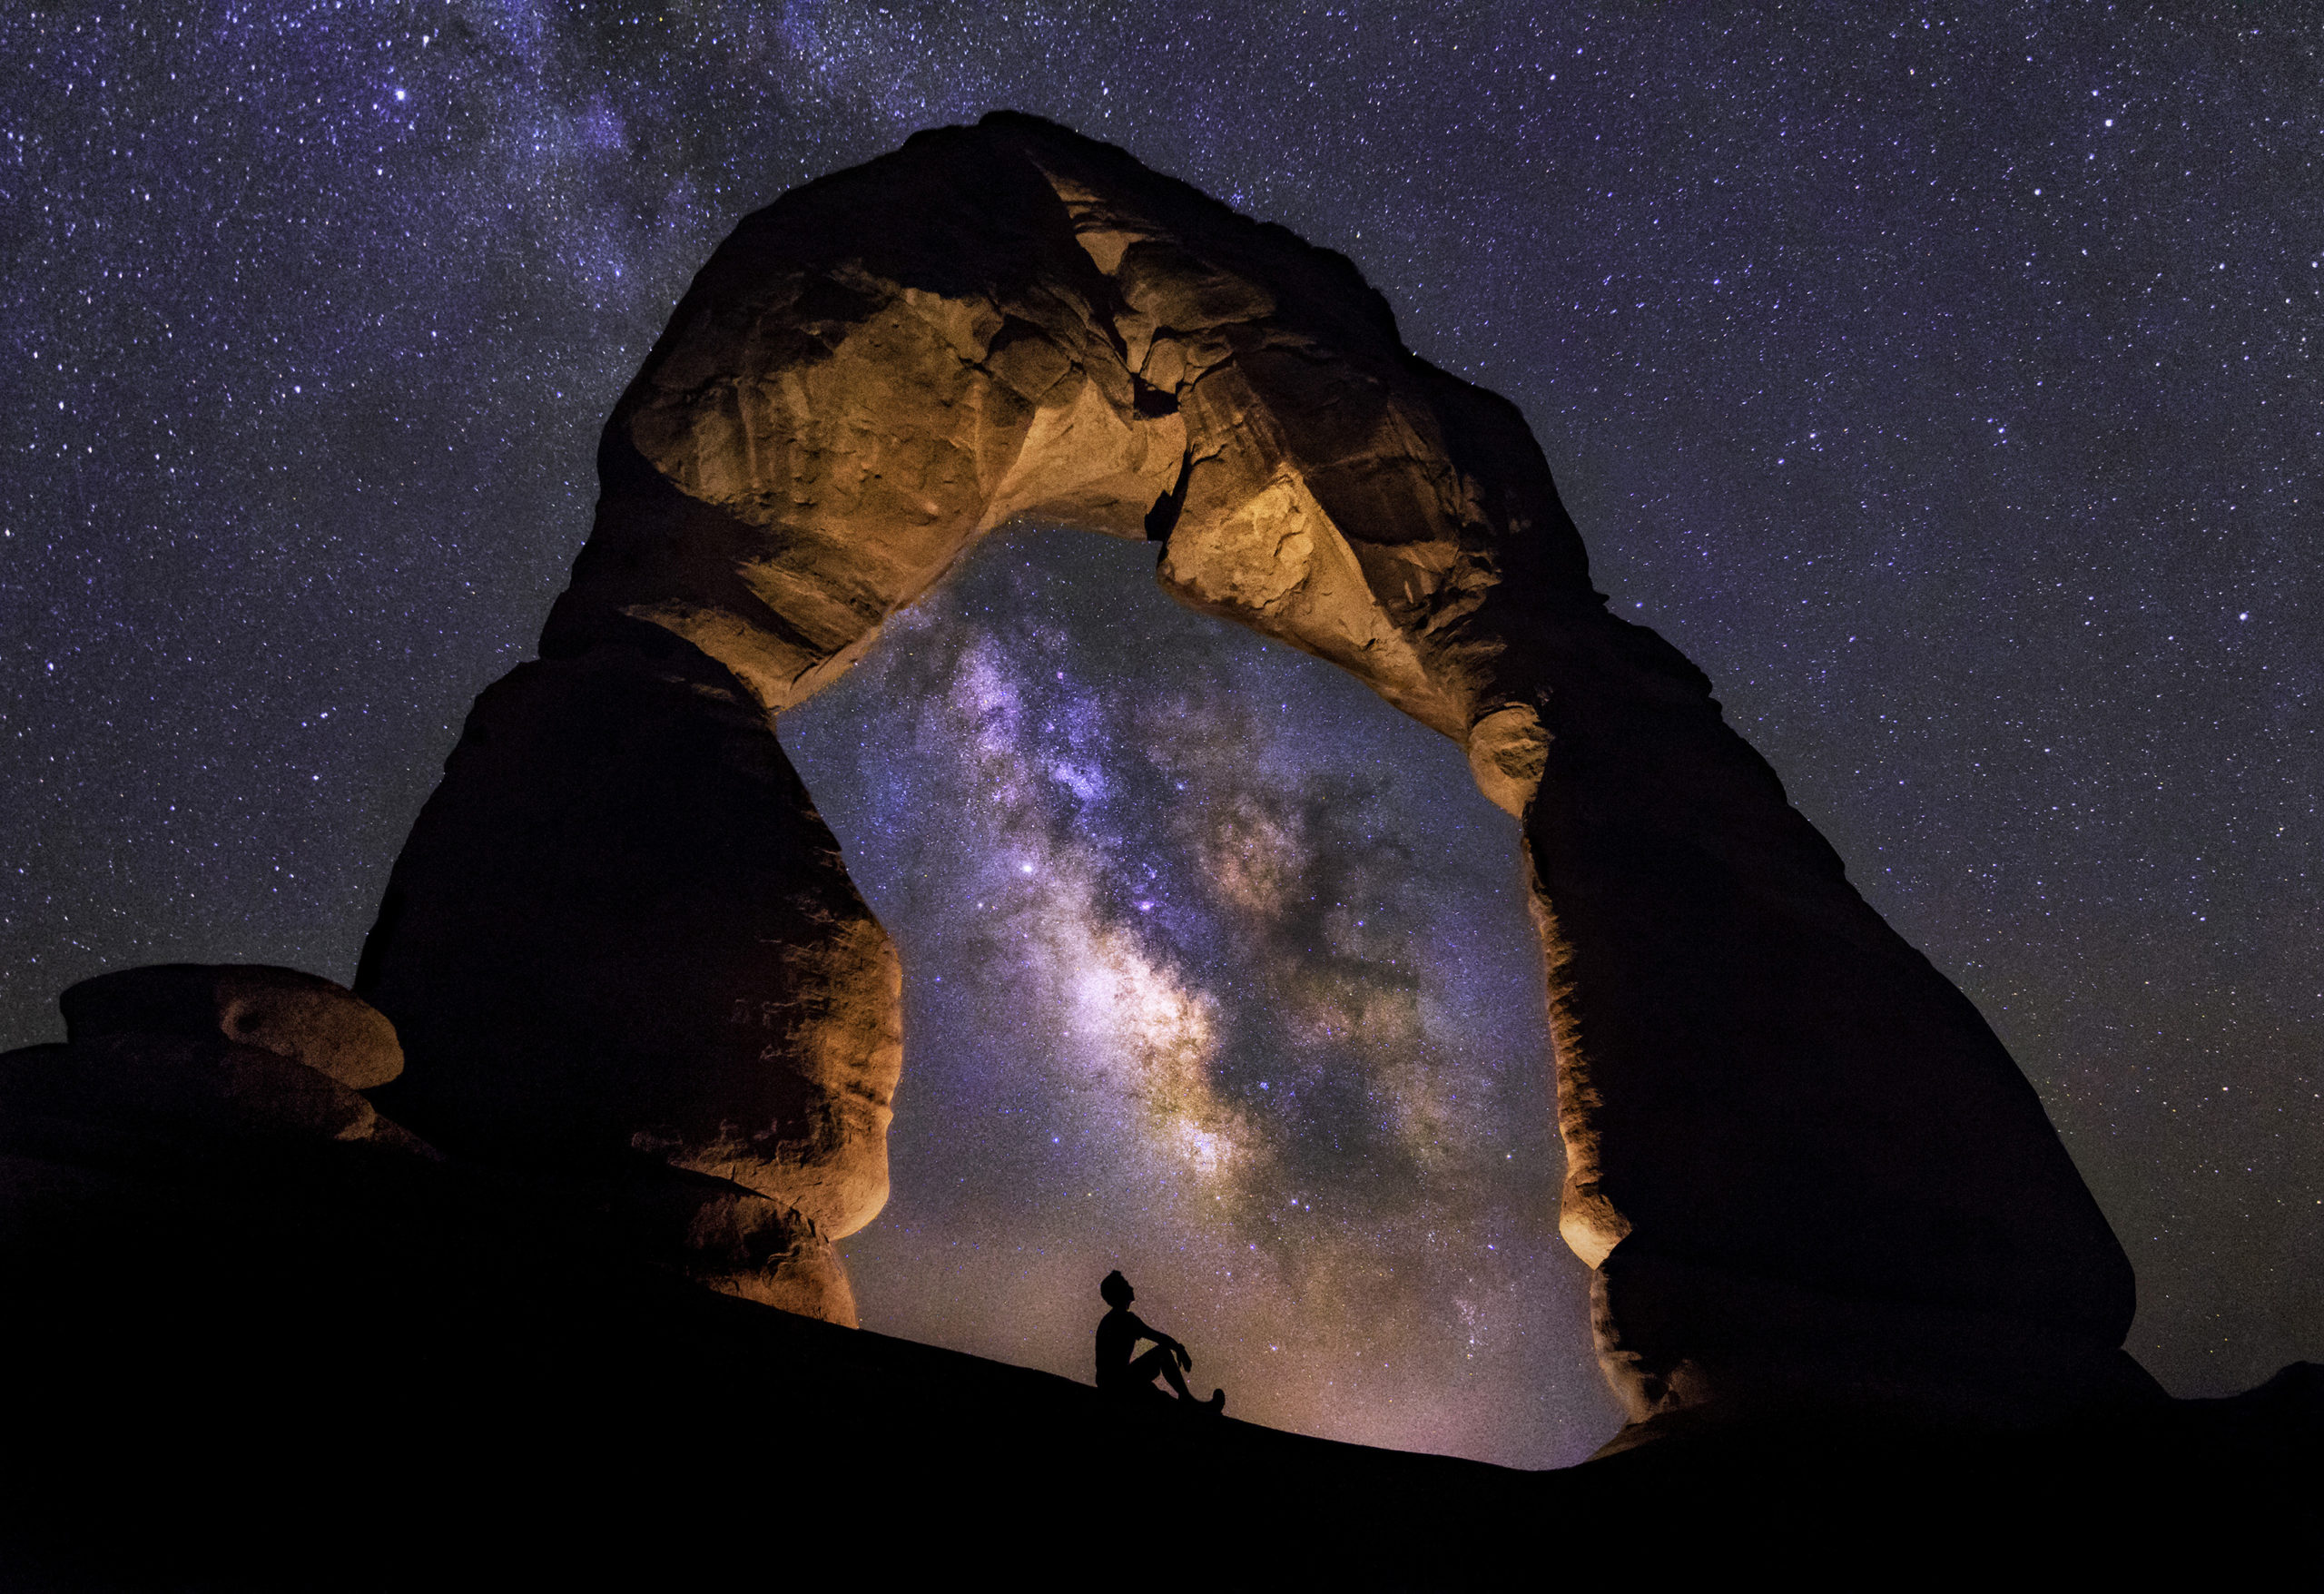
Plus, you can tell them that if they come, they can pose in some really cool night photos!
7. Camp preferably (don’t drive while tired)
This tip also relates to the one above and reminds you to NEVER drive when you are tired. It was estimated that around 328,000 car accidents a year are a result of drowsy driving.
Remember that you might be staying up all night. Do not plan on leaving right after you are done shooting. Go back and take a 1-2hr nap. If someone is with you they might be able to help drive.
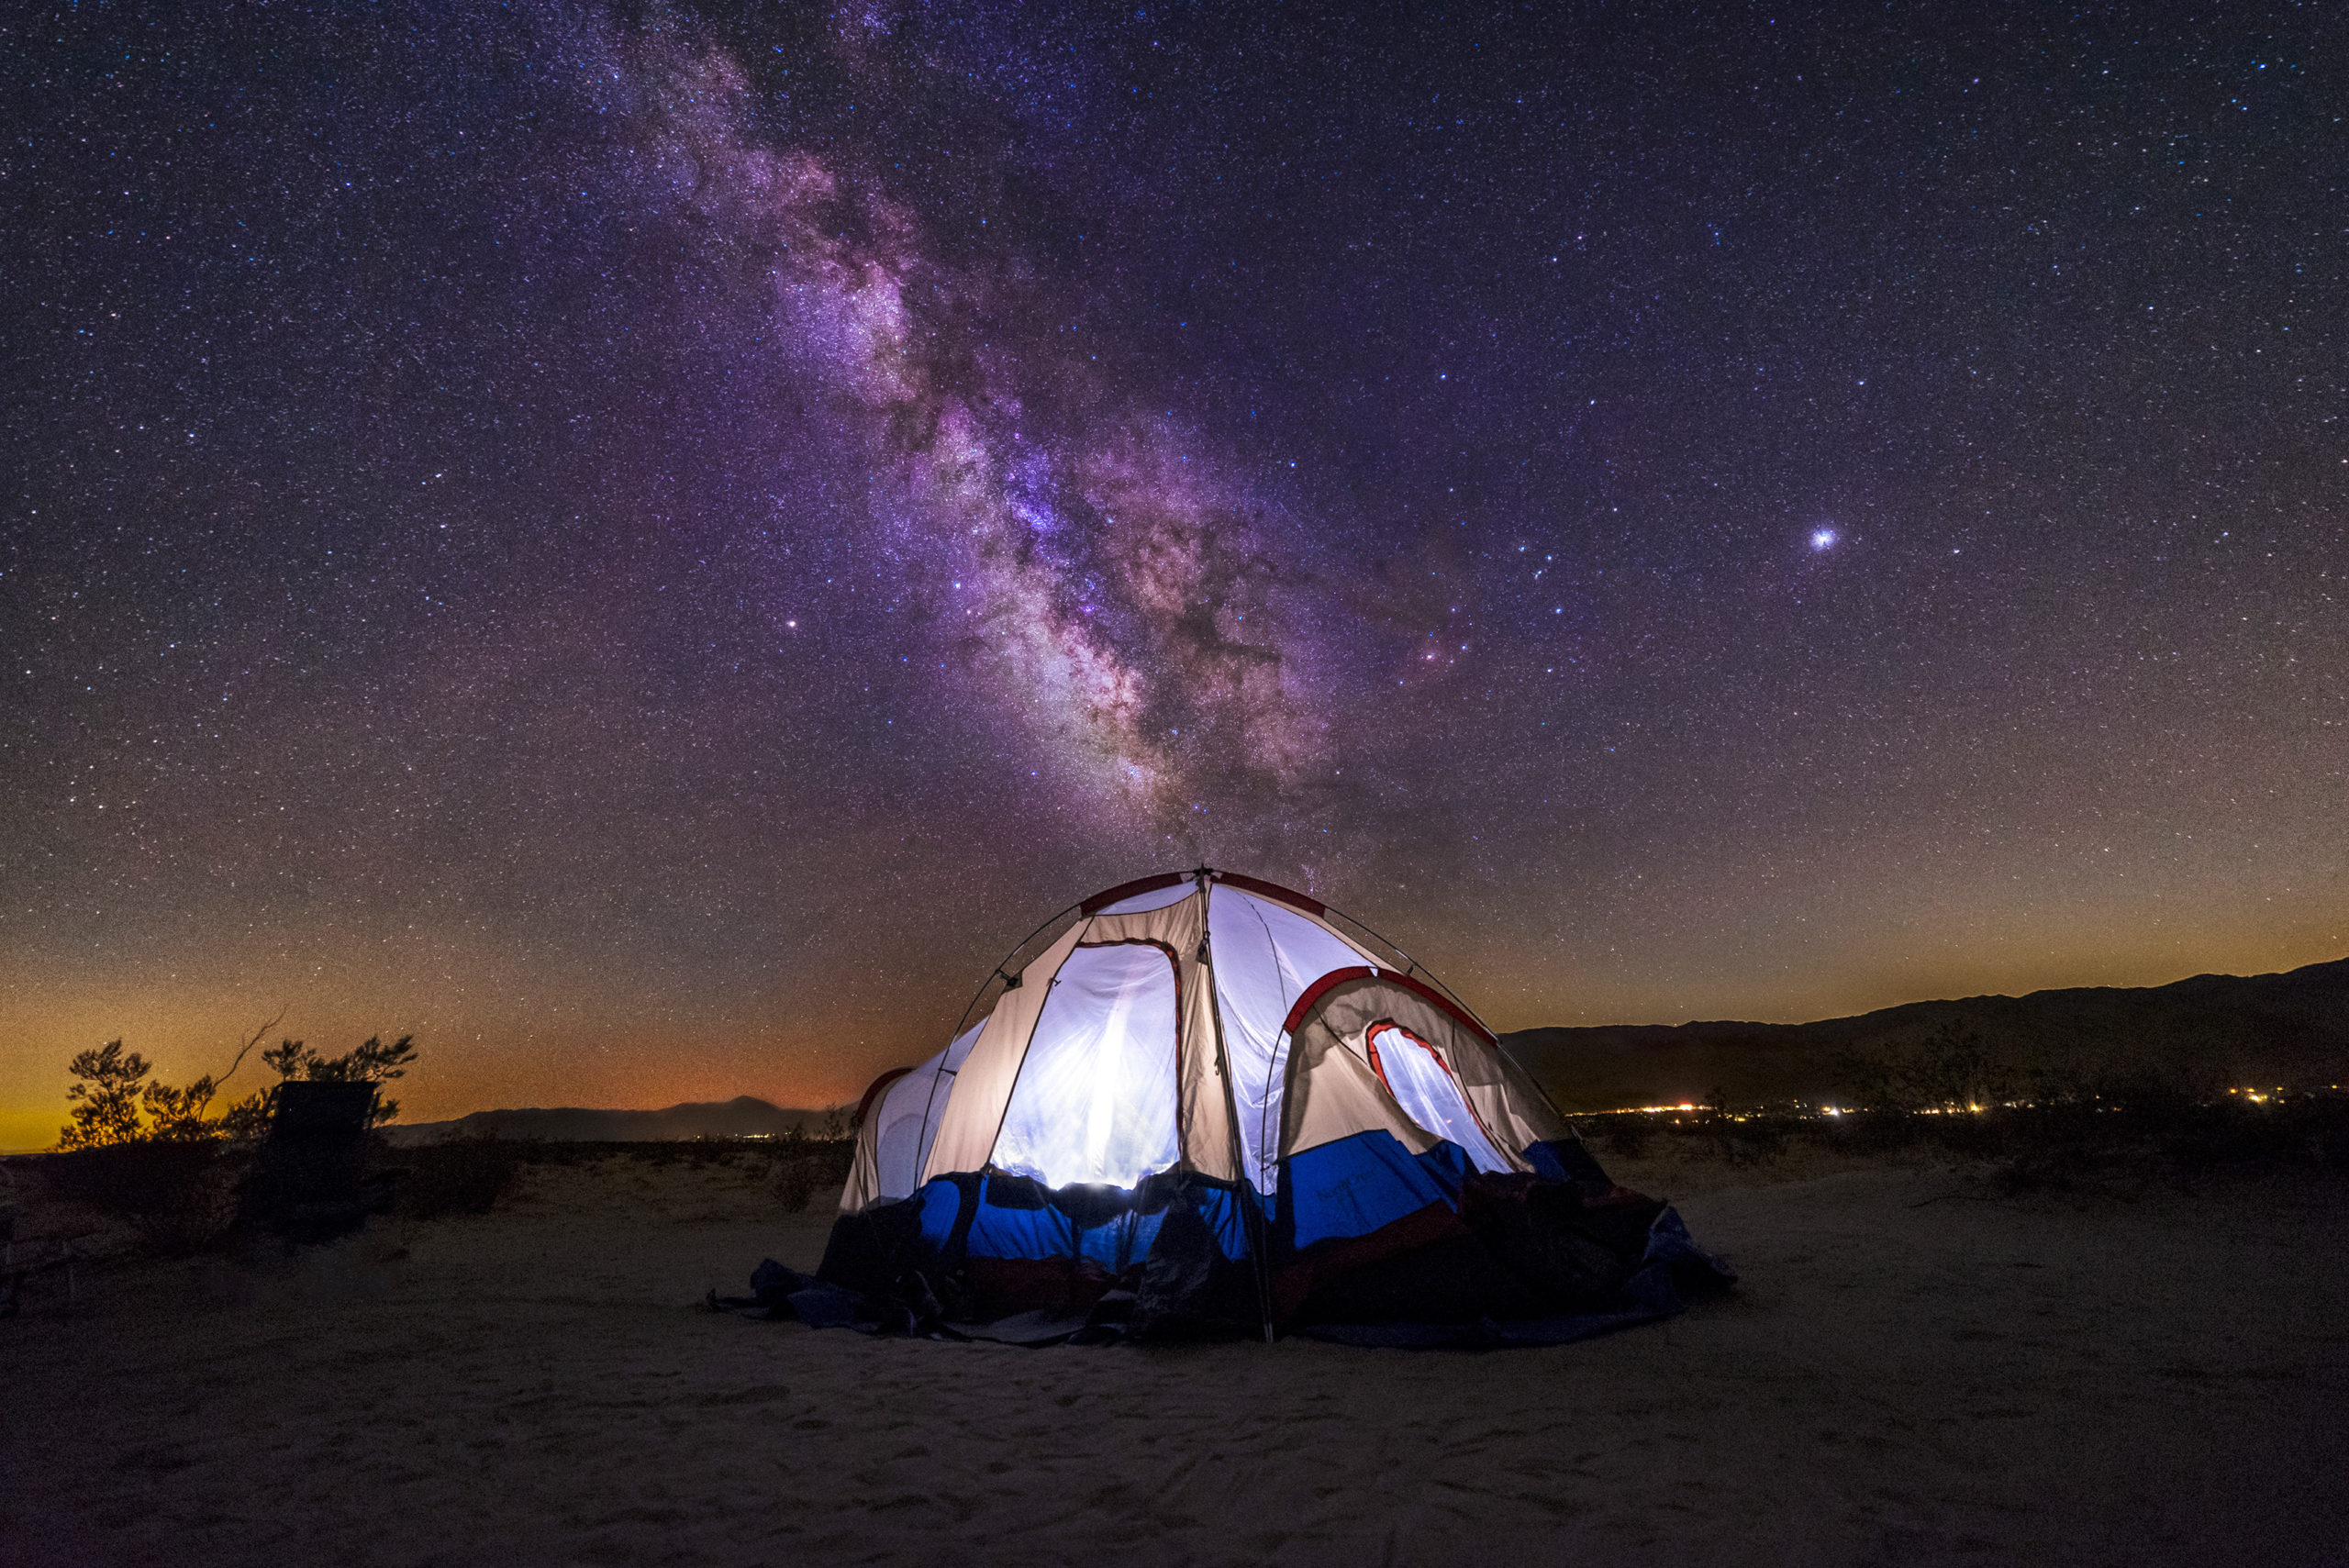
A great way to combat this issue altogether is to camp and not just assume you will be parking, photographing, and driving home.
Set up a home base, and sleep when you can.
Know your limits and trust yourself when you think you are too exhausted to drive. Be safe!
8. Go during the right conditions
Obviously, the only way to see the stars is if you are going during the right conditions. This means doing your research beforehand and seeing what the weather is going to be like in that area.
If it says “Mostly Clear,” I usually end up going, knowing that a few clouds will not ruin my whole night.
If the weather calls for “Partly Cloudy,” it really is up to you. I have gone numerous times when it has said partly cloudy and either been completely skunked or completely surprised. The weather really is a coin flip and can change rapidly.

If for some reason it was supposed to be clear out and clouds ended up blocking the whole sky, don’t be discouraged. You can’t control the weather, but you can control your perspective on the situation.
I could have not captured one usable shot, but still been happy that I was out in nature and not at home. Once you start getting into that mindset, all of your trips, whether successful or not, start to become an adventure to look back upon.
The other factor that you can accurately predict is the moon. The moon has different phases ranging from a new moon (no moon) to a full moon (fully bright out). If you haven’t guessed already, a full moon is not a good time to go when shooting the stars.
The moon becomes so bright it illuminates the entire landscape, blowing out the stars.
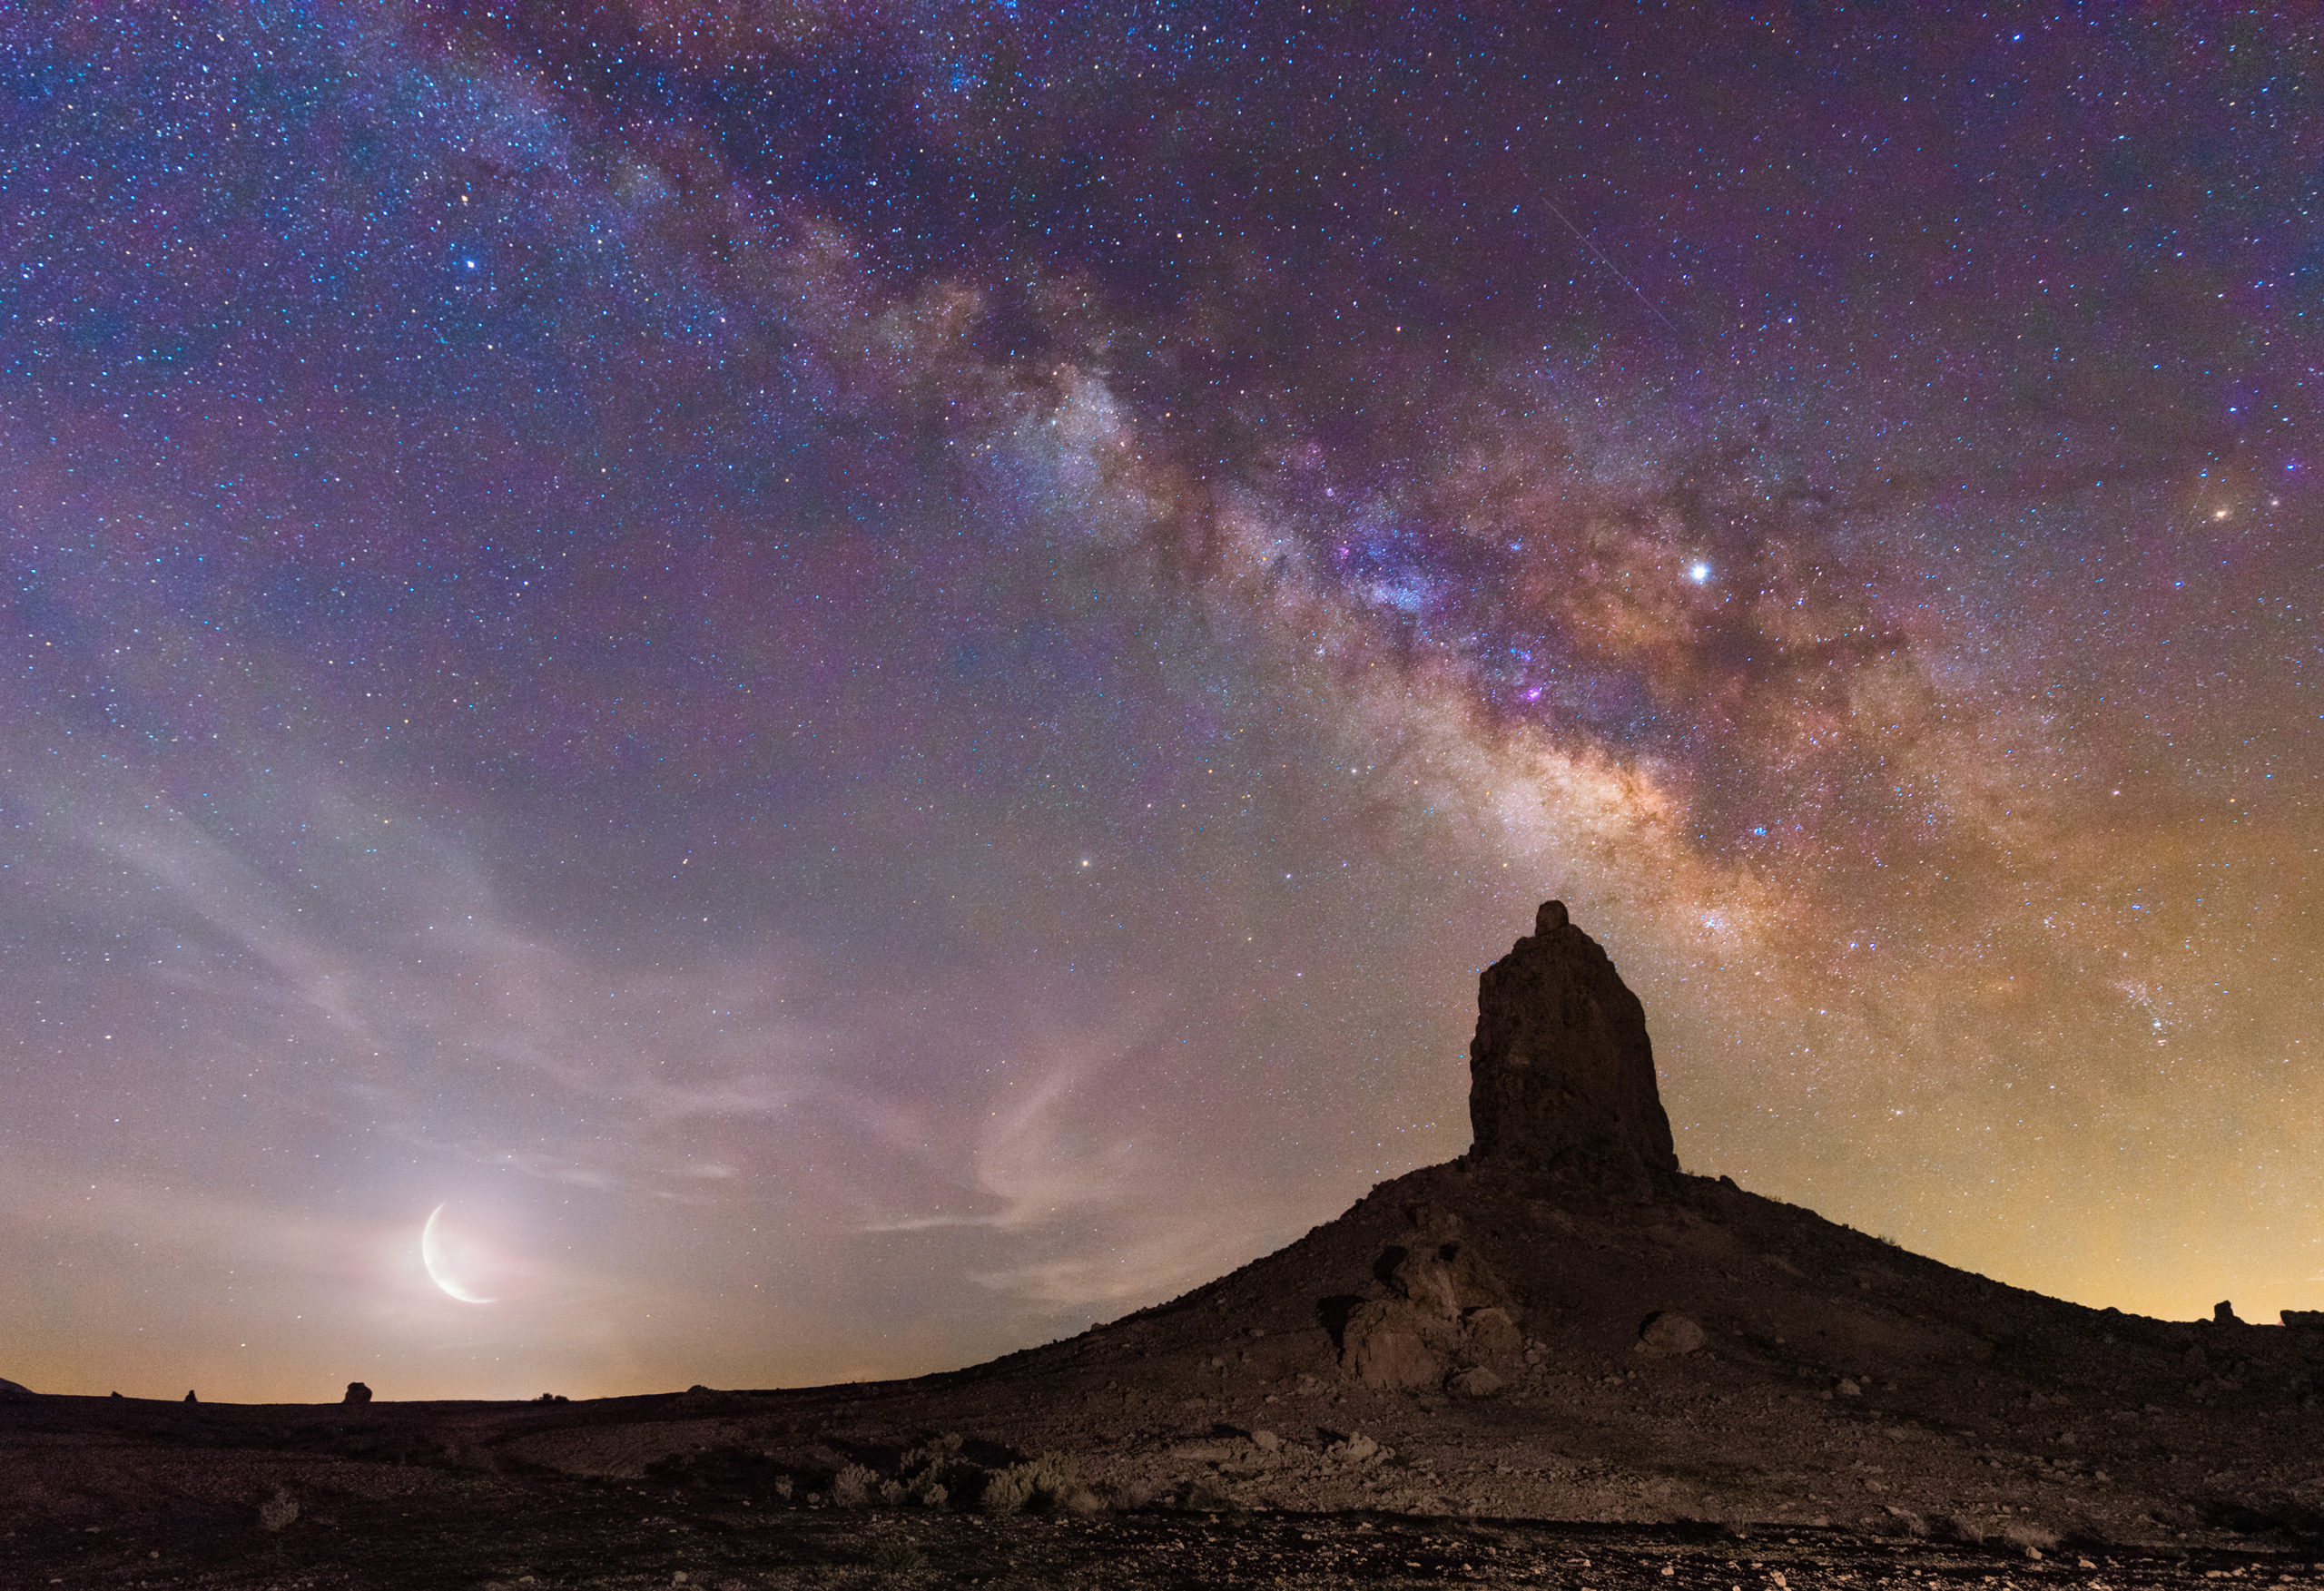
Plan to go around a new moon, as this will give you the best chance of photographing under a completely dark sky.
Here are some websites and apps to see when the different phases of the moon will occur:
- https://www.timeanddate.com/moon/phases/
- https://stardate.org/nightsky/moon
- https://www.photopills.com/ (PAID)
- https://www.photoephemeris.com/ (PAID)
9. Know where in the sky you will be shooting
Besides knowing where you will be shooting, it will be helpful to know where in the sky you will be shooting, right?
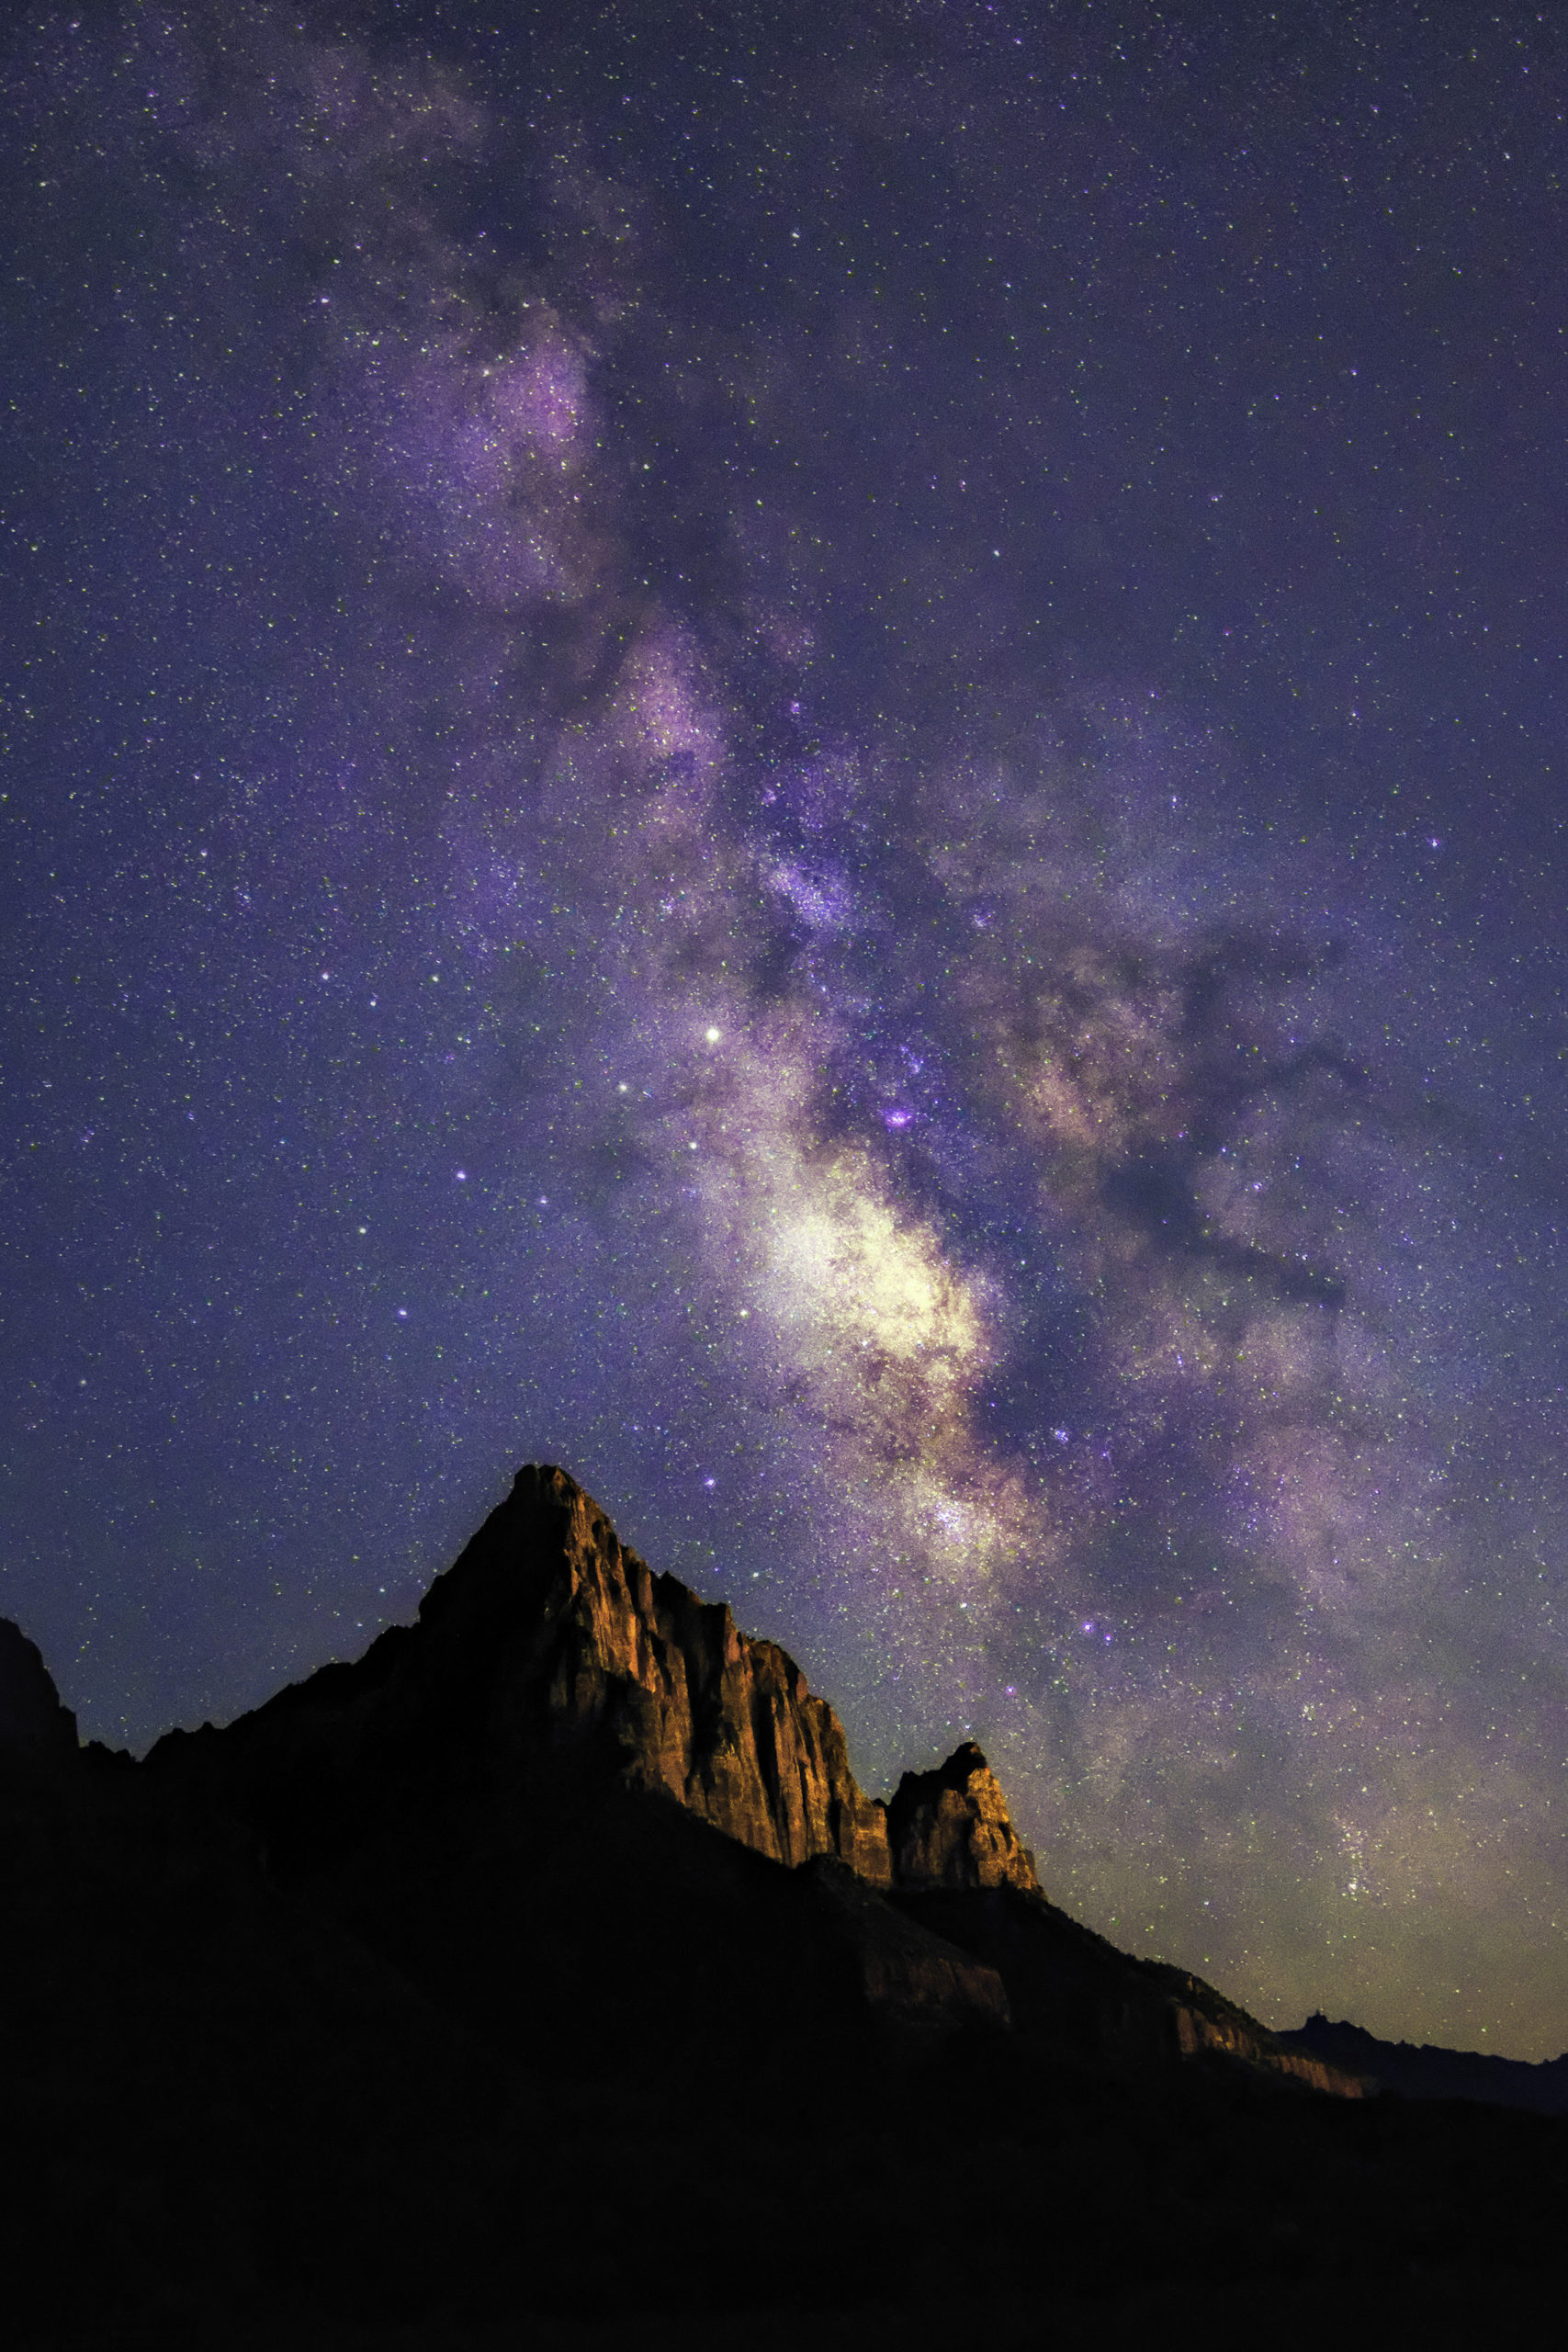
Of course, you may just want to photograph the sky from any direction, capturing different stars and celestial objects. But if you have a specific subject in mind (like the Milky Way), you need to know where the Milky Way will be in the sky.
A great application to help with this is Photopills. Photopills provides an augmented reality, where you can see the direction of the Milky way when it rises and when it sets, all at YOUR specific location! It also does this with the Moon and the Sun.
If you are curious about finding a particular constellation, there are a number of free mobile apps that can help you find what you’re looking for.
10. Understand the 500 Rule
Last but not least, is the 500 rule. This rule is a staple in night photography which is why you might hear it over and over when researching more about this particular subject.
The 500 rule is basically a way to calculate what your camera’s max shutter speed can be so you don’t obtain star trails based on your focal length. If you read my article on How to Capture Star Trails, you know that if you take a long enough exposure, the stars will start to trail.
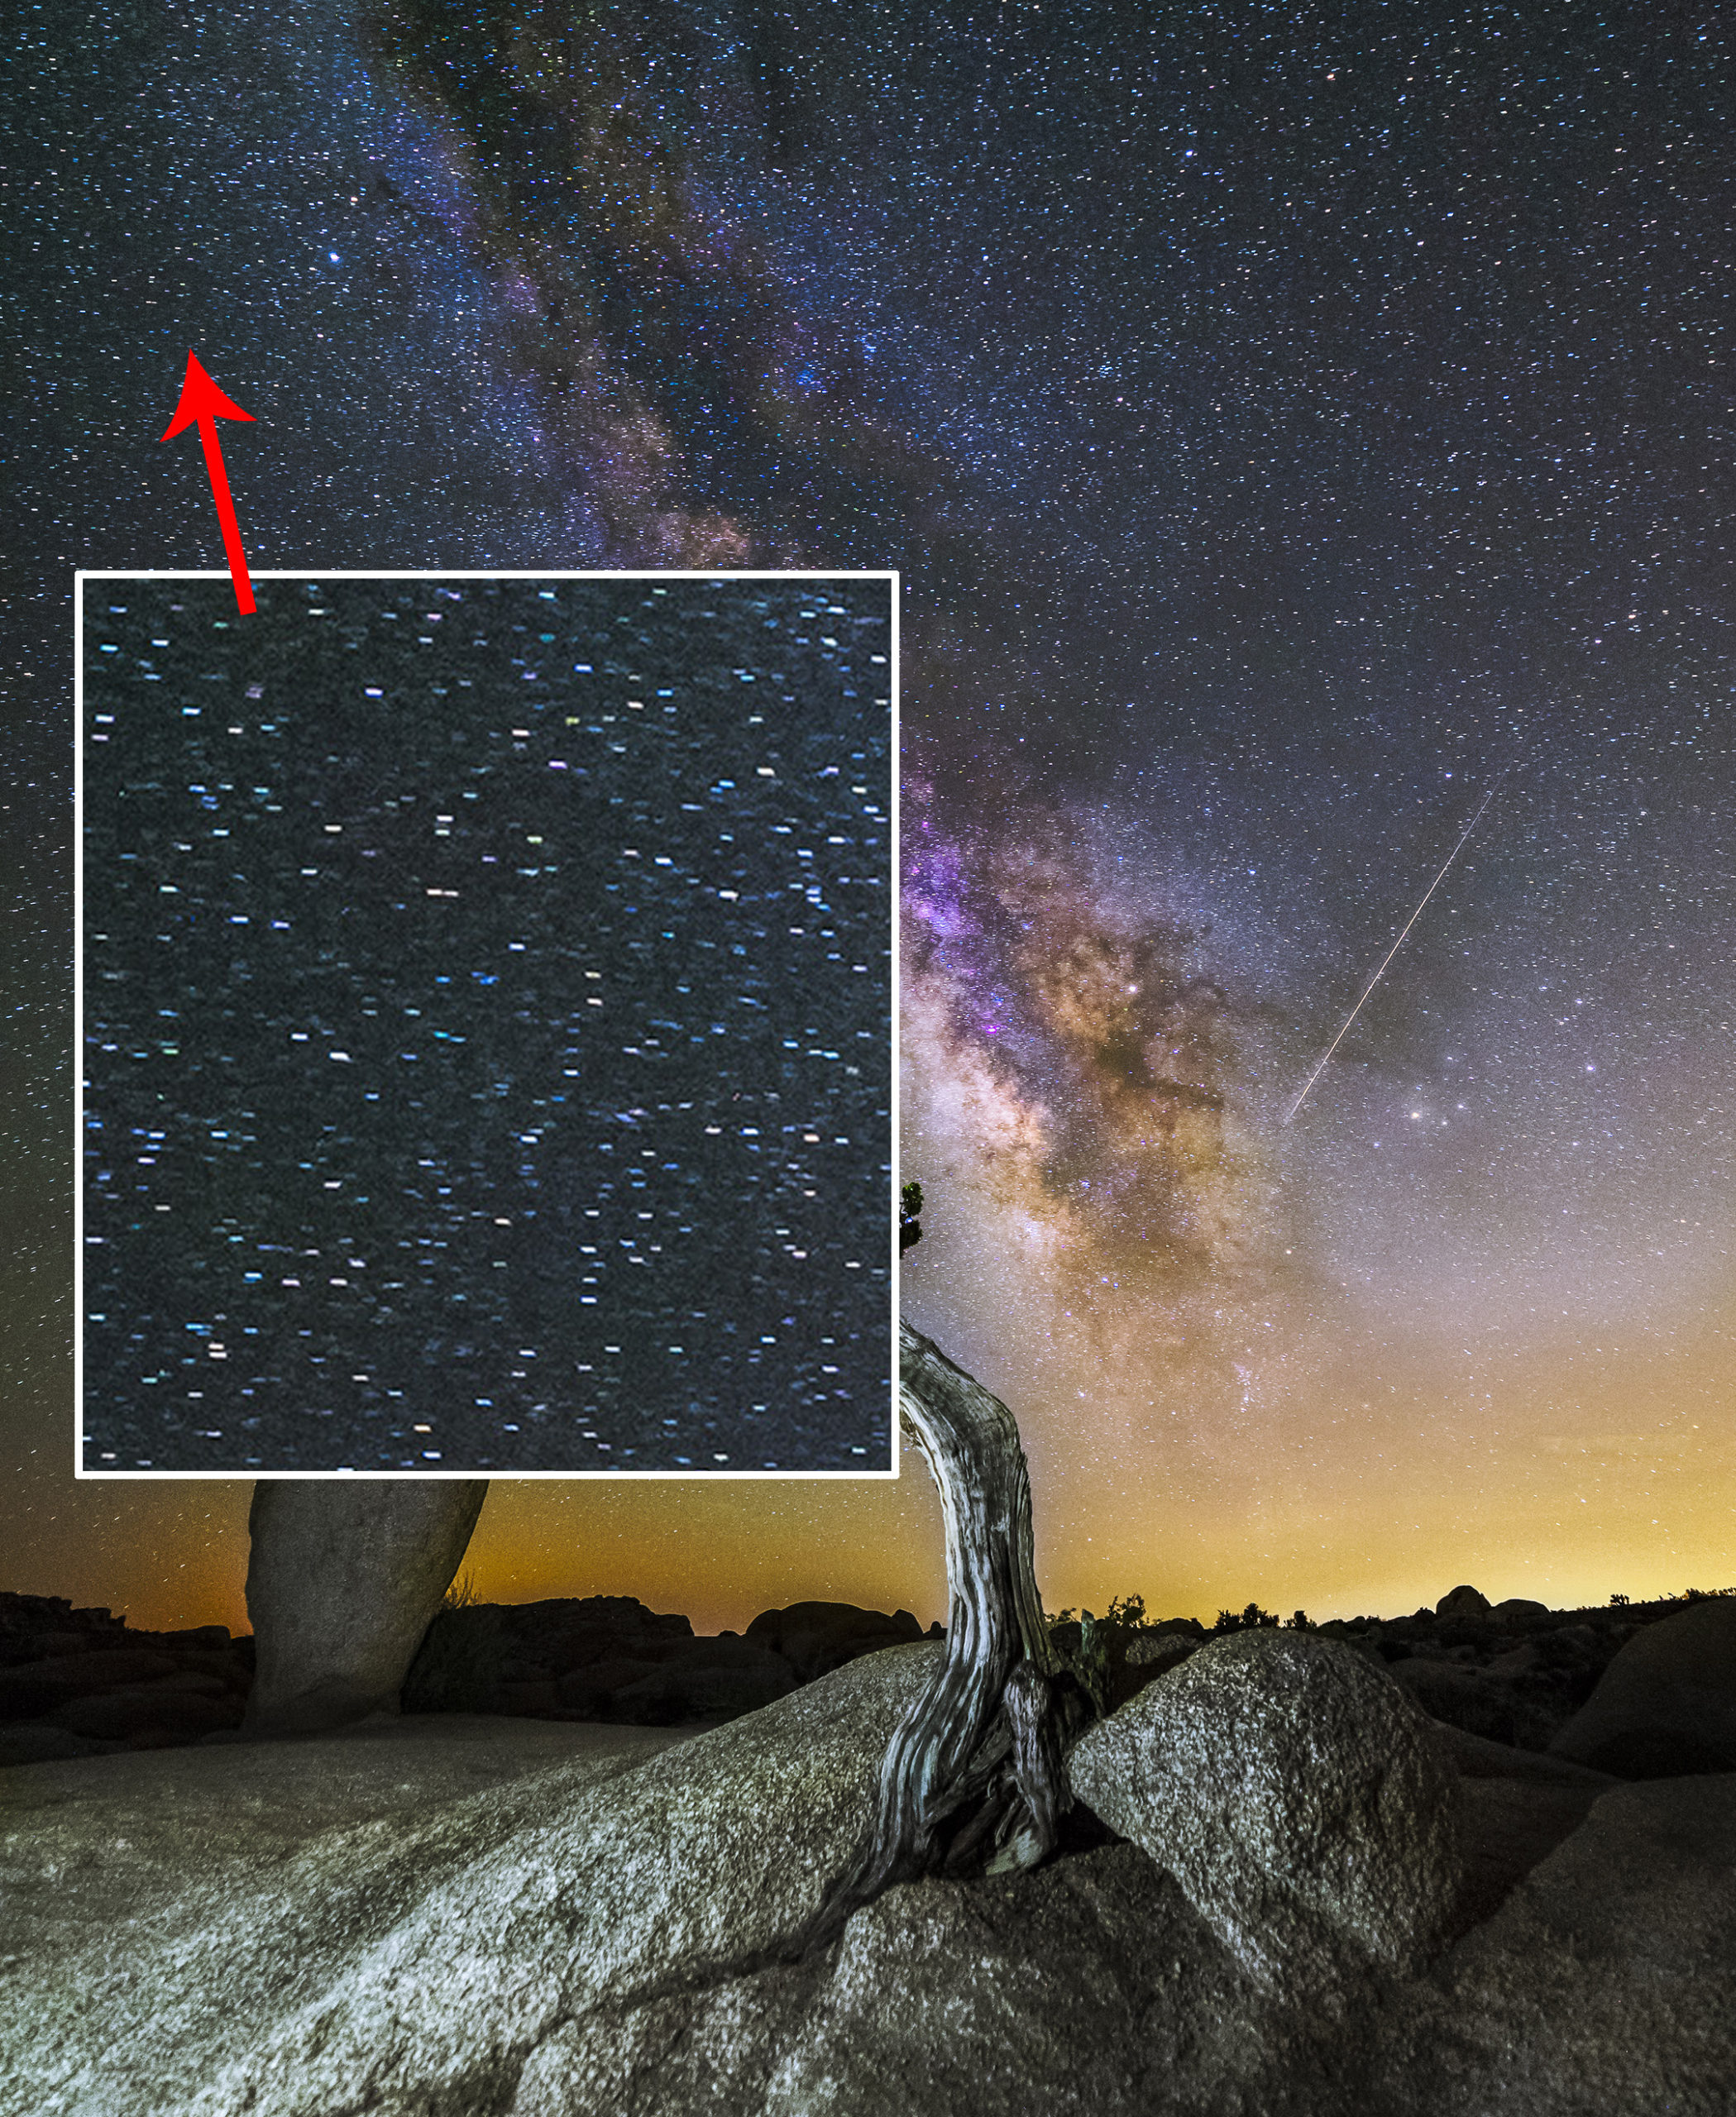
If you zoom into the image, you can see the stars are starting to trail.
If you do not want this effect in your images, the 500 rule is a great and easy way to see what your shutter speed needs to be when using different lenses.
The rule is: 500 / Crop Factor x Focal Length = New Shutter Speed
An example would be if I am shooting at 24mm on my Nikon D750 (Full Frame camera)
500 / 24 = 20.833 = 20 seconds.
Since my camera is a full-frame camera I did not have to calculate the crop factor. If you have an APS-C sensor (read my article here), you will just multiply your focal length by 1.5.
There you have it! 10 tips to successfully plan a night photography shoot.
Have fun, be safe, and keep photographing!