Imagine this. It’s a perfect moment. The sun is hitting the mountain just right. No one else is around. Colorful clouds fill up your frame. Maybe some wildlife is peacefully roaming in the foreground. You take the picture. And then — it’s blurry.
You check your focus and its fine.
You take another picture — it’s shaky.
But how? You start panicking and before you know it that perfect moment in time is gone. And all you’re left with are some half blurry, half shakey images to show for it.
Ok, I know that’s a bit exaggerated, but the main point remains the same with any type of photography.
Shaky/blurry photos SUCK! And they are extremely frustrating!
Now before you just accept this and hope one day your photos will come out sharper, I have some very important information to tell you on capturing sharp, crisp photos.
Because from photographer to photographer, there is nothing, let me repeat, NOTHING, more satisfying then zooming in on a picture and having it be pin sharp.
This is also one of the biggest questions beginners ask themselves when taking pictures. Right after “Why is my image too dark or too bright. I answered those questions in my article “Unlock Your Camera’s Potential With the Three Factors of Exposure.”
The good thing about this problem is that it is very easy to fix! So let’s jump in and figure out how to take sharp images.
1. Focus
Focusing is one of the biggest issues beginners run into. I definitely did when I started out!
To explain focus, I need to first start out by describing where the focus is and the different types of focusing methods are.
The focusing element is located on your lens and is usually placed either close to the camera body or toward the top of the lens. Some lenses have a “see-through part” with different numbers and symbols, and some have a “ring-like part” integrated into the lense.

The numbers and the infinity symbol represent the different focal positions.

For this lens, the focus ring is built inside of the lens.
Now that you know where the focus option is on your lens, how do you focus?
There are 2 different types of focusing methods. Auto Focus and Manual Focus.
Auto Focus is what most people are probably familiar with because it is the most commonly used. Once in Auto Focus, all you have to do is half-press the shutter button to hear the camera make a small sound and viola! Your image or subject is focused.
To get to Auto Focus, the lens or camera body will give you an option to switch. For lenses, Auto Focus is abbreviated as AF or A. On camera bodies, the Auto Focus option could be in several different places, so I would recommend just looking that up.
From the above explanation, Auto Focus seems great. It focuses for you, is easy to activate and is almost always very fast. So why not stay on Auto Focus for all eternity? Just like Auto Mode, Auto Focus sadly has its limits.
That is where Manual Focus comes in!
Manual Focus (which is abbreviated on the lens as MF or M), is the act of manually turning the focus part of your lens, hence the name. If you look through your Live View Screen or Viewfinder, you will see that whenever you twist the focus ring, the image either becomes blurry or sharp.

But again, why would you ever want to manually focus if you can just use Auto Focus?
The answer is because Auto Focus will not always focus on the particular part of the photo you want to be focused on.
Sometimes, you may want to focus on something close up and have the background blurred, and sometimes Auto Focus will not understand your vision.
That is a situation in which you would switch over to manual focus.
In landscape photography especially, manual focus is the best option to use because you can confidently know your image will be focused. Manual focus is about zooming into the scene on your LCD and turning the dial precisely until you see perfect sharpness.
With Auto Focus, all you do is half-press the shutter button and hope your image is focused. Don’t get me wrong, Auto Focus does work — just not all the time.
If you want to start taking pictures of the night sky, Manual Focus is essential. Since the stars are so far away, Auto Focus will not work. It could try and maybe get close but never truly focus on the stars. Manual Focus is the only way to properly focus on the stars and galaxies above.
2. Shutter Speed
Shutter speed is the second element that could be the cause of your shaky photos.
In a brief summary, shutter speed is a setting that controls the movement of a subject in your photos. Shutter speed can blur or freeze a subject. It also brightens up or darkens the image.
If you want to learn more about shutter speed or the other manual settings, check out my article here.
It is also a major factor when taking handheld shots. No matter how still you think you are, you are always going to be moving the camera, even if it is extremely minuscule. Your camera will feel that and sadly translate it into the image.
That is why when taking handheld shots, the lowest (or slowest) shutter speed I recommend going to is 1/80 sec. Any lower and you risk accidentally adding shake into your image.
So what if you need to go lower than 1/80 sec? That is where my next tip comes in. The Tripod.
3. The Tripod
The infamous tripod. You have probably seen or heard of this type of equipment. It is extremely popular to use in any type of photography.
But my guess is you have also seen a lot of articles and videos on if a tripod is even necessary?
My answer. YES, IT IS.
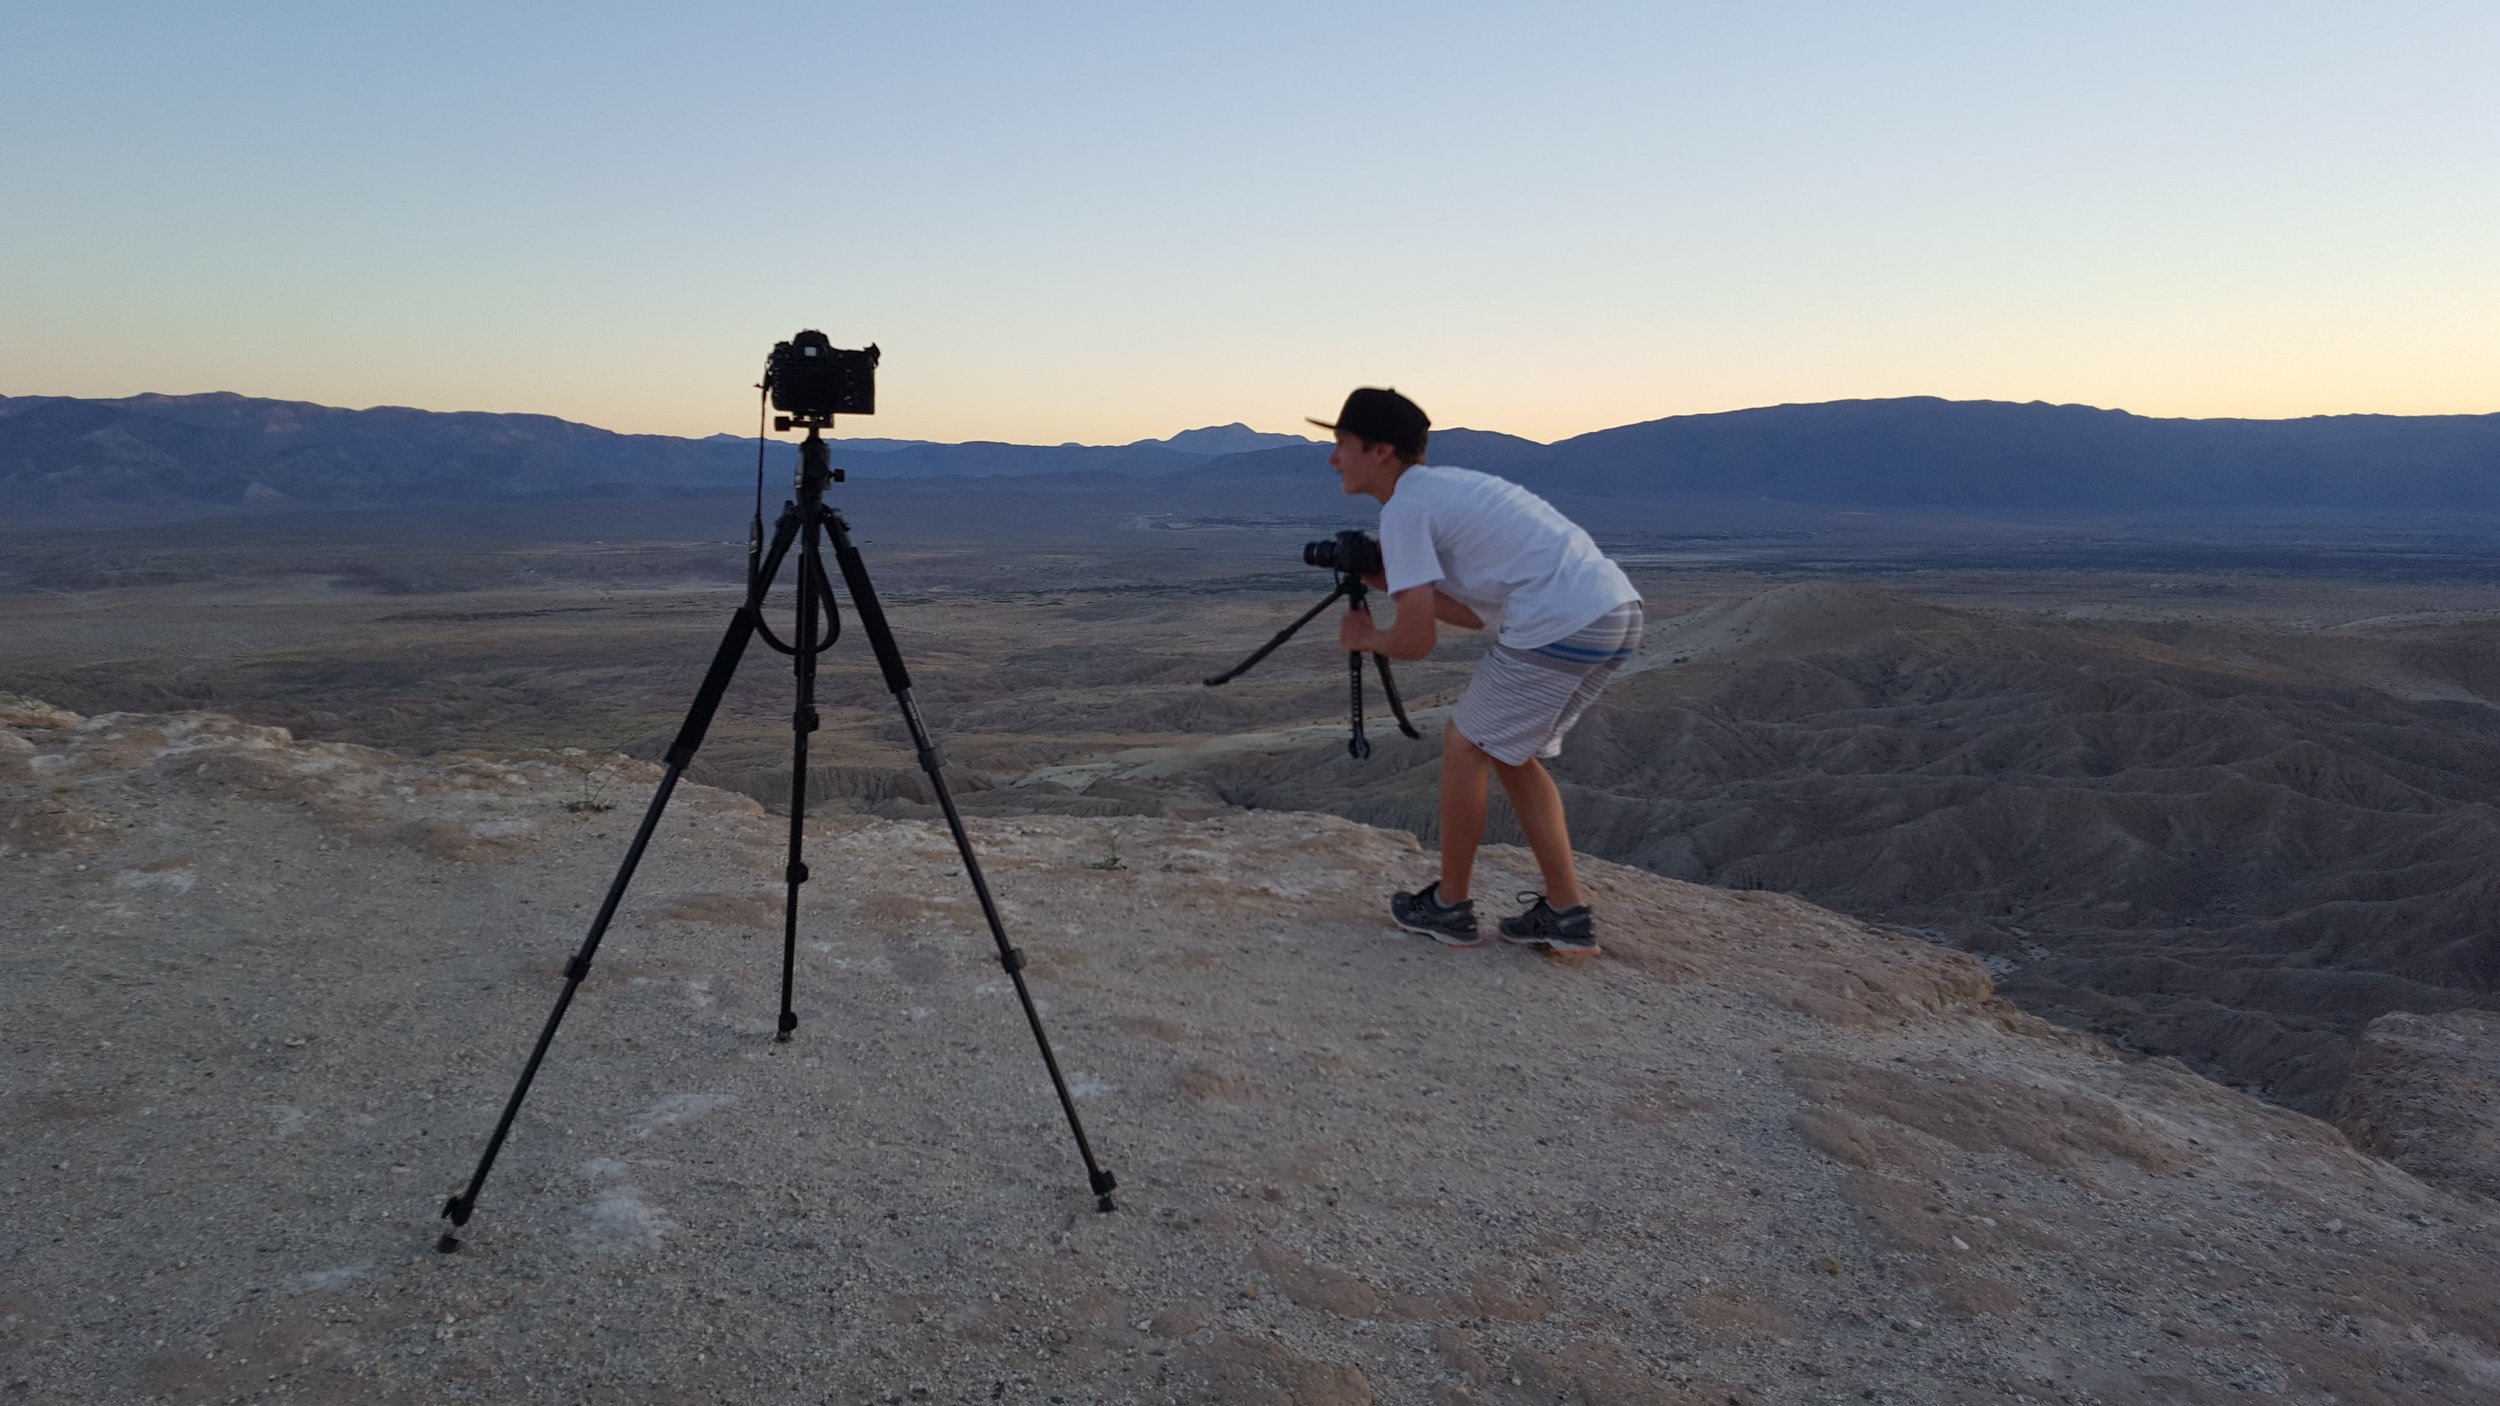
I don’t care if you are shooting portraits or landscapes or pictures of bugs, YOU NEED A TRIPOD.

Tripod’s not only minimize shake but also keep your camera in place, which is absolutely essential for any self-shots or timelapses.
A tripod allows you to choose any shutter speed and have the picture come out shake free. You could shoot a ¼ sec exposure or a 30-second exposure. Just make sure NOT to accidentally bump or touch the tripod while it’s taking the image!
4. Self-Timer Option
This one seems pretty simple but a lot of people forget to use this option.
Remember those family pictures where someone pressed the button, quickly ran over, and you had to hold yet another smile for about 10 seconds? That person used the self-timer option on the camera.
And the good news is that you can use this option to eliminate any shake. Although a tripod helps you out greatly, there still could be some shake from when you touch the camera to take the picture. That is why it is always safe to use the self-timer.
And no, if you choose to use the self-timer, you do not have to wait 10 seconds for every image.
There are options to go as low as 2 seconds, which is what I personally use. It is just enough time for any shake from your hand to be eliminated, all the while making the whole process more efficient.
5. External Camera Remote
My final tip is using an external remote.
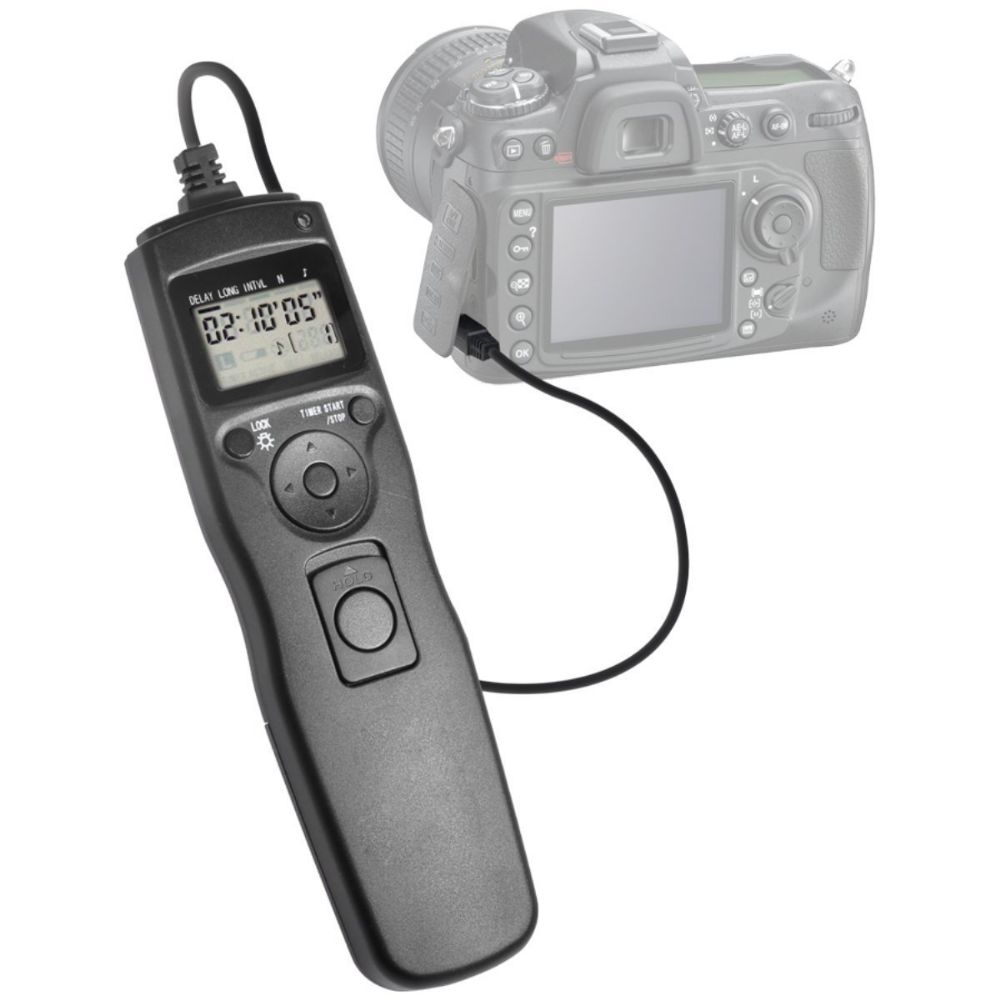
These are also referred to as intervalometers and are available for most cameras.
Intervalometers are basically a replacement for the self-timer button.
For most intervalometers, you plug them into the side of your camera and then you can take the picture by just pressing the button on the intervalometer.

This means no camera shake and no waiting.
There are other camera remotes, with some being apps you can get on your phone and some that are even wireless. Before you purchase any of these products, always make sure they go with your camera model.
These are also really helpful when shooting timelapses, but that’s for another article.
So there you have it, 5 tips on how to eliminate camera shake. Try them out and I promise that if you use these techniques to their truest extent, there will be no more blurry photos on your SD card!


