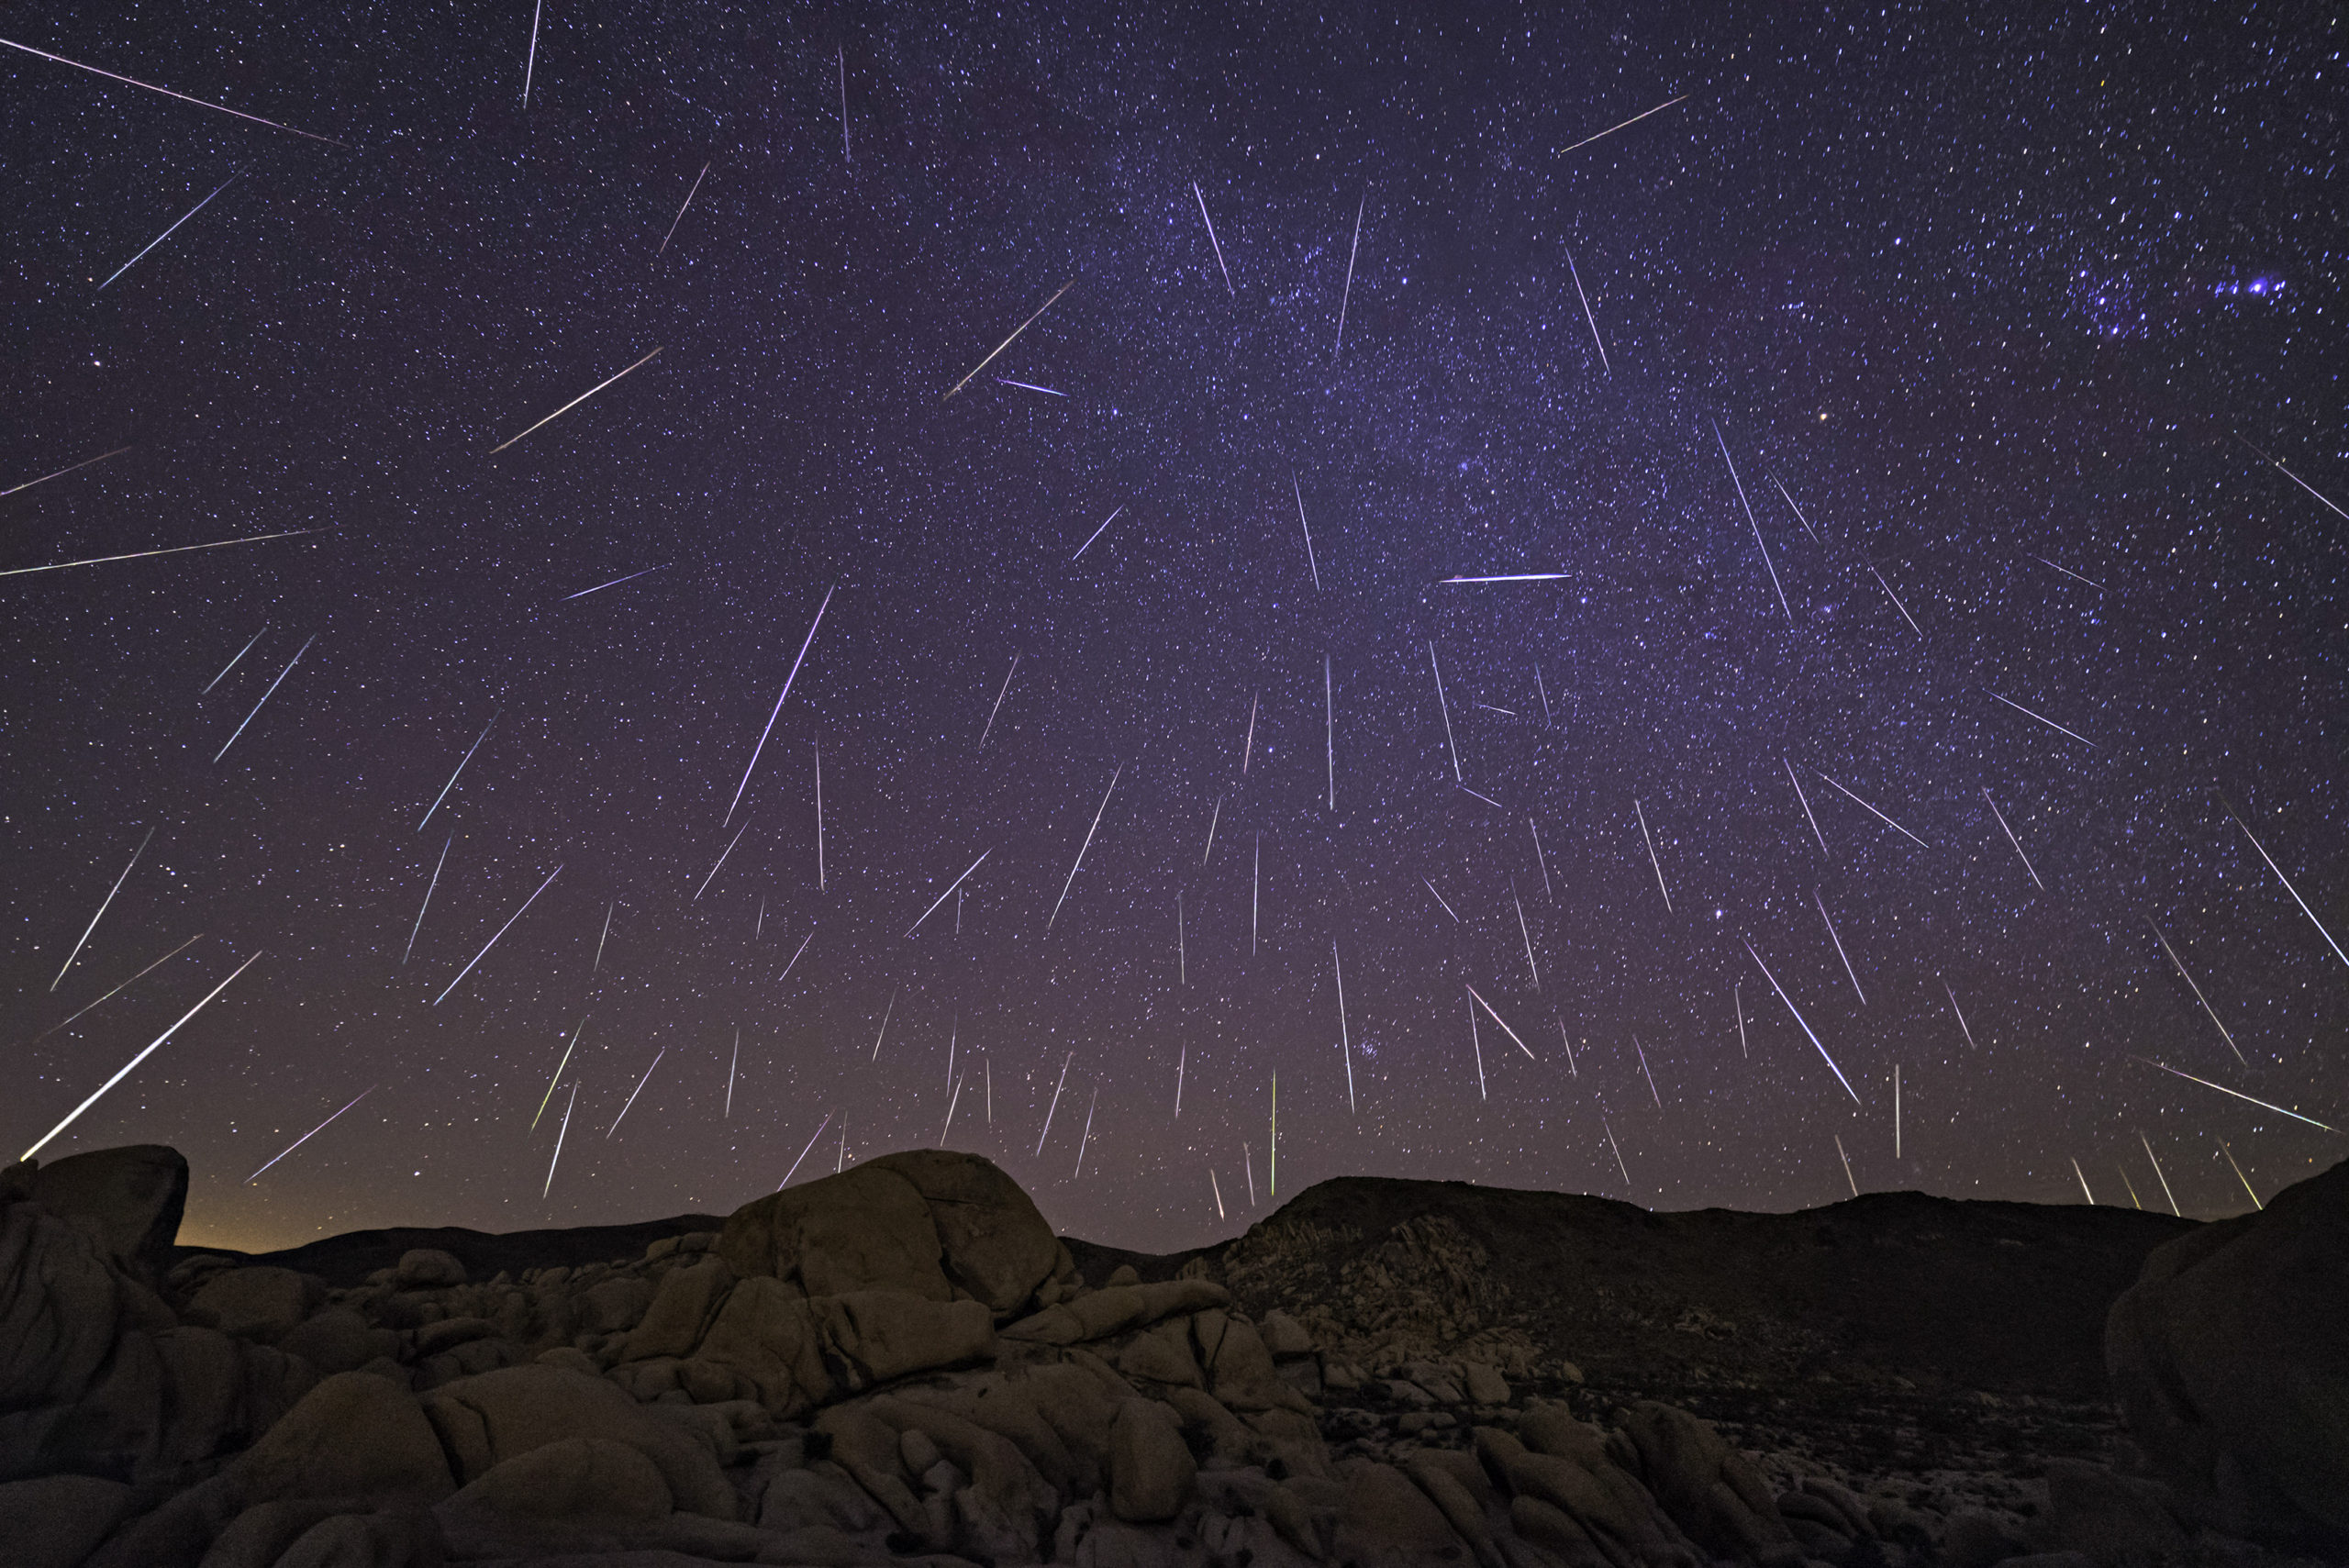
The Geminids Meteor Shower is peaking this week, so I’m going to let you know the best times to watch it and even photograph it!
Each year, Geminid meteors streak across the sky between December 4 and December 16.
This year, the peak of the meteor shower will be in the evening hours of Sunday, December 13, and early hours of Monday, December 14. If you are watching from a dark location, you might be able to see 50 – 100 meteors per hour!
This DOES NOT mean there won’t be plenty of meteors to enjoy and photograph before or after this date! If you are an extreme morning person, or an extreme night owl, you can start looking for meteors during the pre-dawn hours (I know, sadly meteor showers don’t take into account our sleep schedules).
Another great aspect is that the moon is a NEW MOON, meaning that you will have many glorious hours of pure dark skies to enjoy the show!
A fun fact about this particular meteor shower is that these meteors you will be viewing/photographing are crashing into the earth’s atmosphere at around 22 miles (35 kilometers) PER SECOND! These pieces of rock travel crazy fast but are spectacular to watch!
But let’s dive into what exactly a meteor shower is and how you can photograph one and capture some amazing images!
First off, if you’d like to check out the video I made about photographing a meteor shower, watch it here!
What is a Meteor Shower?
A meteor shower is a very awesome celestial event, where a number of meteors seem to come out from one point in the night sky. This common point is called the radiant or originate.
Meteoroids enter Earth’s atmosphere at extremely fast speeds and are a result of cosmic debris. Every time earth passes through this cosmic debris (leftover by comets), we see a shower of meteors.
There are about 9 meteor showers that occur each year, with each one varying in the number of meteors viewable. The best meteor showers can produce up to 100 meteors per hour, making these astronomical events a memory for years to come!
Where Do You Go to Photograph a Meteor Shower?
To see amazing meteors (and stars), you have to go somewhere dark. A place far away from any type of light pollution. The best resource I know of to help you find a location near you is the Dark Site Finder. Quickly type in your location and use the color-coded key to see places near you that are away from light pollution. Usually, state and/or national parks are good places to look at.
Once you arrive at your super dark location, you want to know where to look to be able to see the most meteors!
Remember how I mentioned the radiant above? This is the spot in the sky where you will see most of the meteors come from. For the Geminids meteor shower, the radiant is located in the constellation Gemini.
There are a handful of night sky applications available both on Apple and Android devices, that can quickly show you where different constellations are.
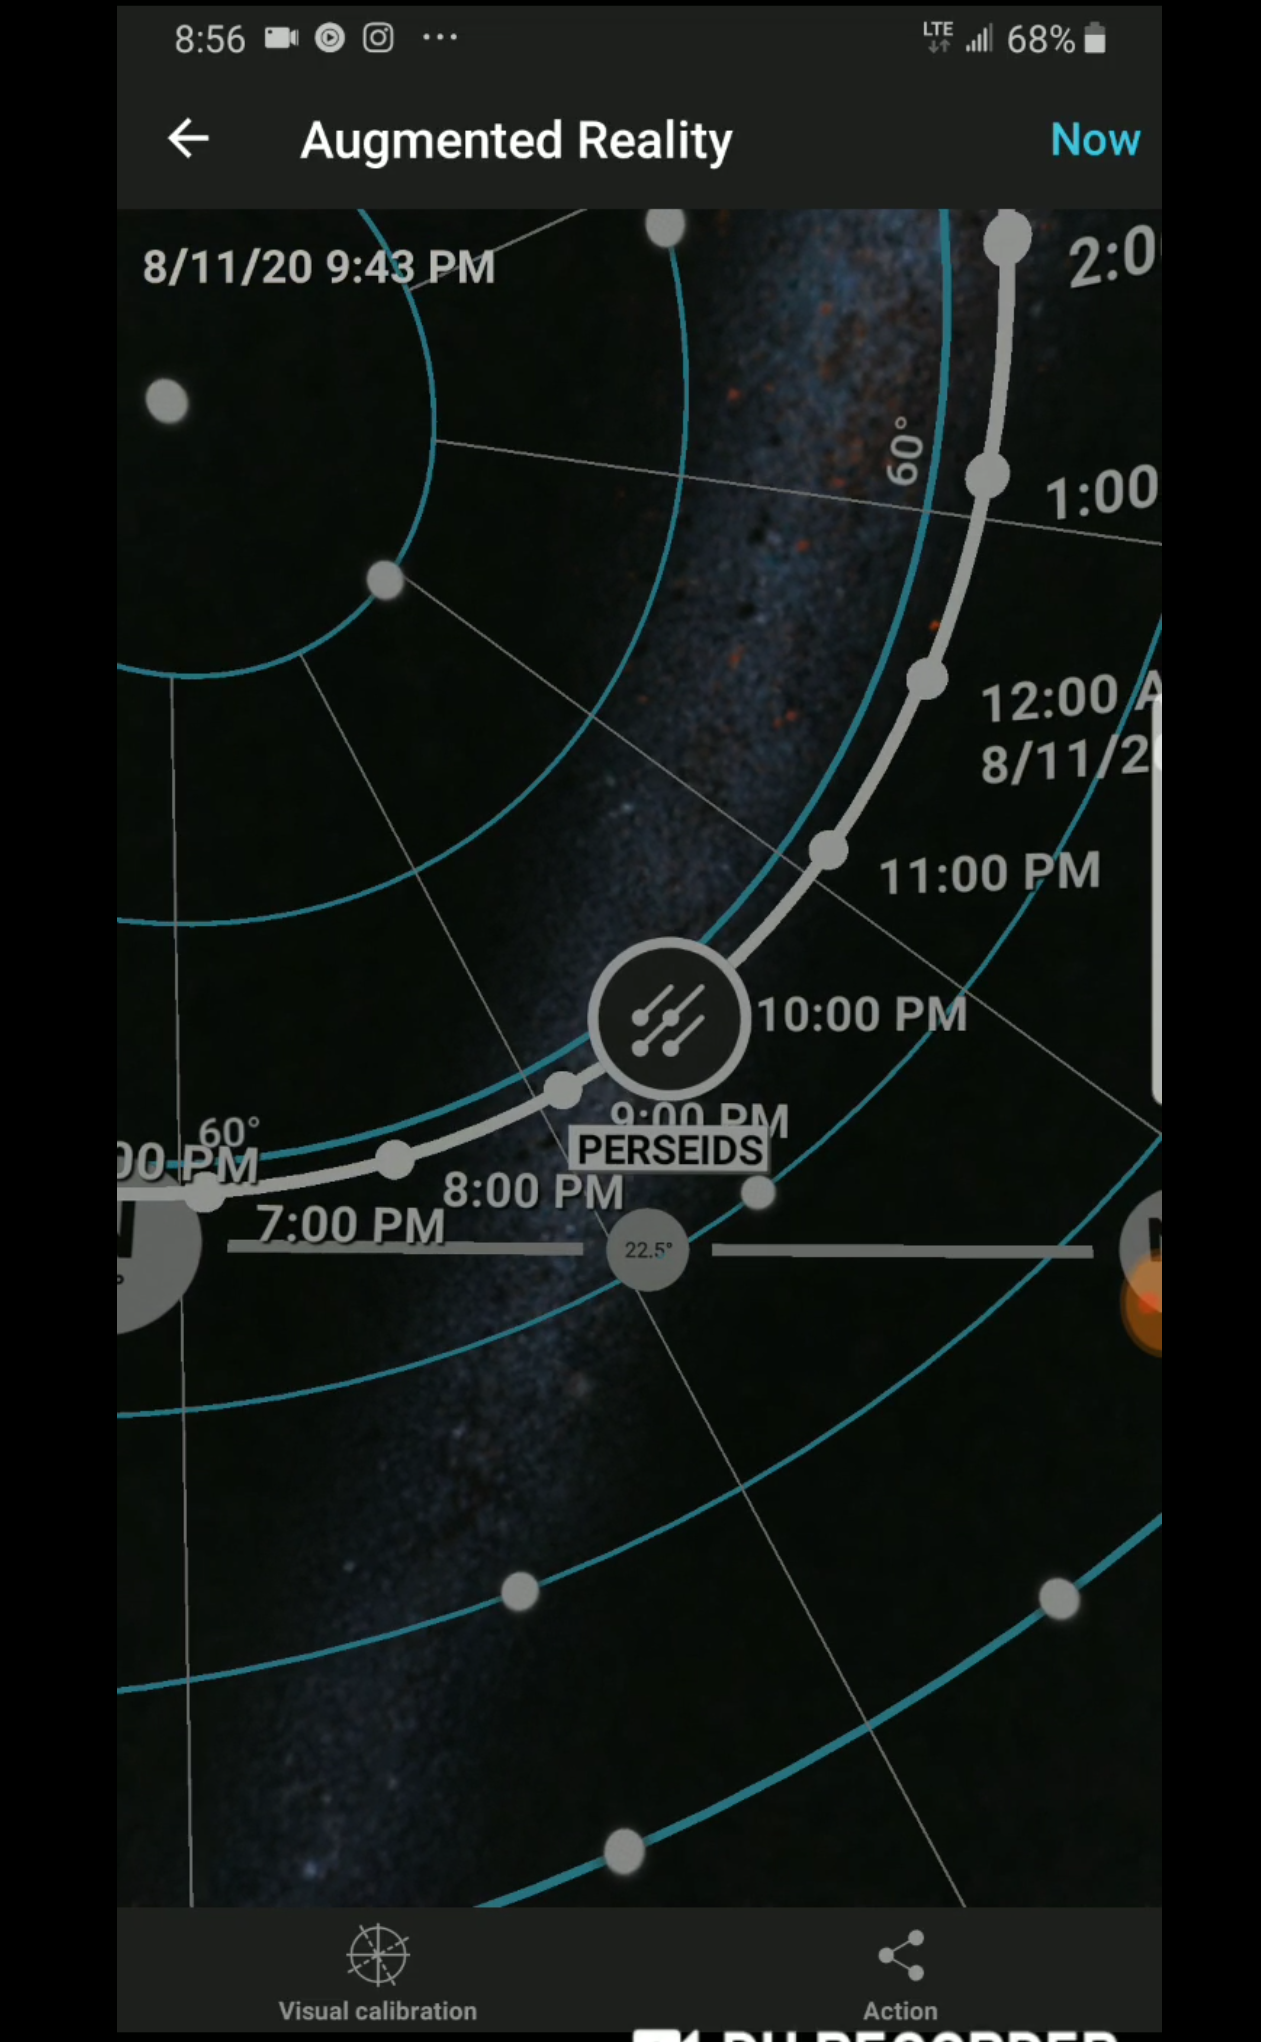
Better yet, the app, Photopills (available on both Apple and Android), shows you where the radiant will be and what direction it will move throughout the night!
What Equipment do You Need?
- Camera with Manual Mode
- Wide-Angle Lens with Low Aperture
- STURDY Tripod
- Flashlight/Headlamp
- External Remote
Camera Settings
Shutter Speed: 30 seconds
This shutter speed was chosen because I was planning on shooting a timelapse and wanted to capture as much as I could.
If you are planning on taking only single images, I would recommend using the rule of 500. You can learn more about that rule in my article here.
Aperture: F/3.5 or lower
Having a wide aperture allows you to capture the most light. Choose the lowest f-number available on your lens.
ISO: 3200 – 6400
The ISO will depend on how much noise your camera can handle as well as how dark your location is.
Shoot RAW
Shooting RAW allows you to maintain a lot more information in the image, as compared to JPEG. This means you have more flexibility when editing, which is always a bonus!
White Balance
The white balance will depend on your personal taste of how you want your night photos to look. I personally shoot with the customization of Flourescent or Tungsten.
How to Take a Timelapse
For meteor showers, I always shoot a timelapse. This allows me to not have to anxiously click the shutter button every time I think I see a meteor, and it also gives me the freedom to stargaze and not worry about the camera as much.
The beauty about setting up a timelapse is that it will continuously shoot for hours, capturing basically every second, increasing your chances drastically that you will capture some meteors!
To shoot a timelapse, you need an intervalometer. When buying one, make sure it is compatible with your exact camera model!
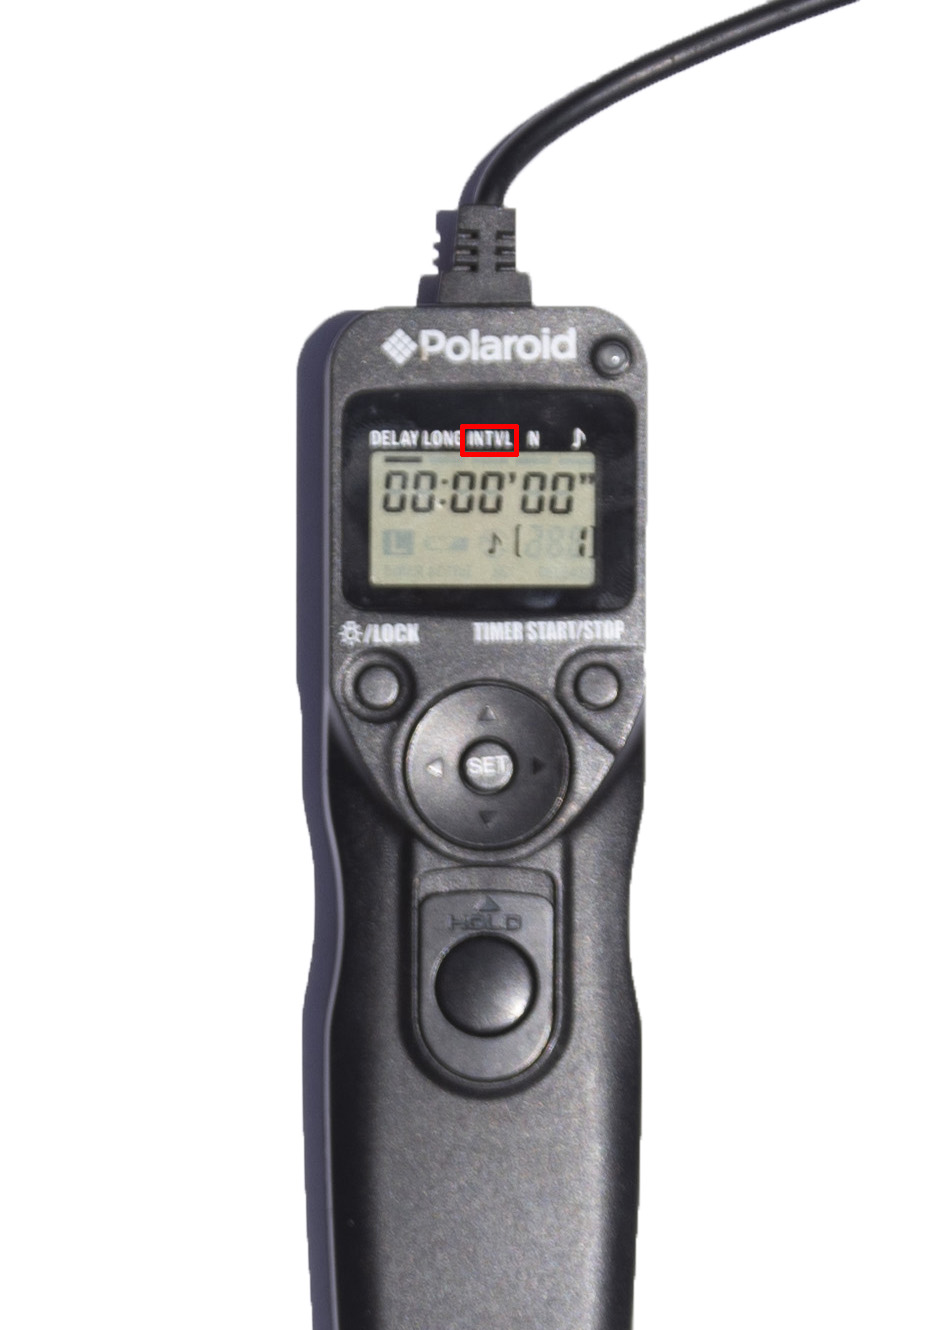
Next, set your interval (the time in between photos), to 1 second. This means that once your camera finishes an exposure, it waits 1 second, and takes another shot. I set the number of photos to infinity and then start the timelapse!
So again, the peak of this meteor shower will occur in the evening hours of Sunday, December 13, and early hours (2 am) of Monday, December 14. Maybe try and convince a friend or family member to go out to somewhere dark and watch some meteors crash into our atmosphere. I can’t think of a better way to start the day… or end the night.
Have fun and keep photographing!
