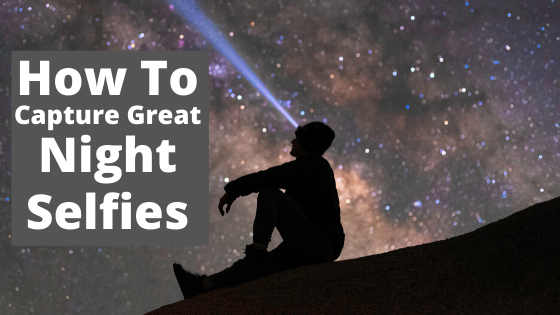
Fun fact, “selfie” was named word of the year in 2013. Since then, it has become even more popular. From celebrities to little kids, selfies occur around the world every single day!
If you have ever been to ANY national park or even just outside, you have probably almost been hit by a selfie stick or two.
Well, now it’s time to one-up everyone and take a selfie with the stars!
What you Need
- DSLR Camera with Manual Mode
- Lens (preferably wide angle)
- Tripod
- Shutter remote
- Dark sky
DSLR Camera
Even though you are taking a selfie, you still want to capture the stars behind you… DUH! That is why you need to have a camera with manual mode, so you can control all of the settings.
Lens
To be able to take the picture, you will need a lens. When starting out, I always recommend a wide-angle lens (14 – 30mm range) so you can capture as much of the sky as possible.
This is also beneficial for beginners who might have some trouble composing the shot because it is very hard to see anything.
Tripod
A tripod is an absolute necessity when it comes to any type of night photography!
Since you will be taking long exposures, you need to have a secure tripod so your camera does not move AT ALL during the exposure!
Shutter Remote
An extra precaution to make sure your camera is as stable as it can be is to use a shutter remote. If you want to learn more about these amazing little tools, click here to read my article about them.
Shutter remotes will also add tremendous value when capturing night selfies. If you are taking pictures alone, you can set the remote to start taking pictures and get into position. Easy as that!
Dark Sky
Now, of course, for you to actually take a picture with the night sky, you need to be able to see it. This means getting as far away as you can from any sort of light pollution.
Here is a dark sky map to help you see where any dark locations are near you.
How to Position Yourself
Now that you know what you need and have an idea of where to go, what do you do when you get there??
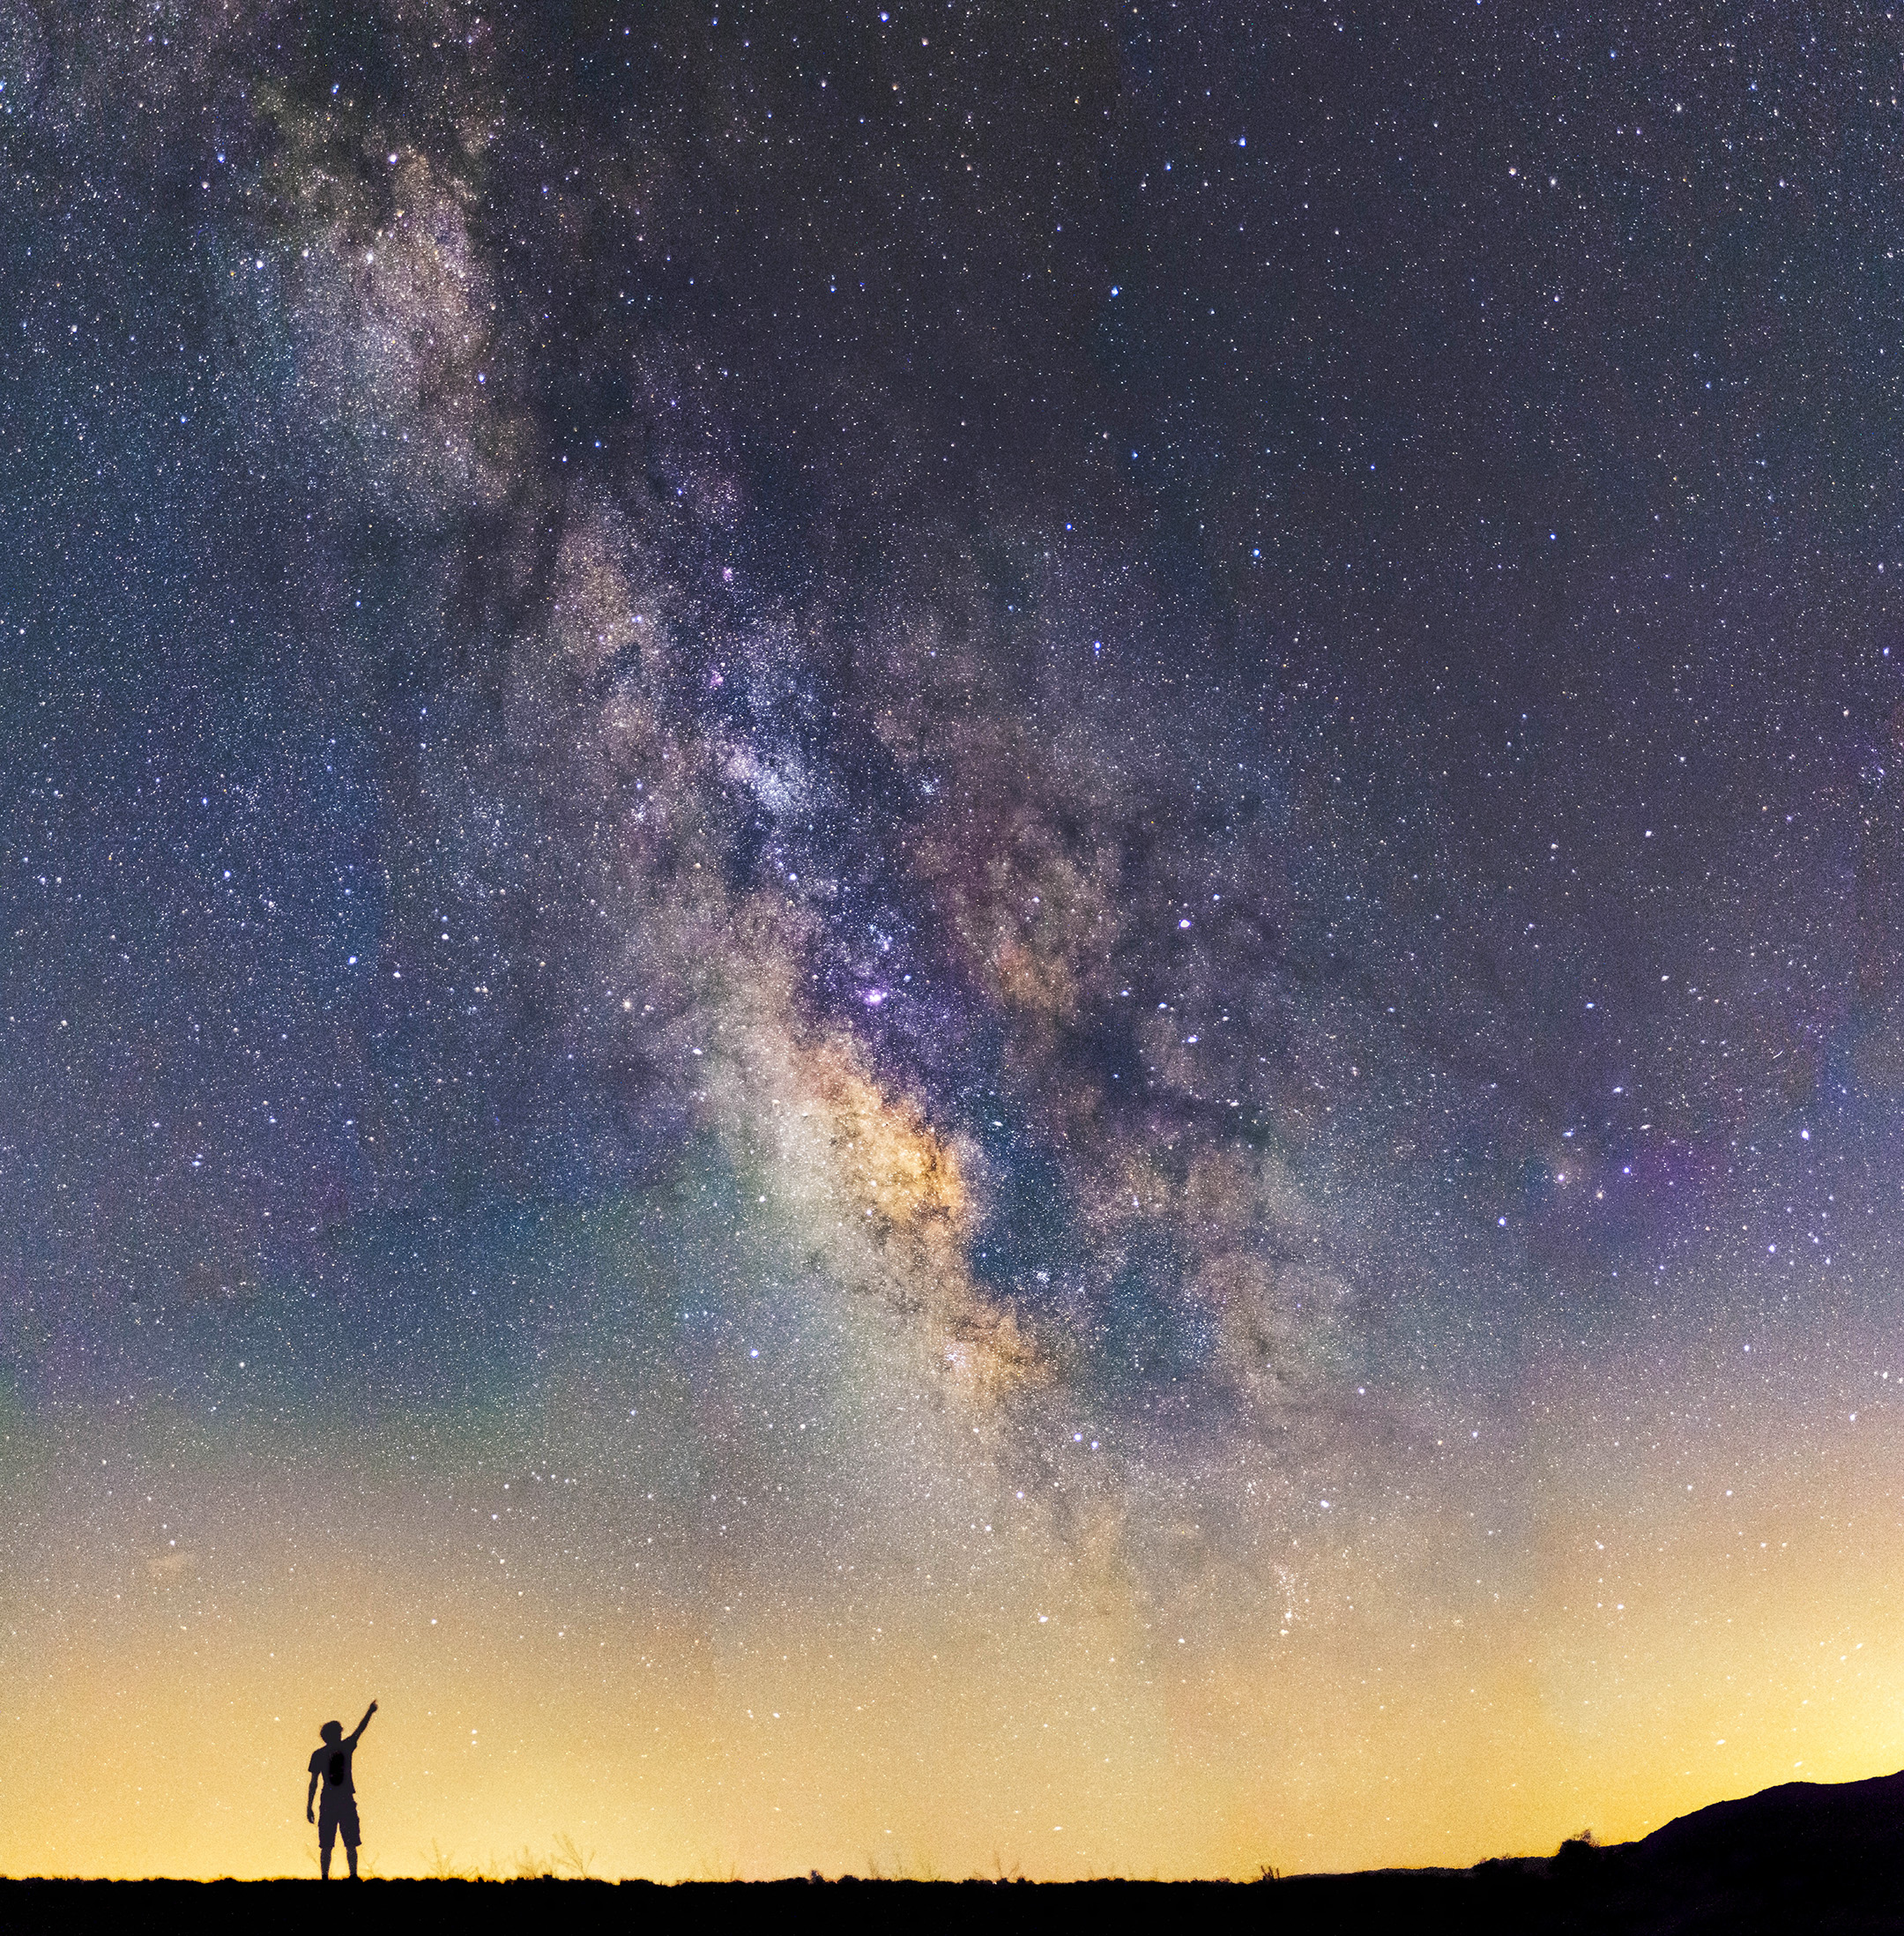
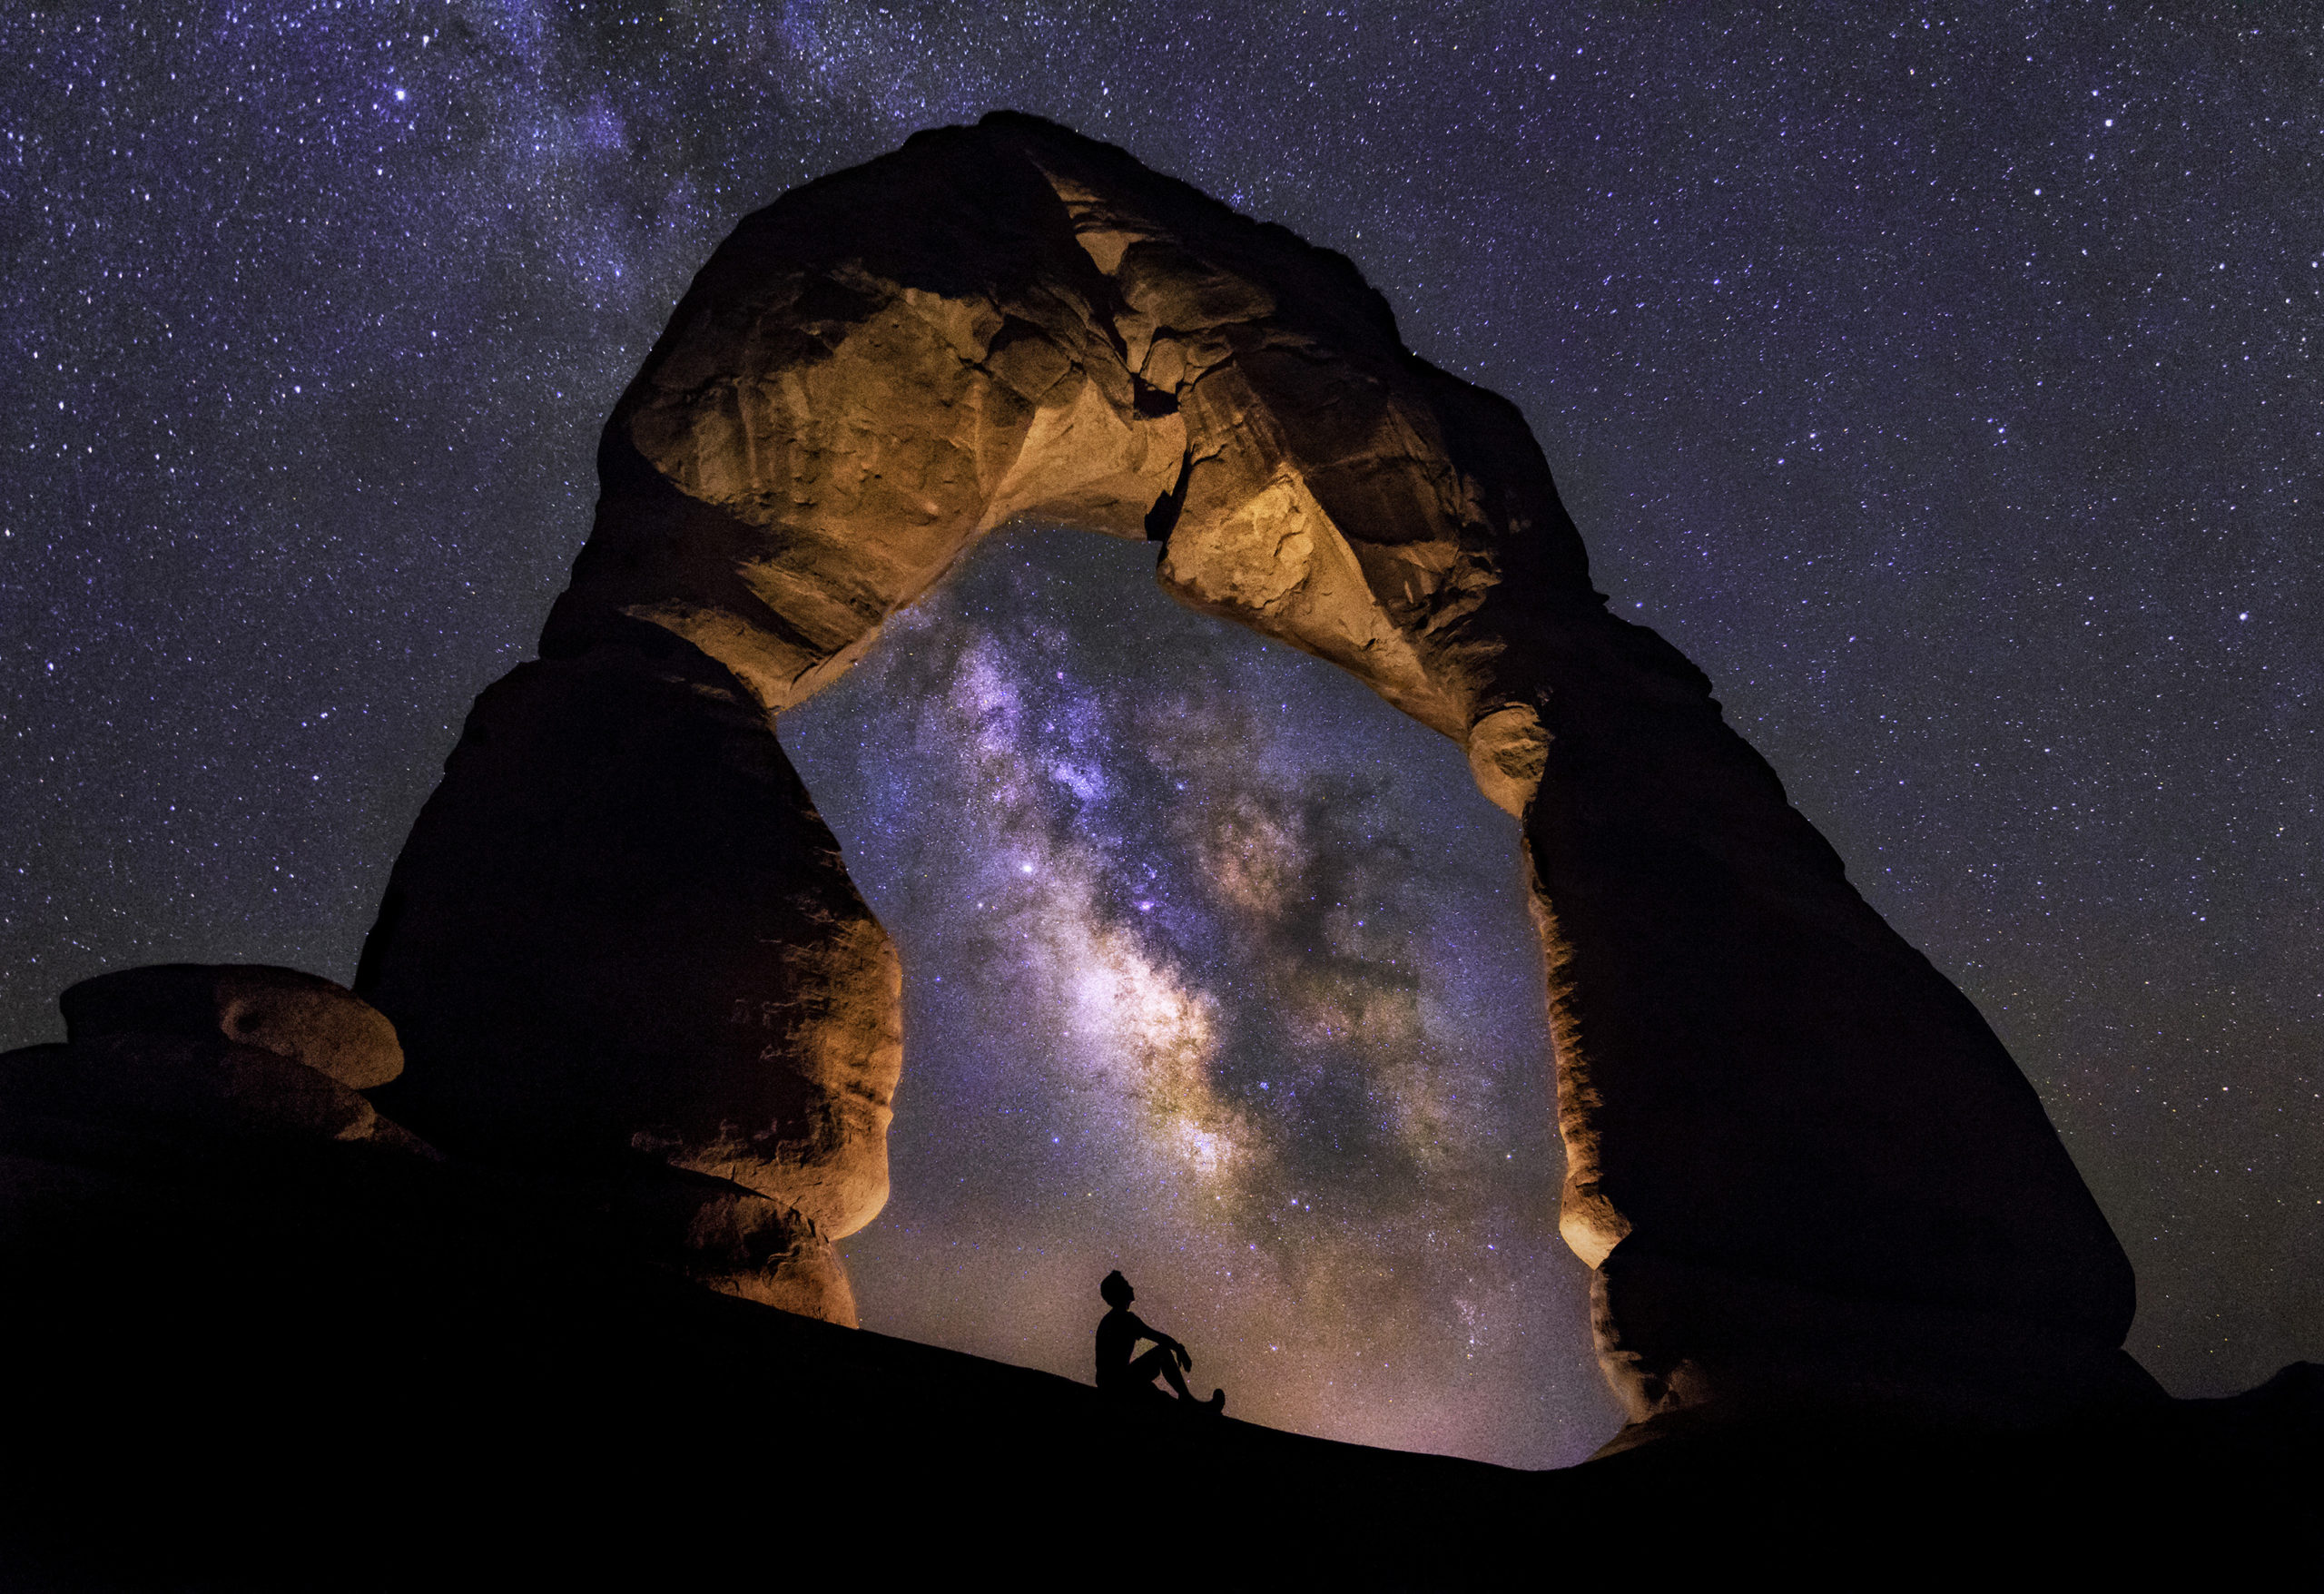
Personally, I love night silhouettes. They contrast extremely well with the night sky and can make for some pretty jaw-dropping shots. Others enjoy having themselves actually lit up, and I will explain how to do that as well.
First off, you need to find a rock, hill, ledge, really anything that has a high vantage point. The idea for this is that your whole body has to be against the night sky. No mountains, no trees, just you.
It’s a really simple concept that not many think about when starting out (at least I didn’t).
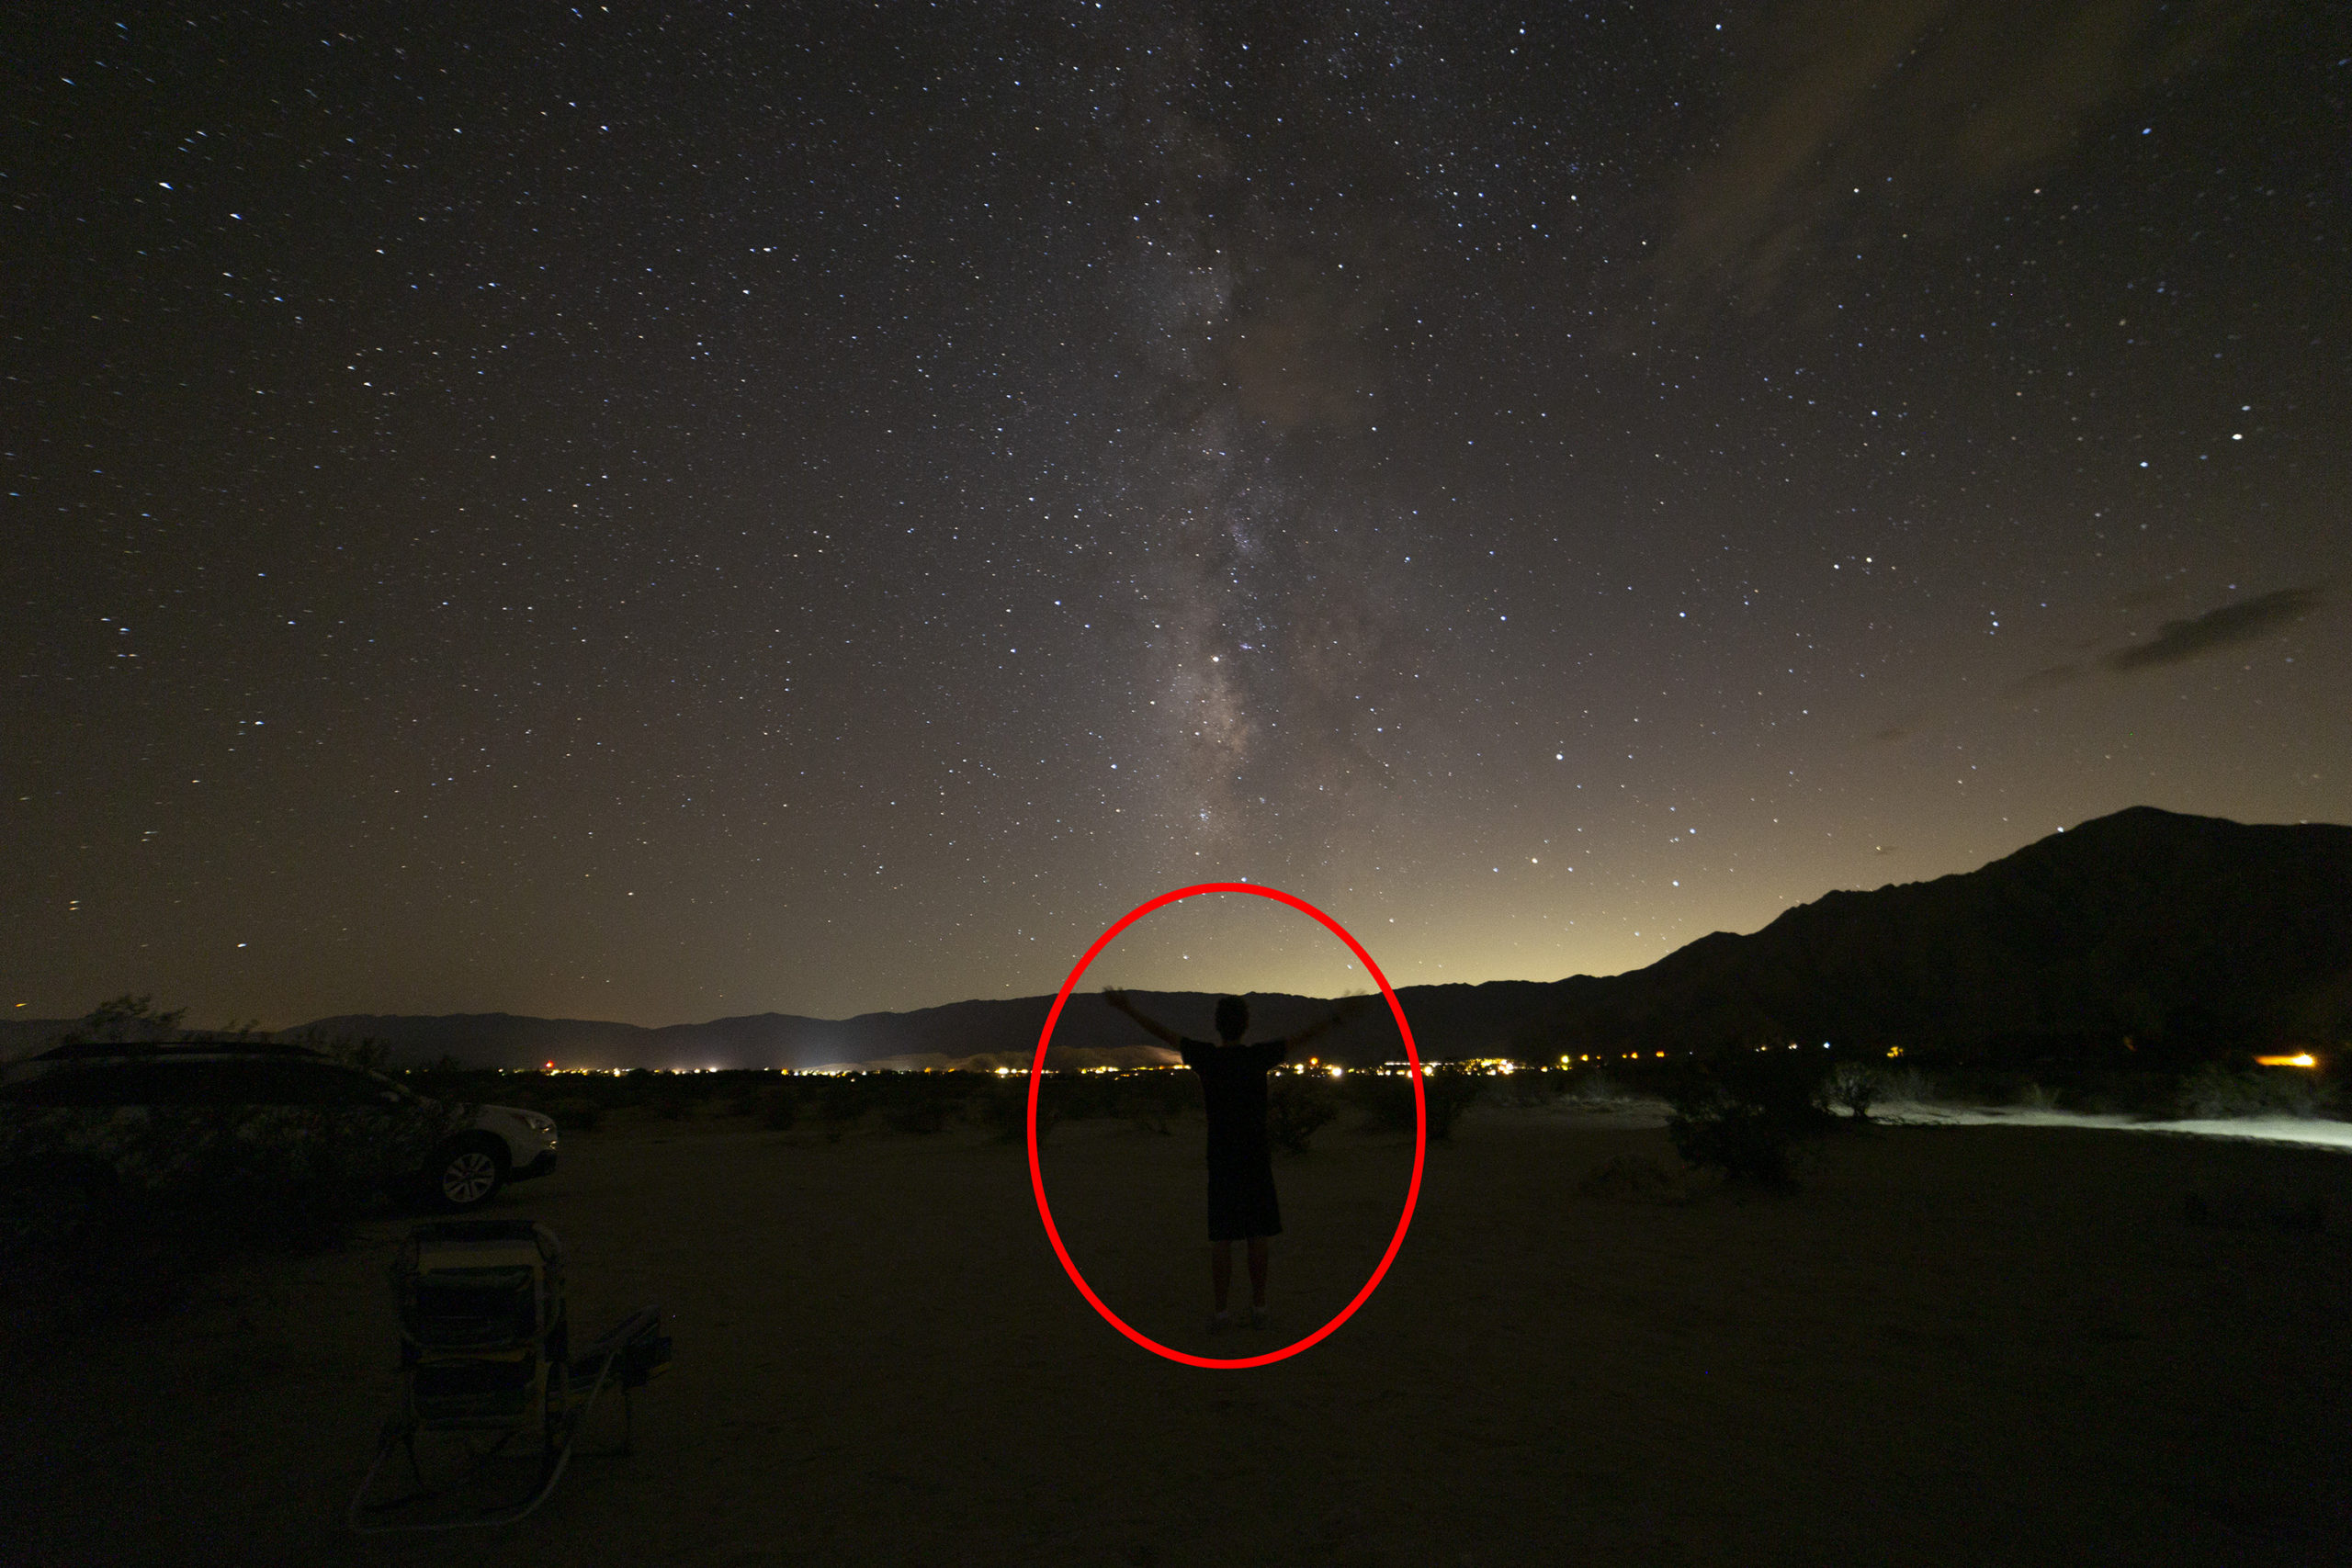
I took this shot when I was just starting out, and as you can see I almost blend into the foreground completely.
Since it is pitch blackout, and you will also be dark, you cannot put two and two together and expect your body to be visible. You will basically blend into the foreground.
That is why you need to get to a “high” vantage point or anywhere where you are fully contrasted against the sky.
In the exposure, you will remain dark and the sky will become a bit brighter. This difference will be enough for you to easily be seen in the picture.
Now, if you want to illuminate yourself, you would have the option of standing in front of the landscape. Once the exposure is going, you would slowly shine a flashlight on yourself, illuminating you and only you.
The landscape or foreground would still remain dark, making the selfie work.
Camera Settings (Be in Manual Mode)
Shutter Speed: 10-30 seconds
Depending on what focal length you’re shooting at, your shutter speed will either increase or decrease.
Also, remember that you are not just taking a normal picture of the stars. You, and/or a friend will be in the frame, meaning they will have to hold extremely still for the duration of the exposure.
ALWAYS remind them to stand still when you take the picture. No movement from the subject = a better photograph.
Aperture: F/3.5 or lower
A low aperture will allow you to capture more light (which is what you want).
ISO: 3200-8000
The ISO brightens up the image but consequently introduces noise (grain) into the picture. Be familiar with your camera’s limits and know what it can handle.
You can reduce noise when editing, but the least amount of noise you can have in your photograph is always the better.
AUTO White Balance
This will give you a neutral image in the field, allowing you to change any colors in post-production.
Shoot RAW
This allows you to maintain more information in the picture which can be very beneficial when editing.
Manually Focus
When photographing at night, always manual focus! Auto Focus does not have the capacity to focus on the stars, so make sure to adjust your focus carefully and recheck it after each photo. To learn how to easily focus on the stars, read my article here.
Try out Different Poses
Can you guess why selfies, in general, are so popular? It’s because they capture YOU and usually an amazing location or subject behind you.
This is exactly the same mindset when taking night selfies. Have fun with it! Try out any and every pose you can think of. Just remember, you will have to hold that pose for at least 10 seconds.
Another fun way to spice up your night selfies is to add some lights into them. An easy way is to shine a flashlight into the night, making it look like a beam or laser pointing at the stars.
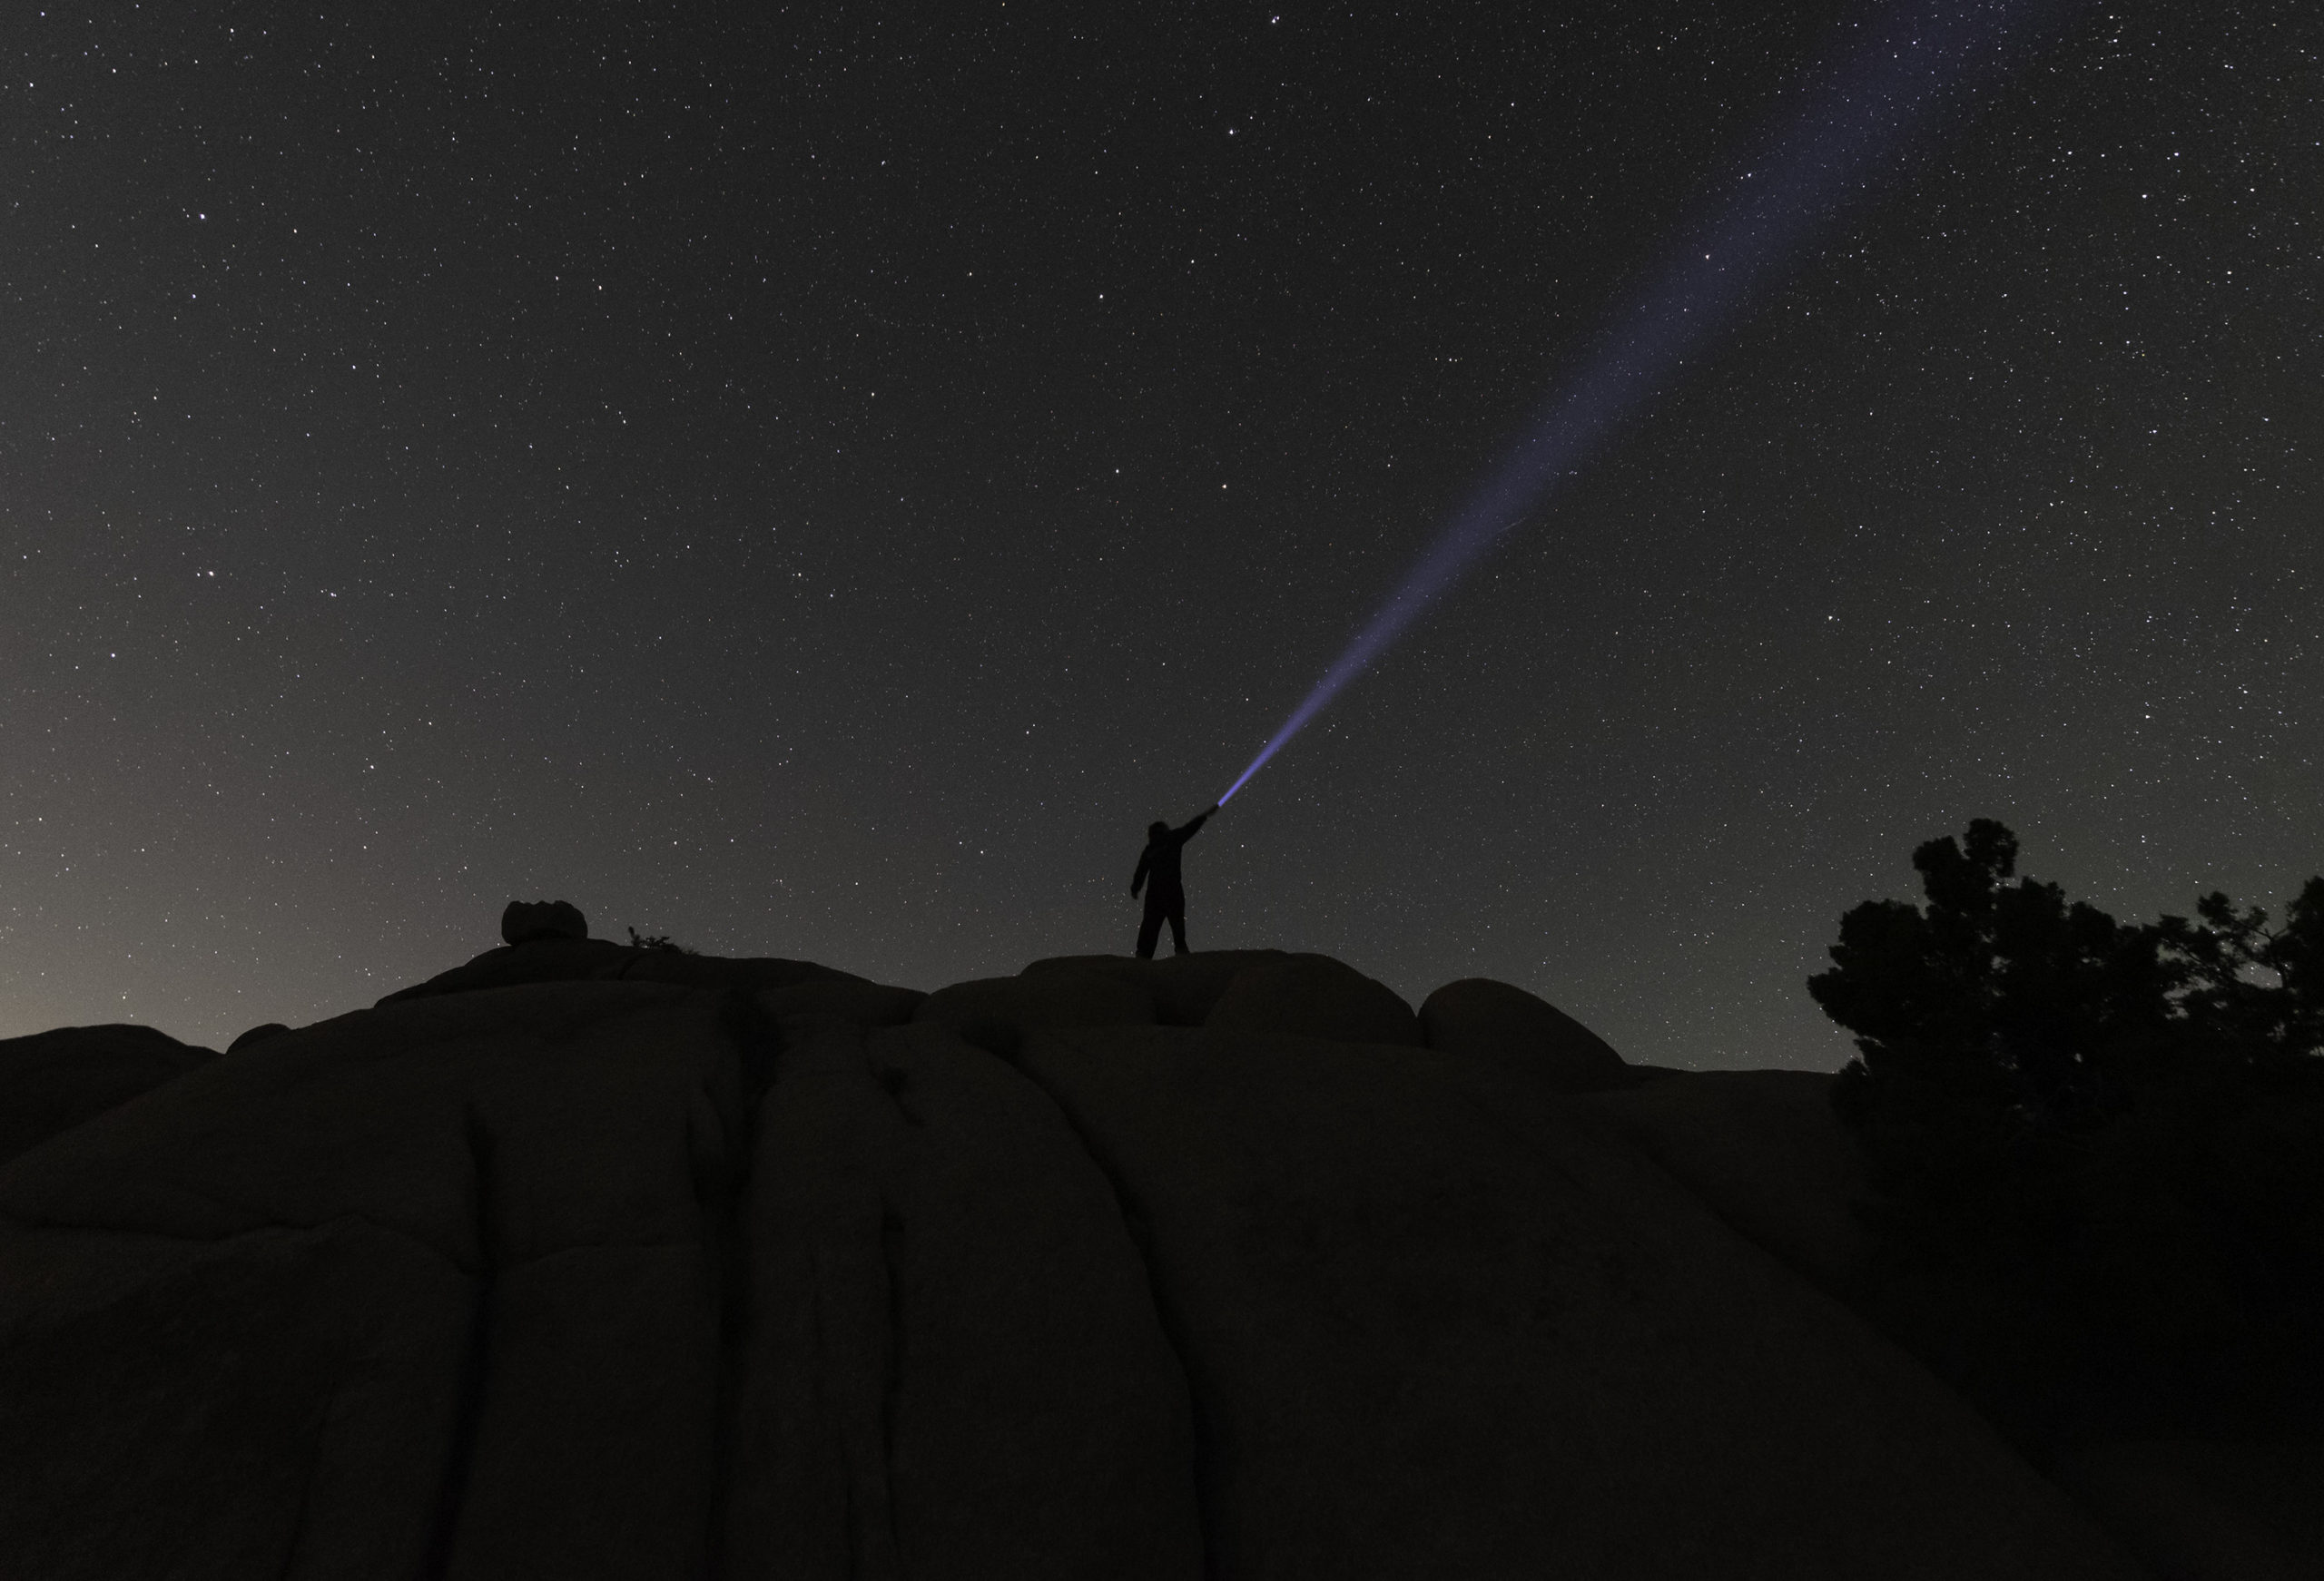
Keep in mind that certain flashlights have stronger and longer beams than others.
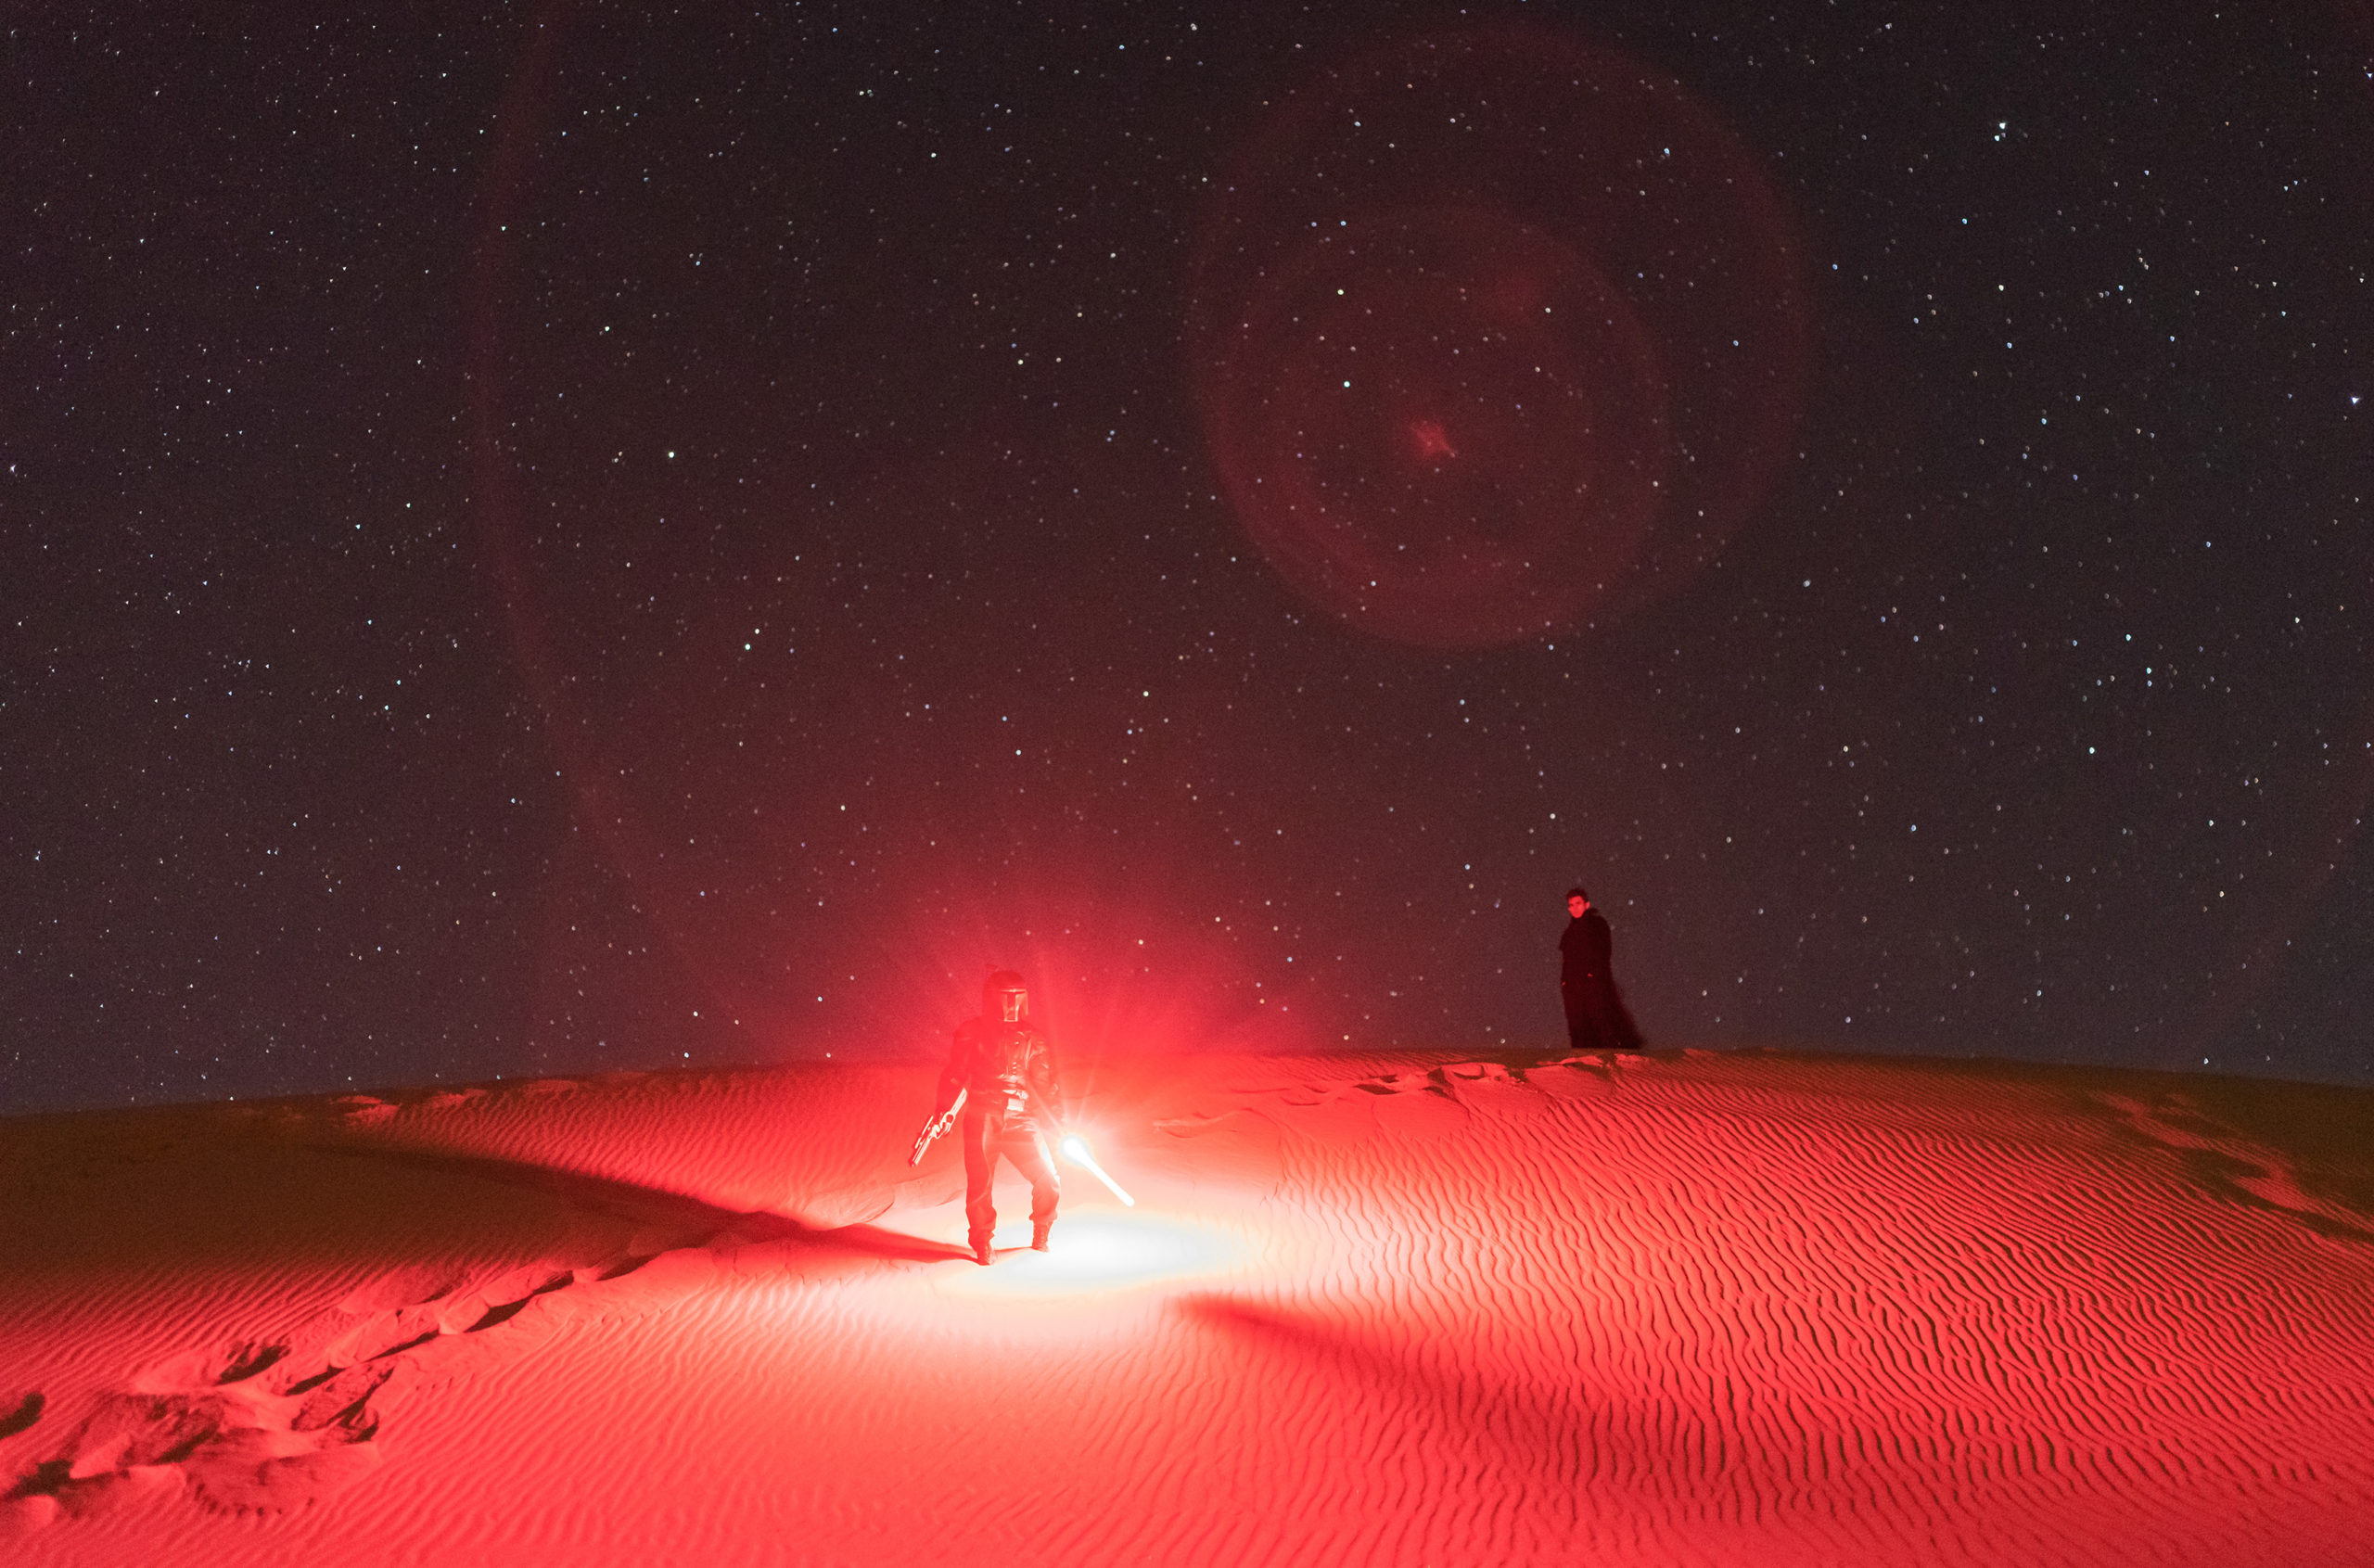
If you want to take your night selfies to the next level, wear costumes and hold different props. A popular theme seems to be Star Wars. Can you guess why?
Remember to be safe when attempting certain poses. It is dark out and it can be very hard to see the surrounding area. DO NOT try a handstand on top of a rock that is 20 feet from the ground. Use common sense and know your limits, especially at night!
With that, go out, take some night selfies, wow your friends and family, stay safe, and have fun!

