Light is everything in photography. It controls your shadows, your landscape, which direction you point your camera, and even if you bother going outside that day.
The bottom line is that light is extremely important because it can have a HUGE influence on the shots you capture!
But there are so many “types” of light! What are they called? Which one is best? What do they mean?
All of those questions and more will be answered in this article!
What are they called?
When you’re out it in the field, you will quickly learn that there are good and bad times to take pictures.
But what does that mean?
When setting up to take pictures, you could have the best composition imaginable, but with just “ok” light, the photo will look pretty plain. With amazing light, on the other hand, it seems that almost anything is possible!
Different times create different light. You don’t have to be an expert to know that.
The most popular times to take pictures and achieve the best light usually occurs during the hours surrounding sunset and sunrise. But there is also so much opportunity missed in between those times.
The main light phases can be separated into two categories:
1. Magic Hours
-
- Golden Hour
- Blue Hour
2. The Twilights
-
- Civil Twilight
- Nautical Twilight
- Astronomical Twilight
Mathematically speaking, these hours are defined by the elevation of the sun relative to the horizon (the lower the sun is, the darker it gets).
Here is a visual representation of these certain times.

Credit: Photopills.com
When starting out in photography, it seems to be a big misconception that once sunset is over, you stop taking photos, pack up, and go home. WRONG! The sun setting should never be the end of your photography excursion!
Some may think that it just “gets dark out” after the sun dips below the horizon. Wrong again!
There is so much that happens between sunset and “nighttime” that can make for incredible images! So please, stick around (out in the field and here) and I’ll explain all of it!
The Magic Hours
The magic hours are praised by landscape photographers to be the best times to take pictures. This is because of the “magical” and soft light they produce.
With little to no contrast and diffused shadows, the magic hours are a great time to view and photograph landscapes or anything to your heart’s content!
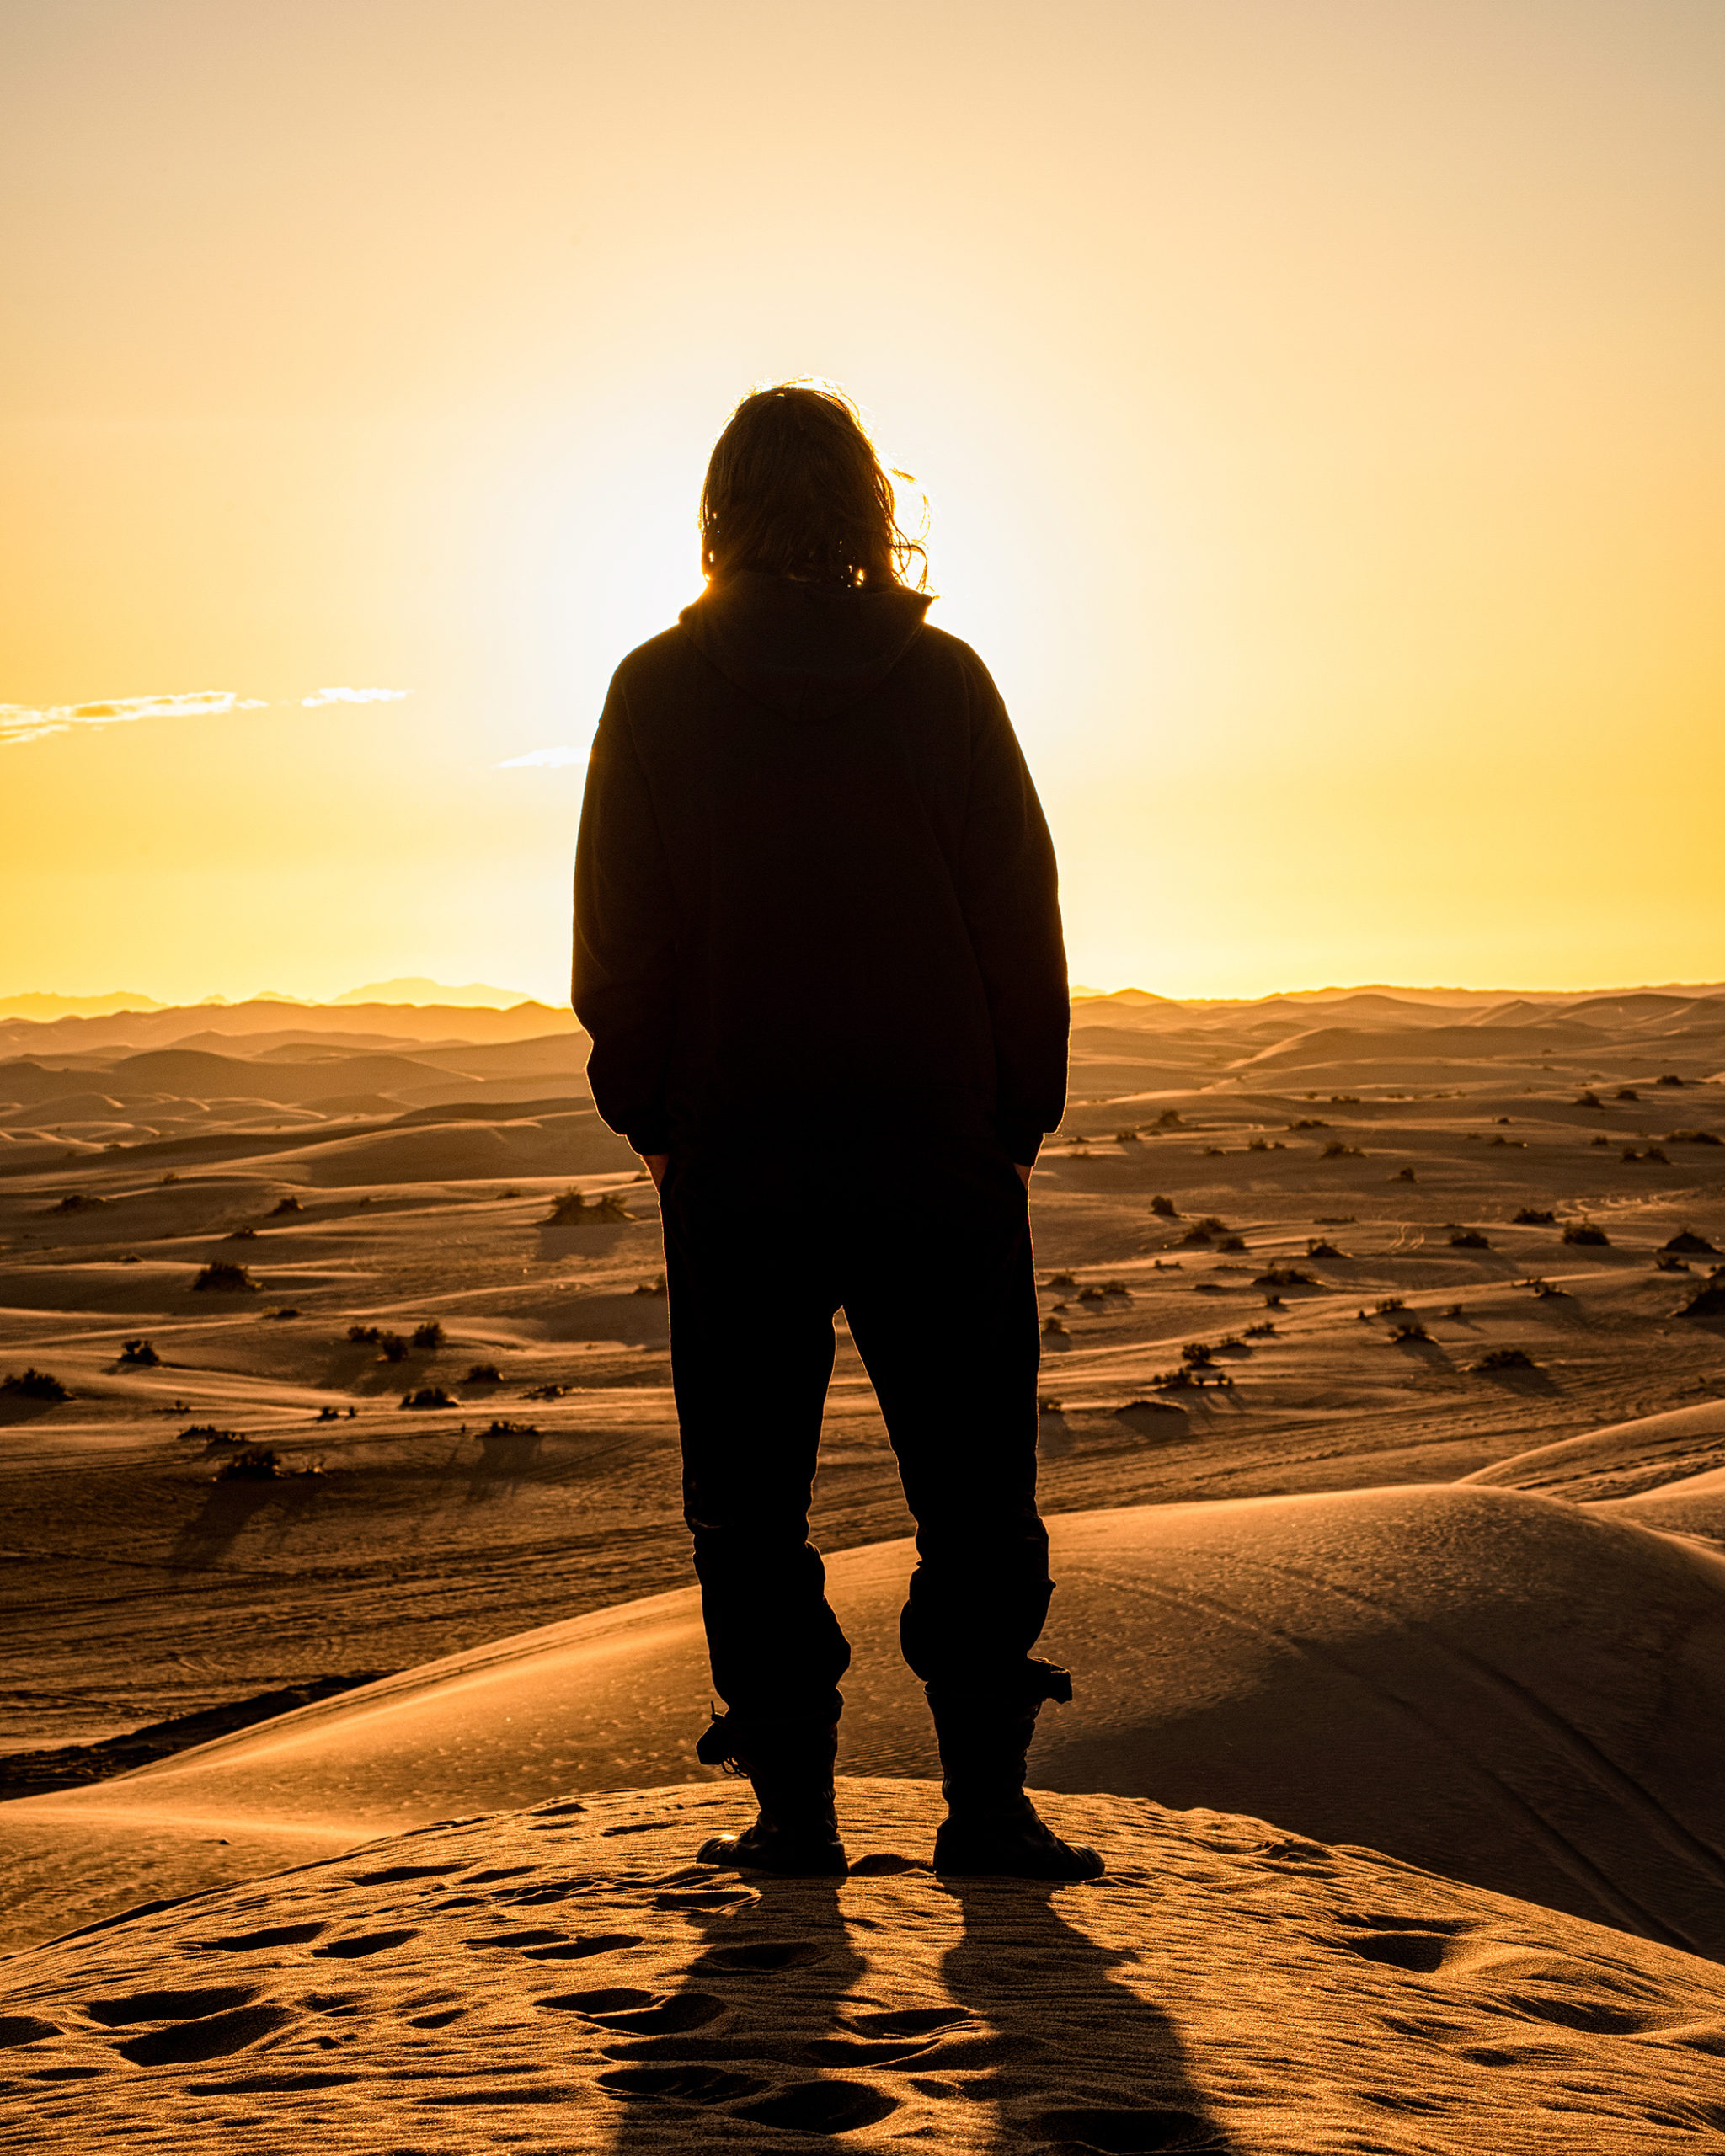
A portrait taken during golden hour at sunrise!
Golden Hour
During golden hour, the light transitions from red and orange, to a nice golden yellow tone, hence the name.
This light gives off a warmer temperature and reflects nicely across landscapes. If you haven’t guessed it yet, golden hour is perfect for landscape photographers!

Golden hour usually occurs the hour leading up to sunset and the hour after the sun has risen. This gives photographers ample time to study the light and seek out the compositions they want to capture.
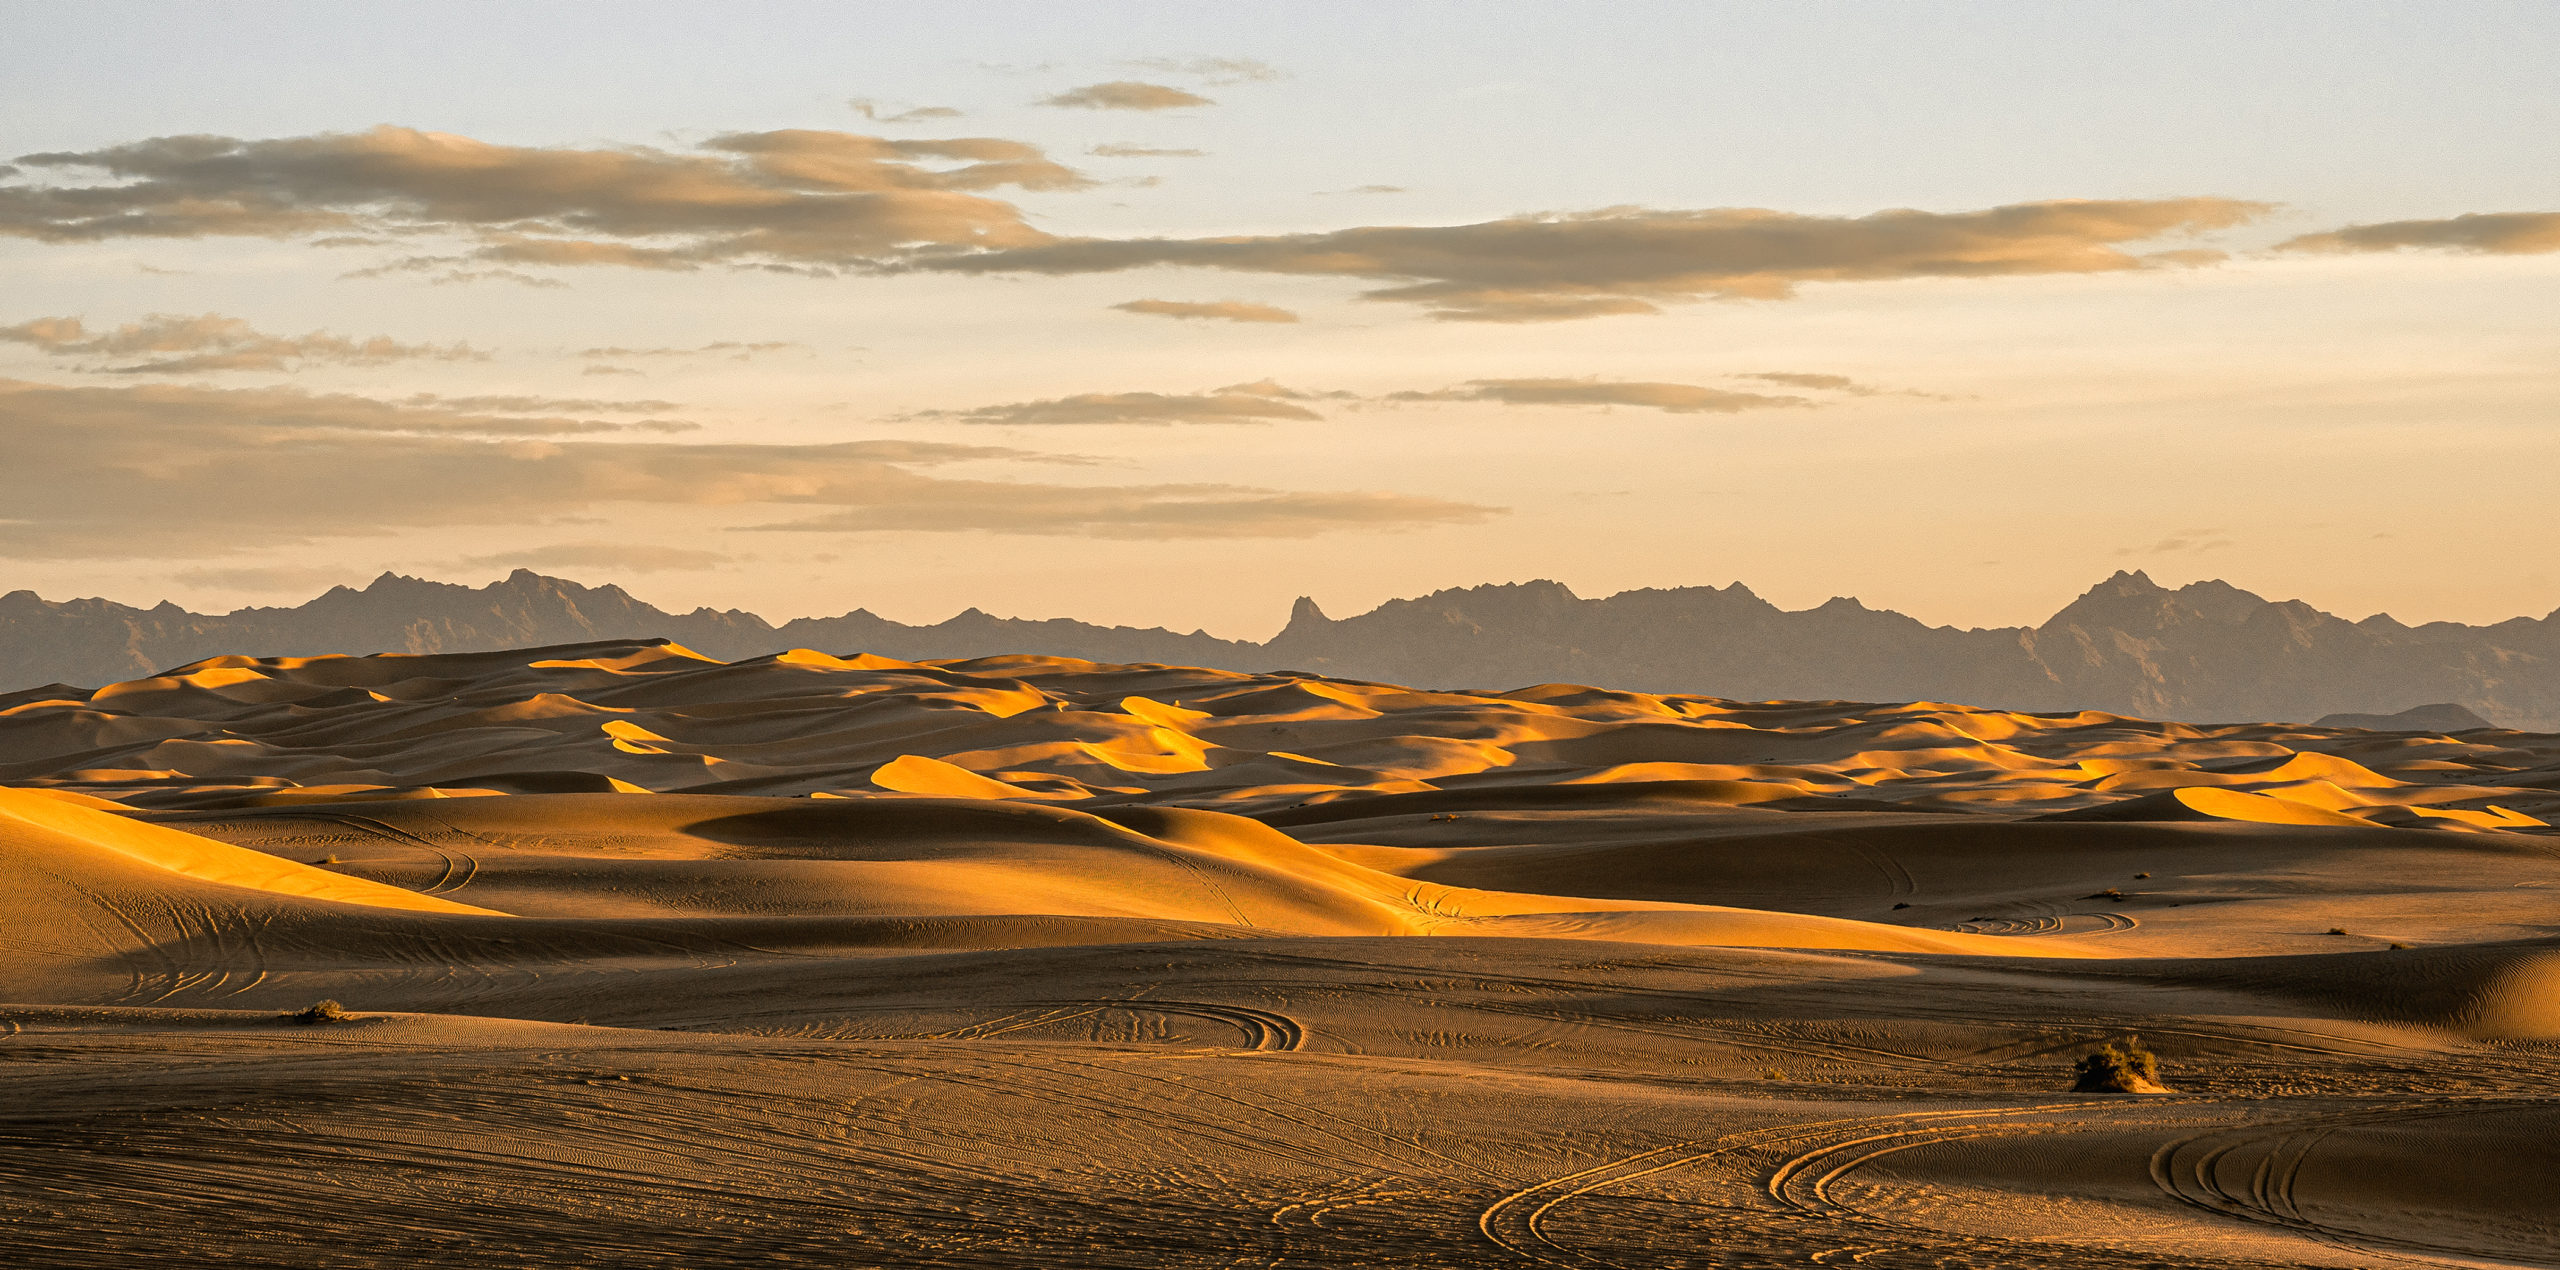
Nice golden light hitting the peaks of some sand dunes during sunrise!
But after the sun has set, stick around. Because the real magic is just beginning!
Blue Hour
During blue hour, the sky turns into a nice gradient, from blue to orange, and gives off a nice soft light. Blue hour is sometimes favorited over golden hour because of the mellow contrast and texture it brings to different landscapes.
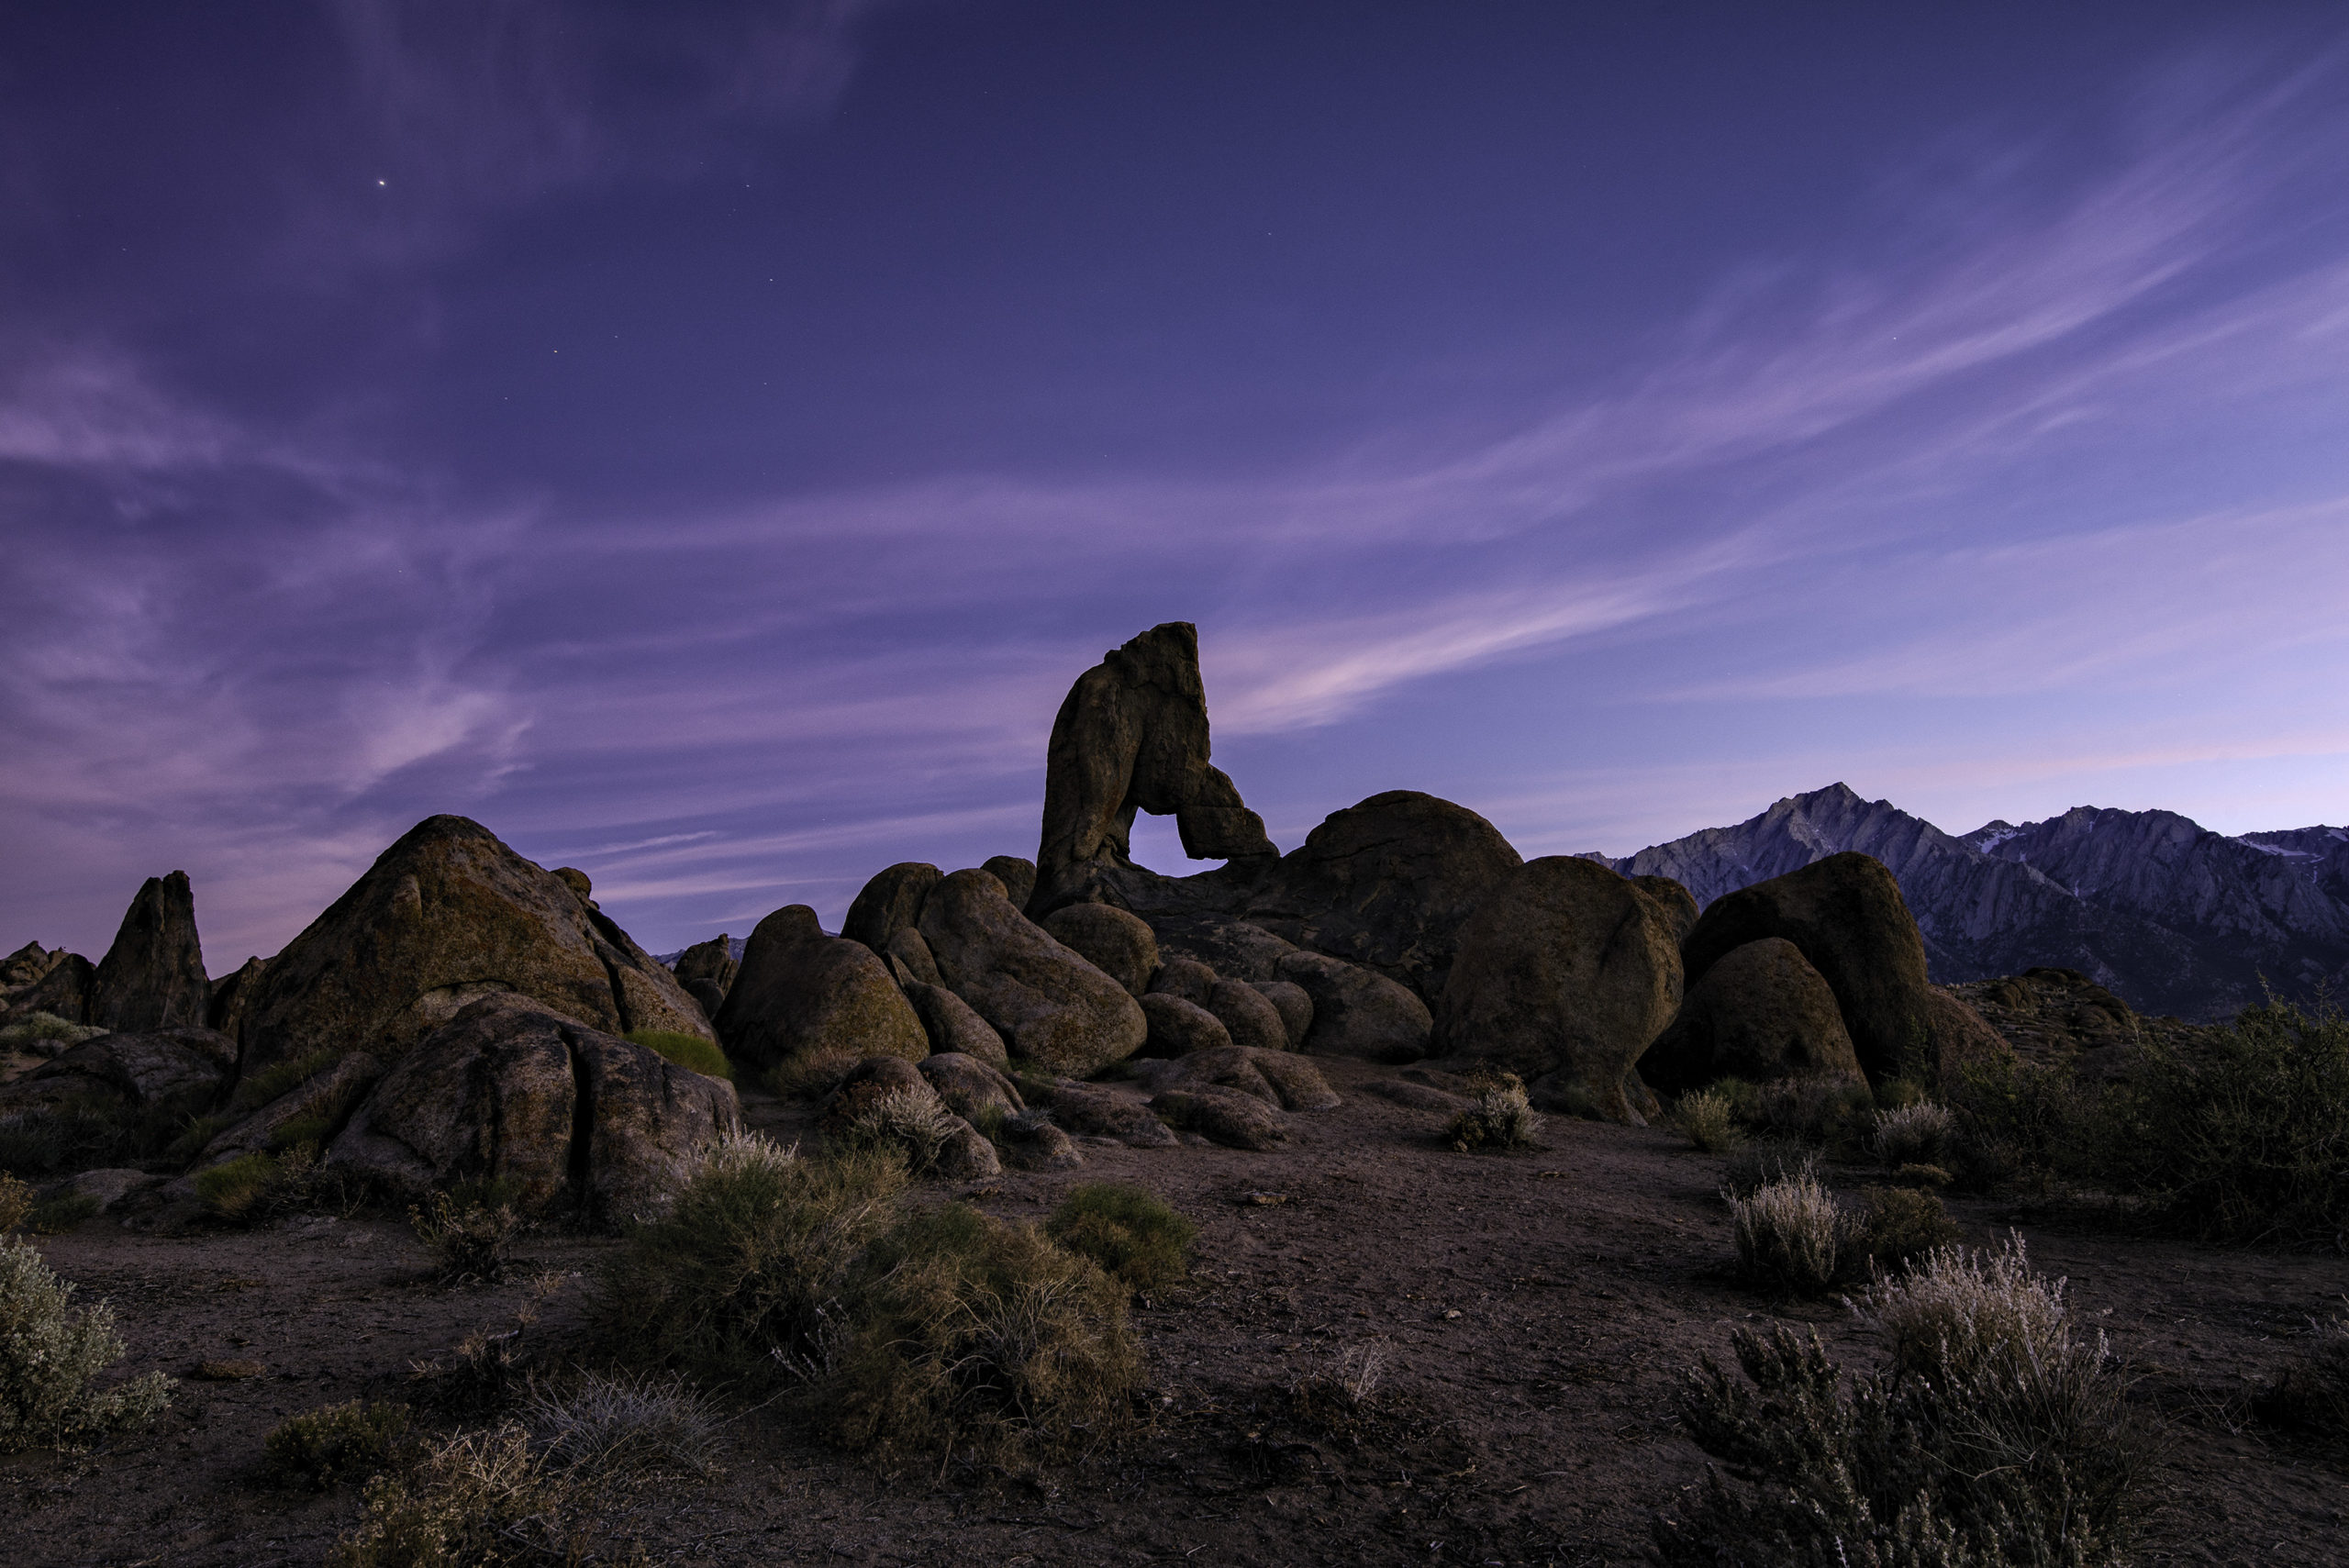
Blue hour occurs directly after sunset and right before sunrise and lasts for roughly 30 minutes.
Besides landscapes, blue hour also works well with cityscape and moon photographers. The nice blue hue of the sky complements the city lights as well as the celestial object.
The Twilights
Twilights occur between night and day (after sunset and before sunrise).
These are the hours that transition into the darkest part of the night.
Civil Twilight
Civil twilight follows blue hour and is the time when city lights and car headlights begin to turn on. The scene slowly becomes darker but prominent objects are still visible.
The sky might still have hints of orange and purple but will be predominantly a blue hue.
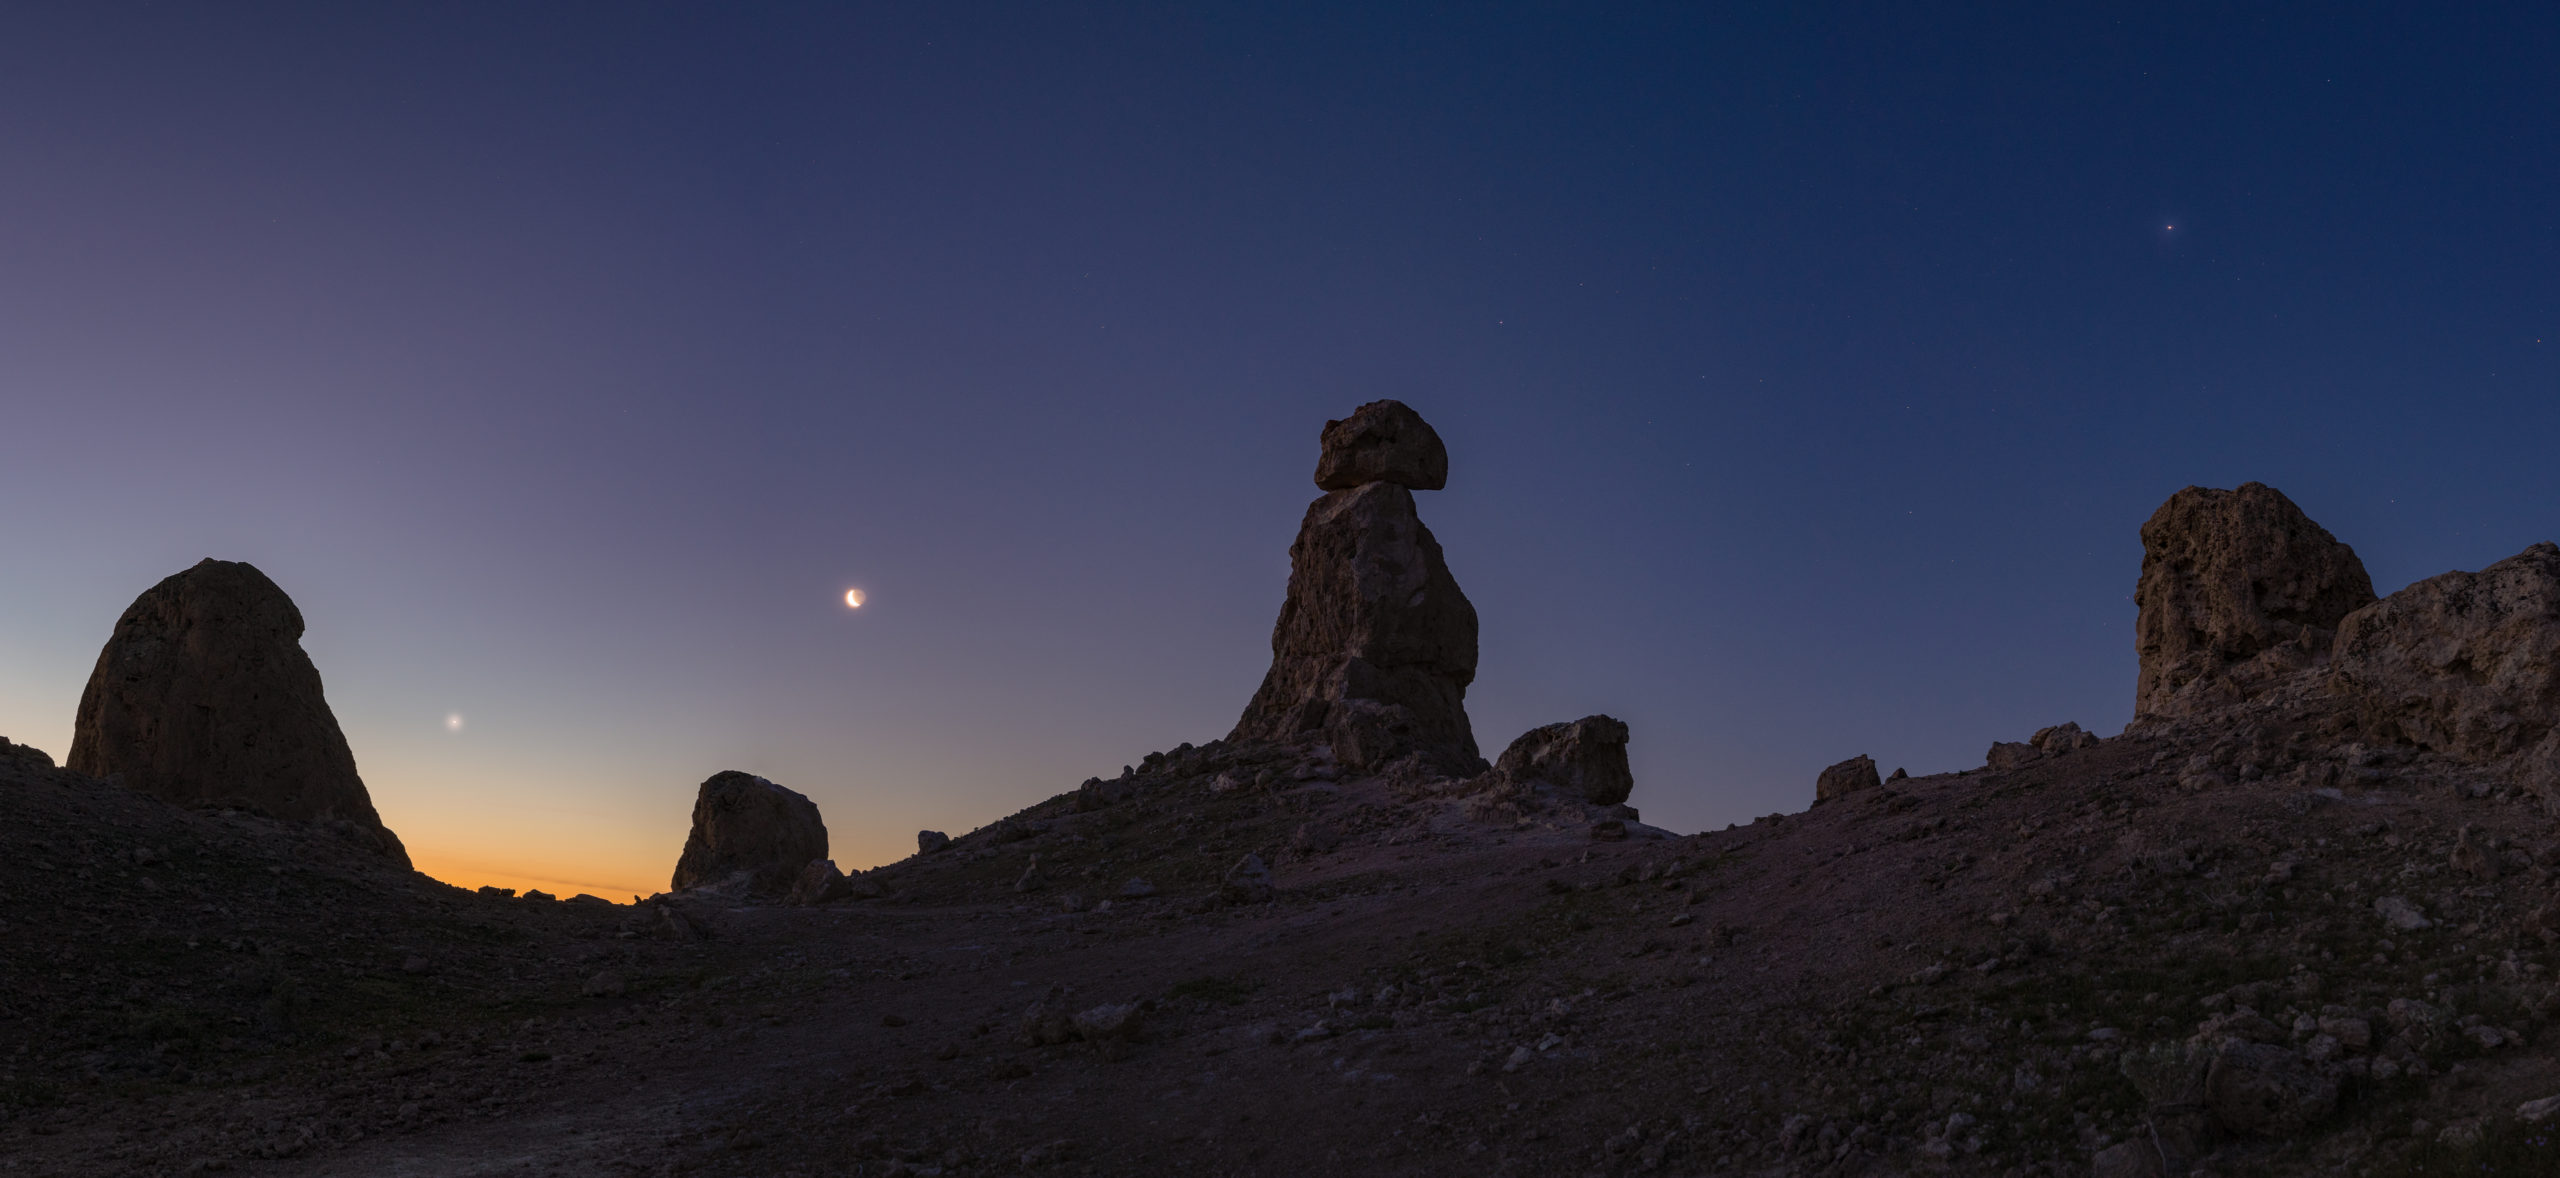
Civil twilight occurs for 20 – 30 minutes and more stars and some planets start becoming visible.
Civil twilight can also be perfect for certain moon shots, giving you a brief period to obtain correct exposures on both the foreground and also the moon.
It is a very peaceful time, as the stars begin to enter the sky, foreshadowing a calm and beautiful night to come.
Nautical Twilight
Nautical twilight is when it starts to become noticeably dark. More and more stars start filling the sky, and the foreground begins to disappear. This is the time to put on a headlamp and also start experimenting with long exposure photography.
Cities start lighting up drastically and the sky turns to a full blue hue color.
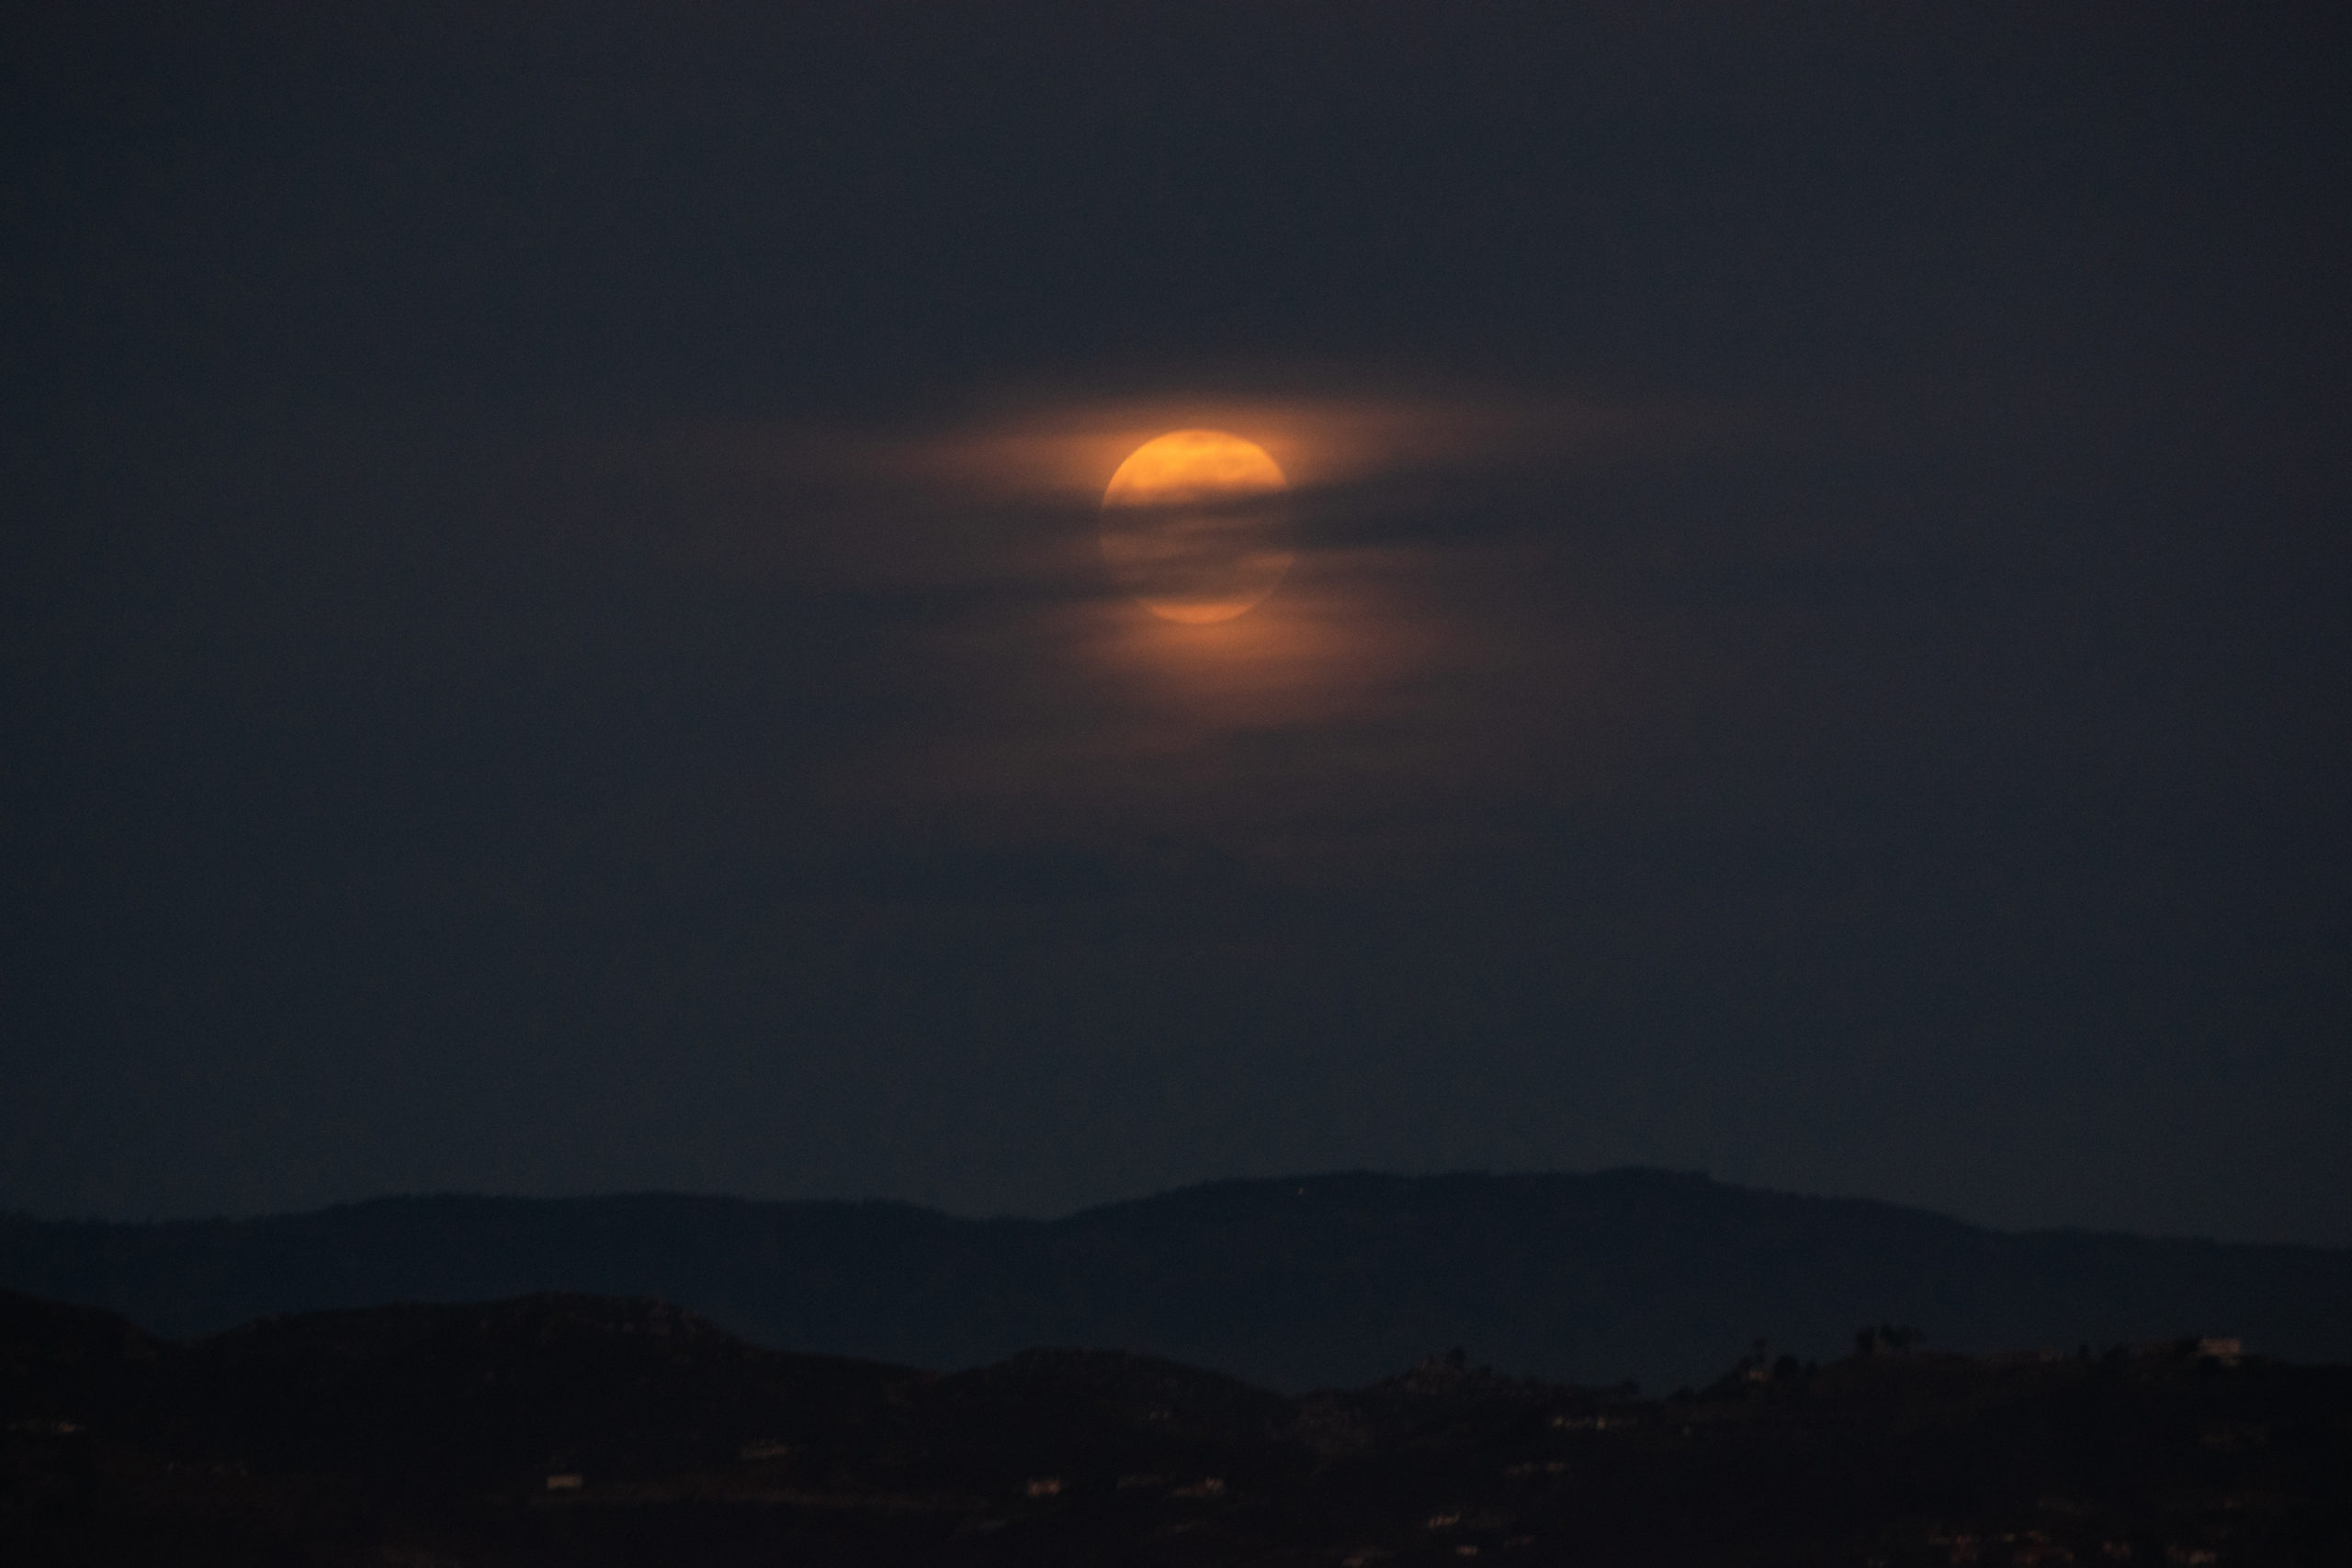
During this time, The moon also becomes brighter and the foreground darker, allowing for great moon silhouette shots!
Astronomical Twilight
Astronomical twilight, AKA, complete darkness, is the beginning of lots of stars, constellations, planets, and even the Milky Way!
During a moonless night, and in the right location, you can have a very peaceful and successful star photography session!
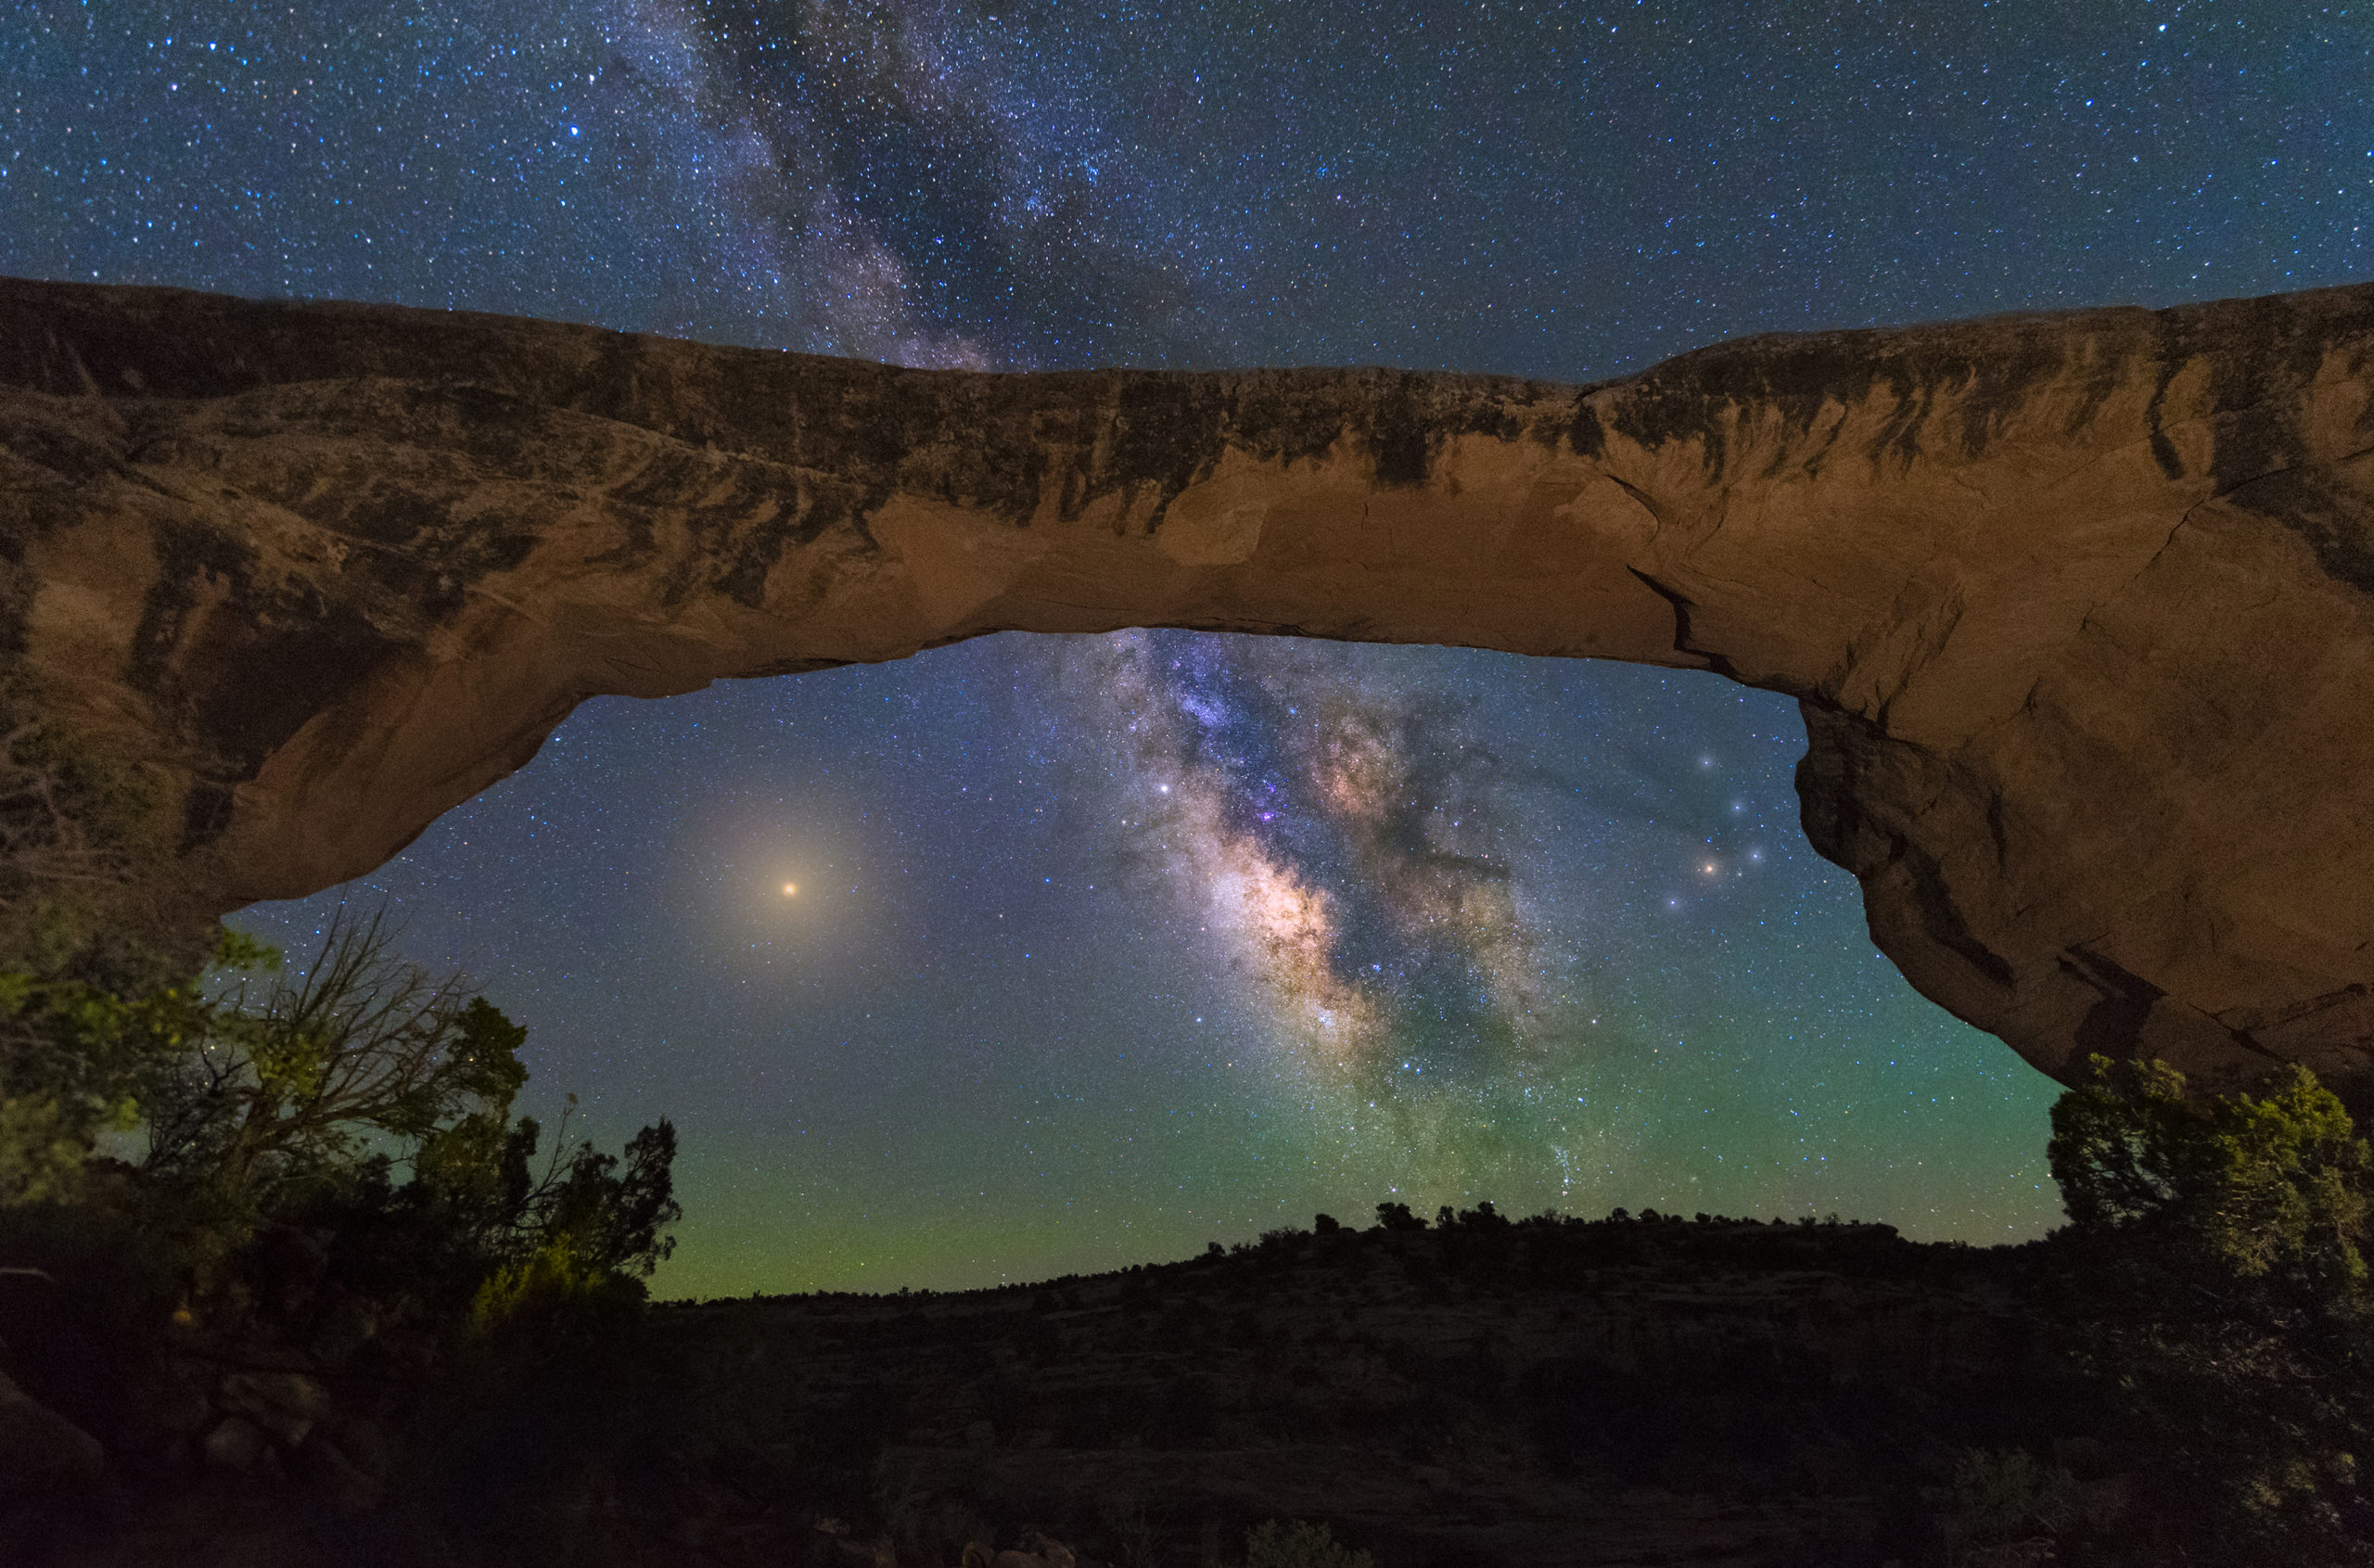
This is personally my favorite time period because I love photographing everything the night sky has to offer! If you want to learn how to take pictures of the stars, check out my article here.
Astronomical twilight can last between 5 – 7 hours depending on the season.
Daylight
Now let’s say you can’t access your location during one of these times. Sunset, sunrise, and night shots are all out of the question.
Is there still a chance you can capture good photos?
Of course! Even if you only have a few hours in the afternoon, you can still walk away with some images to be proud of.
The first tip is to scout out any interesting compositions. Your best chance is if there are some clouds in the sky to give a dramatic effect to your photos.

Although this was taken in the middle of the day, the clouds made the photo more dramatic.
If not, you can still make do with a bright blue sky. Really focus on different foreground elements and try and see where the shadows are and how they are going to affect your image.

Another tactic is to search for sunbursts, which can be a great element to include in your images. To learn how to capture sunbursts, click here.

The best thing you can do is to study the scene and start snapping away. You might be surprised at what you come up with.
Trust me, capturing photos is always better than giving up and not even taking out your camera.
If the photos don’t end up working, at least you tried. You may have attempted some new techniques, and best of all learned something new!
Now that you know the different influences the magic hours, twilights, and daylight hours can have on your images, go out and capture the light!