Astrophotography is the term used to describe photography at night. From images of the moon and planets, to the constellations, nebulae and star clusters, capturing pictures of celestial objects allows you to appreciate the vastness of the expanding universe.
When you look at what is beyond, you’re looking at objects far away in space and in time. There is nothing like the majesty of looking straight up and having nothing but the dazzling stars fill your field of view.
But besides just gazing up at the stars for hours, you can also capture them!
Photographers love the way stars transform the landscape but often fear the technical hurdles to making good pictures of it.
What You Need
- Digital camera with manual exposure mode
- Fast wide-angle lens that has a large aperture (f/3.5 or smaller)
- Tripod
- Headlamp or flashlight
- External Remote (Optional but useful to avoid camera shake)
Now that you have all of this gear, you can run off and start shooting the night sky, right?
Not exactly…
But with a little more clarification on these topics, you soon will be able to capture the stars!

Camera and Lens
A DSLR is preferable because they contain a manual exposure mode, allowing you to control your shutter speed, lens aperture, and ISO.
DSLRs all have a “B” (Bulb setting) or “T” setting that allow for exposures ranging from 30 seconds to several minutes. These settings can be found in the shutter speed area of your camera. Long exposures enable you to capture hundreds of stars that are invisible to the naked eye.
DSLRs also offer RAW format (allowing for post-production adjustments) and large sensors which will deliver the best results.
With astrophotography this is essential.
Your camera settings at night will be extremely different than how they usually are during the daytime.
Before I go any further, I know that a lot of you (especially those starting out) have an entry-level DSLR camera with a kit lens. And you are wondering if this camera will be able to take pictures of the night sky.
The answer is YES.
I began shooting the night sky using a Nikon D5300 and a 18-55mm f3.5 lens pictured below. That entry-level camera and kit lens allowed me to capture dramatic photos of the night sky.

One of my many concerns was if this setup, the lens specifically, would be able to capture the night sky.
You do not need expensive gear to successfully photograph celestial objects.
A “beginner” camera will be able to do the job just fine!
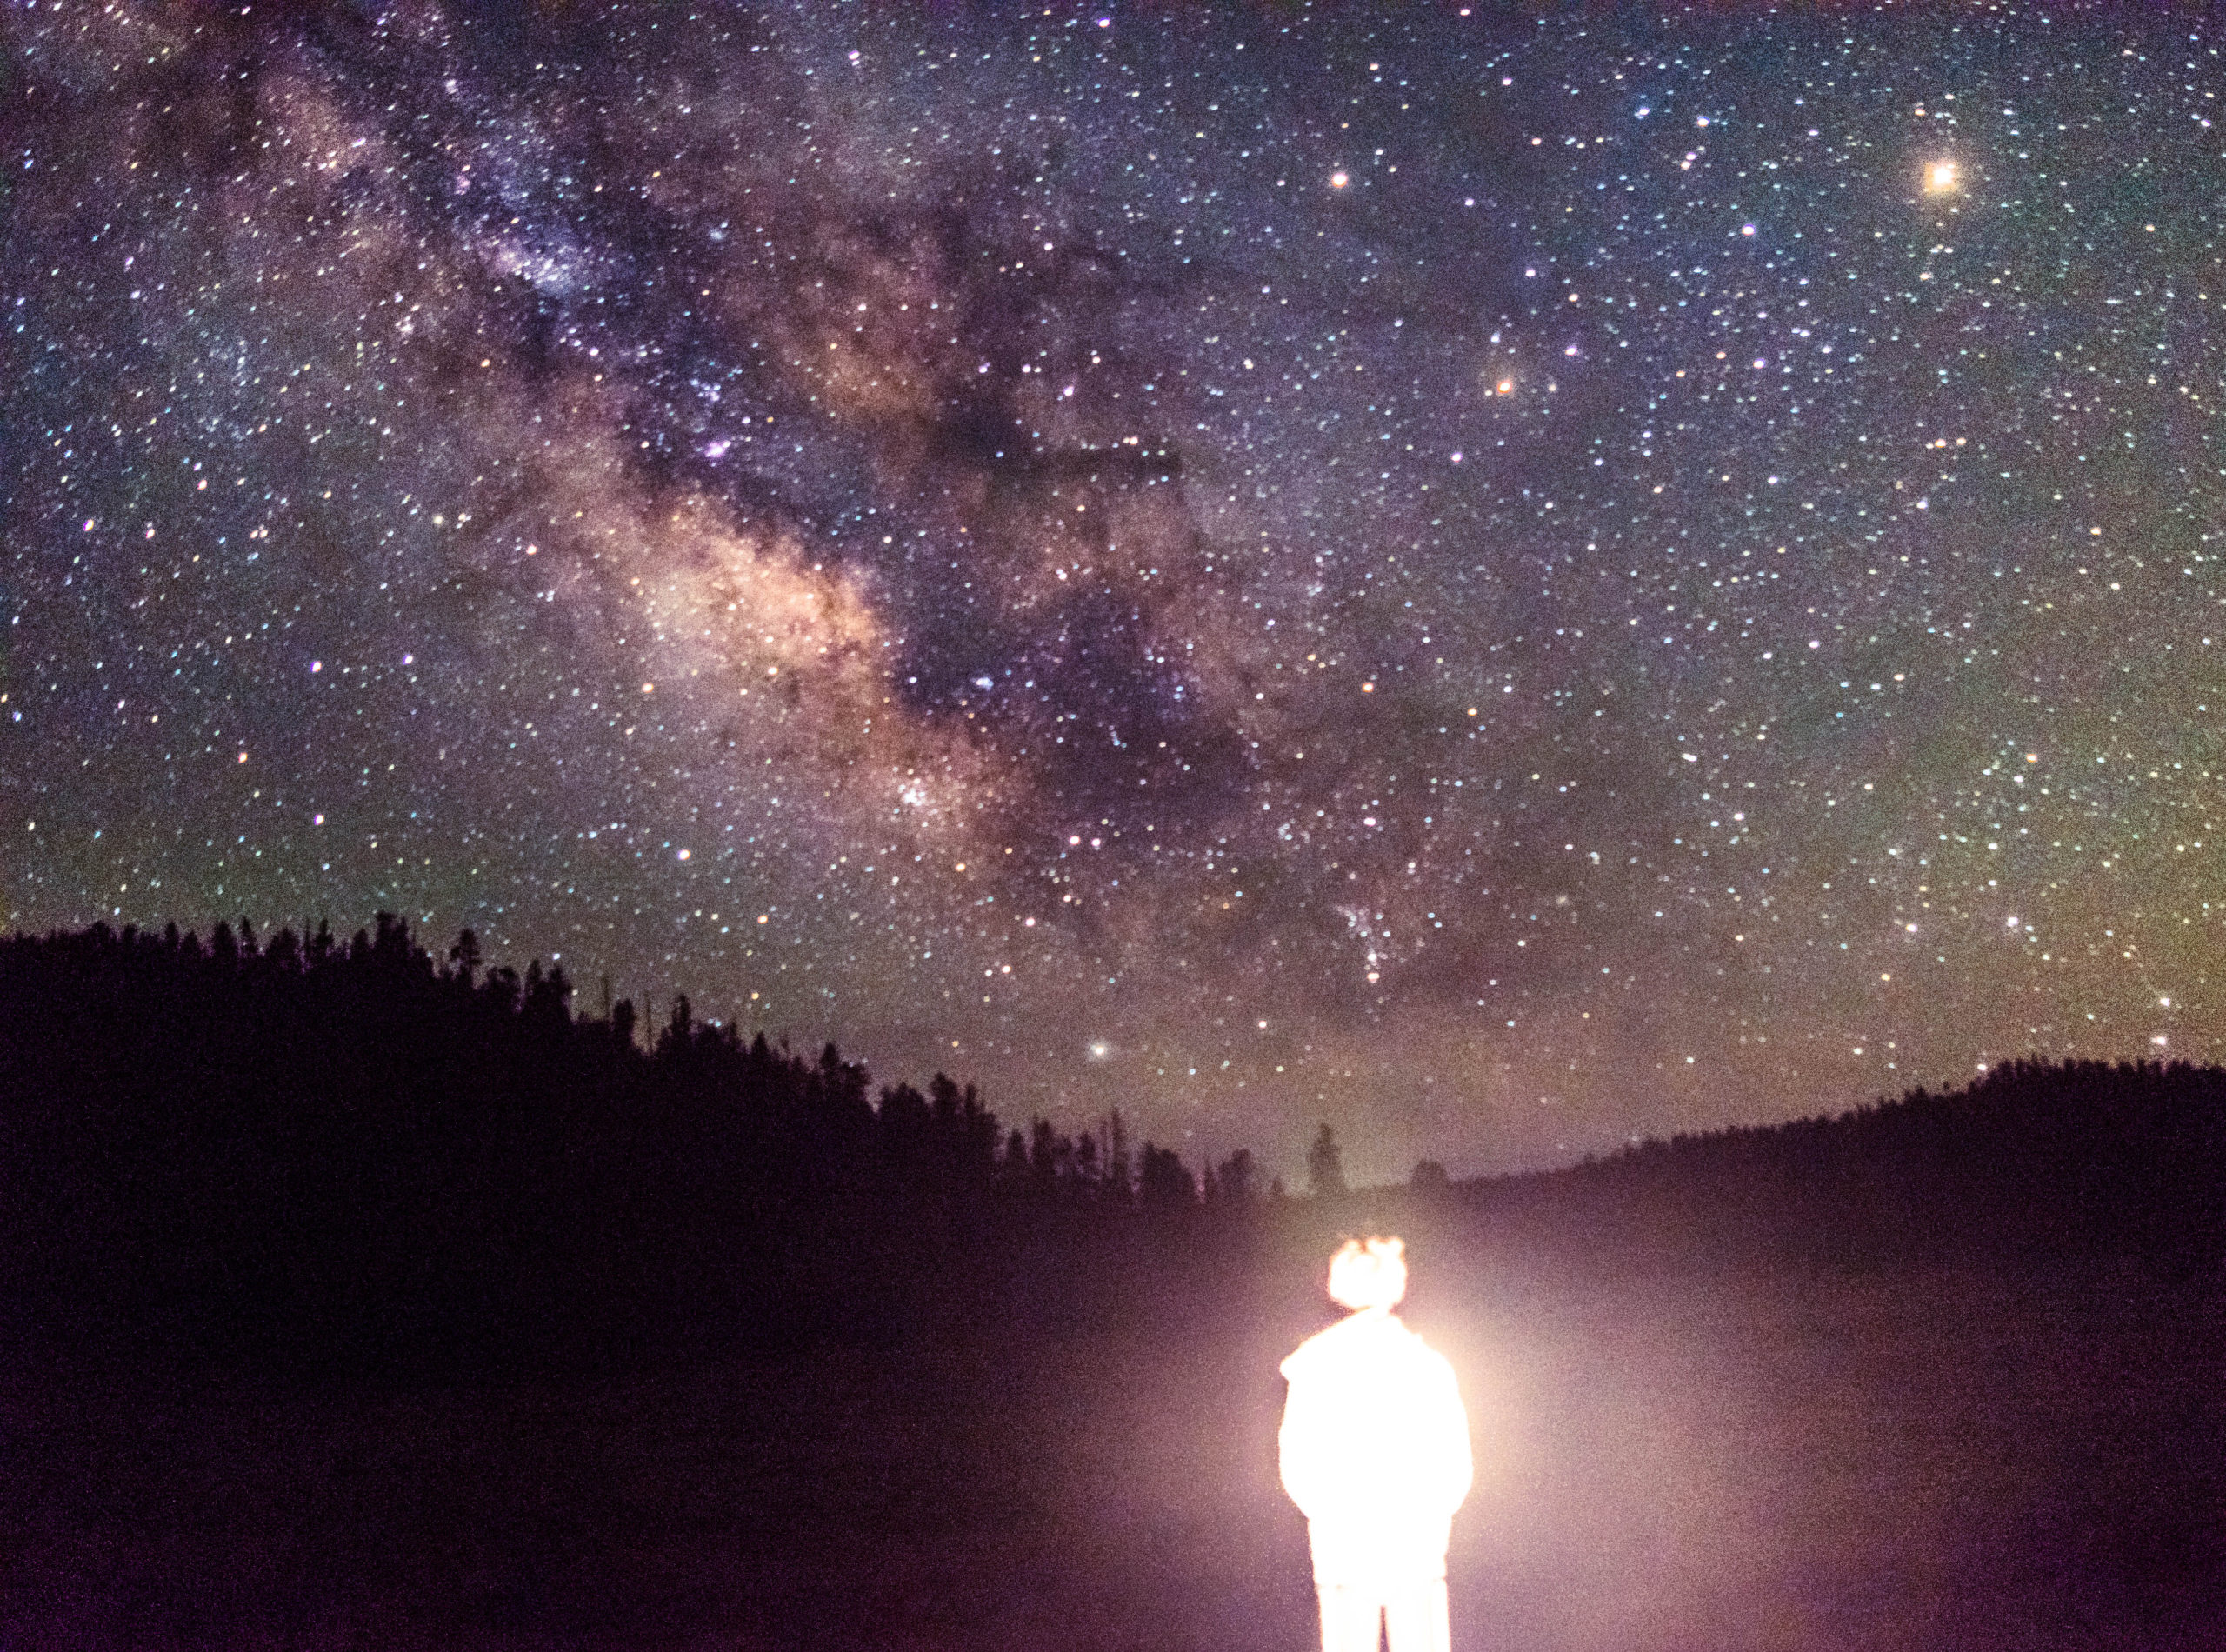
One of my first Milky Way images taken with the Nikon D5300.
Settings
Since it is night, and dark out, DUH… your camera needs to expose for the darkness. If you read my article on understanding manual mode or got my free cheat sheet, you might be able to guess what settings you need to use.
Select a wide-angle lens with a low aperture.
Shooting with a low aperture (small f number) will allow the largest amount of light into your camera and help avoid setting a high ISO. Doing so will keep the noise level down and not have the image appear as grainy.
You’re going to have to use long exposure times to gather enough light to see most celestial objects.
Here are some settings I would use to take a test shot:
- Shutter Speed – 25 seconds
- Aperture – F/2.8
- ISO – 1600
Of course, these settings are not set in stone. They are just a good starting point for beginners to try out and actually see something at night! Once you build your confidence up, you can start changing these settings slightly, to see the different effects they have.
Longer exposure times (30 sec. or more) results in star trailing, which is caused because of the Earth’s rotation.

This image is an example of star trails. Those lines you see are long exposures of the stars “moving.”
Again, any wide-angle lens with a low aperture will be perfect! You will want to shoot at a wide-angle (14-18mm), especially starting out because there is a lot of the sky to capture!
And it can be hard to frame your shot because of how dark it is, so giving yourself some leeway is always helpful!
So, you take a picture, and… it’s blurry. Or shaky.
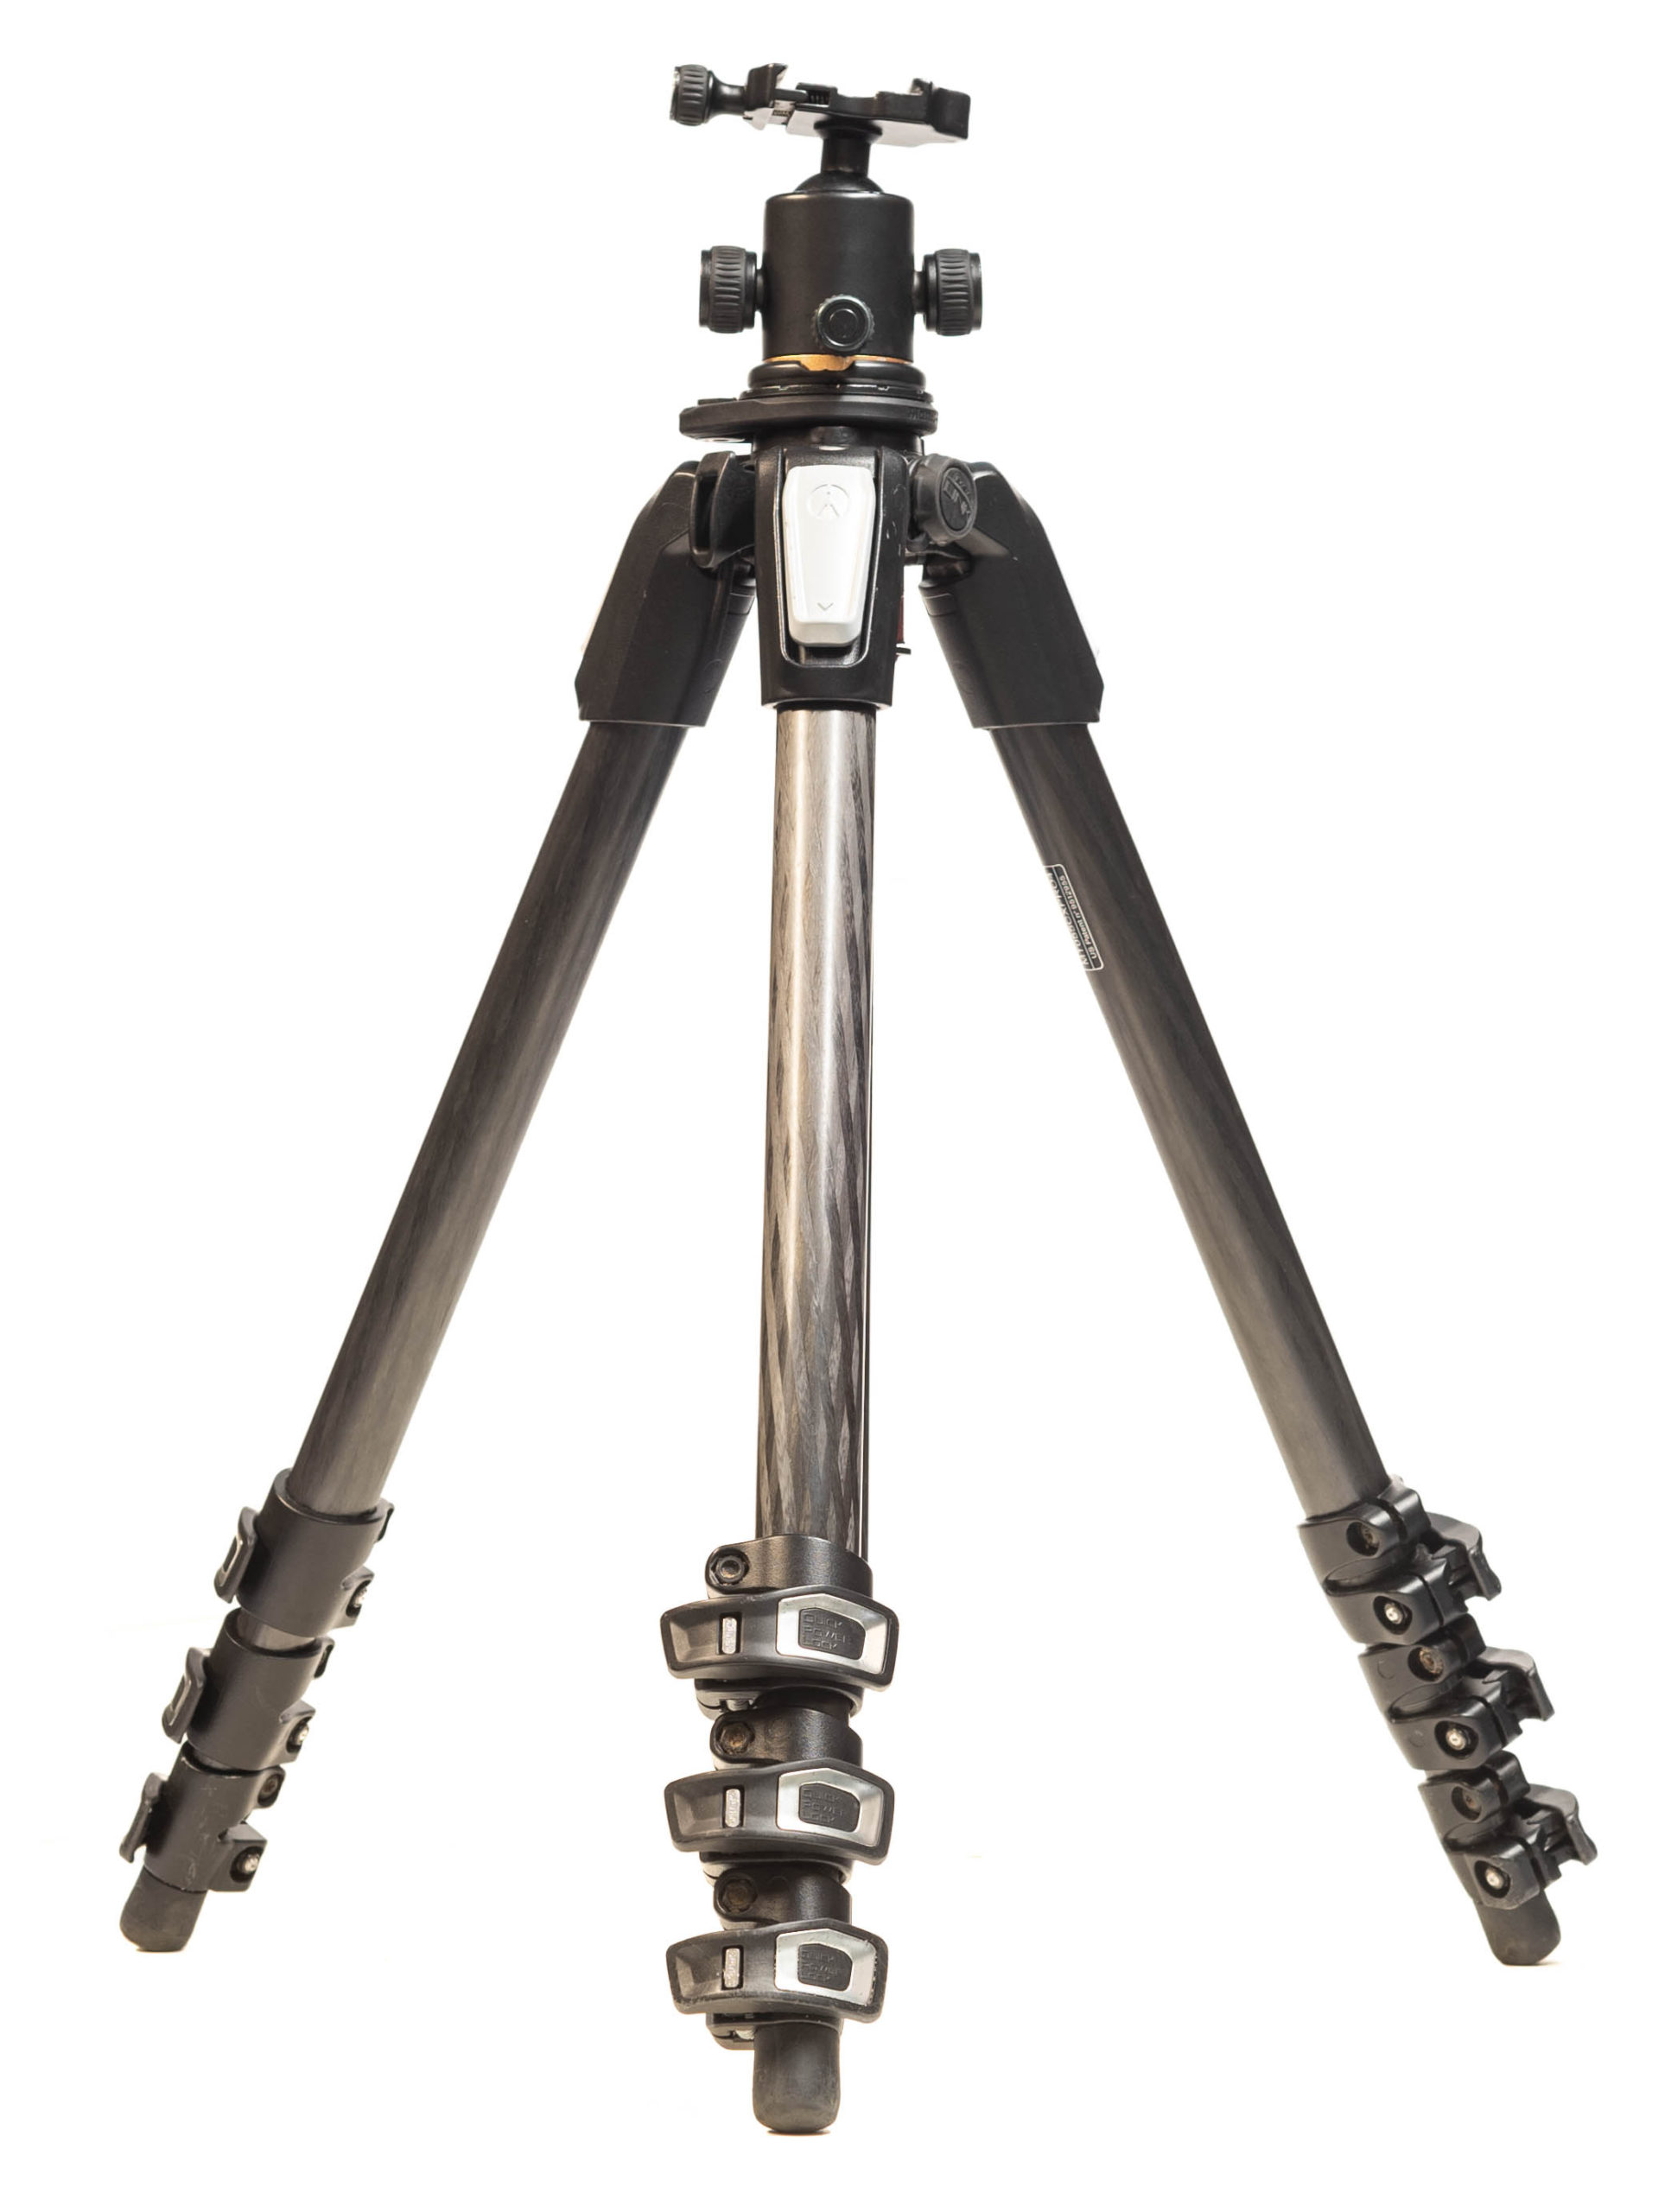
In night photography, A TRIPOD IS ESSENTIAL.
LET ME REPEAT, ESSENTIAL!
If you could have one goal in astrophotography besides capturing beautiful images, it would be to capture beautiful and sharp images. For more insight, you can read my article on obtaining sharp pictures.
You are shooting with 20-30 second shutter speeds, so one tap on the camera and the image can be ruined. Always make sure you have a secure tripod when photographing the night sky.
Mount the camera to a tripod sturdy enough to support the weight of your camera.
Use a cable release, remote release, or the self timer option to reduce camera shake. With your camera on a tripod, set the focus to infinity (indicated by ∞ on the focusing ring of your lens).
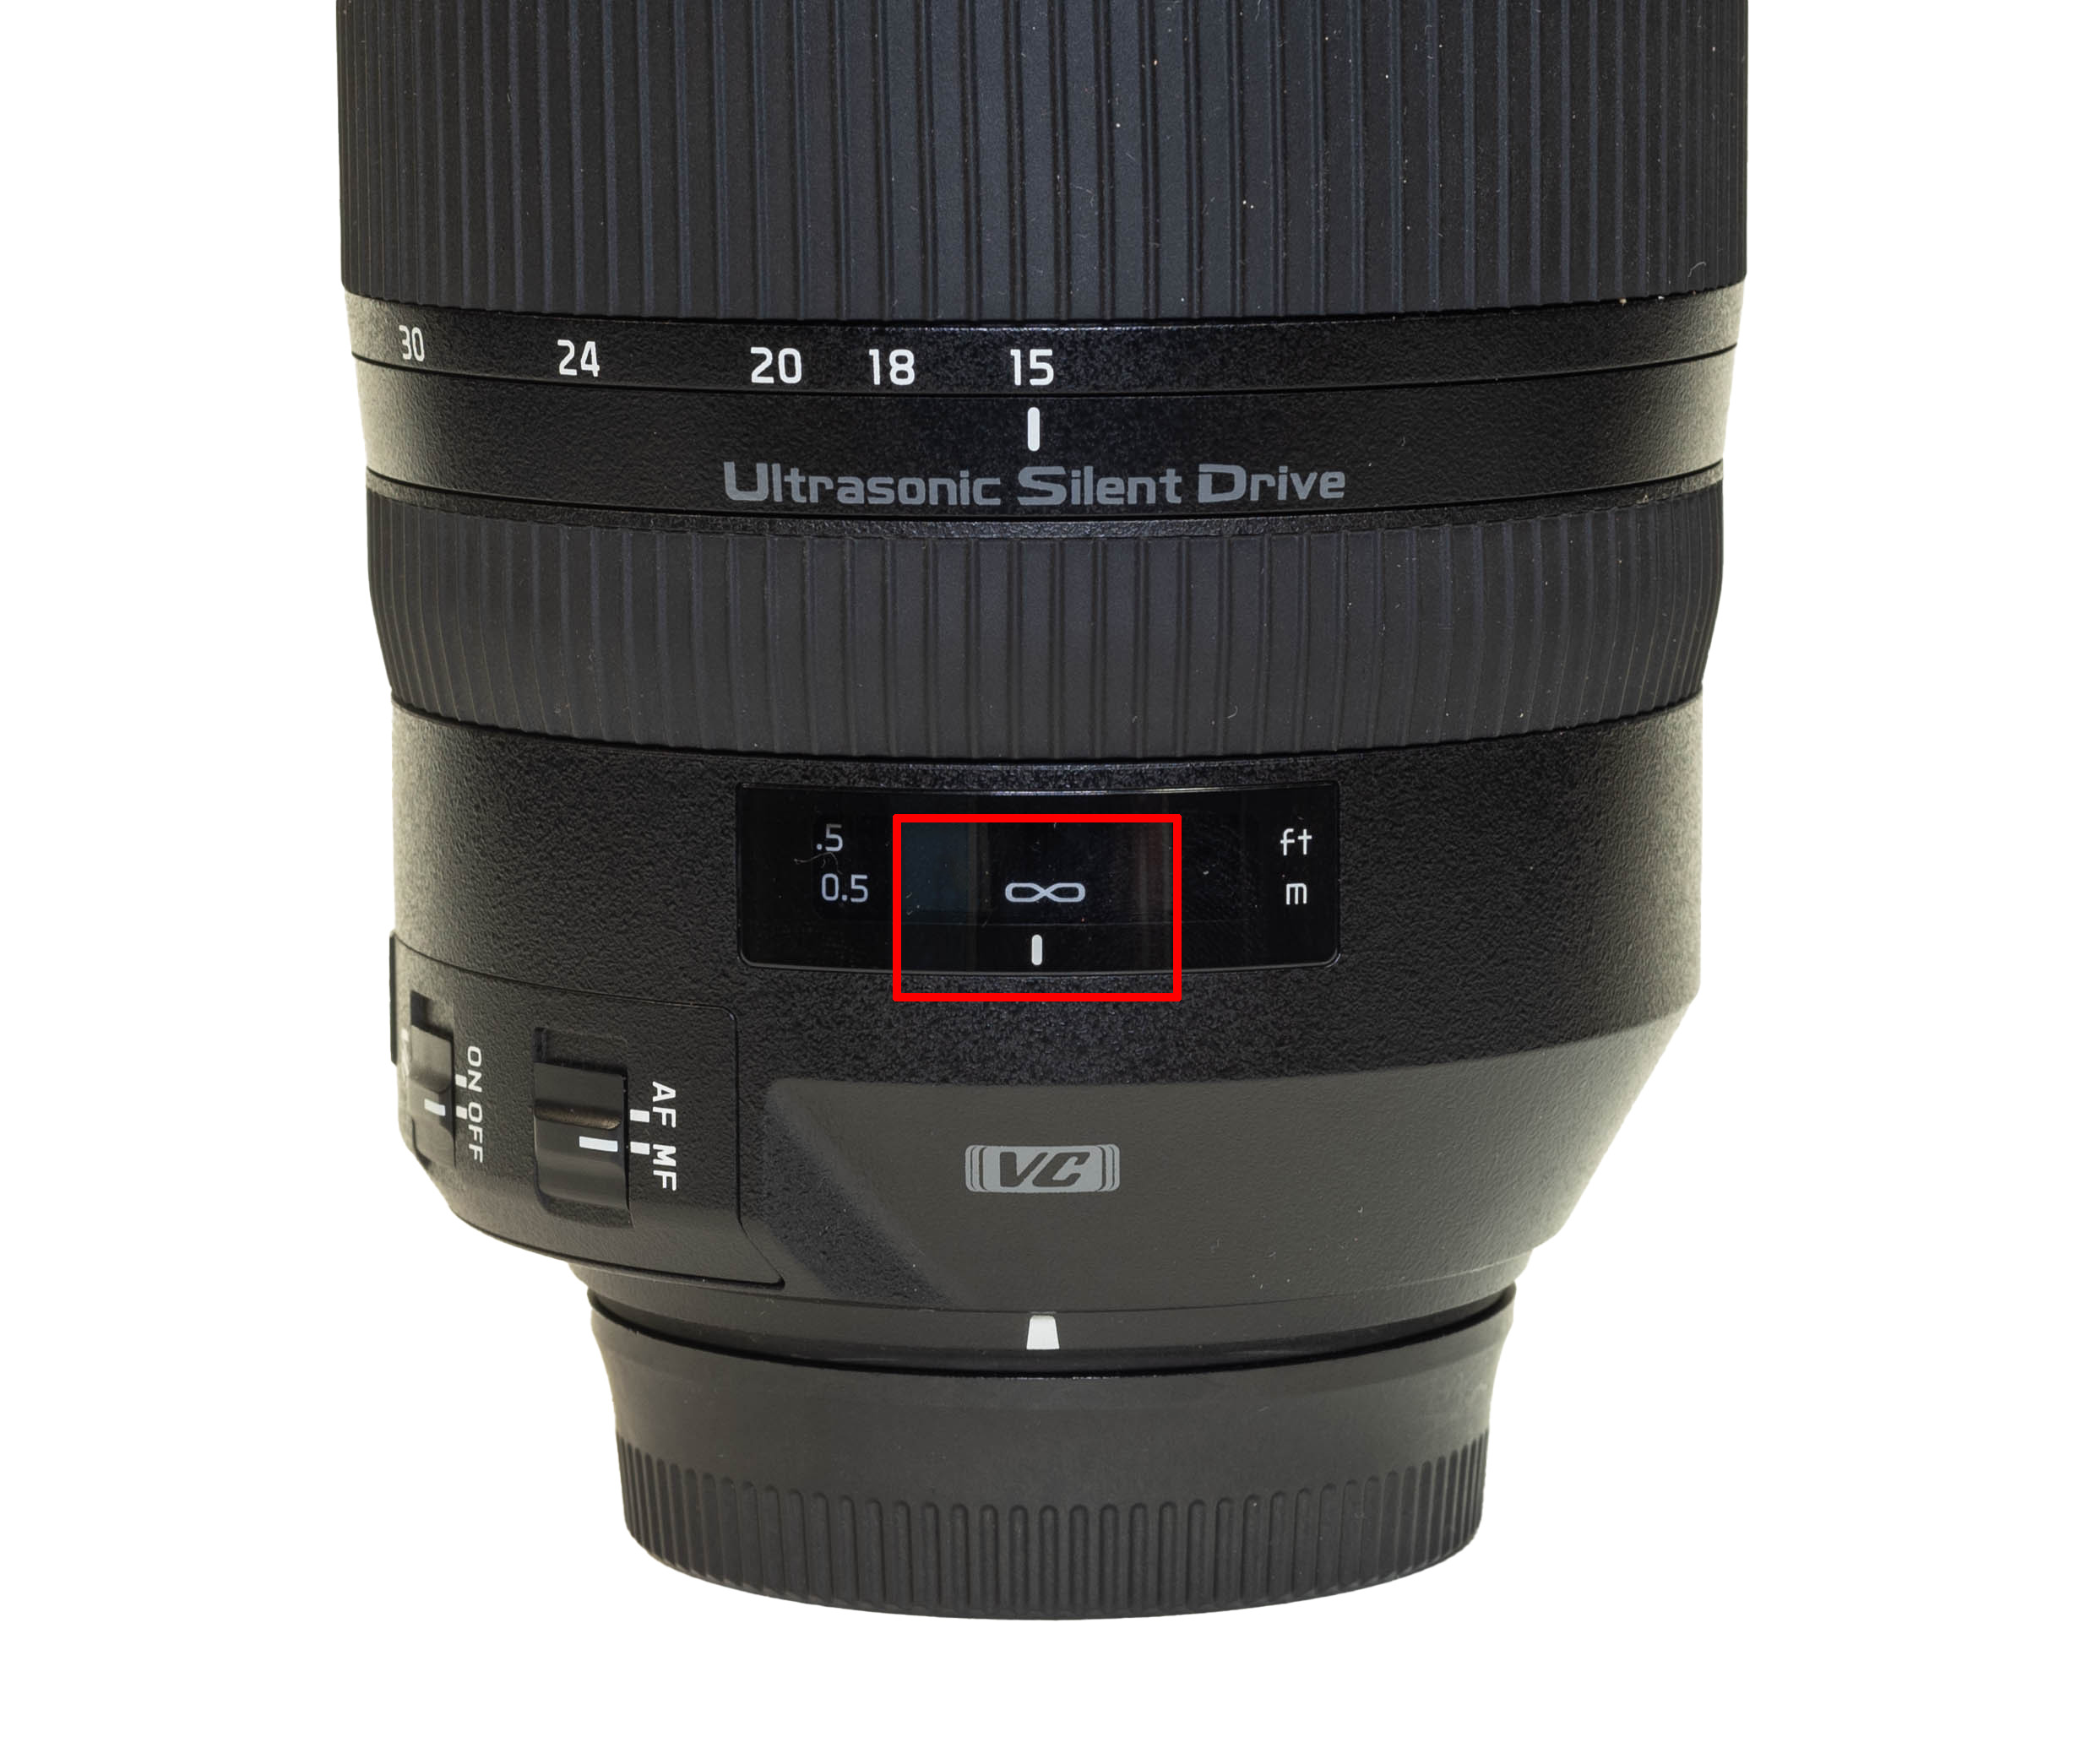
Be patient when finding focus as it may take multiple tries to obtain a sharp focus. Once set, zoom in on the stars using the LCD panel and magnifying glass button on the back of the camera. My suggestion would be to pick the brightest star (or the moon) to focus on, as it will be the easiest to see through your LCD screen. Adjust until critical focus is obtained. To learn more about how to focus at night click here.
Now that your camera is set up on a tripod and the focus is set, you’re going to want to make sure you can see your camera and your surroundings.
Because again, at night it is pitch black out!
That is why it is crucial to pack a headlamp or flashlight with you. Headlamps are preferred as they are easy to turn on and off, and your hands can be free to change settings on your camera.
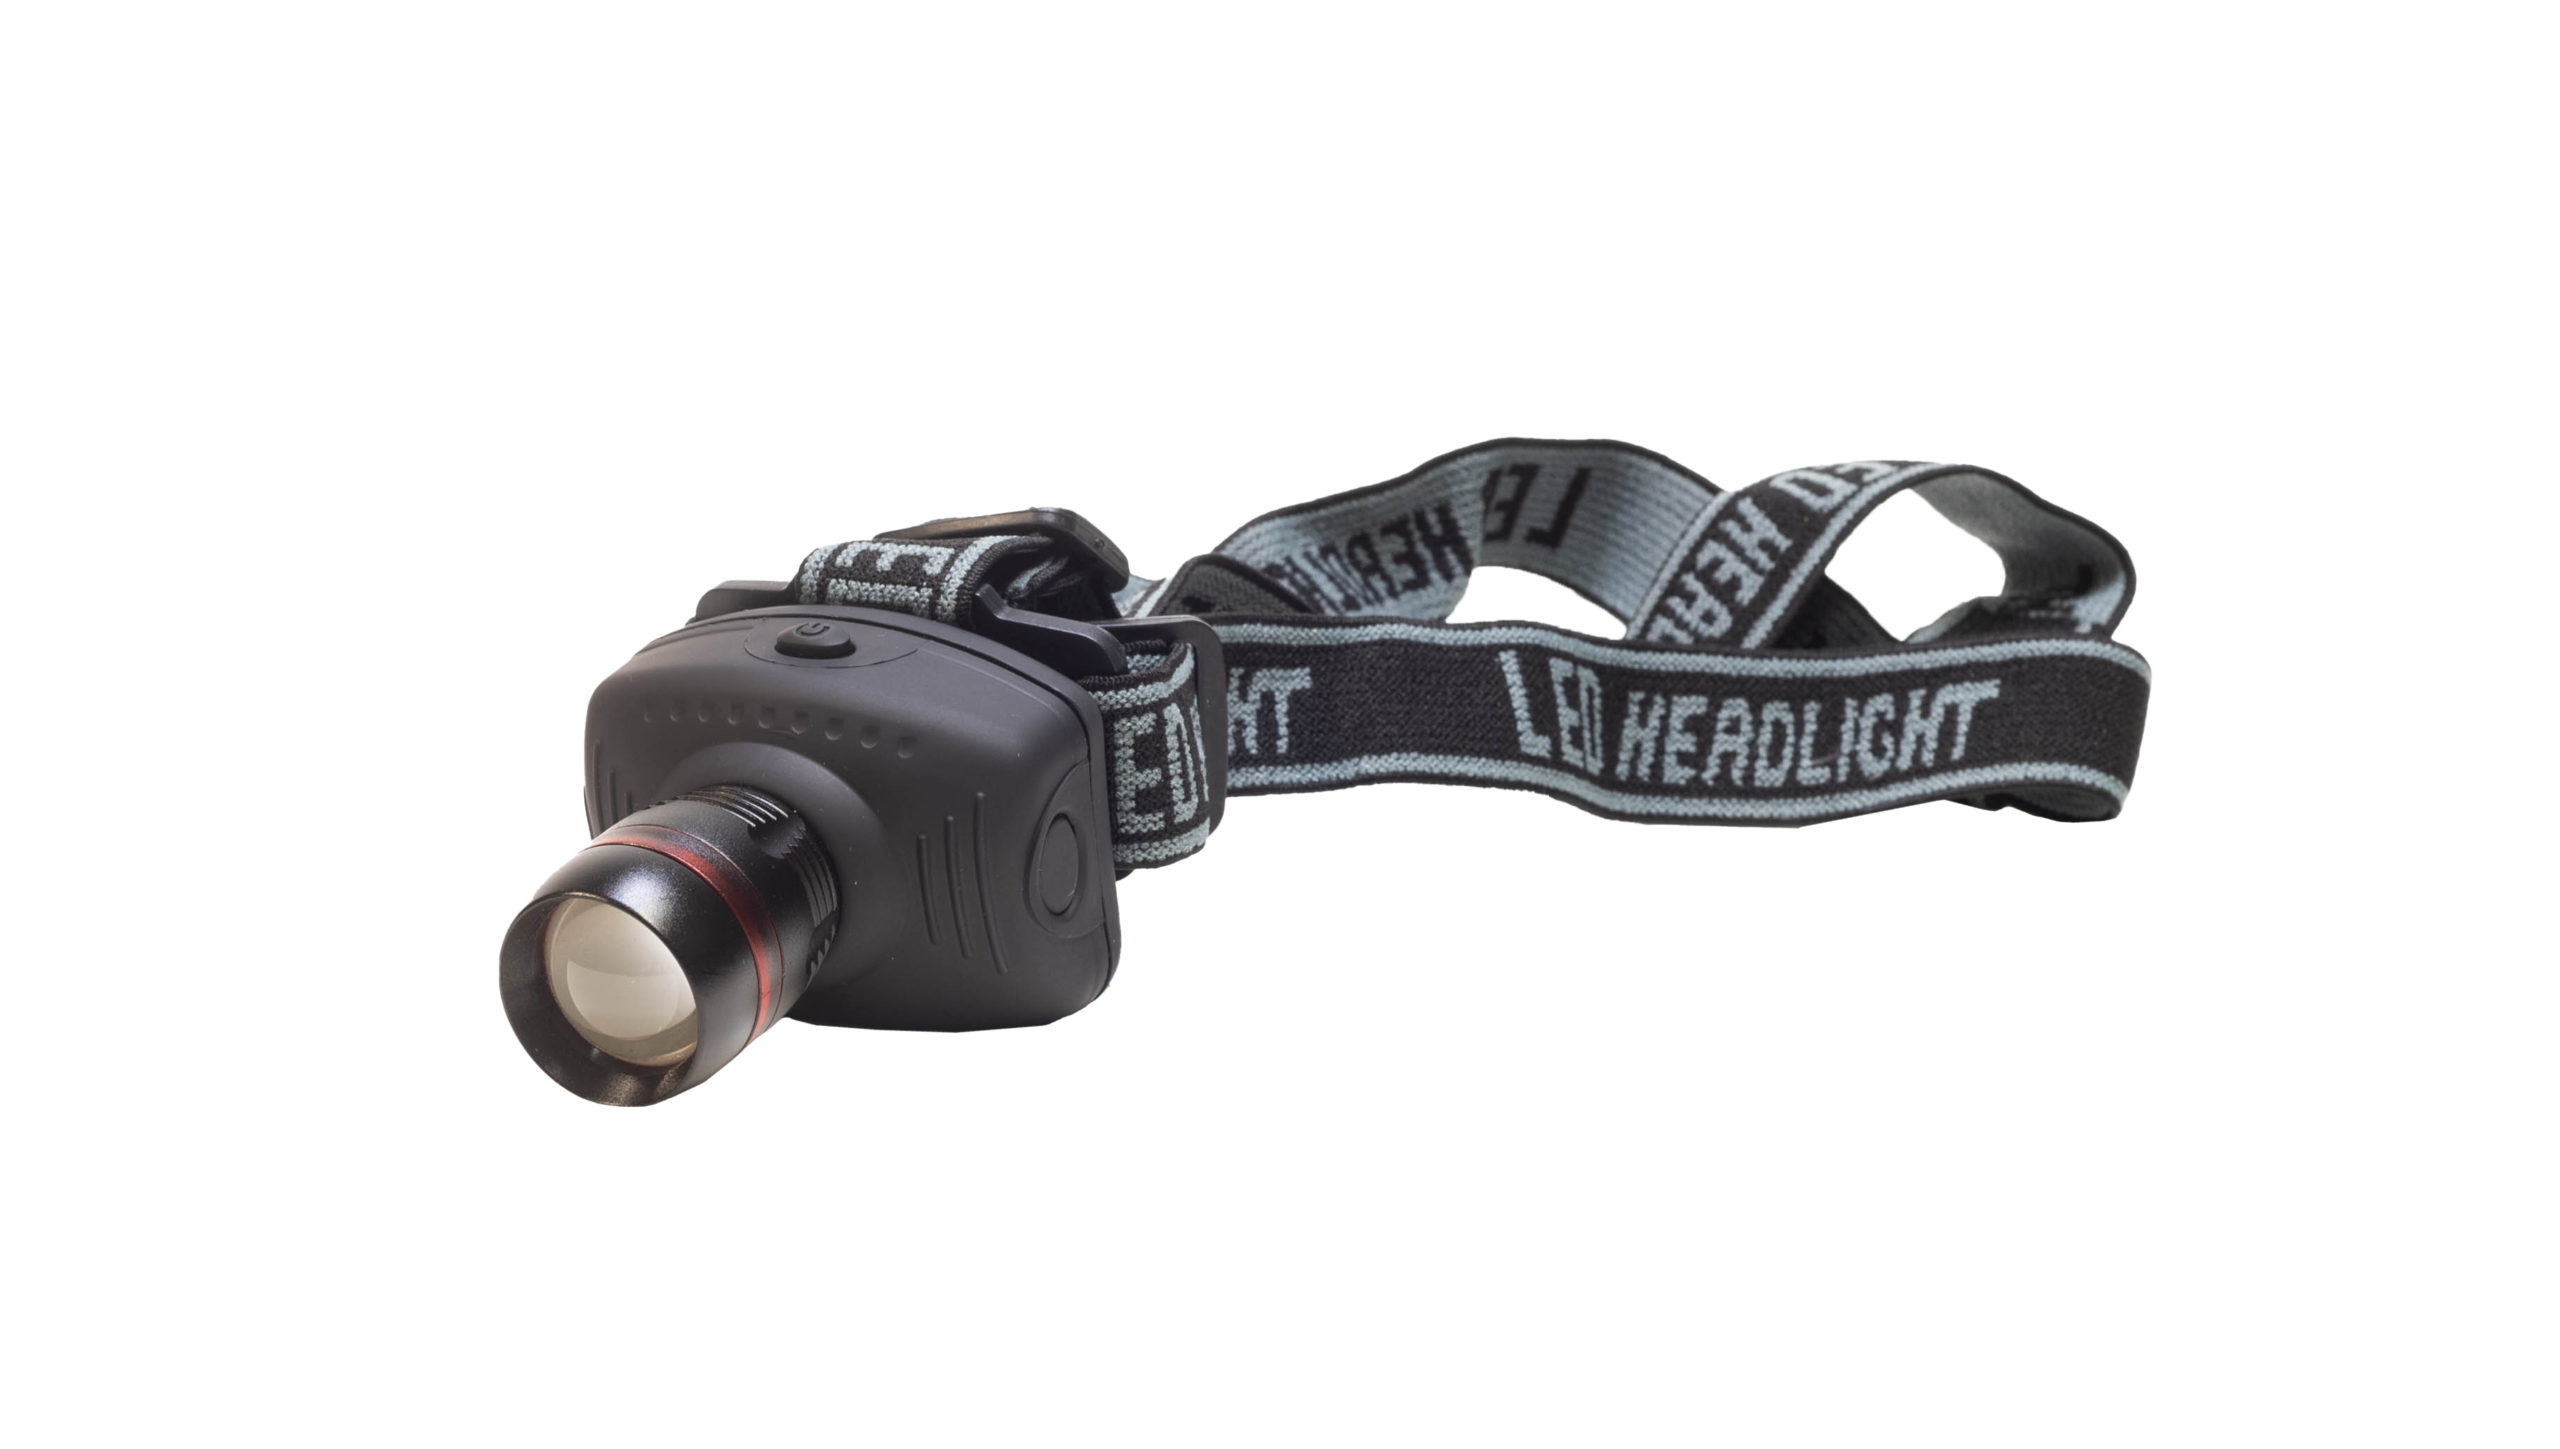
You might even want to go the extra mile and look for red headlamps. This is to preserve your night vision. Think of driving at night — the headlights and taillights of cars are red.
You can also use a flashlight during long exposures to help paint in the subjects in the foreground of your image.
With all of this equipment and new knowledge, you are eager to go out and shoot the night sky! But where do you go? And when?
Where do you go?
Night photography is a lot of fun (at least in my opinion) when you can clearly see the thousands of stars!
But this can only happen if you go somewhere dark enough to view all of those stars.
If you have never heard of the term, light pollution, it is what defines how much artificial light is present in a given area. A lot of factors contribute to light pollution.
Some include:
- Cities
- Porchlights
- Buildings
- Post lamps
These are all factors that illuminate the night sky, making it harder to view the stars.
The point is…You want to be as far away as possible from the effects of urban lights to view and photograph the stars.
Sadly, light pollution is only increasing.
It is estimated that 99% of the United States and Europe experience some sort of light pollution.
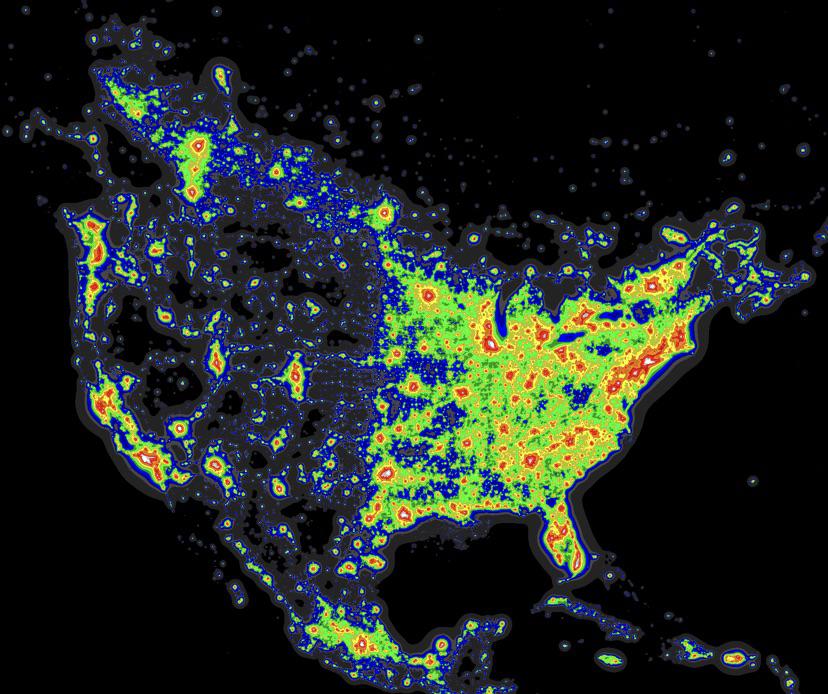
A map of the U.S. where the green represents light pollution.
Even if you are miles away from a small town, most likely, the light pollution will be observant in your image.
Longer exposures bring out haze from nearby bright lights which seeps into the photograph.

The clouds are tinted yellow because of light pollution from a city miles away.
Some of it can be removed in editing, but other times, it just becomes a part of the photo.
But don’t give up hope just yet! The following applications and websites will guide you to the darkest location.
This means less light and more stars!
Probably the most popular light pollution map used is Dark Site Finder: https://darksitefinder.com/maps/world.html#4/39.00/-98.00
This map tells you which areas in the world are least affected by light pollution.
Once you find a location to go to, you need to know when to go there.
When do you go?
Besides light pollution, one factor that can influence your stargazing trip is when and where the Moon will rise and set.
If you didn’t already know, the Moon has phases.
You have probably witnessed this when you look up one night and see a full moon and another night it is a crescent or half-moon.
The moon goes from Full Moon (being very bright) to a New Moon (complete darkness) in the course of a month.
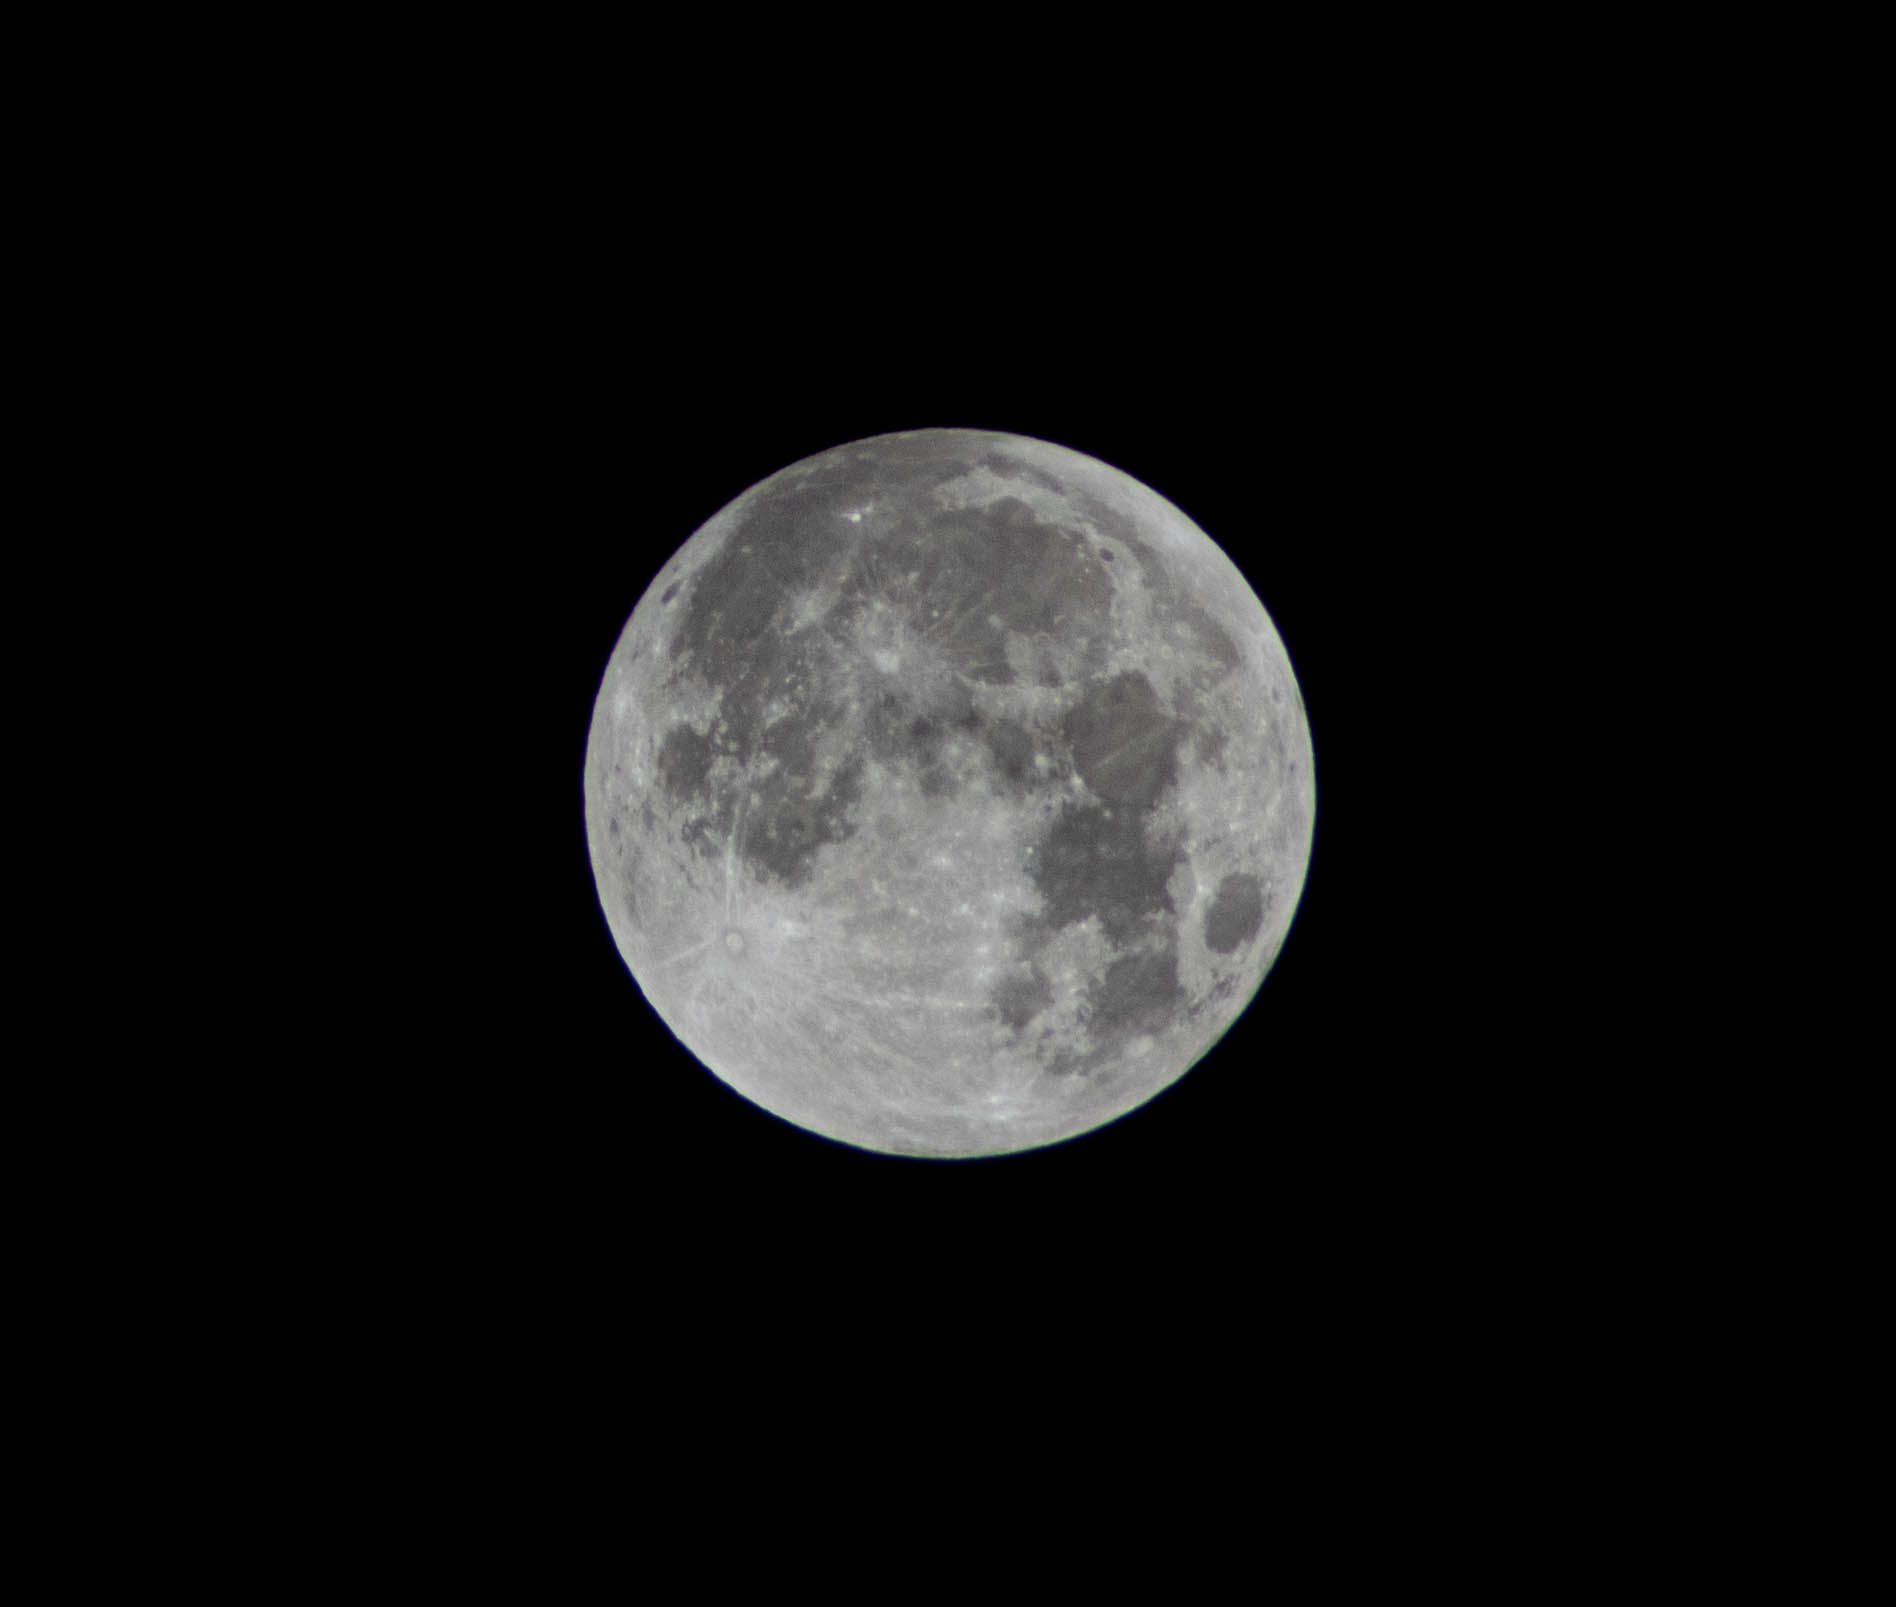
Pictured here is a Full Moon, so not that many stars would be visible.
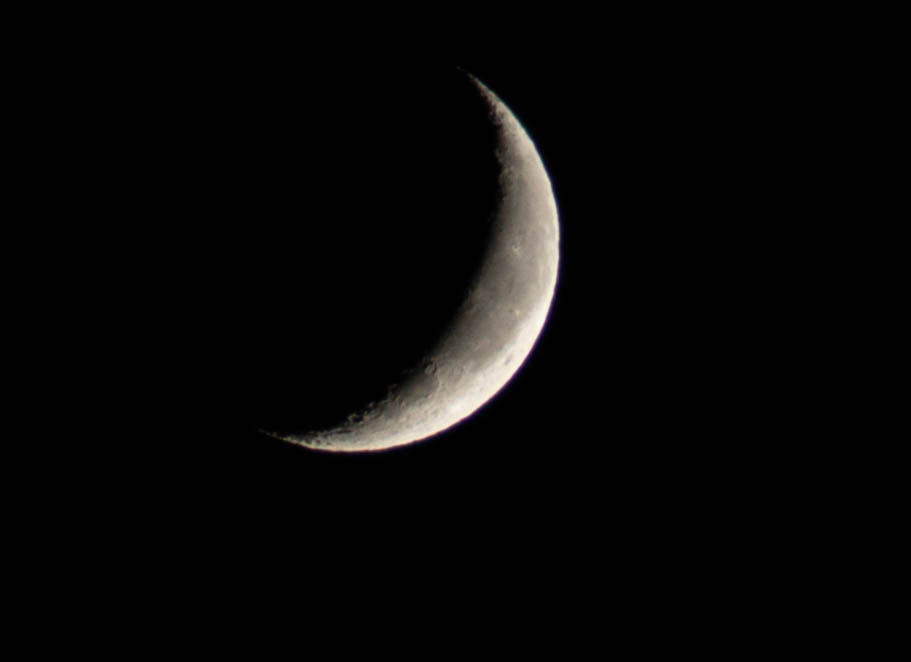
This is a very small crescent moon (close to a New Moon), meaning more stars would be visible.
You will want to try and plan your trip around the week of the New Moon. This will greatly increase the number of stars you will be able to see and photograph.
The list below are some websites and applications that can tell you when the moon will be at certain phases.
- https://www.timeanddate.com/moon/phases/
- https://stardate.org/nightsky/moon
- https://www.photopills.com/ (PAID)
- https://www.photoephemeris.com/ (PAID)
Last but not least, clouds.

Clouds are the other factor that can determine whether or not you will see ANY stars!
There are many applications or websites to see when the weather will be clear.
- https://weather.com/
- https://weather.us/observations/total-cloud-coverage.html
- https://www.wunderground.com/
I know at first it seems like a lot of variables have to line up exactly to be able to see and photograph the night sky.
But honestly, each and every time I have gone out, whether it has been perfectly clear out or quite the opposite, it has always been an adventure.
So enjoy it. All of it.
I can assure you that clouds DO move at some point or another.
And when the clouds part and you are just staring into the vastness of the universe, everything will have been worth it. Take it all in. Then start photographing!
Have fun and clear skies!