Disclosure: As an Amazon Associate, I earn from qualifying purchases.
When starting night photography, I obviously had a lot of questions. I turned to YouTube in search of answering all of those questions and found myself spending hours upon hours scanning through hundreds of videos.
Since I’ve been doing astrophotography for almost 5 years now, I started to think back on any tips or information I wish I would’ve known when starting out.
I tried to think back to my biggest frustrations and also my biggest eureka moments.
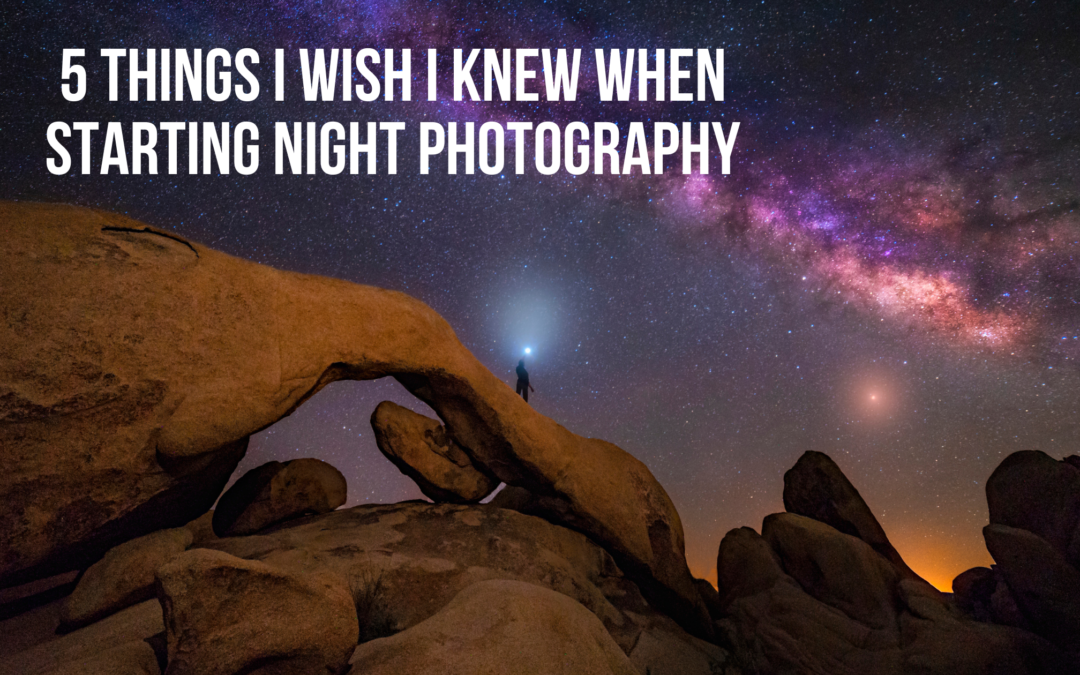
So, here are 5 things that I wish I knew when I started photographing the night sky!
1. Focus! Focus! Focus!
Focusing is one of the most important tips I can give you about night photography.
I have said before that focusing is one of the few things that you CANNOT change in editing! If you mess it up when you’re out shooting, you won’t be able to fix it later.
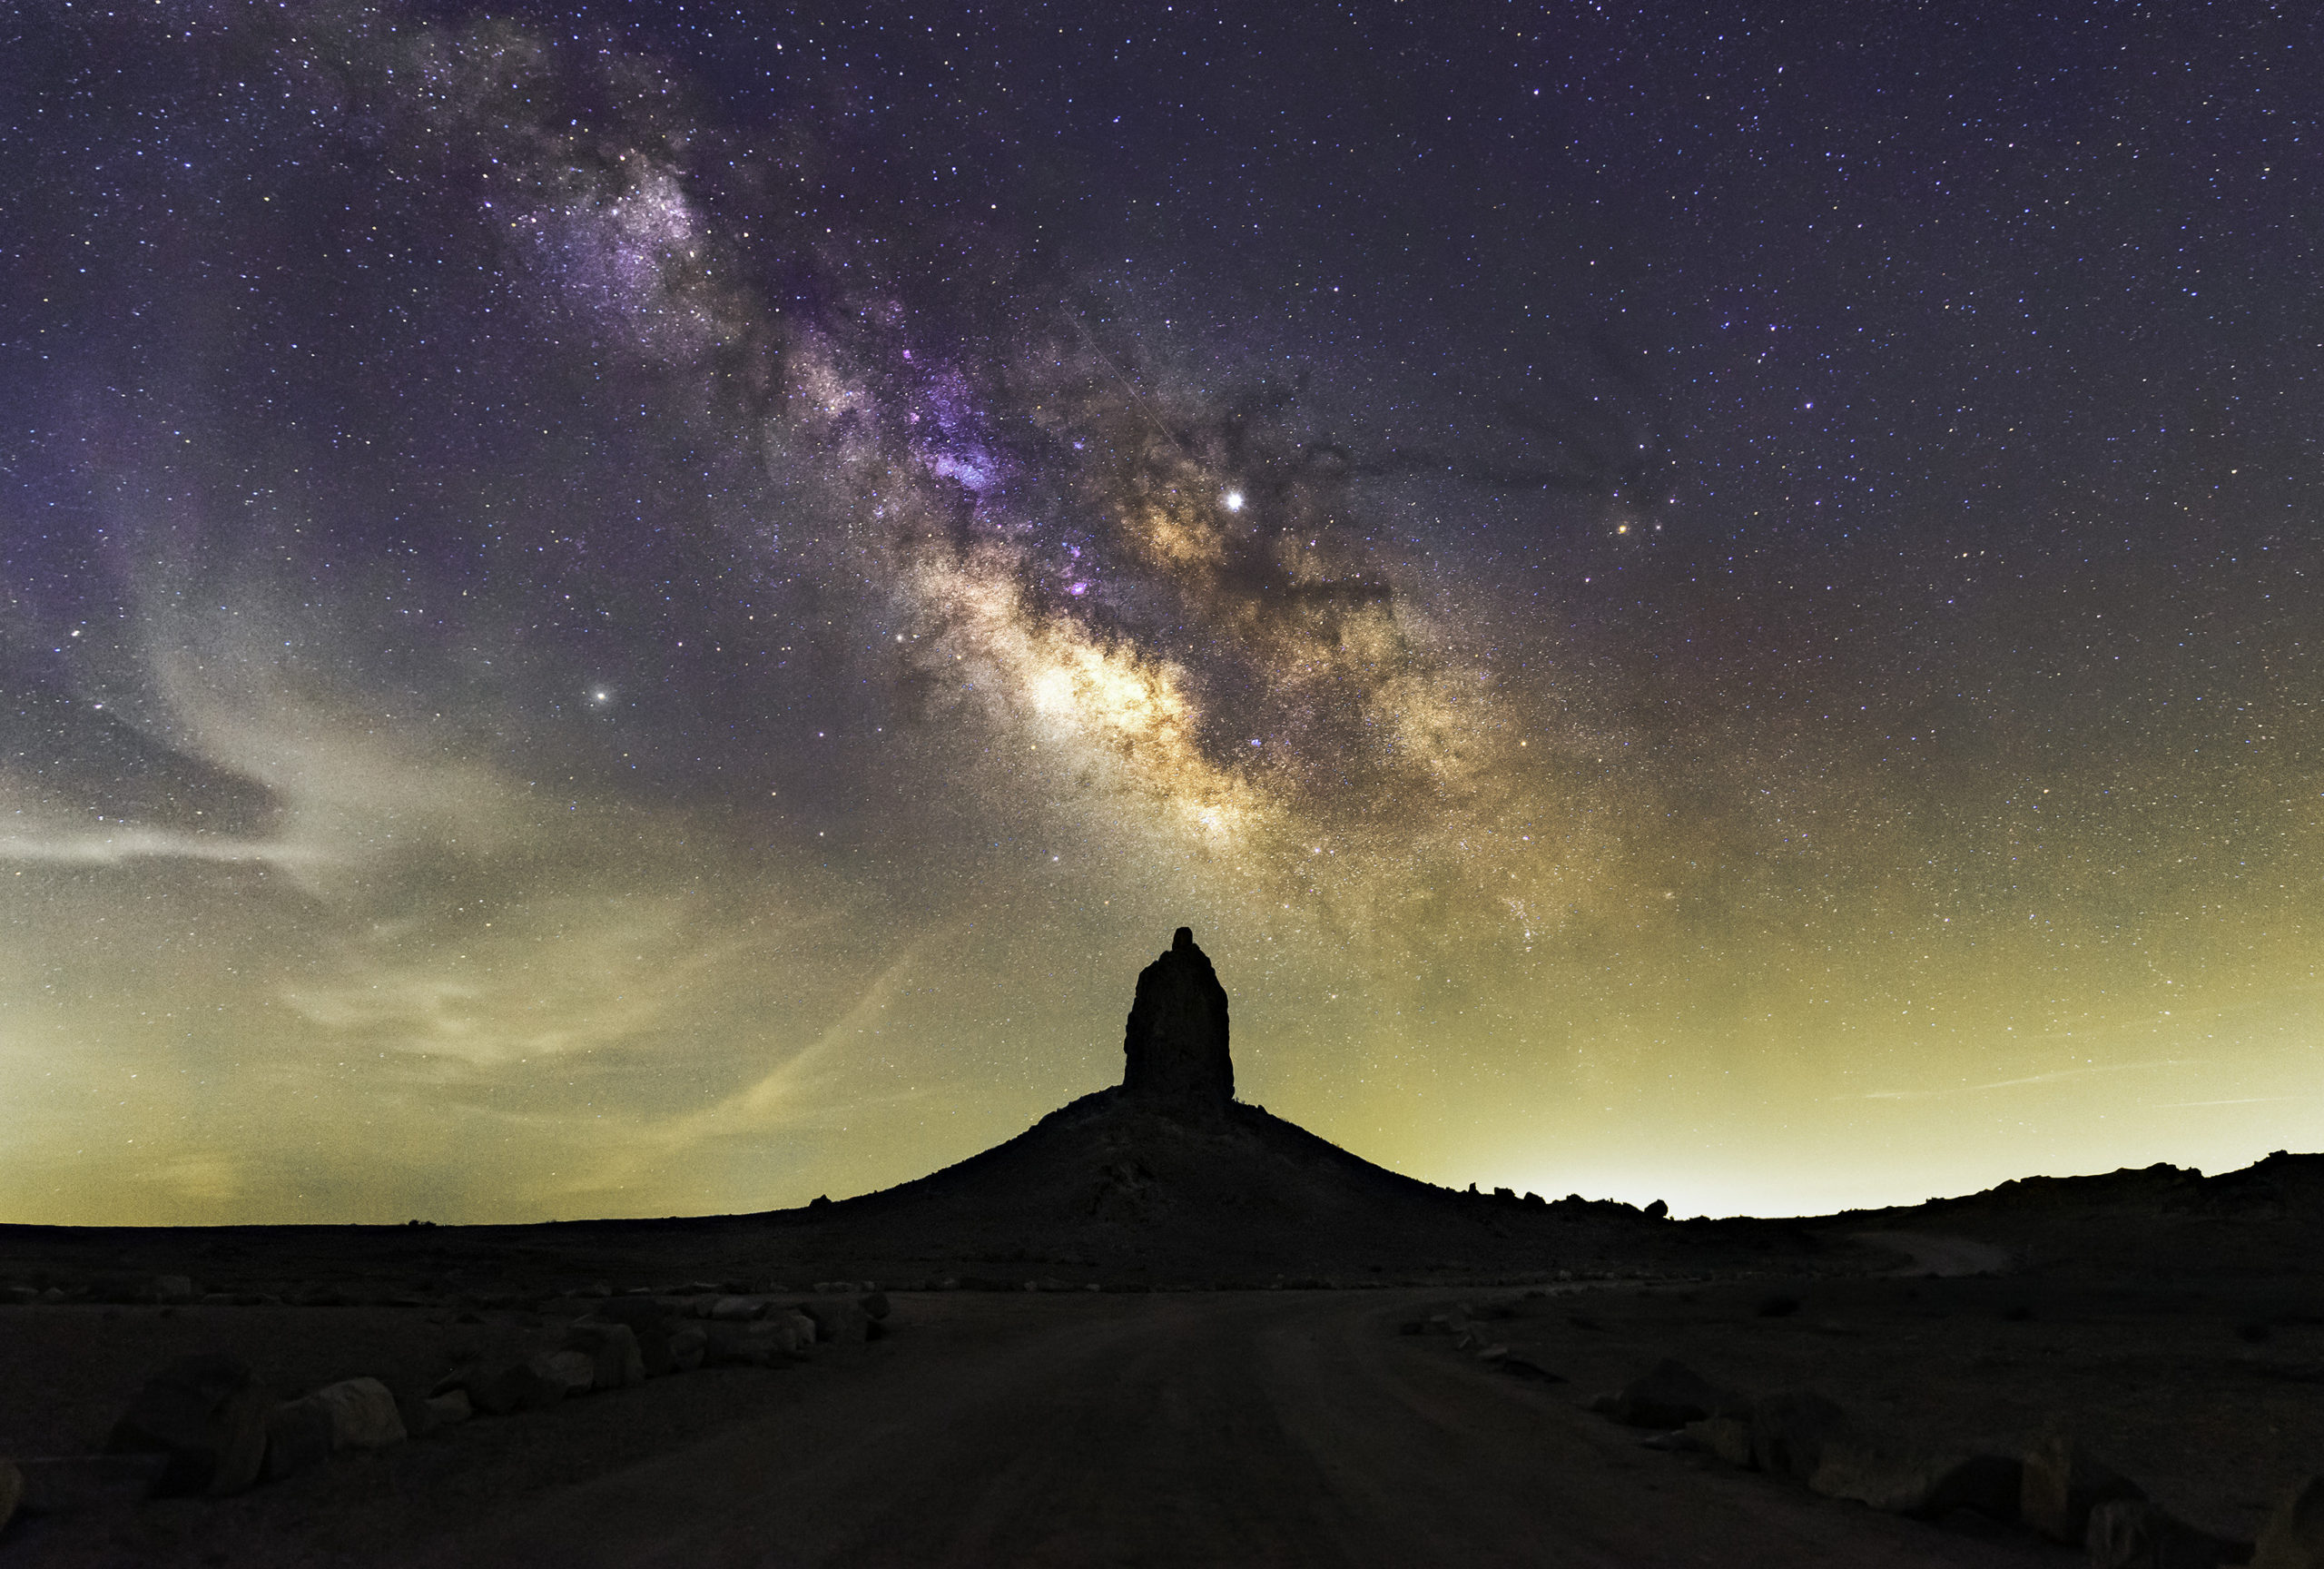
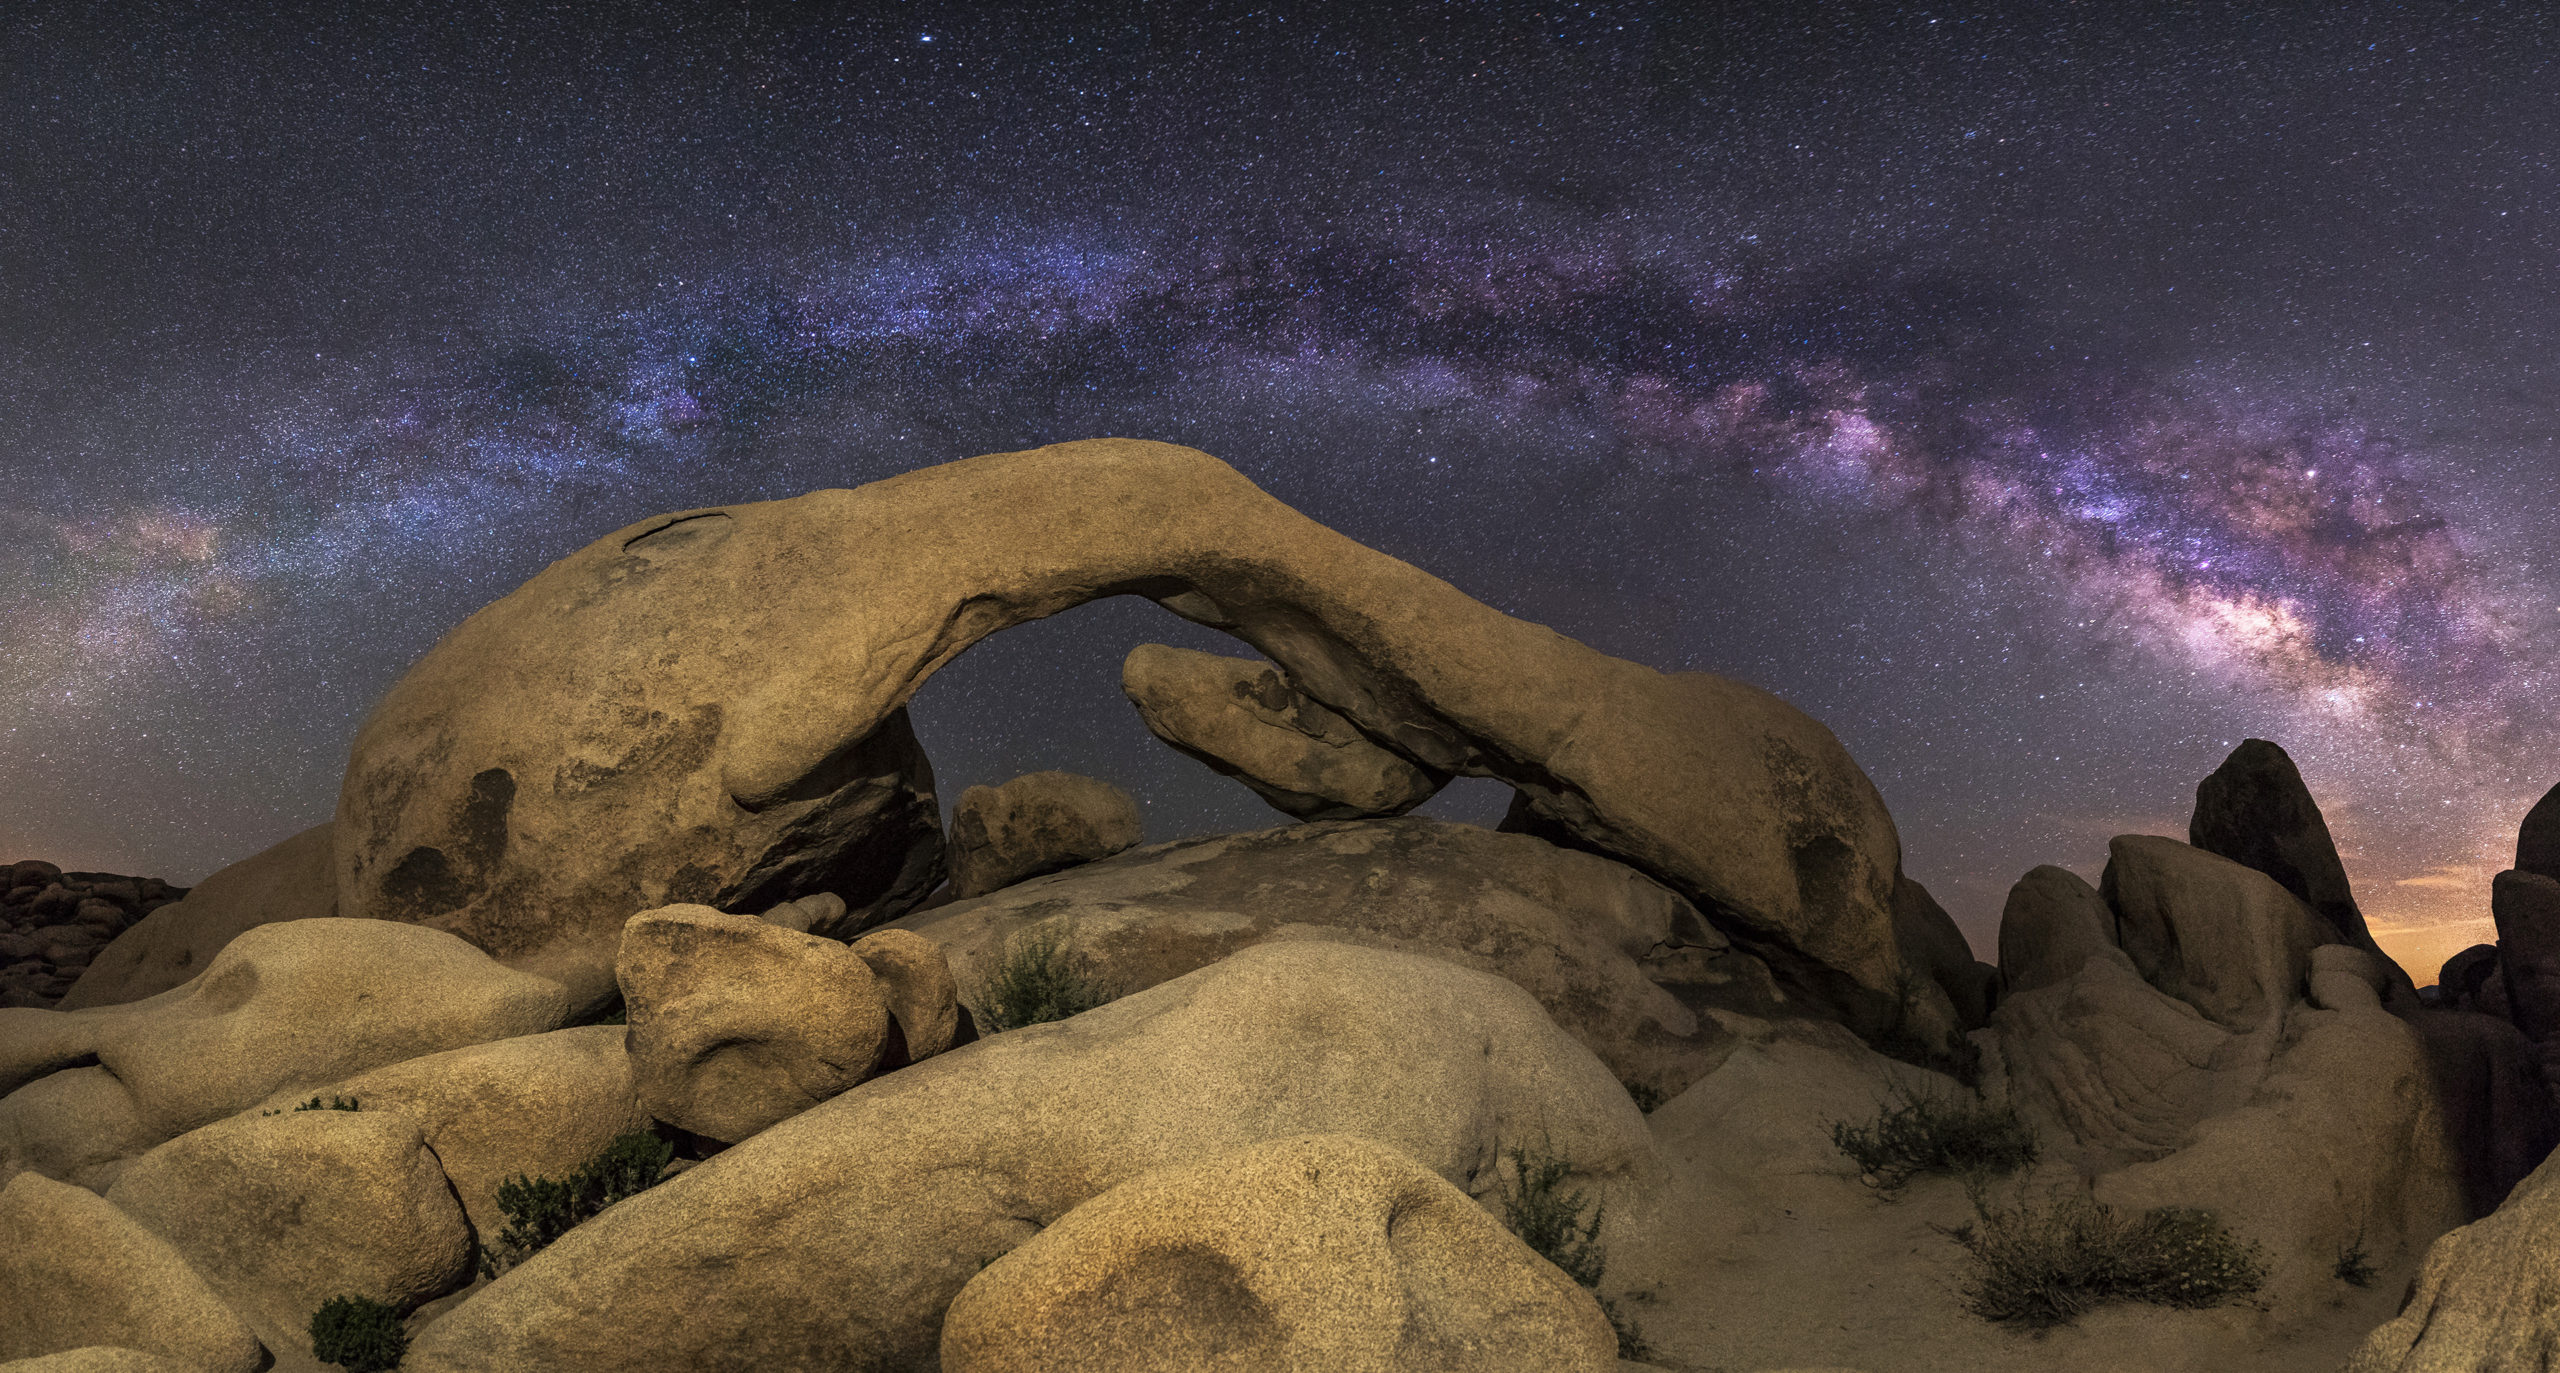
As you can see, this image is in focus.
Plus, you are focusing at night, which when people first think of that idea, they just see it as a huge obstacle to overcome.
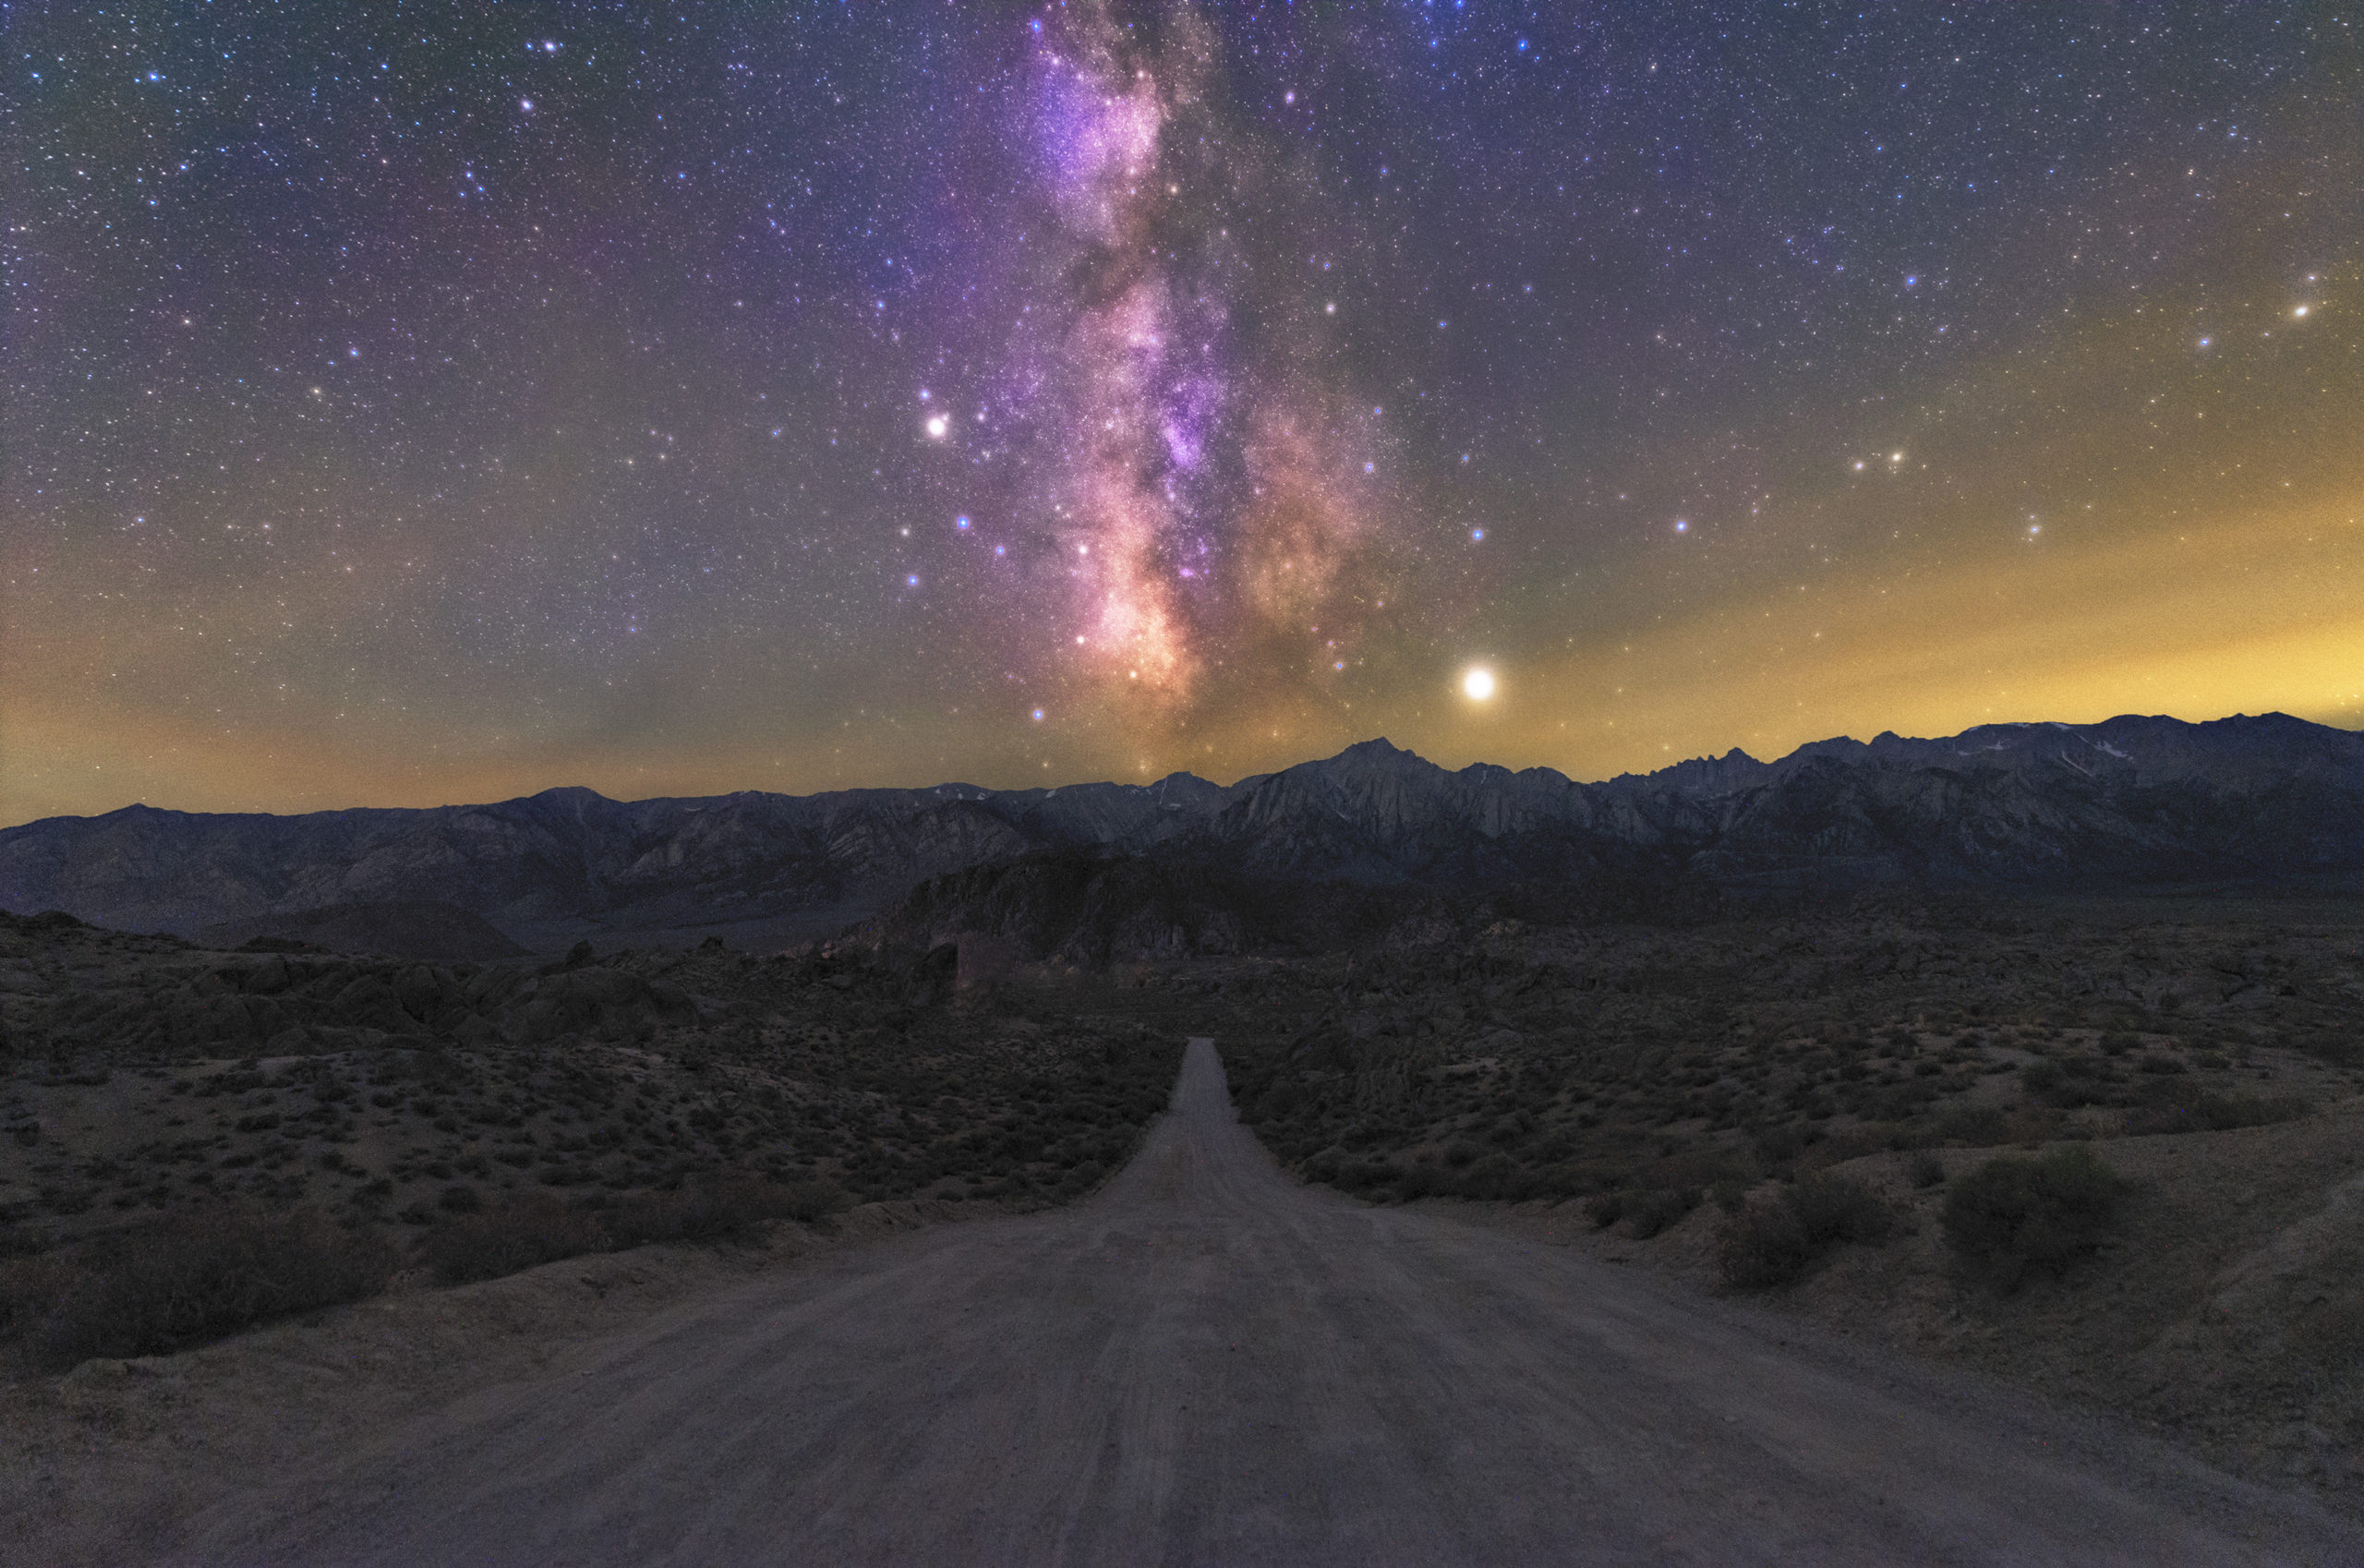
In this image, the stars are not in focus.
Focusing at night should not be this big hardship when planning on photographing the stars! Once you learn how to do it and practice, it becomes pretty simple!
Here are some of my tips:
1) Once in live view, search for the brightest star you can see on your screen (or the moon, or a very distant bright light)
2) Zoom in to the star or light with your magnifier tool as much as you can
3) Slowly turn your focus ring until the star or light is as small as possible
Also, double and triple check your focus EVERY time you take a picture! It takes seconds to do but can save a lot of disappointment later on!
I also highly recommend purchasing the Carson Lumiloupe 10x Magnifier: https://amzn.to/4pGlq3U
It’s only $13 and it is extremely helpful! Once you zoom into the star as much as possible in live view mode, you look through the magnifier and you can actually see the individual pixels on the screen. This makes it much easier to see when the star is at its smallest (meaning you have perfect focus).
If you want to check out my article about focusing at night, click here.
2. Be Considerate
It’s one thing when you are photographing at night by yourself or with your friends and family.
But when you arrive at a location where there are other photographers, there are some things to be aware of to make the whole situation more enjoyable for everyone.
First off, when you are close to arriving at a location at night, please turn off your high beams (if it is safe). You have no idea how annoying it is when a car pulls up with its high beams on and leaves them on as the people get ready.
Of course, everyone understands, that you need to have your headlights on while driving, but as soon as you park, turn them off. The less time your lights are on, the happier everyone is.
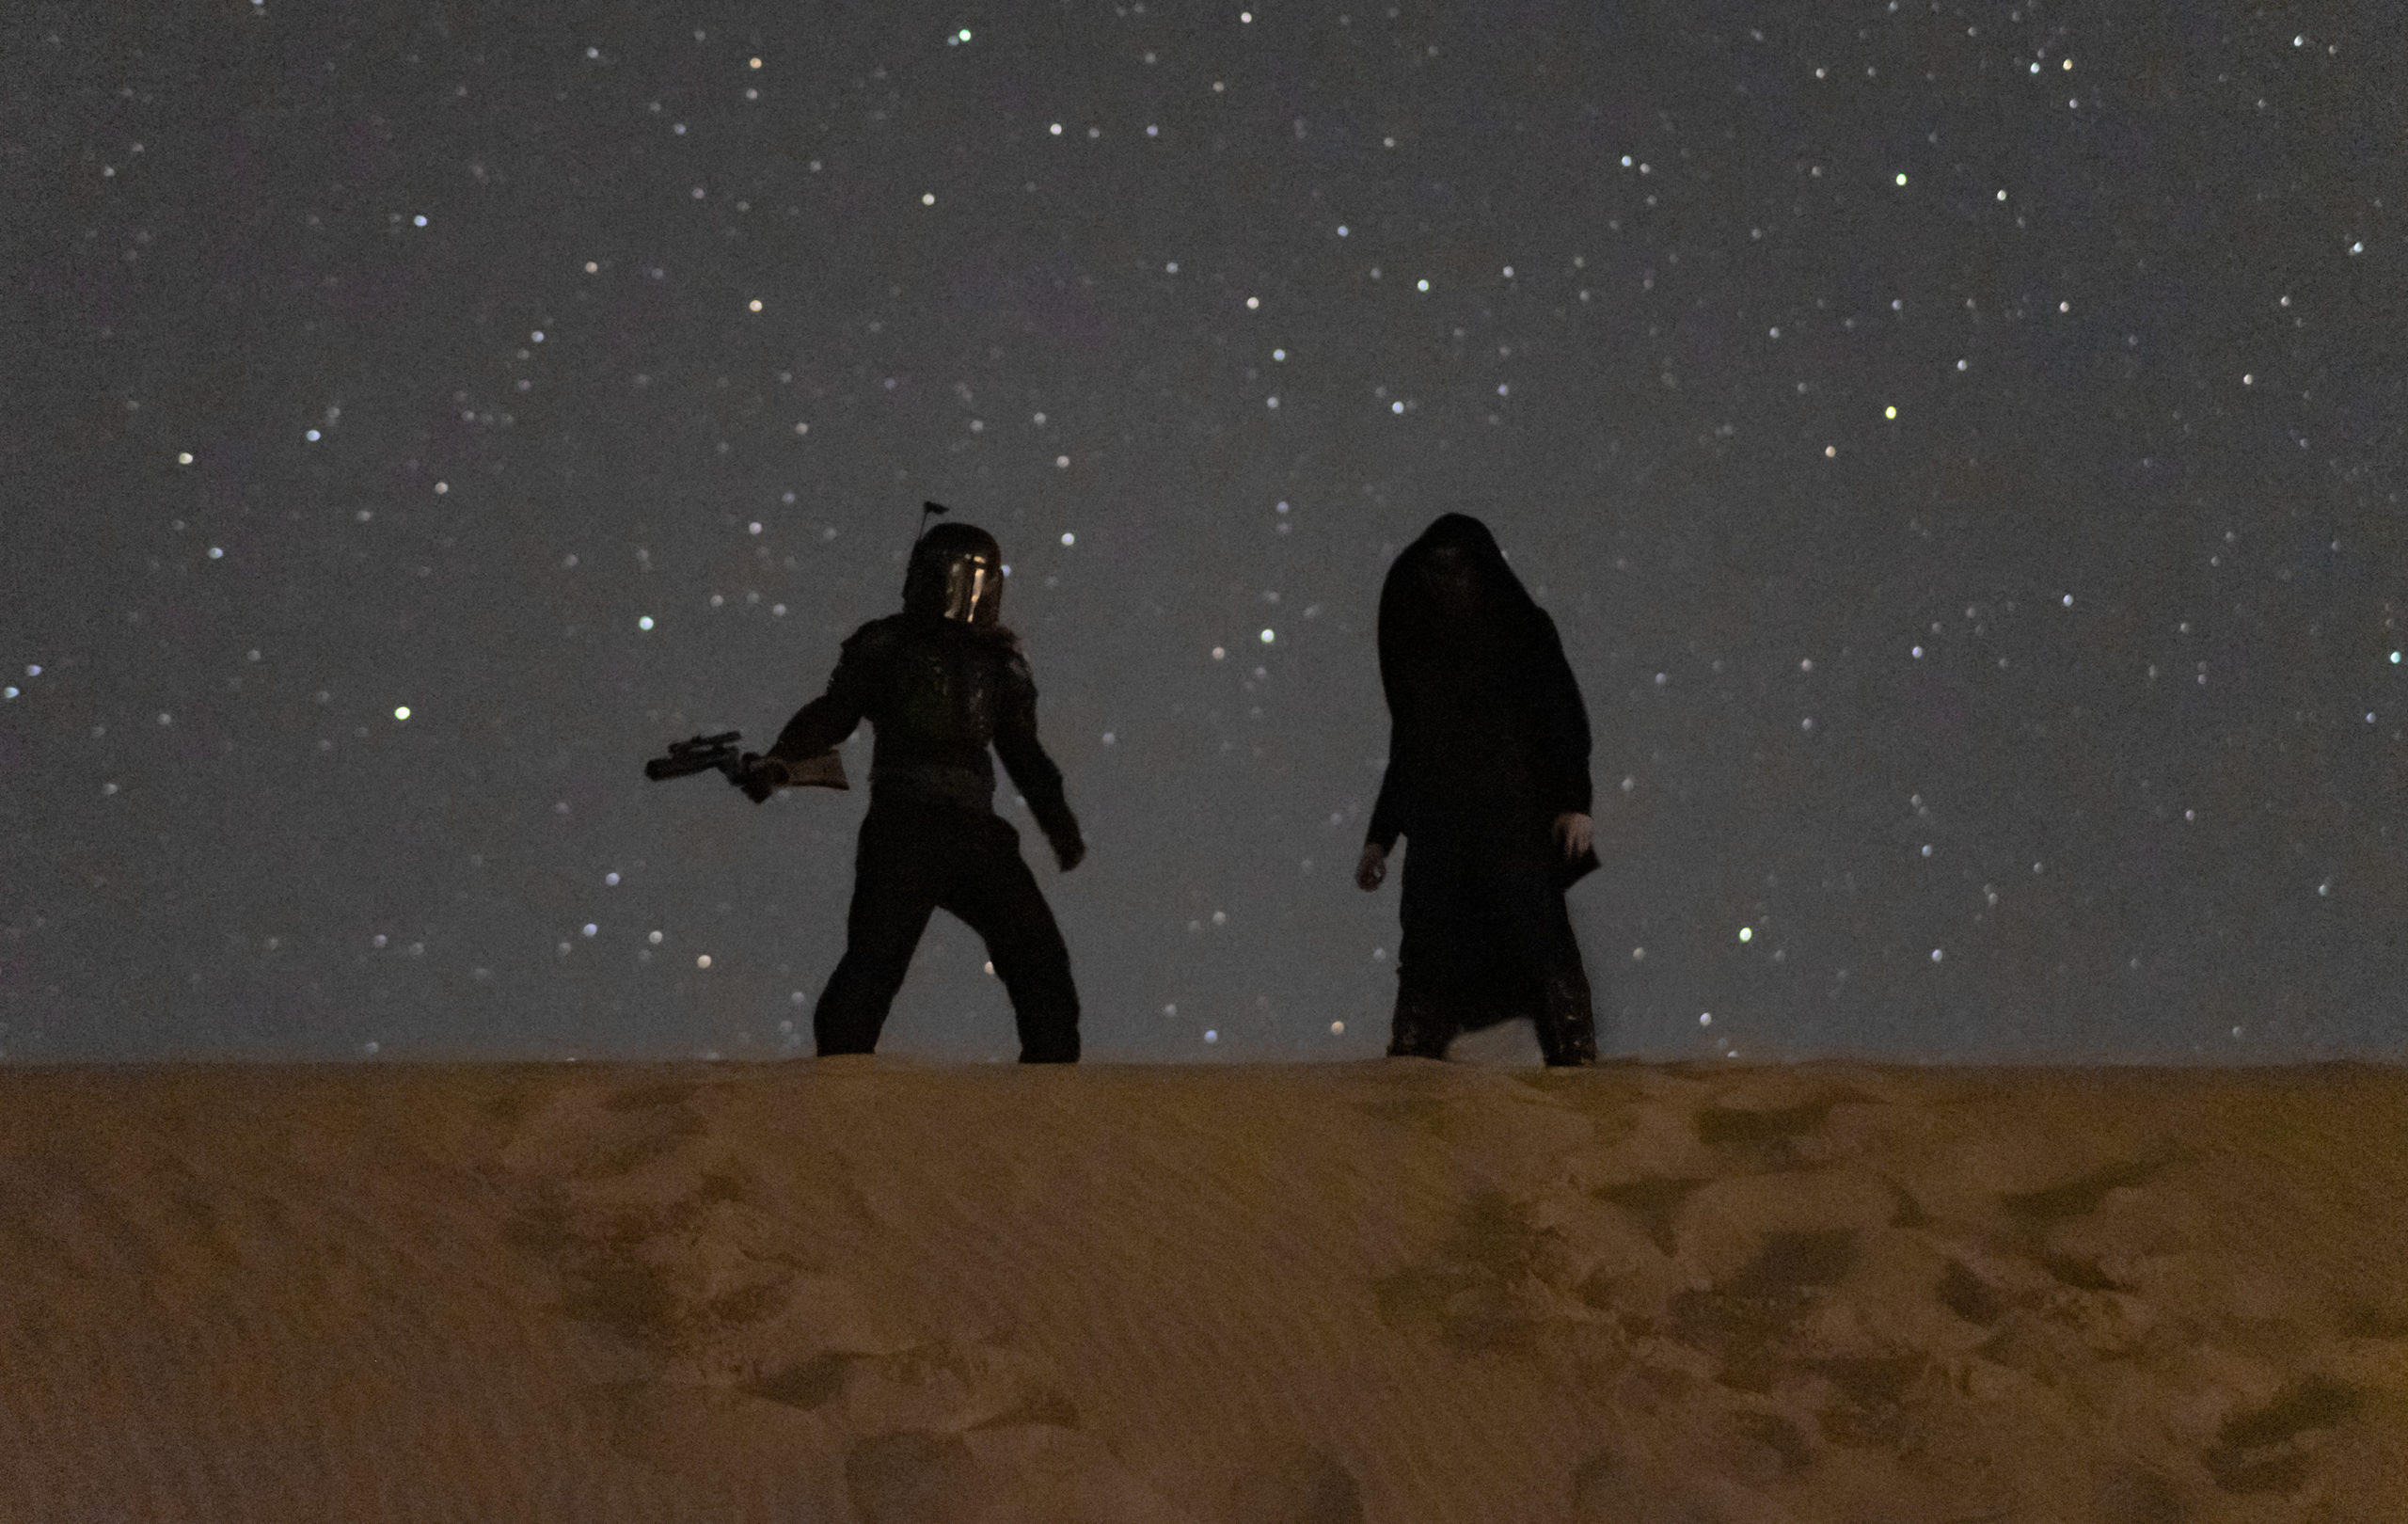
A light was placed behind us and brightened up the whole scene.
Also, when walking to the location at night, if it is safe to do so please do not wave your flashlight or headlamp all over. Try and keep it pointed toward the ground so you don’t ruin any shots.
When you are at the actual place photographing, be very mindful if you turn your headlamp on. Whether you want to make sure you’re hitting the right button on your camera or looking for your bag, be considerate where you shine your flashlight and for how long.
And lastly, if you want to light paint (shine your light on the subject or foreground you are photographing), ask first. By doing this, it will allow any photographers to finish their shots up before you shine your light around.
3. Know Where the Milky Way Is
If you are planning on photographing the Milky Way, it would be a good idea to know where the Milky Way will be, right?
It also helps if you have a plan for your night shoot. Whenever I am photographing, I arrive at the location during the day to plan out where the Milky Way will be and at what times.
This helps, so when it starts to get dark, I have a general idea of where I need to be and when I need to be there.
A great app that helps with this is called Photopills. They have an Augmented Reality function that allows you to see where the Milky Way will be at any given time or place.
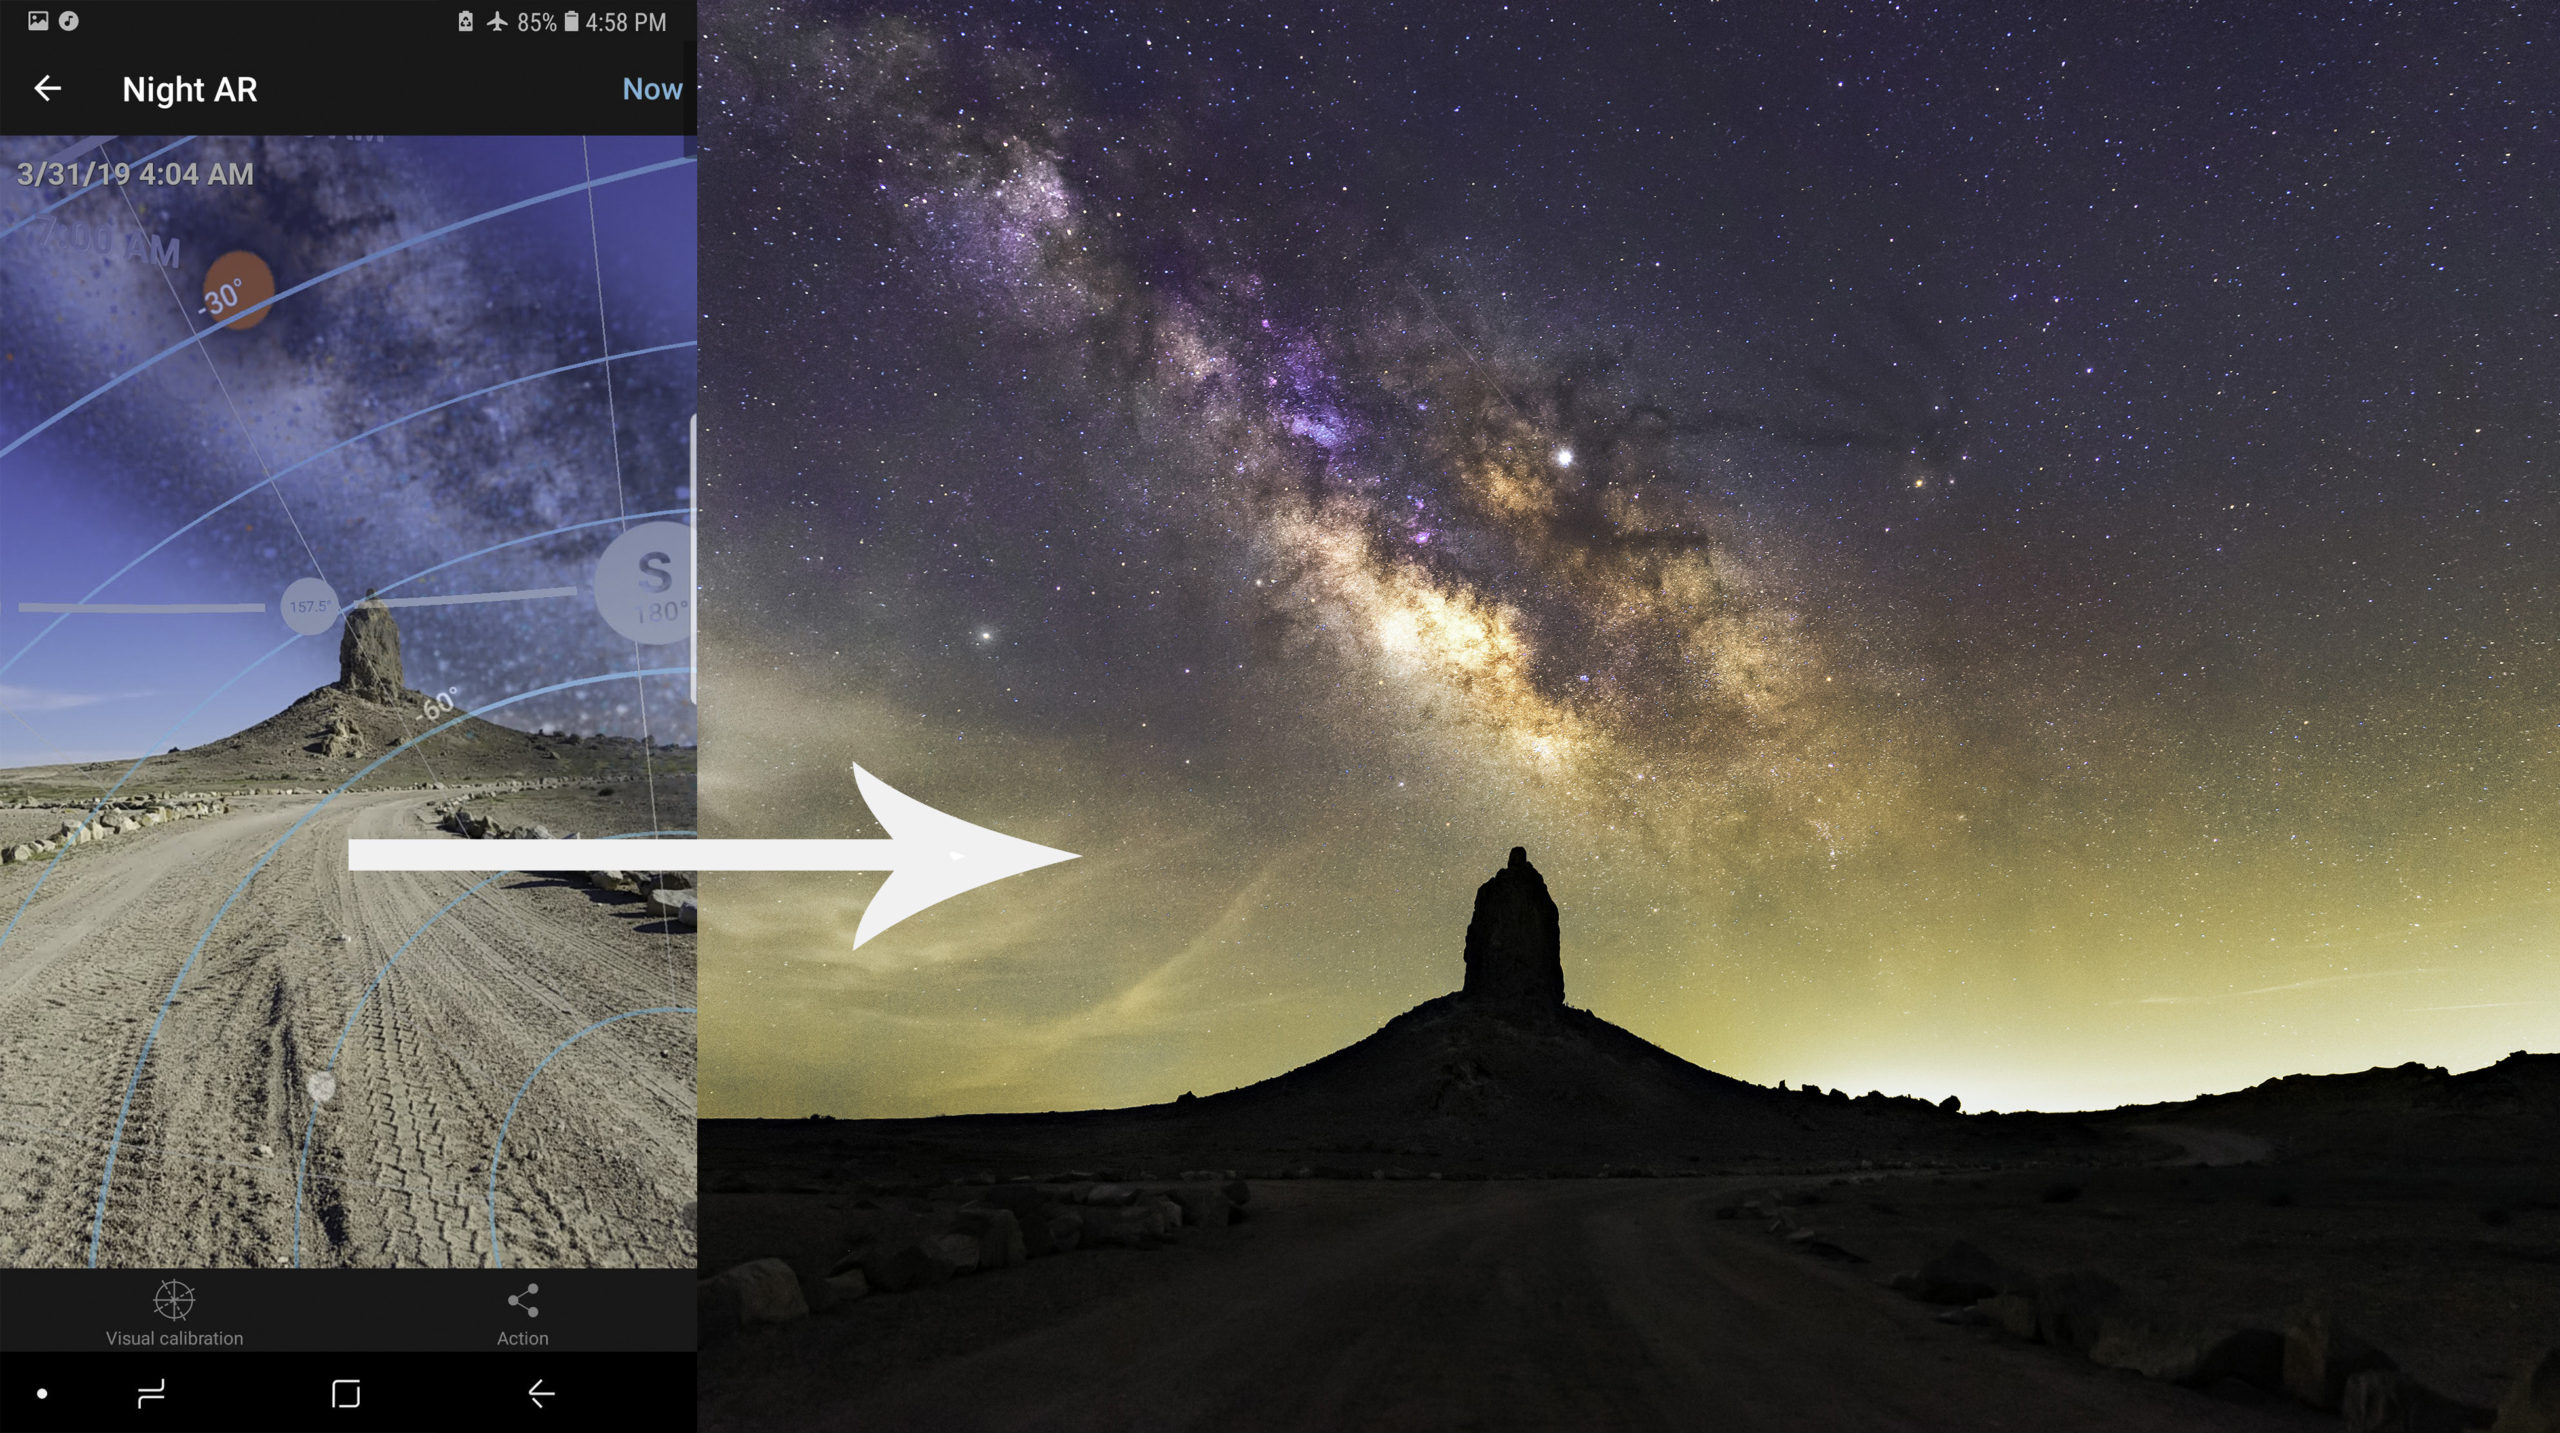
An example of using Photopills and the final image.
You can download Photopills either on the App Store or Google Play Store.
4. Test Out Different Settings
When people ask me what settings are best for night photography, it’s hard to give them an exact answer.
This is because settings will vary depending on the location, situation, and even gear you have.
It’s best to know some general settings and experiment from there, with the keyword being “experiment!”
Using different shutter speeds, ISO’s and even white balances will yield different results.
I still play around with my settings to see what looks good and what doesn’t. Plus, in doing this, it will give you a better idea of what settings affect what, which will ultimately give you more confidence when photographing at night.
If you want to learn more about what settings to use, click here.
5. Gear Doesn’t Matter!
Finally, if you haven’t heard this before, I want to tell you that gear DOES NOT matter!
I remember when I first started night photography, I constantly searched for Milky Way pictures that were taken by my first camera (a Nikon D5300). It was like I needed reassurance that if I saw good pictures that were taken with my camera, then I could do it too.
Sadly, I didn’t realize quickly enough, that gear does not determine whether the image will be good or not. This applies to any area of photography by the way.
If you have a crop sensor. Great. If you have a mirrorless camera. Great. If you have a $10,000 camera. Great.
Price tags do not matter! What matters is understanding the entire process surrounding night photography.
For more information regarding cheaper astrophotography options, check out this blog article here: Learn Astrophotography for a Fraction of the Cost – Using World-Class Remote Telescopes
Knowing what settings are best, where to go, when to go; these aspects are what matter most (with some editing knowledge sprinkled in).
Do not say that you’re images are not turning out good because you don’t have the latest and greatest equipment because it is simply NOT true!
Use what you have and learn obsessively. That is how you improve at something.
And that’s it! 5 tips I wish I knew when starting night photography!
I hope you learned something and can apply it to your next photography outing!
Have fun and keep photographing!