The Milky Way is a prized possession for me. It was the initial spark that got me hooked on photography.
Milky Way photography has become easier than ever throughout the years. Anyone with a DSLR and the correct knowledge can accomplish it. That means you can start capturing the same images you spend hours pondering over on the Internet!
In this article, I am going to break down all of the steps and get you prepared and excited (if you aren’t already) to photograph the Milky Way Galaxy!
Camera Gear
- DSLR with Manual Mode
- Fast Wide Angle Lens (f/3.5 or lower)
- Tripod
- Headlamp/Flashlight
- Intervalometer
- Desktop/Smartphone App
DSLR with Manual Mode
In order to photograph the Milky Way, you need a camera with a manual mode function. This is because you will be taking long exposures and will need to manually control your shutter speed, aperture, and ISO.
A big misconception is that you need the fanciest and most expensive gear to take photos at night. That is completely FALSE!
Especially if you don’t know how to use that gear! The best option is to stick with what you have.
My first pictures of the Milky Way were taken with a Nikon D5300 with an 18-55m f/3.5 lens. This camera and lens are considered to be a beginner setup. The best part was that it was relatively cheap.
Taken with my Nikon D5300 and 18-55mm f/3.5 kit lens.
So if you are wondering if you’re beginner camera and kit lens will be good enough to take pictures of our galaxy, the answer is YES!
Fast Wide Angle Lens
Next, you need a wide-angle lens (preferably 14-24mm range) and it needs to have a large aperture (f/3.5 or lower). The reason to have a wide lens is that when shooting the night sky, it is very dark out.
You can hardly see anything, especially not the landscape or object you are including in your image. This means you are partly guessing to see what will be in your frame. If you shoot wide, you give yourself a little buffer room.
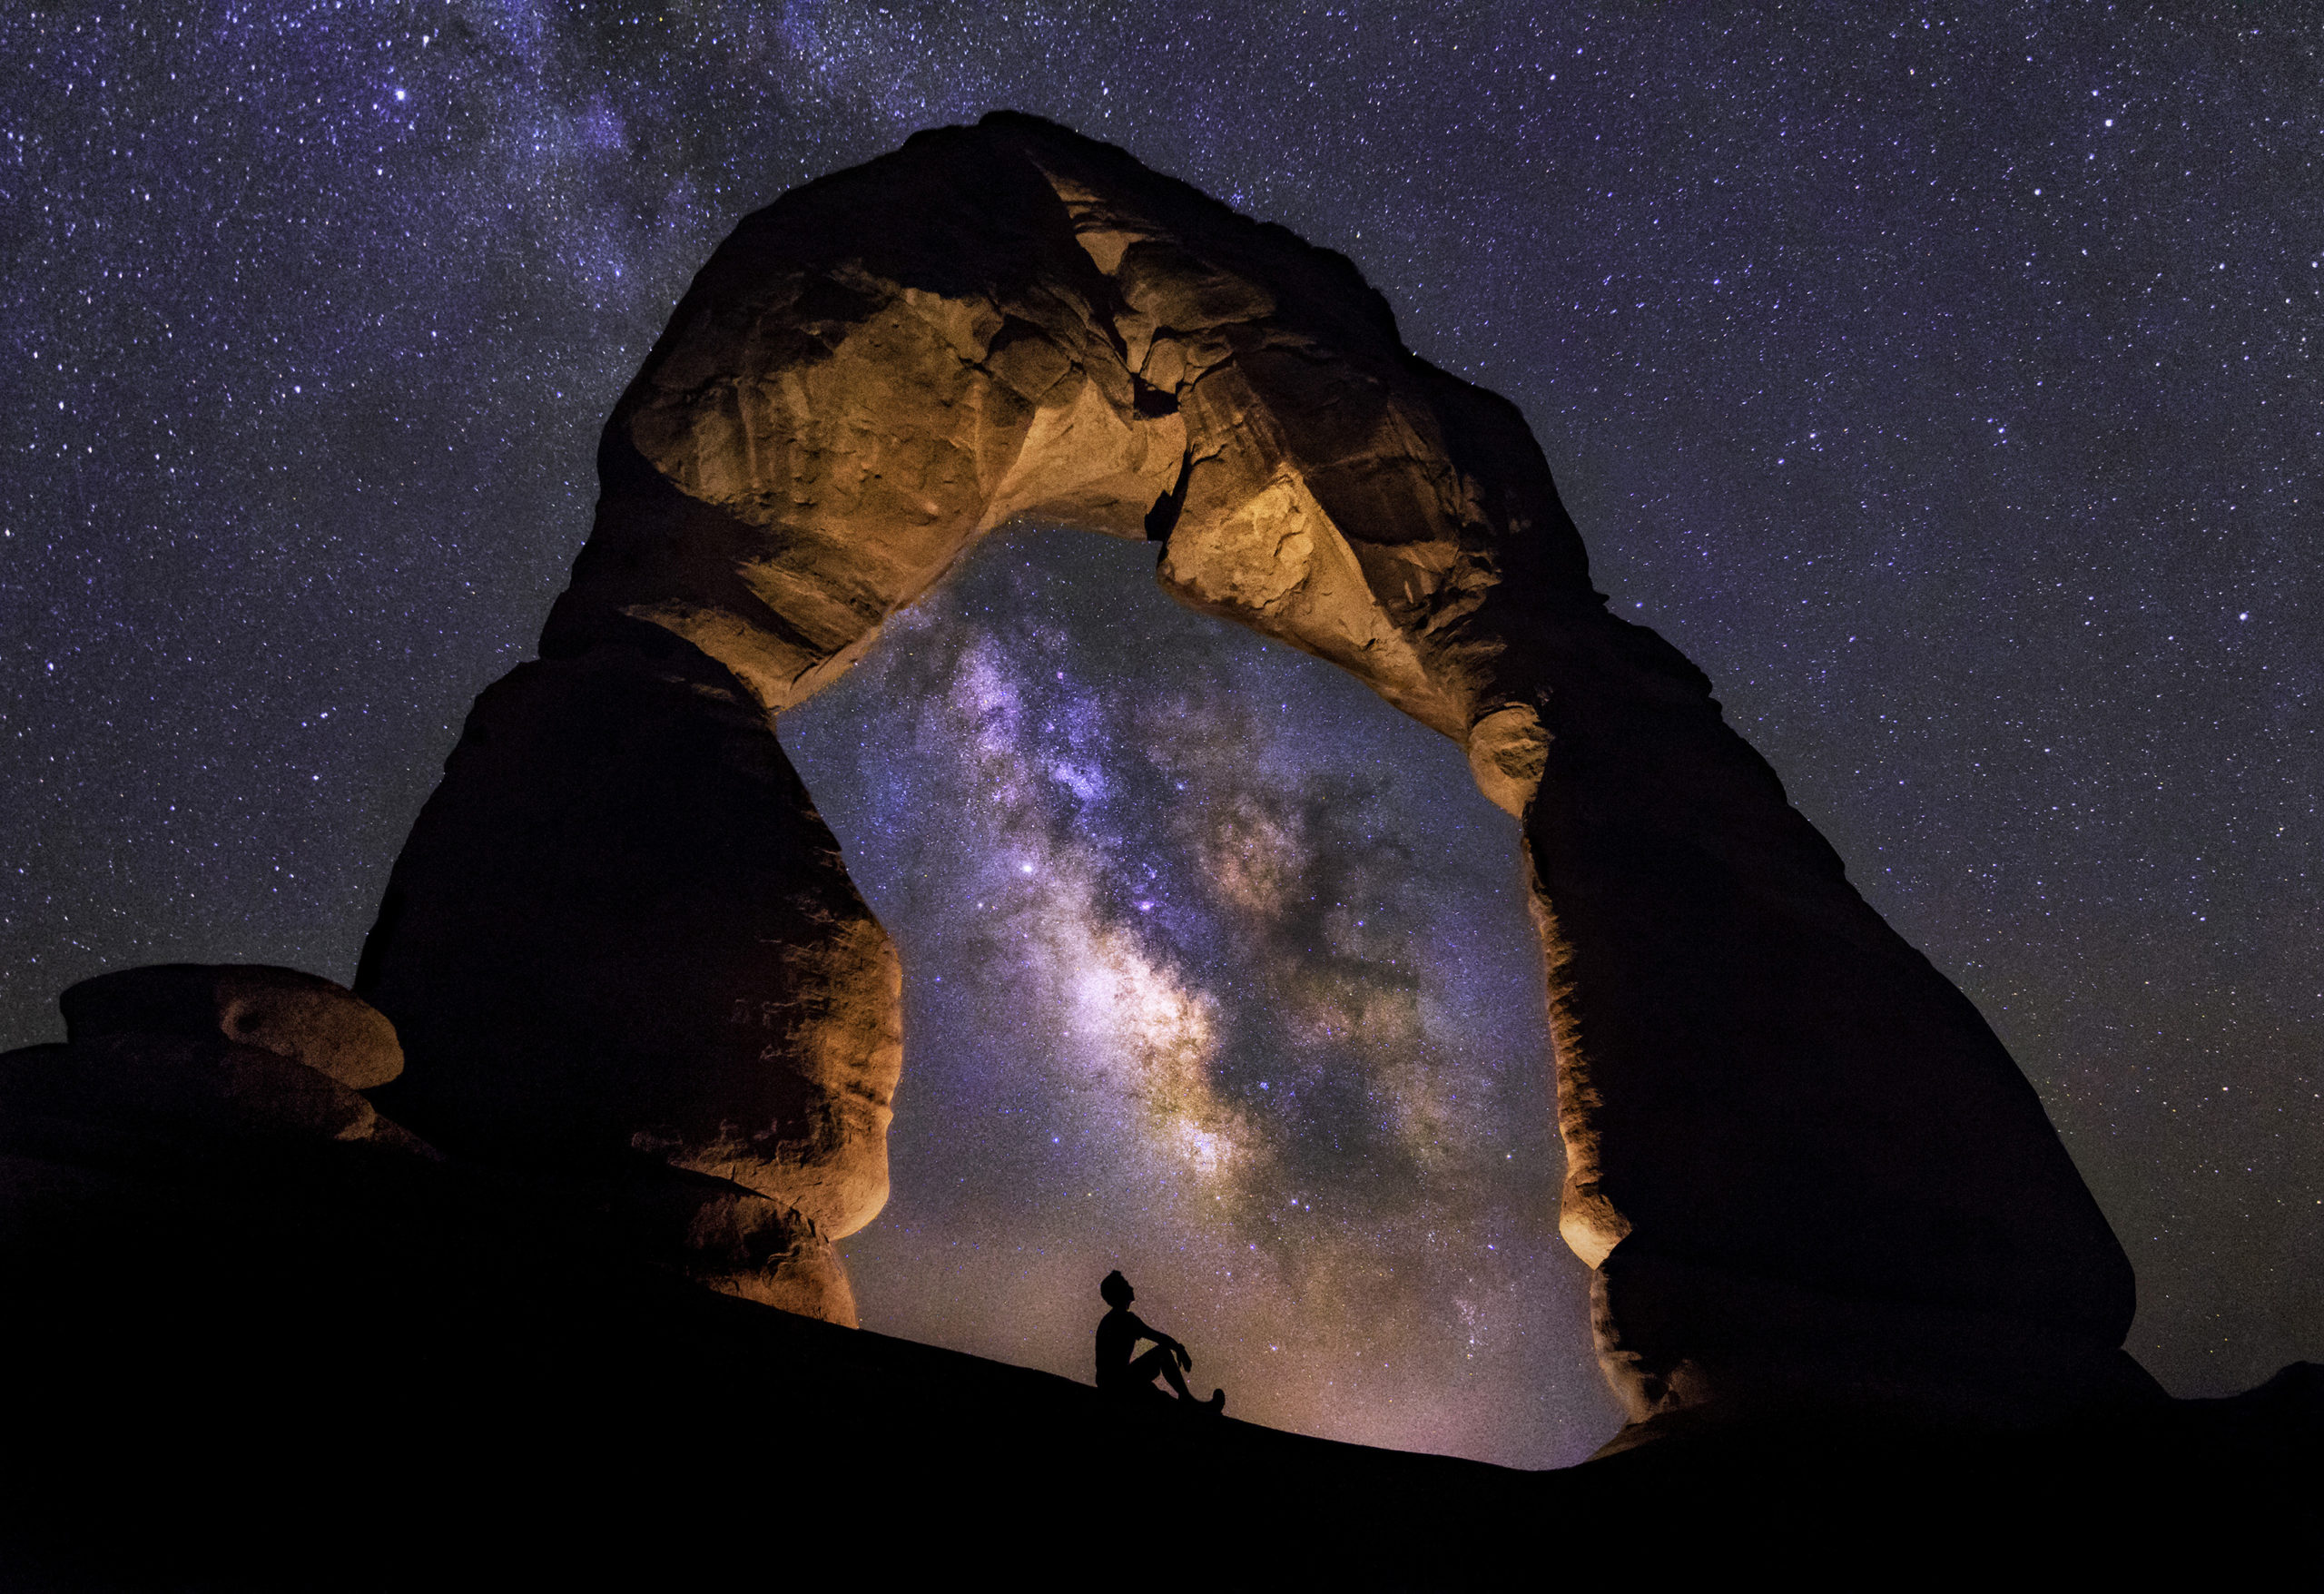
The reason you want a fast lens is that larger apertures capture more light, and that is the entire goal when photographing at night — to capture as much light as you can.
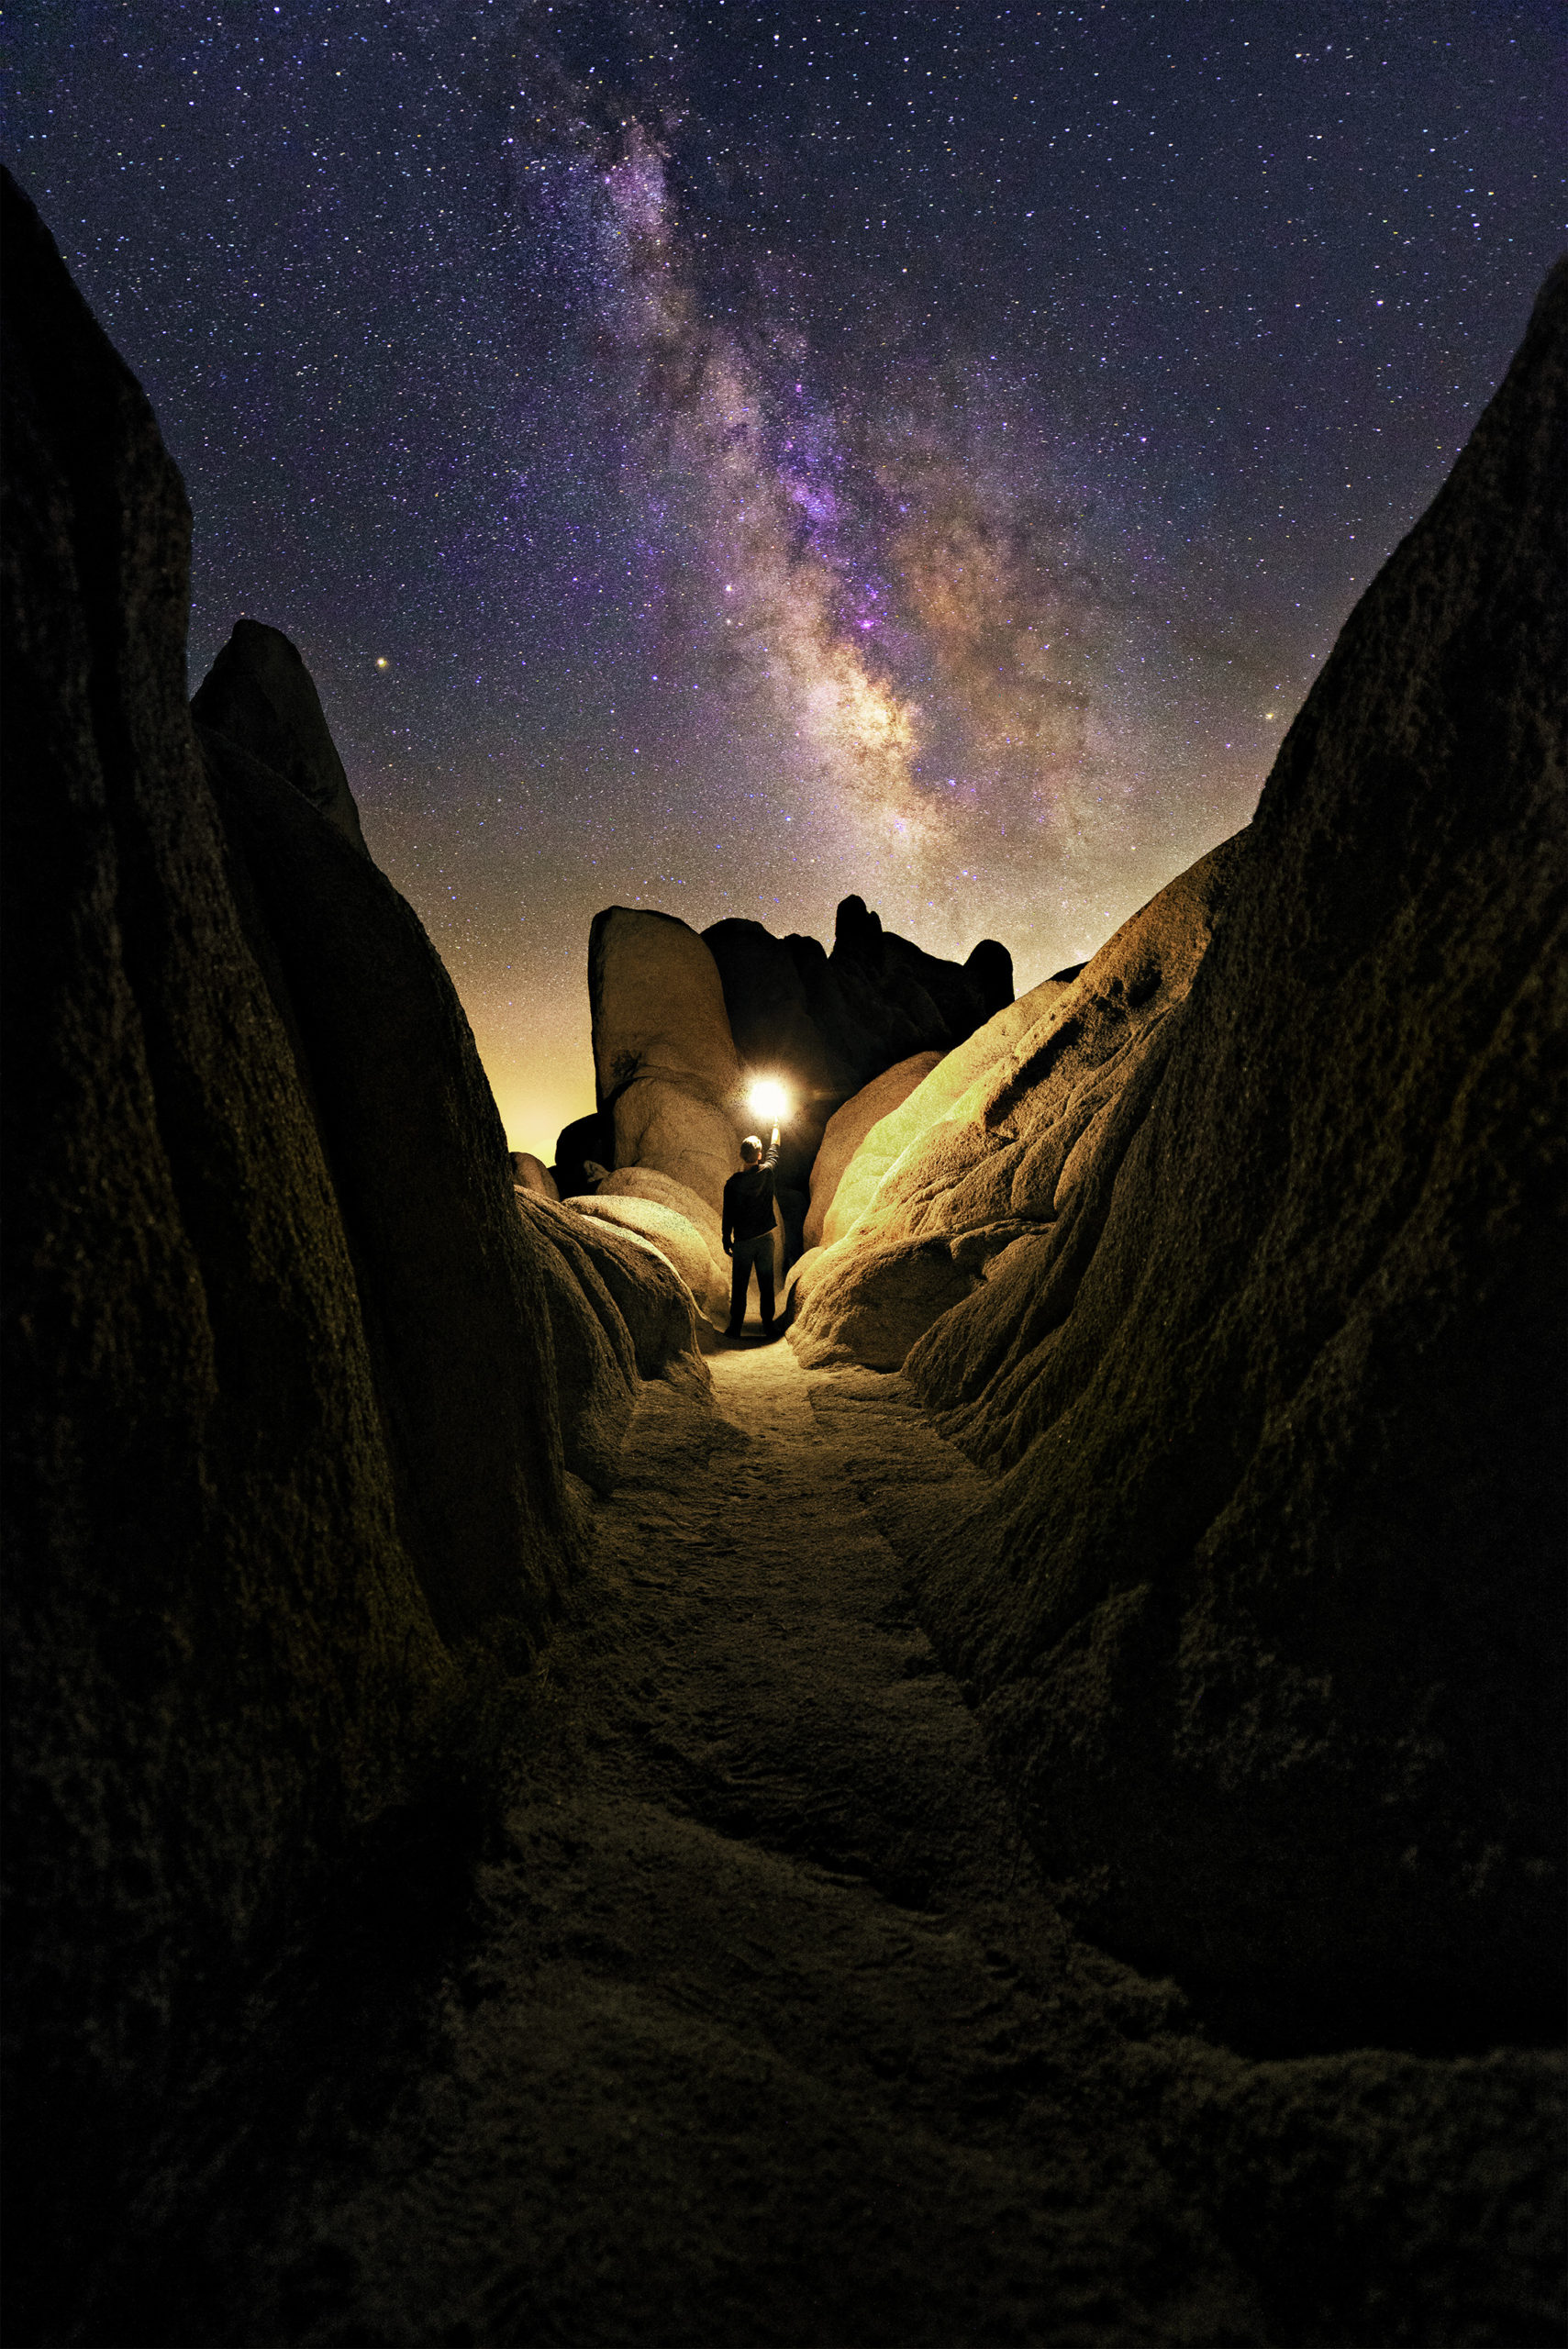
The image to the right was shot at 14mm at f/2.8.
Tripod
I have repeated it multiple times and I will repeat it another thousand times, a tripod is ESSENTIAL. Especially for night photography.
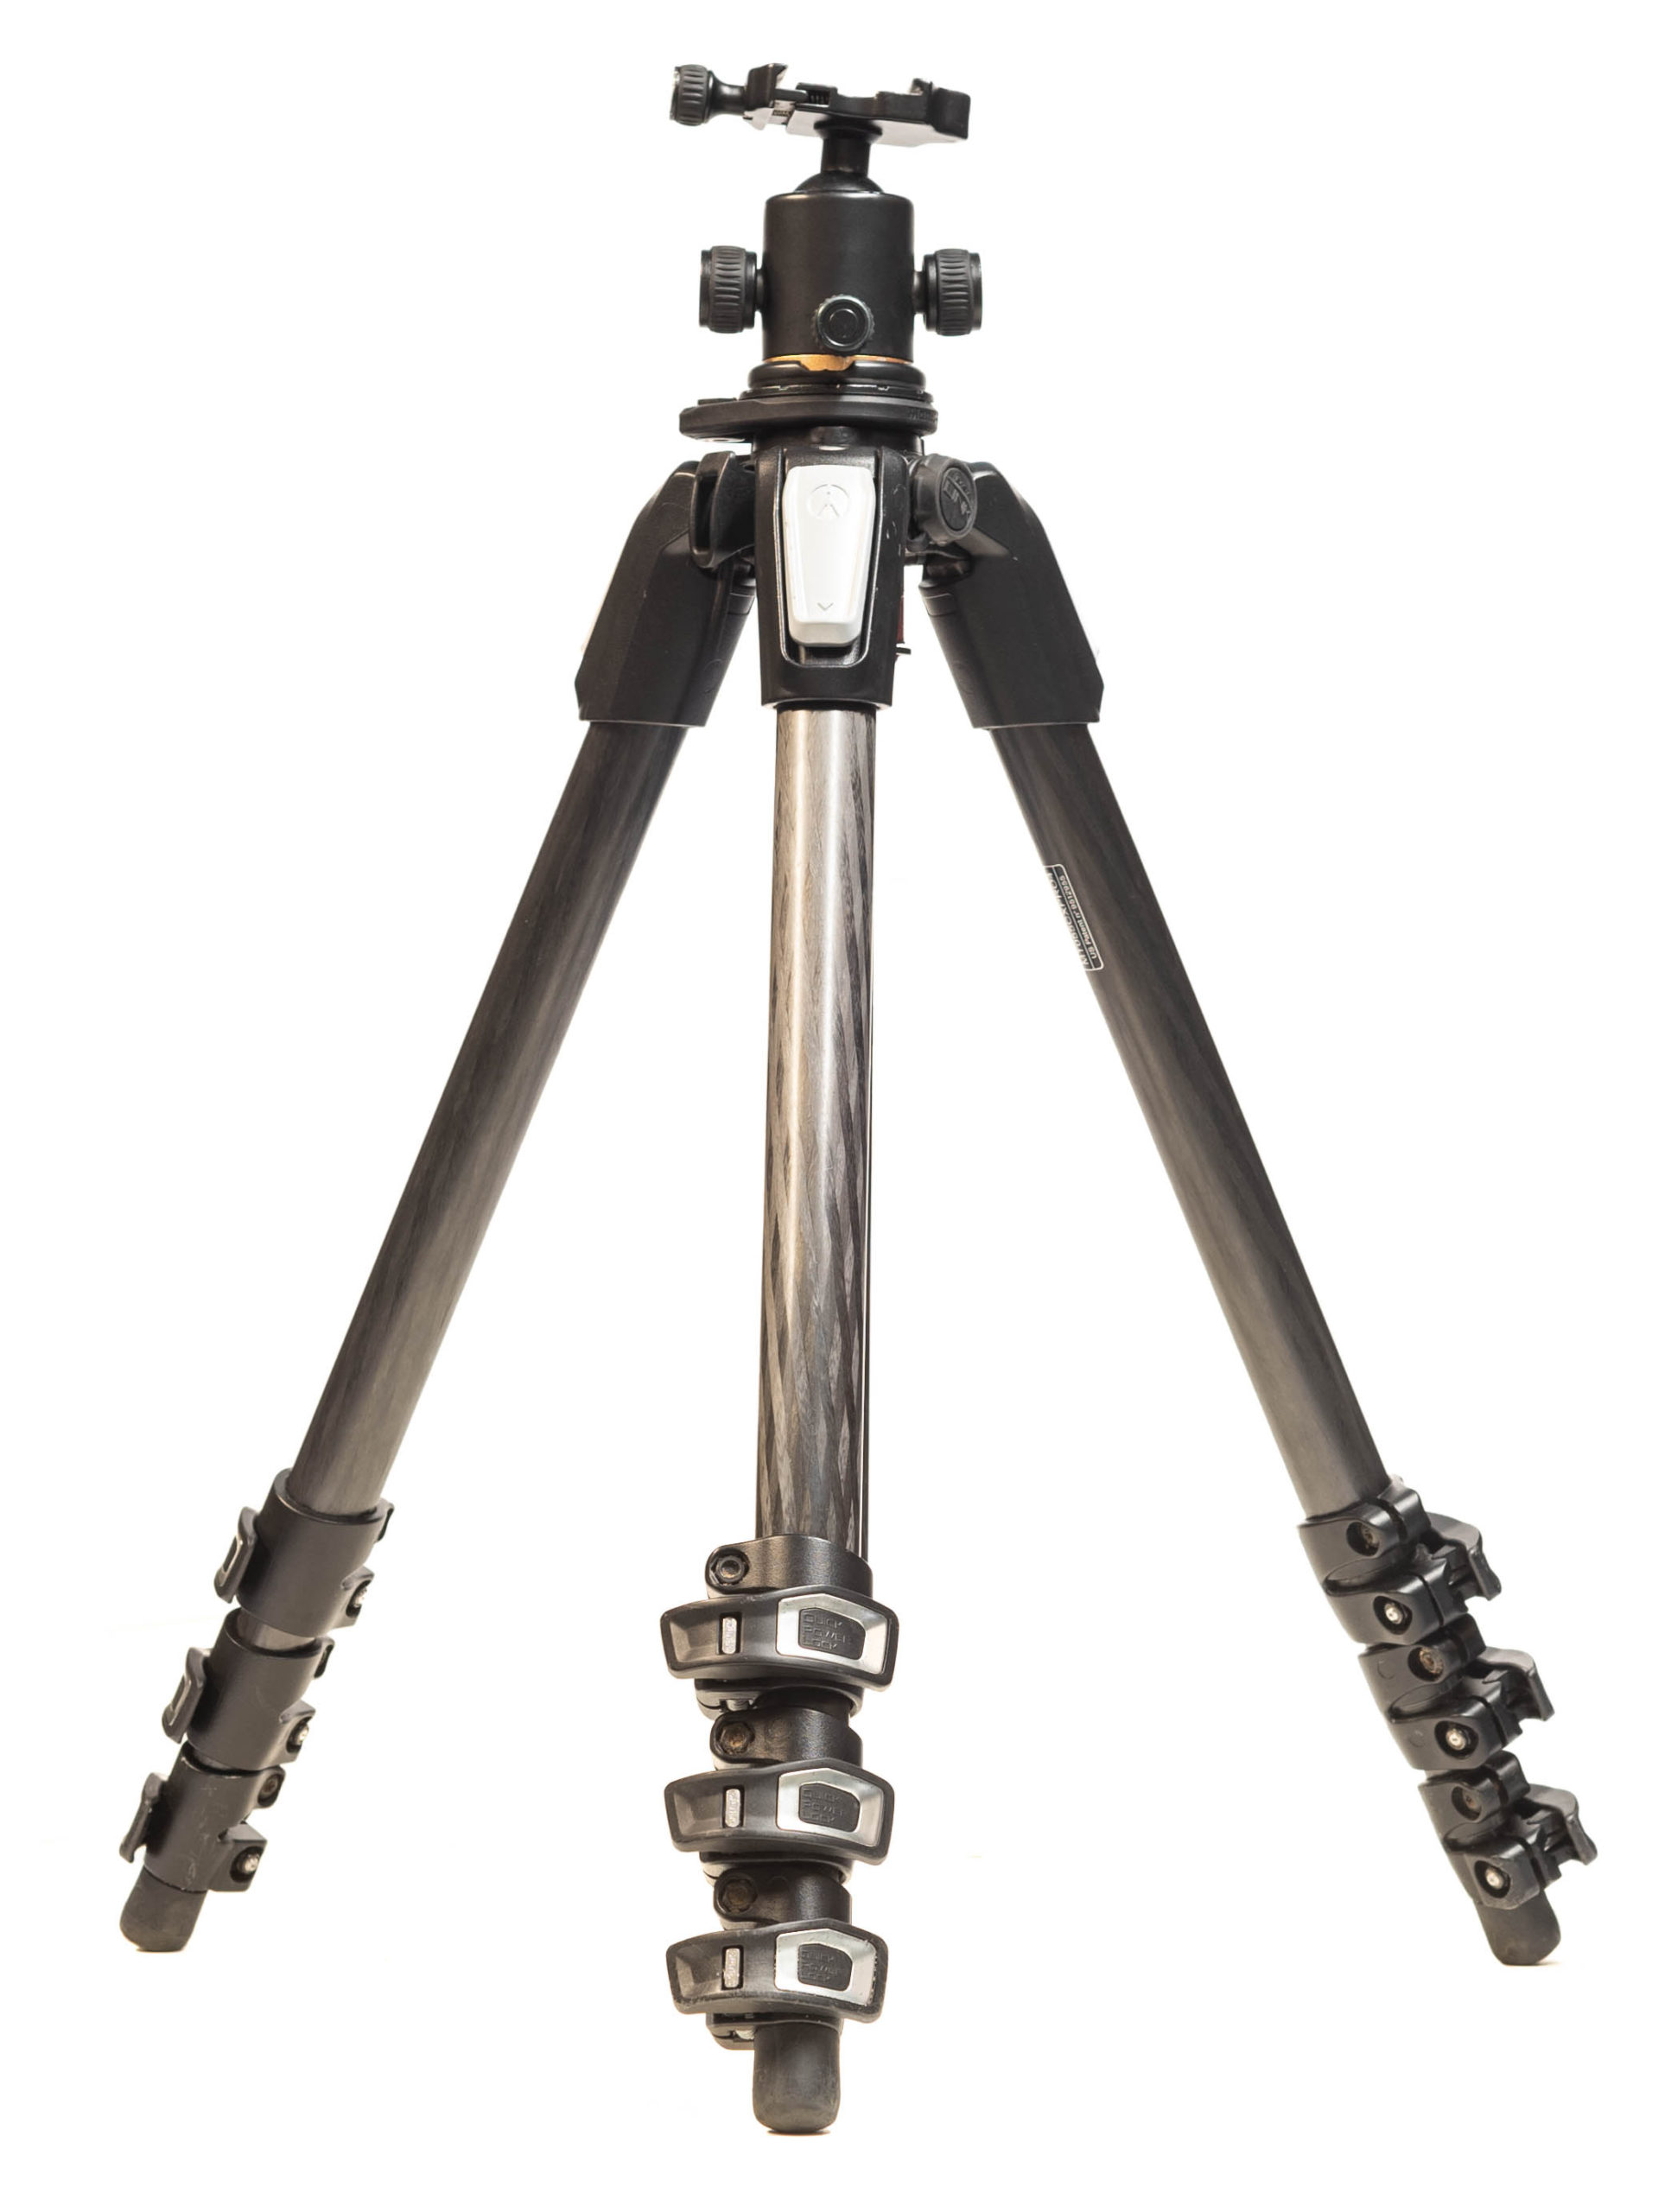
You are shooting at very long exposures, so it is required that you have your camera secured on a sturdy tripod. Any movement at all during the exposure will ruin the image!
Headlamp/Flashlight
You are shooting at night. It is very dark out at night. Bring a flashlight or wear a headlamp. Common sense.
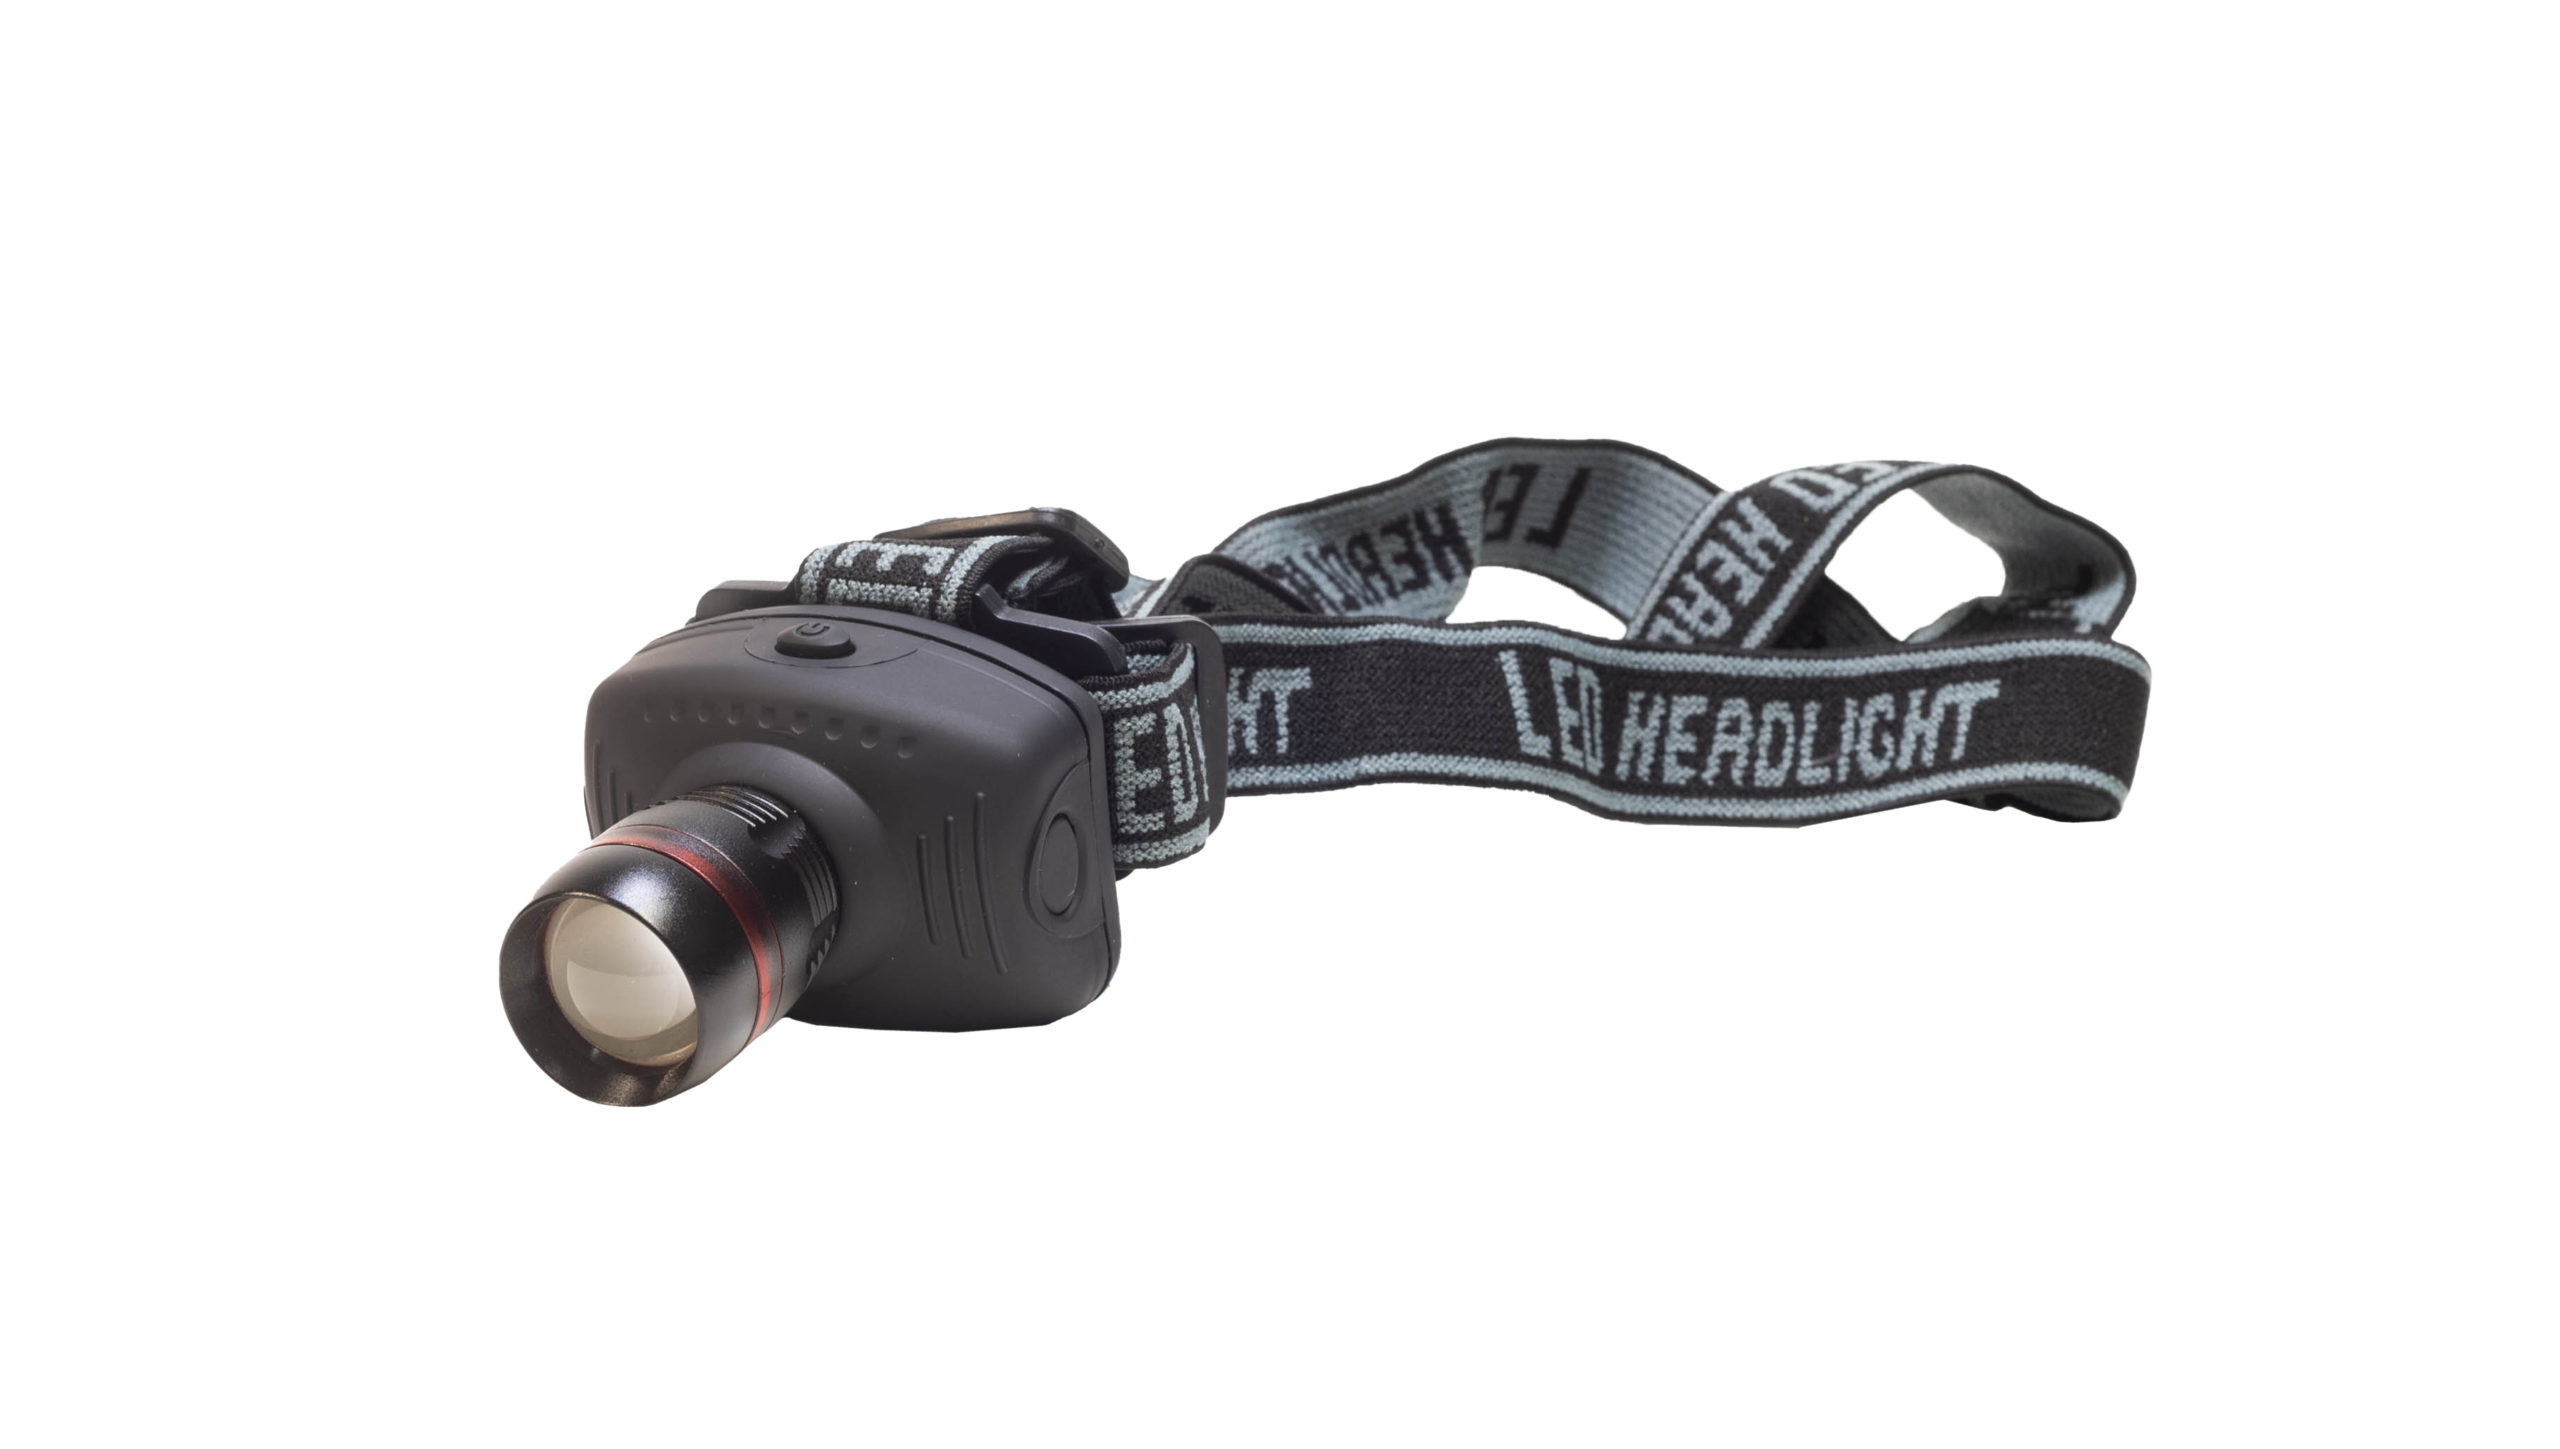
If you want to seem like you’ve done your research, bring a red headlamp. This will benefit you and any other photographers out in the field. The color red preserves your night vision and isn’t as obnoxious as a bright white light.
Intervalometer
An intervalometer or shutter remote can be very helpful when shooting the Milky Way. Although your camera is on a tripod, when you press the shutter button, no matter how softly, the camera will slightly shake, possibly ruining the image.
To combat this, you can plug in an external shutter remote. This allows you to trigger your cameras shutter button while not having to touch your camera!
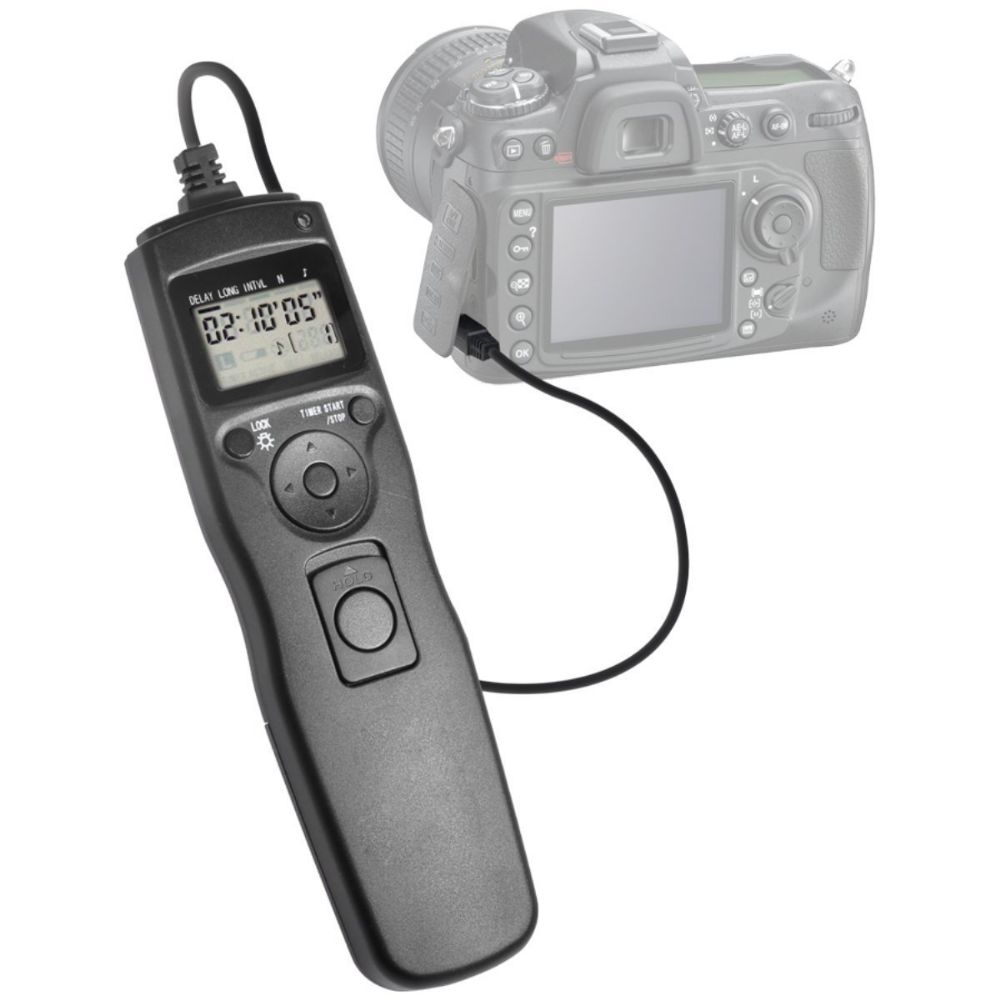
Just make sure the intervalometer you buy matches your camera model!
If you don’t want to purchase an intervalometer, an alternative method is to just use the self-timer option on your camera.
When to Go
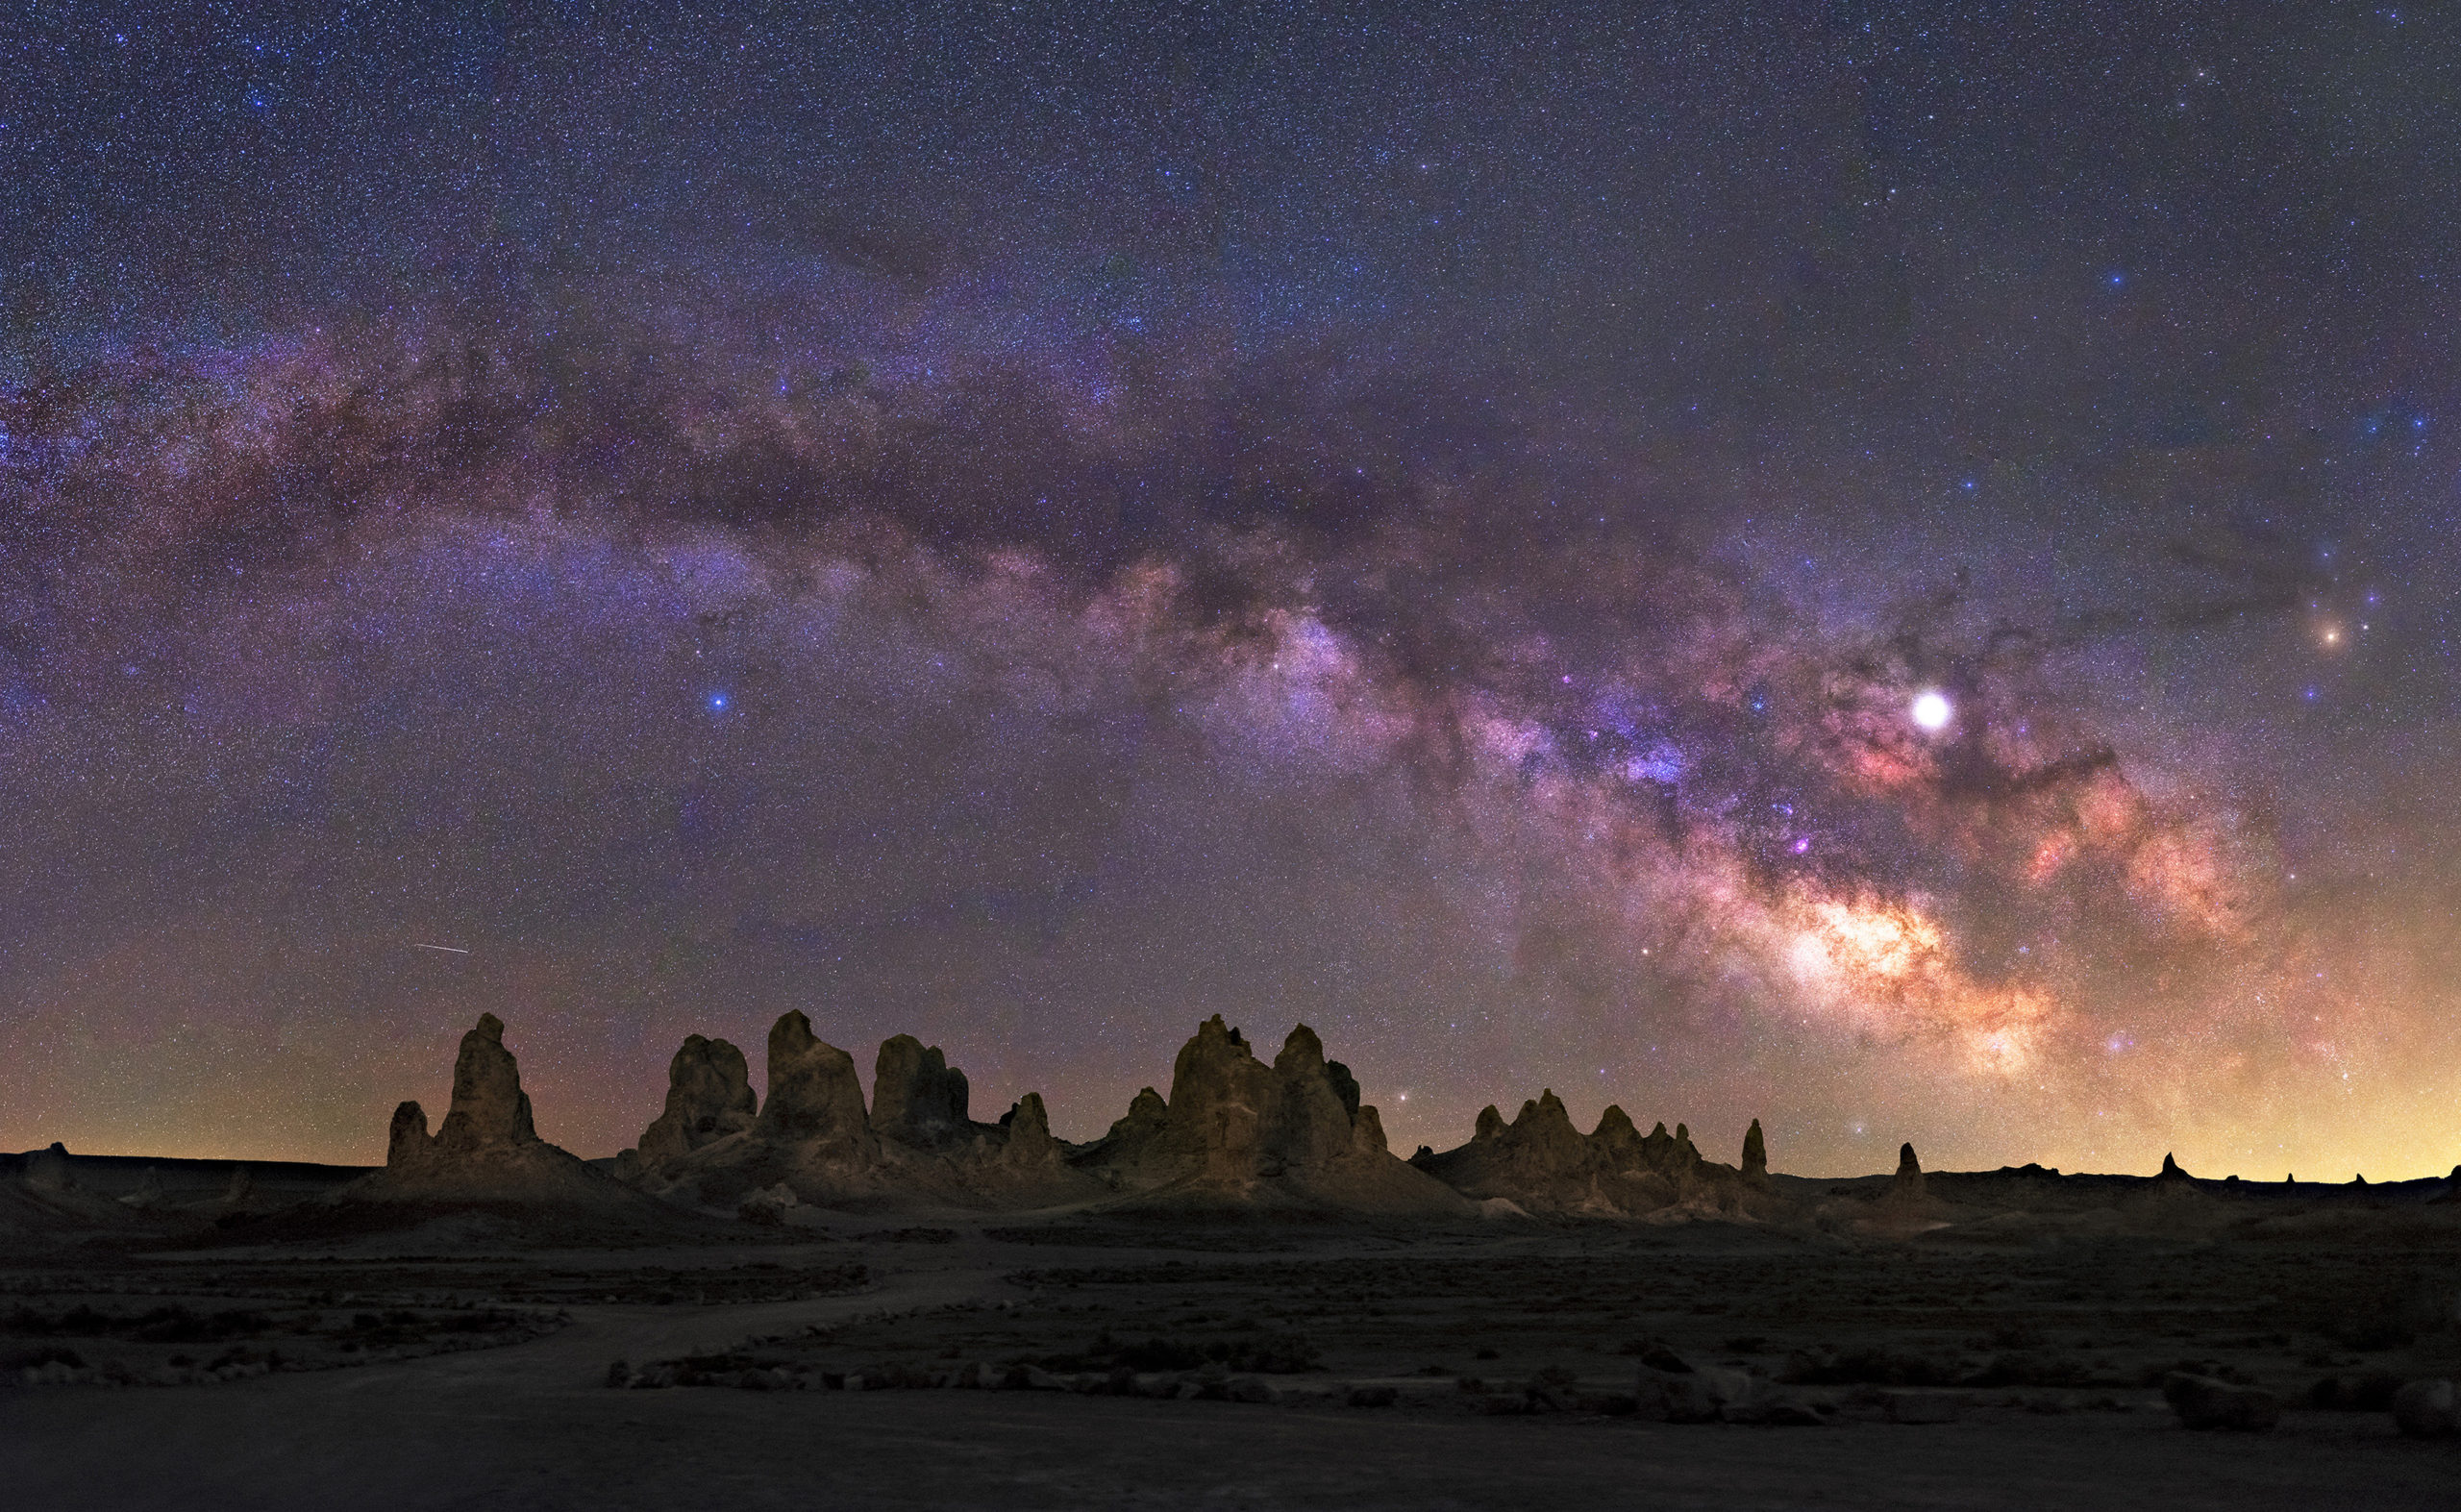
In the Western Hemisphere, the Milky Way and more importantly the Galactic Core (the brightest part of the Milky Way) is visible from February – October.
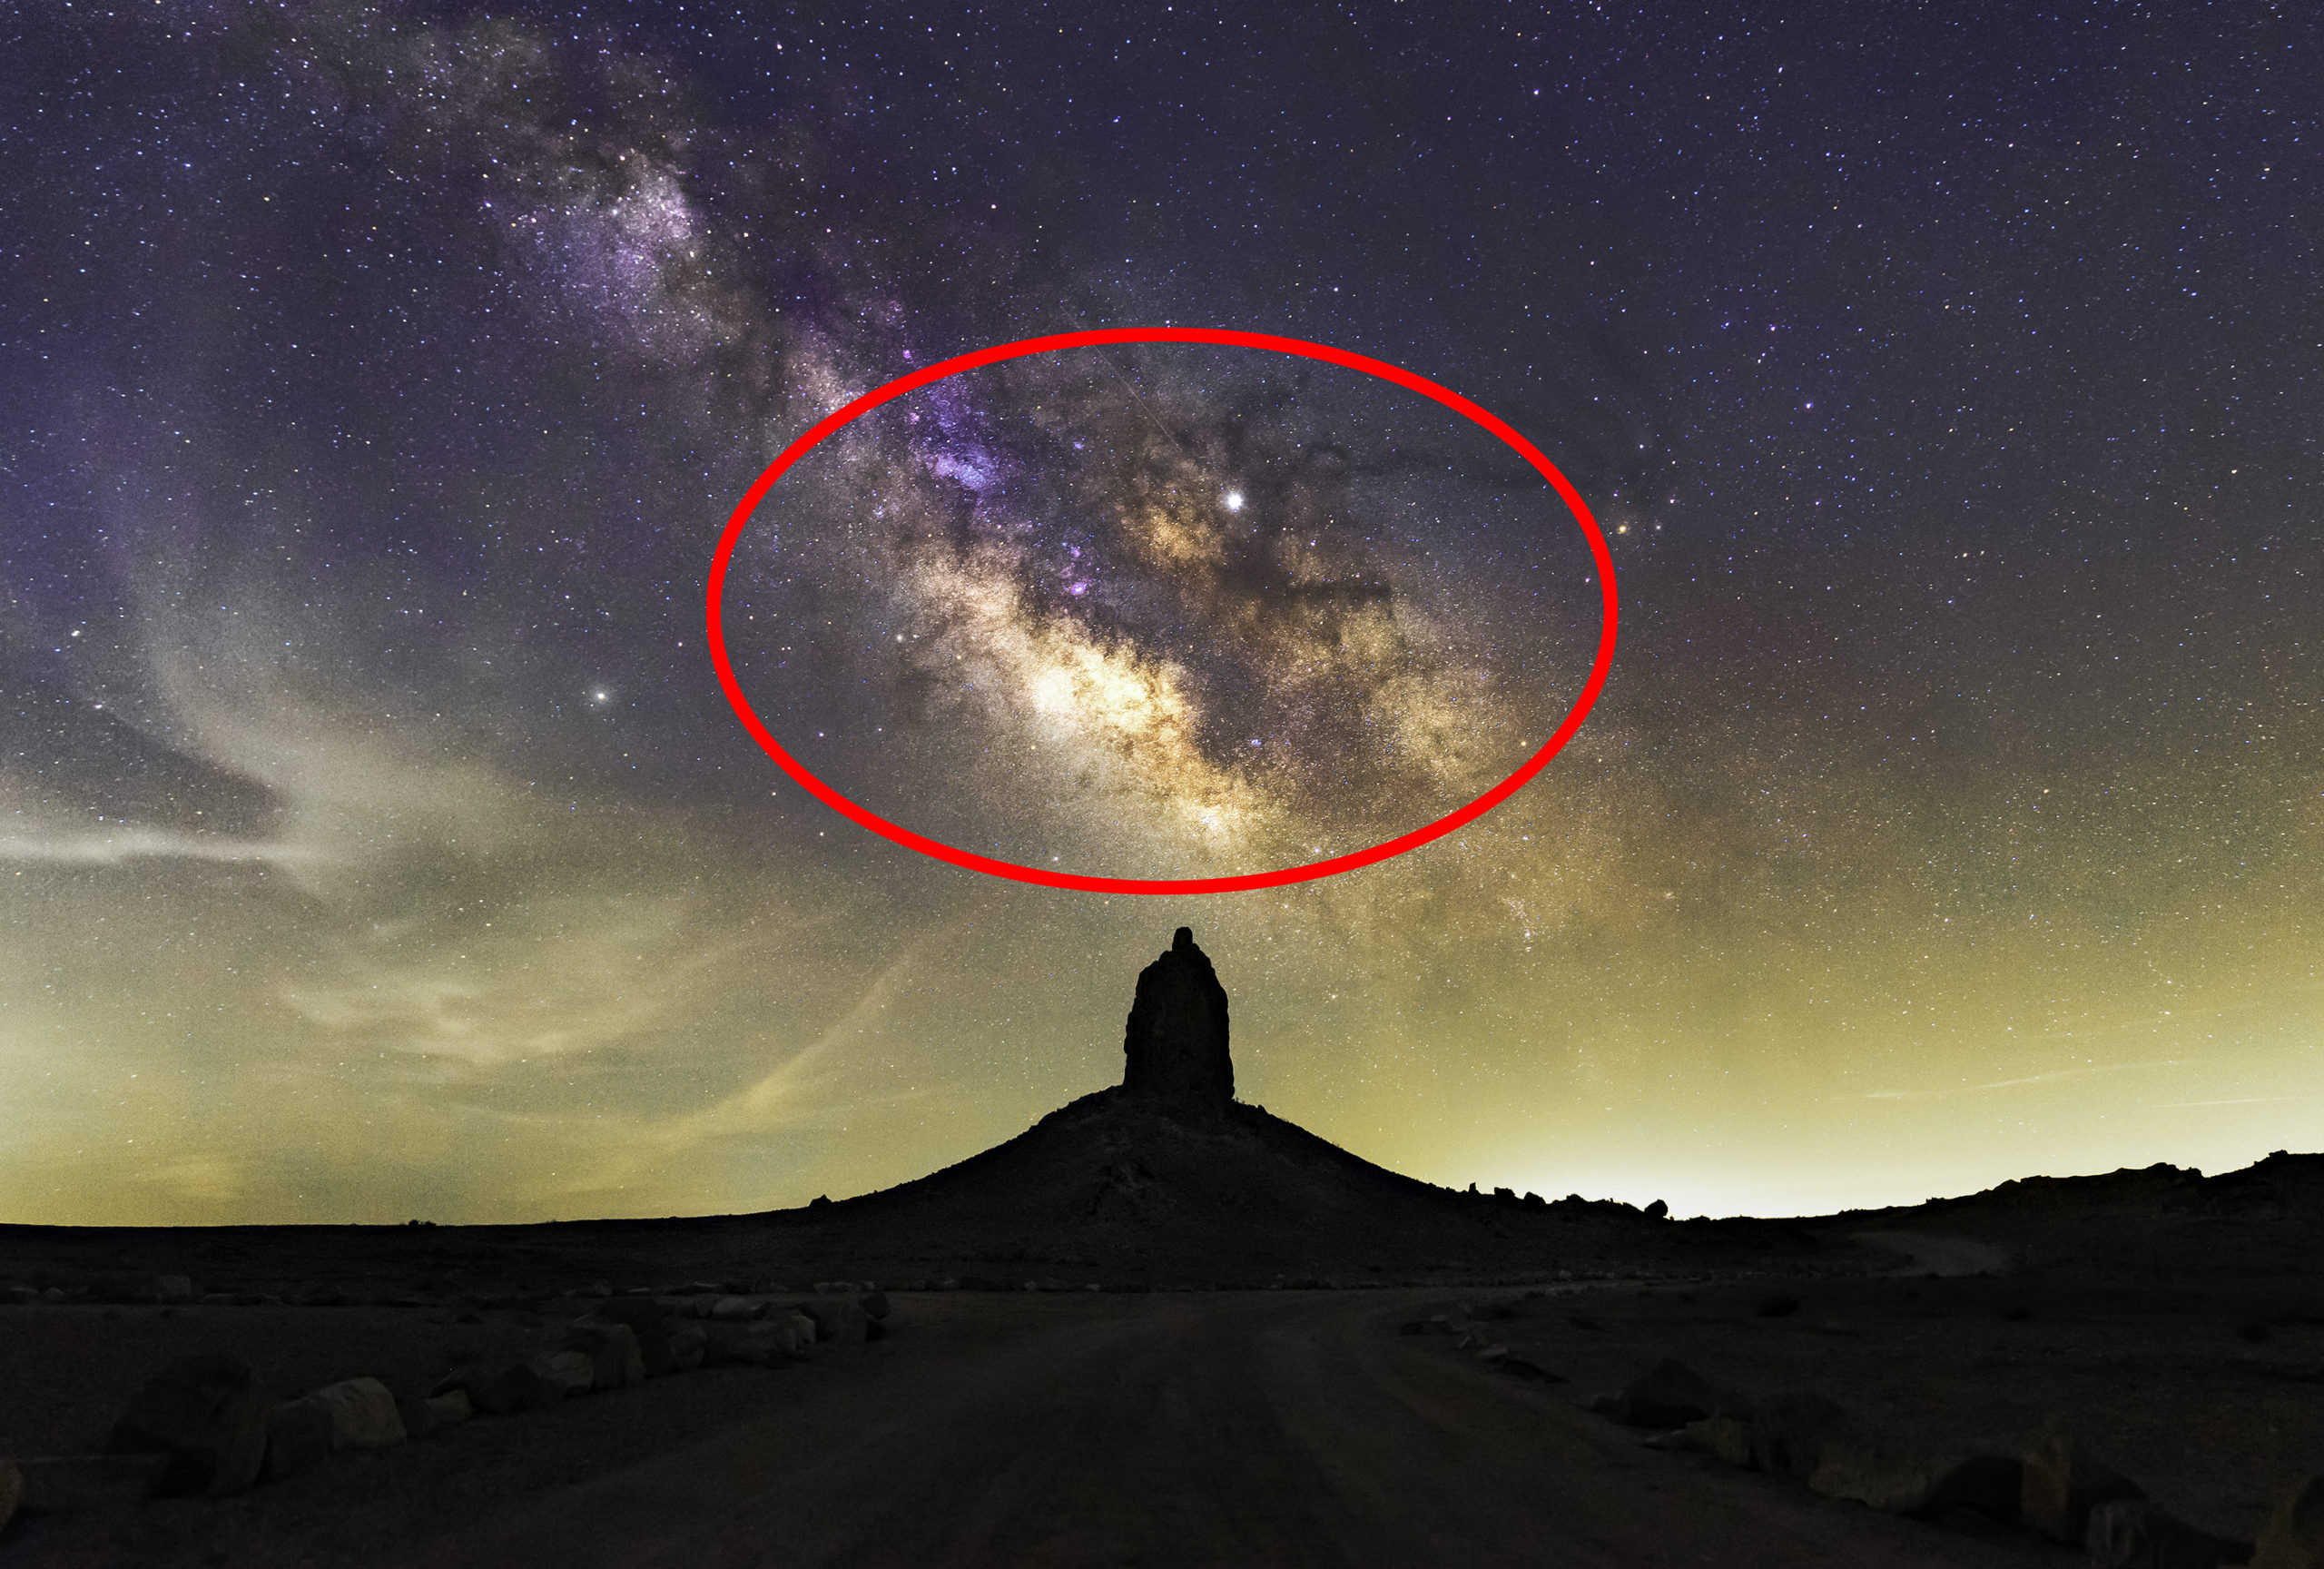
The Galactic Core of the Milky Way.
I know, I know. Sadly you can’t photograph the Milky Way year-round. But you can definitely make the most out of those 8-9 months!
Now technically the Milky doesn’t disappear. It is still there, but rises during the day and sets at night, making it “invisible” from November – February. In the United States, the Milky Way is most prominent during the summer months and appears the longest during June and July.
For Western Hemisphere photographers, the Milky Way rises in the South East and sets in the South West. For Eastern Hemisphere photographers, the Milky Way rises in the East and sets in the West.
Make sure to go during a New Moon so you have the darkest conditions possible. Also, don’t forget to check your weather forecast and make sure it calls for clear skies! For more information, check out my article on Photographing the Night Sky.
Where to Go
To successfully see and photograph the Milky Way, you need to go to a dark location away from city lights. The best way to find a dark sky location is to look at the Dark Site Finder.
This map lets you know if you are far enough away from light pollution to have a rewarding star photography session.
National and State Parks also tend to be great options to shoot the Milky Way.
How to Find the Milky Way
You see all of these amazing images of the Milky Way online or in magazines, and you think, “It can’t be that hard to find, right?”
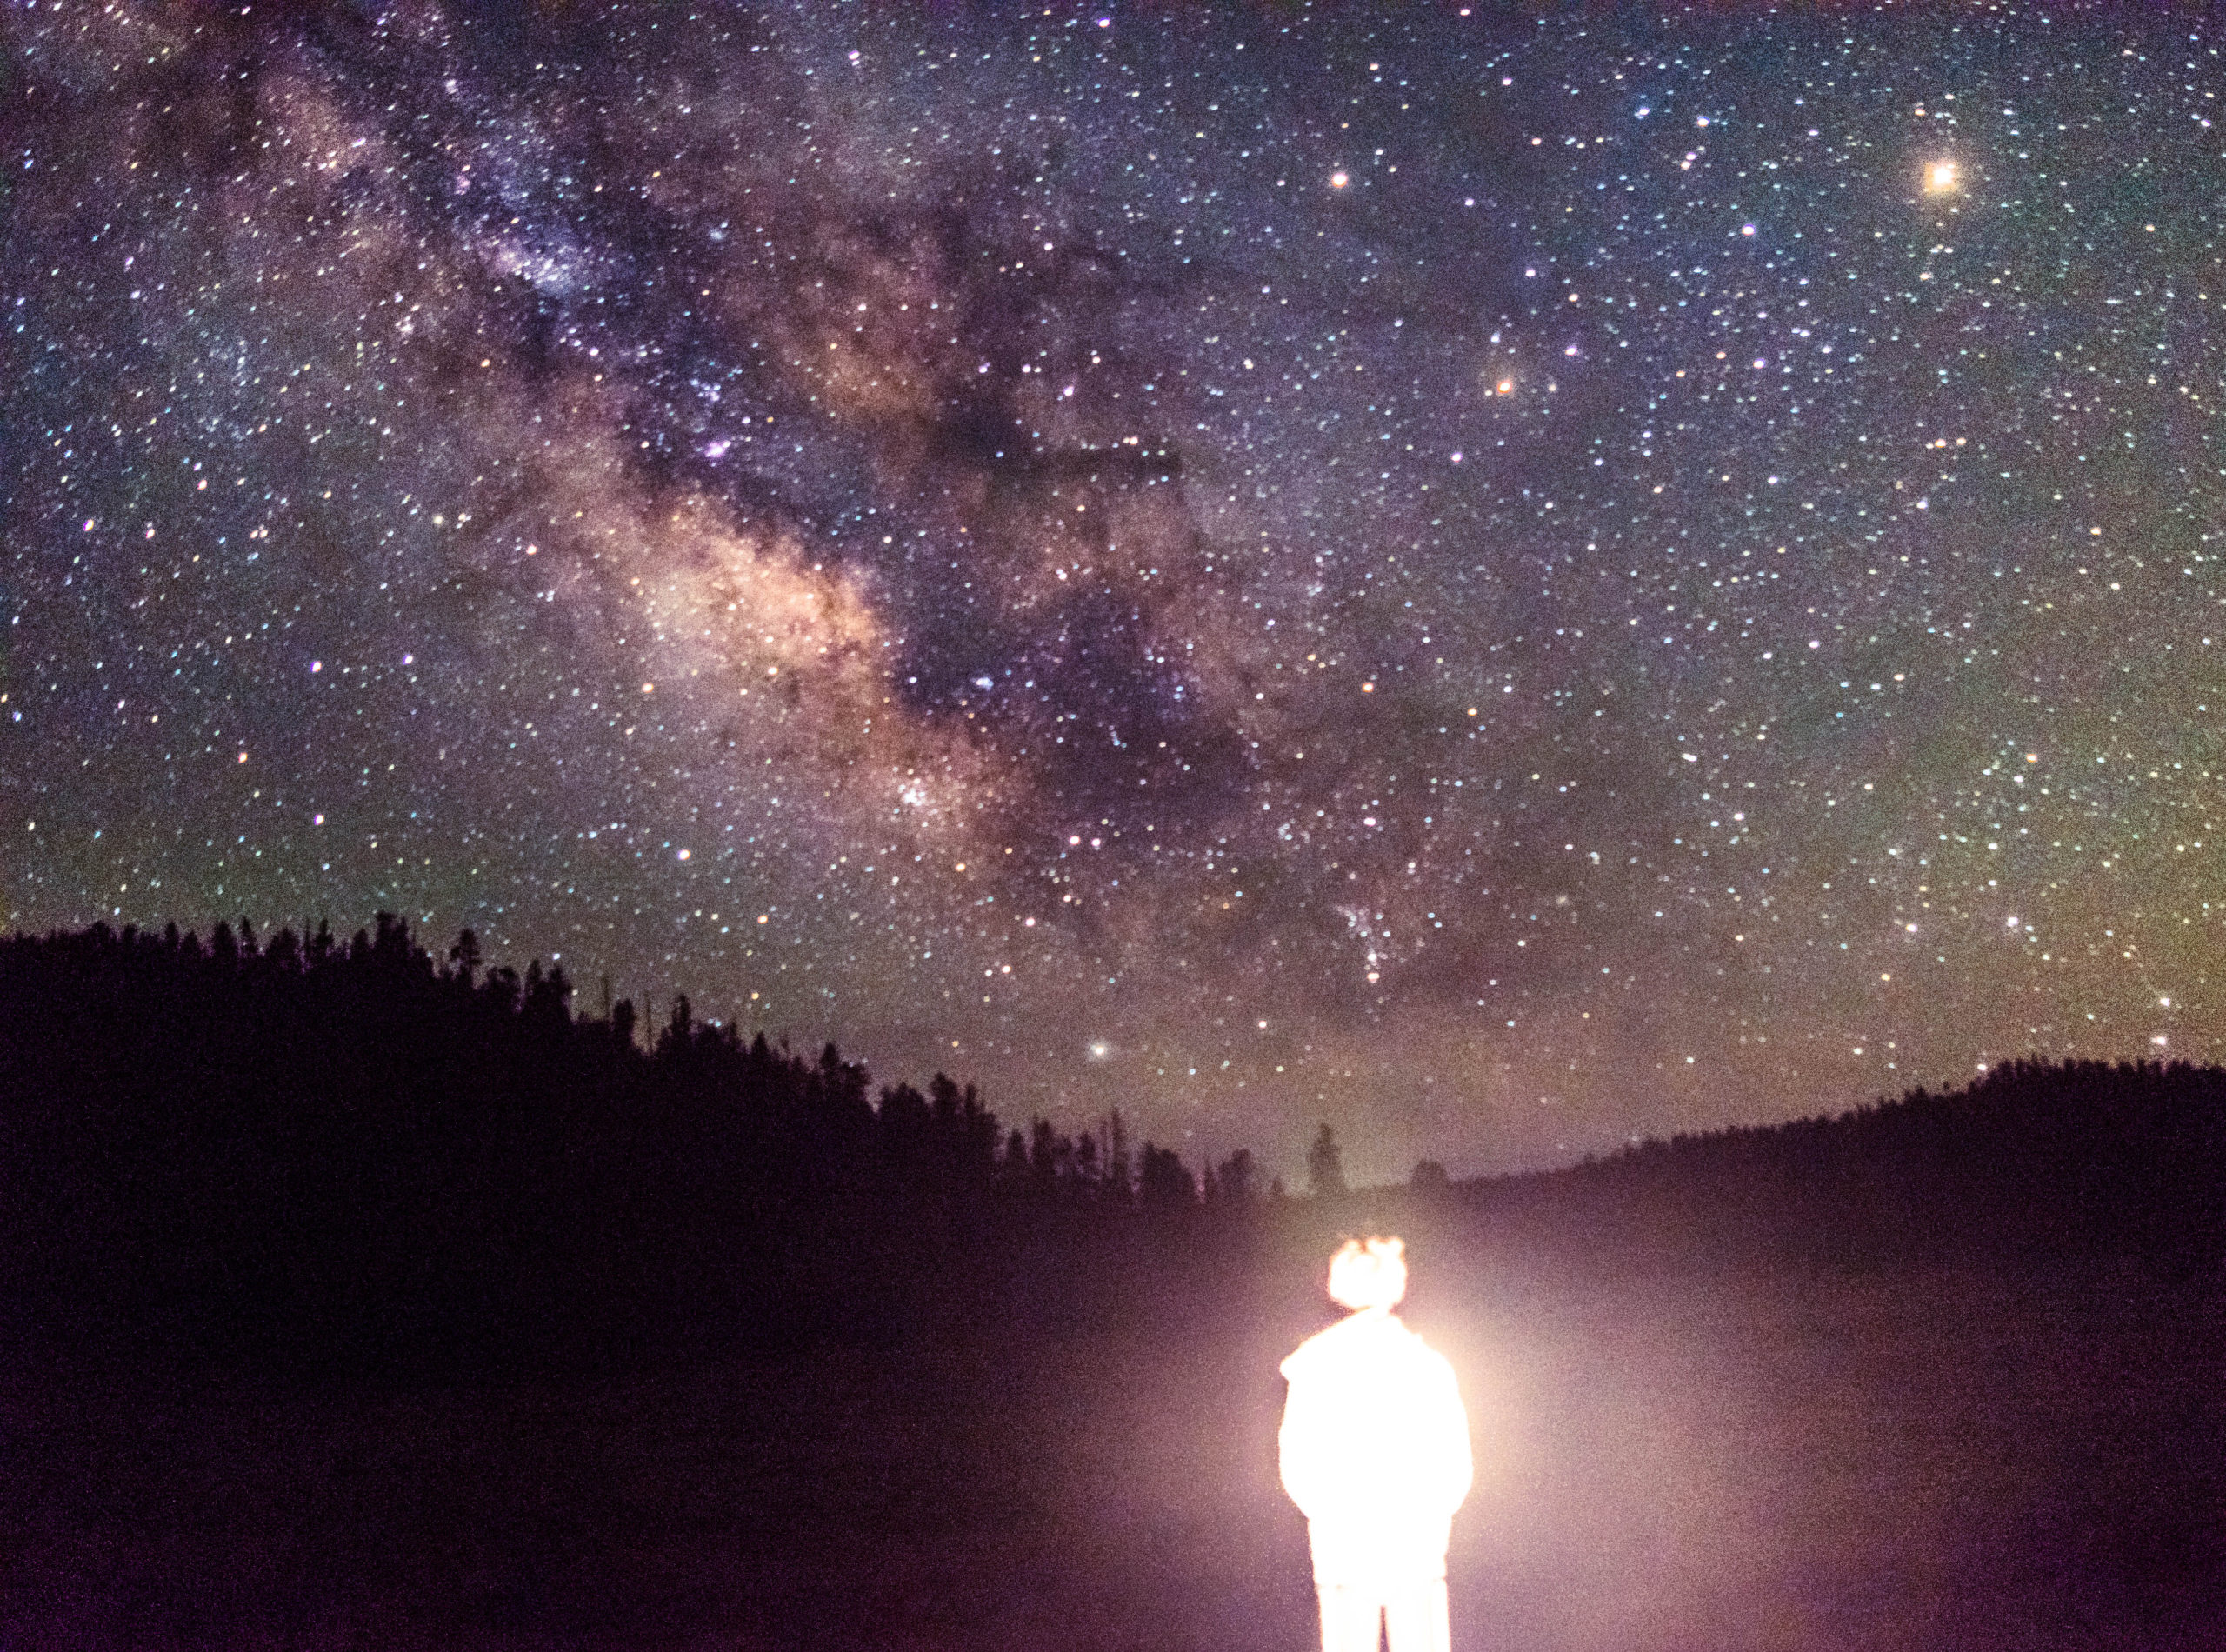
The truth is, in real life, the Milky Way is very dim and monochromatic, which can make finding it hard if you don’t know where to look.
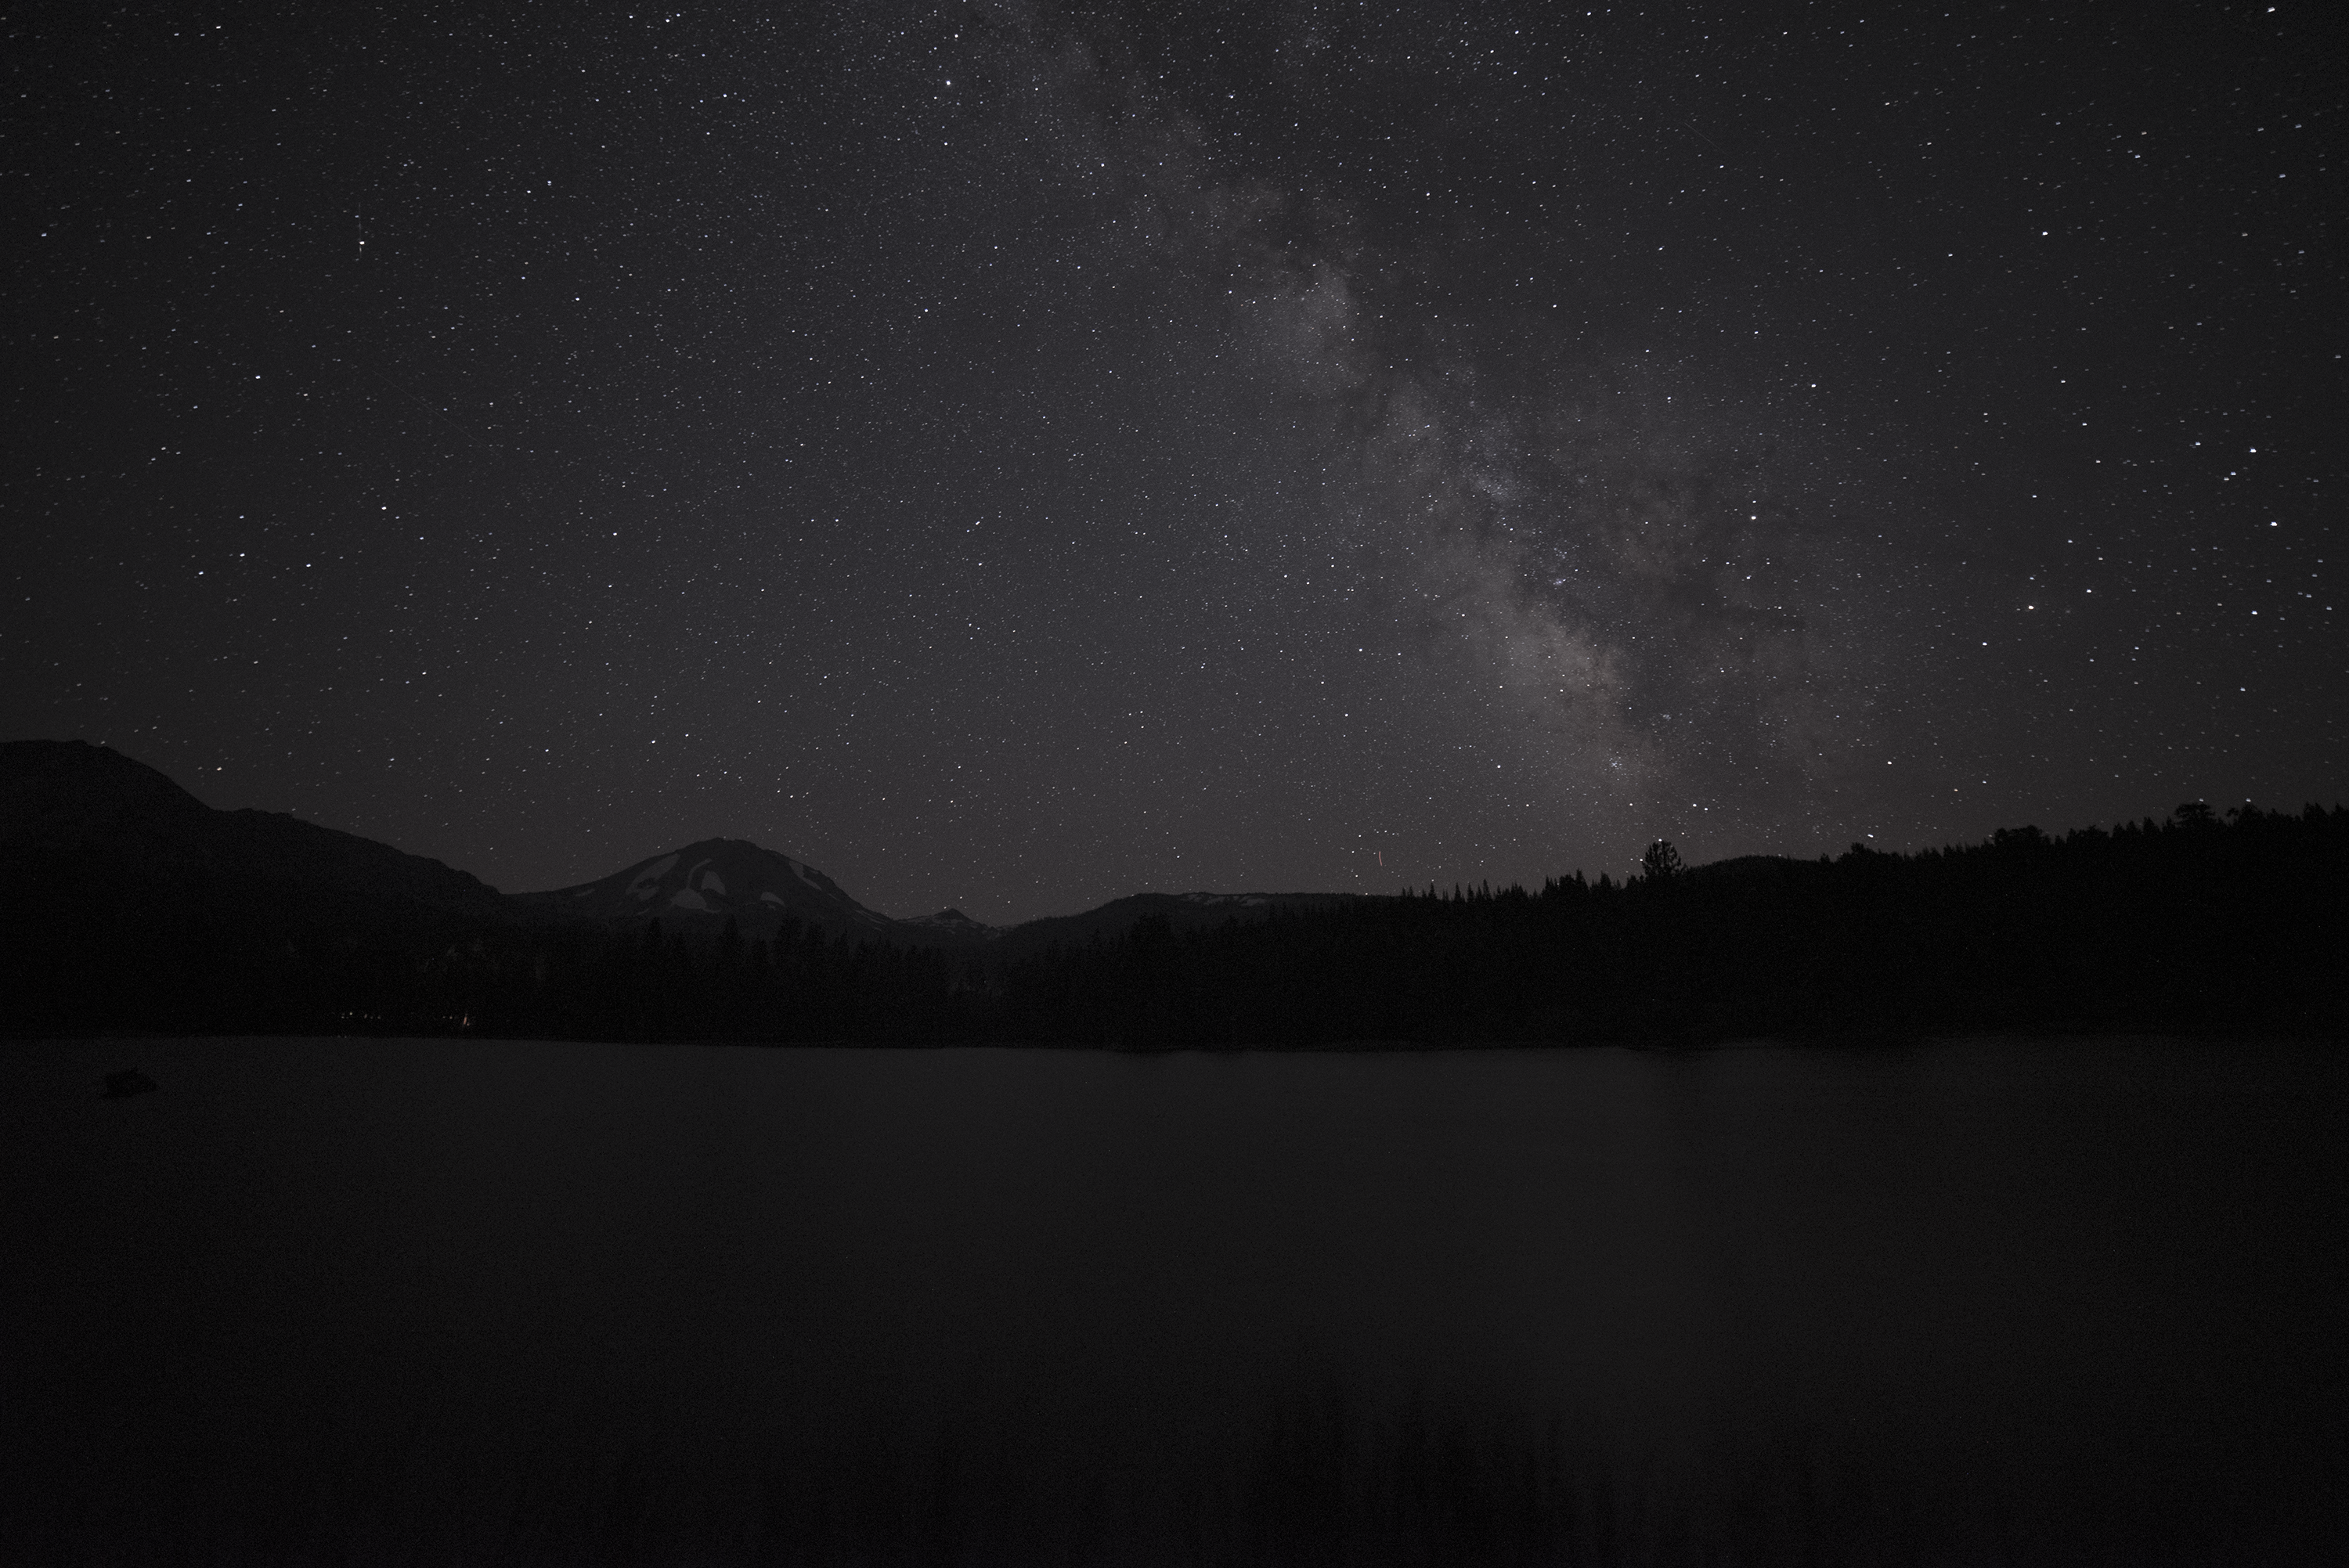
This is an approximation to what the Milky Way looks like with your naked eye.
The good thing is that there are a lot of desktop and smartphone applications out there to help you find it!
For the desktop, I recommend Stellarium. It is a free application that lets you see where in the sky the Milky Way will be and at what time. It is also available for download on mobile phones.
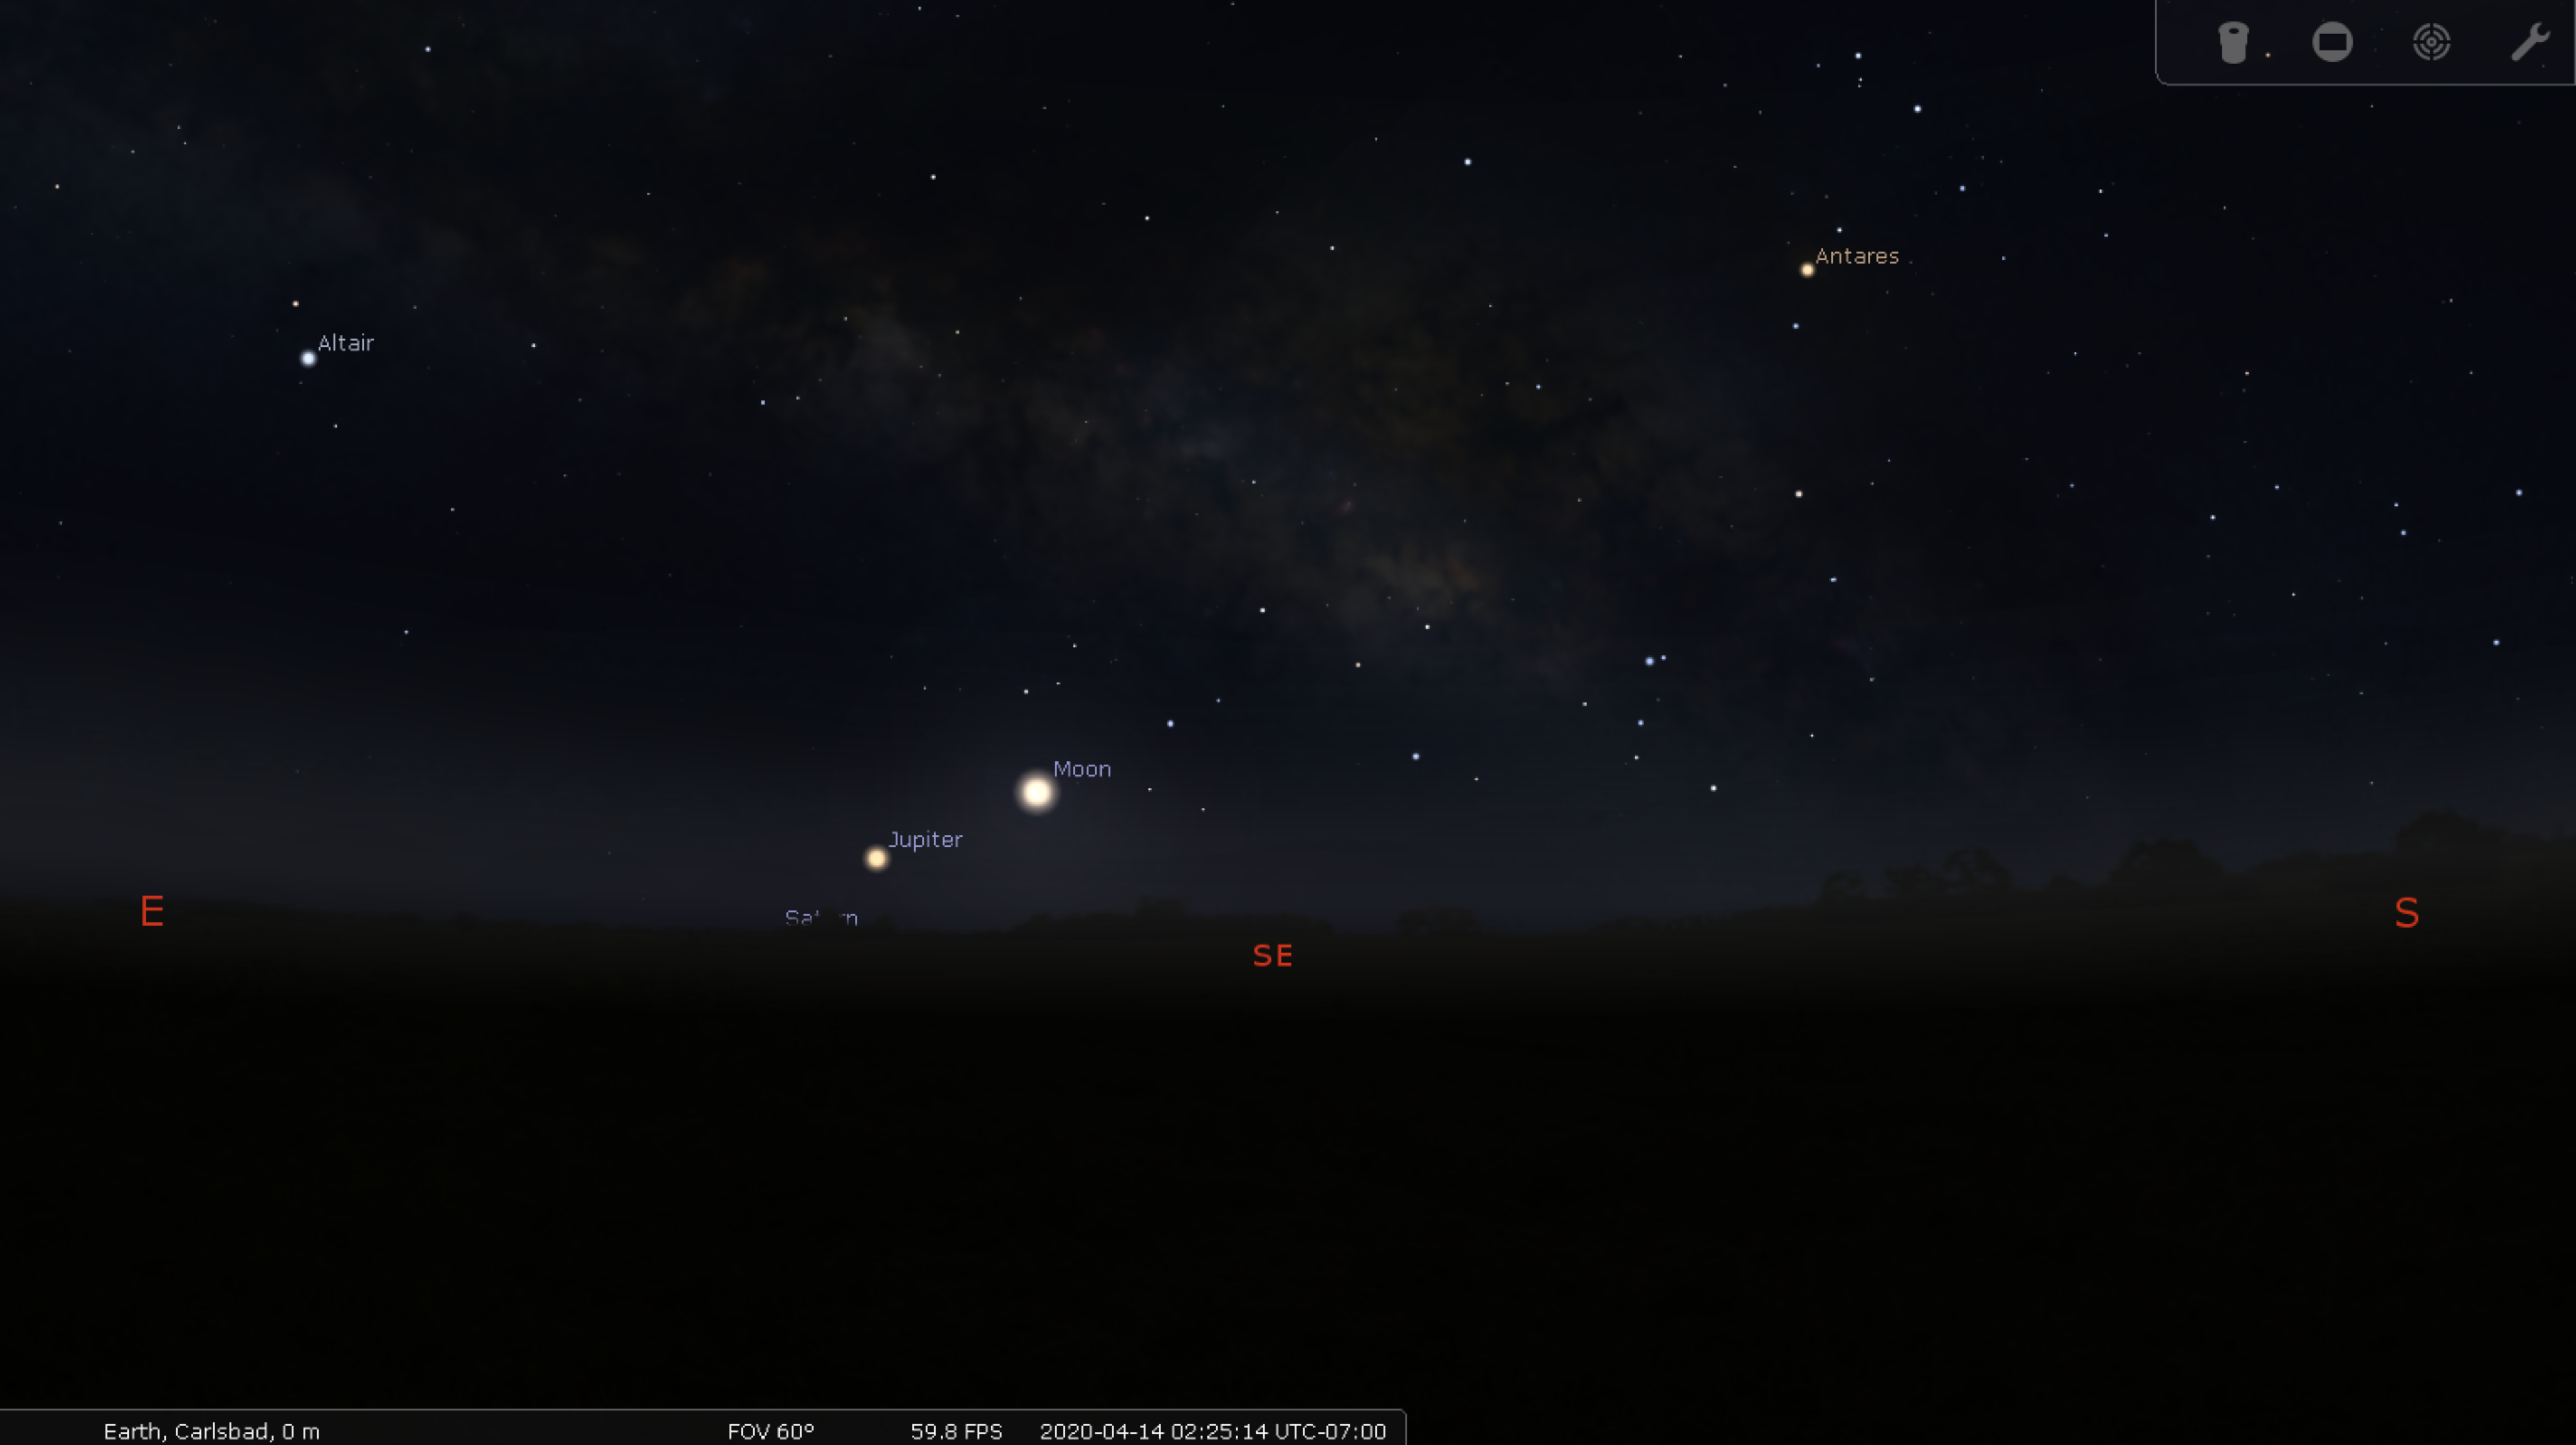
A screenshot of Stellarium on desktop.
For smartphones, I highly recommend Photopills. I have been using this application for almost four years, and it does an incredible job of showing you where the Milky Way will be at your exact location in real-time! The app is available for download on both Android and Apple and costs $9.99.
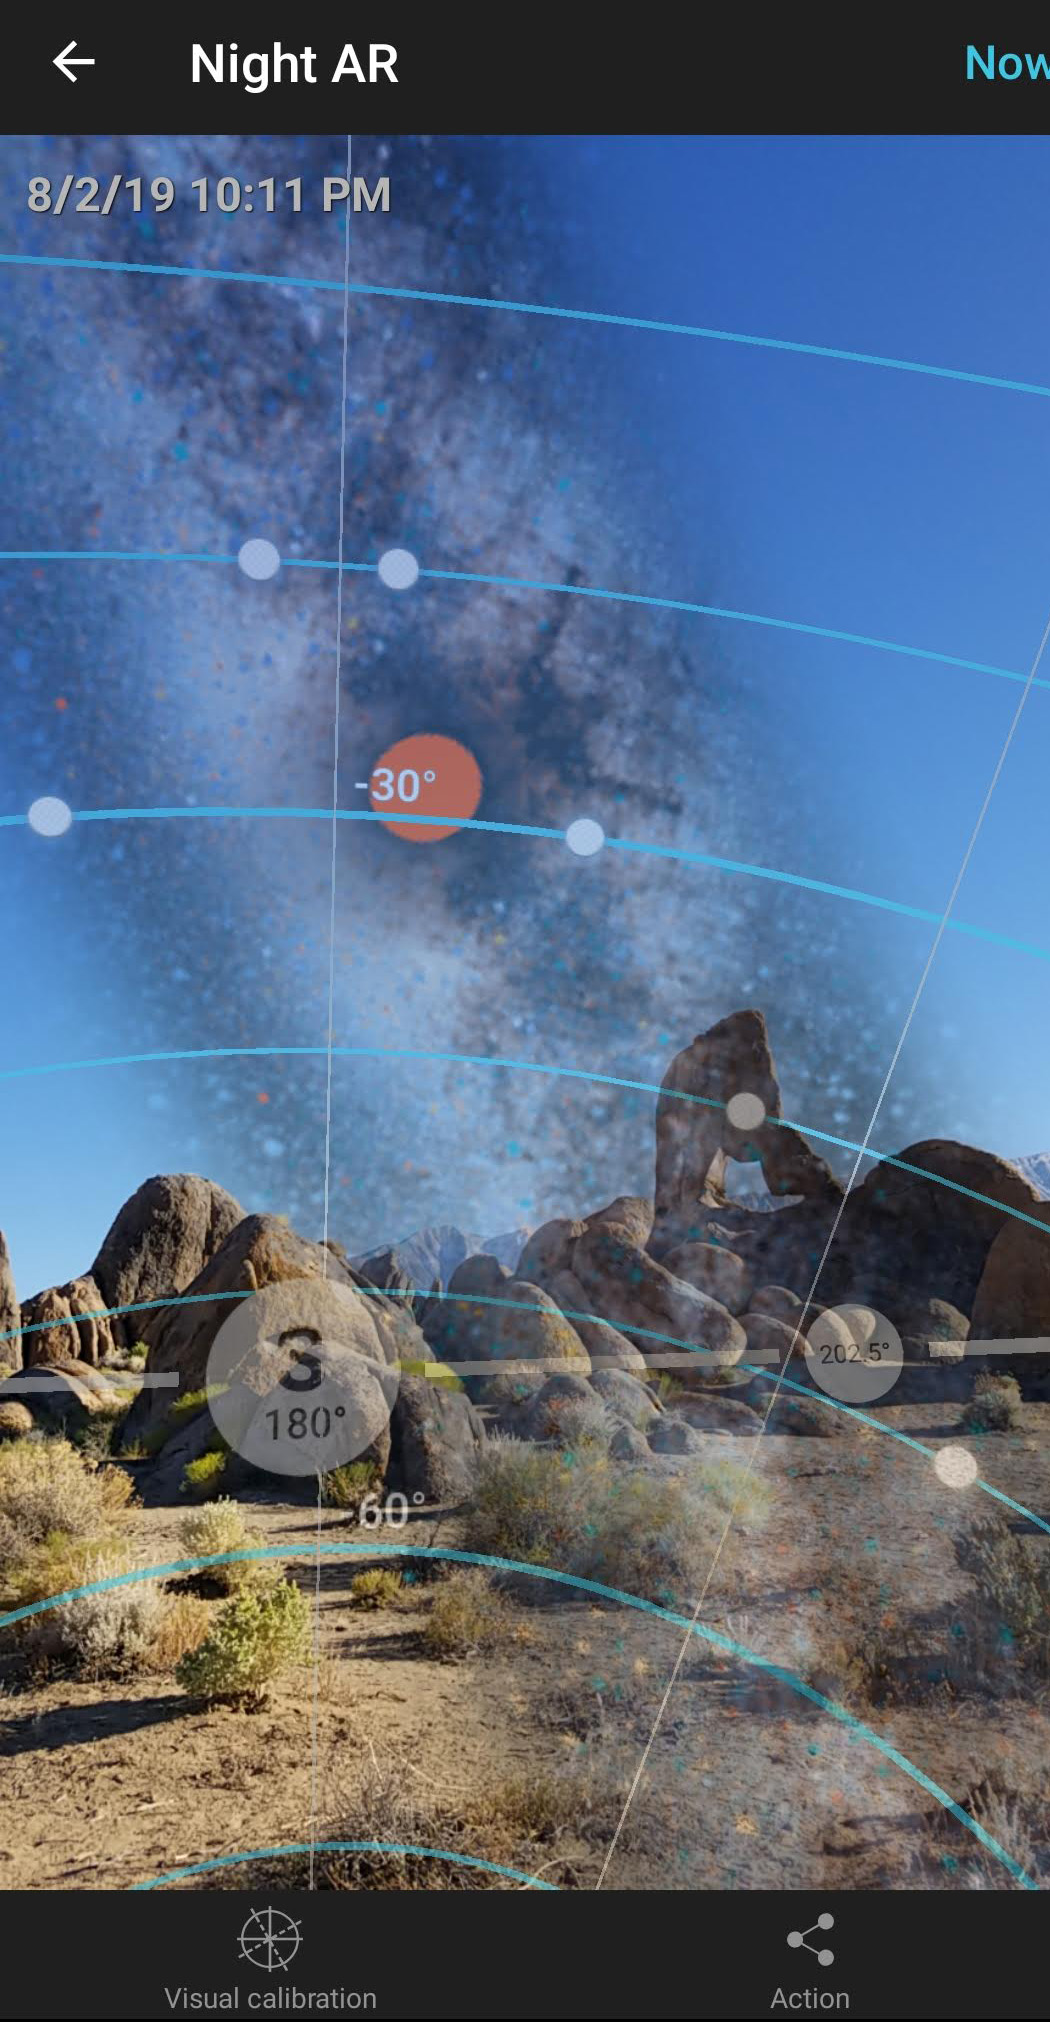
A screenshot of Photopills showing where the Milky Way will be at a given time.
Sky Guide is also a great option for finding the Milky Way or other constellations and is free for Apple. For Android, Star Walk 2, is a great choice.
Camera Settings
Shoot in Raw
RAW image files contain more information than JPEG files, allowing you more flexibility when editing the image. RAW files do take up more space so make sure to bring an SD card that has enough storage.
White Balance
For white balance, choose Manual White Balance. Some prefer their Milky Way images warmer or cooler, so it is up to your personal taste. To learn more, check out my article on white balance here.
Exposure Settings
The exposure settings (mainly your shutter speed) to capture the Milky Way can vary depending on your focal length.
Here are the settings for a test shot shooting at 14-18mm:
- Shutter Speed – 25 seconds
- Aperture – f/3.5 (or lower)
- ISO – 3200
WAIT! Before you take the picture, check your focus! You want those stars crystal sharp! If you want to learn how to easily focus at night, read my article here.
Ok… now that you have your settings dialed in and your focus set, take the picture!
Soak it in!
Congratulations! You just took a picture of our galaxy, the Milky Way! Before you start snapping away, take a moment to observe the stars and our galaxy. It can be a very peaceful time to let go of all of your worries and just focus on the Universe for a brief moment.
Just like anything, keep photographing and experiment with different settings. The beauty of photography is that it is all up to you!
Have fun and clear skies!