You just got your brand new camera delivered to your doorstep. After tearing open the box, there it is, your magnificent new camera!
But now what? Just like your phone, your camera has some initial settings you need to set before you can go off and start taking amazing pictures.
Don’t worry though, I will break down each of the steps in a clear and concise manner so you can start snapping photos before I say camera…
Sadly, you cannot just buy the camera and lens, and then everything starts working. Along with your camera, you need to purchase some batteries (specifically for your camera) and an SD card. For your camera to work and take pictures, you ABSOLUTELY need those two items!
1. Charge your Battery
Obviously, the only way to turn your camera on is with a charged battery, so find the charger that came with the camera and plug your battery in.
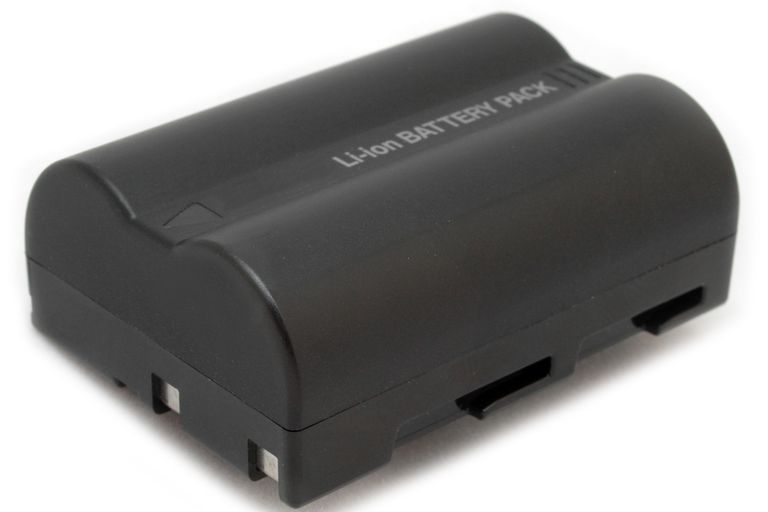
Sometimes the camera comes with 1 or 2 batteries and other times it doesn’t. If it doesn’t, make sure to search online for YOUR camera’s batteries and order them.
Charging can take a few hours but if you are extremely eager to start shooting, wait at least 30 minutes.

Once the battery is charged, locate the battery compartment (usually on the bottom of the camera) and slide the battery in.
2. Set up the Time and Date
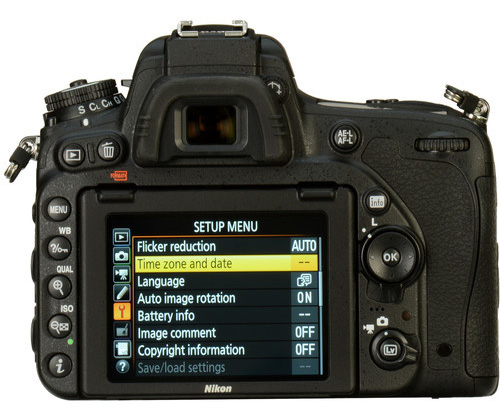
Now that you have a charged battery in the camera, you can go and turn it on! One of the first options you might be prompted with is the time and date option.
Credit: fstoppers.com
If you are not prompted with this setting, go to your camera’s menu and you should be able to find it towards the end.
Setting the time and date accurately will allow you to go back and see exactly when certain images were taken. This can be very helpful when importing and editing photos, so make sure to set up this option.
3. Format your SD Card
Next, you will need to insert your SD card. This is one of, if not the most important part of your camera because it is where all of the images and videos are stored. The point is, be very careful with this card!
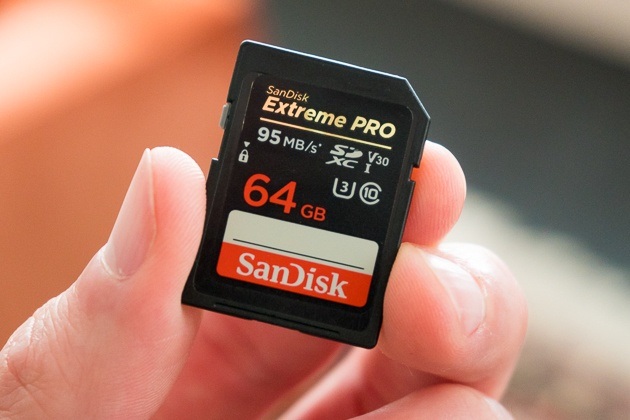
The SD Card slot is usually located next to the battery compartment. Once you find it, slowly push the SD card in. If it is not going in, DO NOT force it. Take it out, turn it around, and try again. Slowly slide it all the way in until you hear a click, and BAM, your SD card is in!
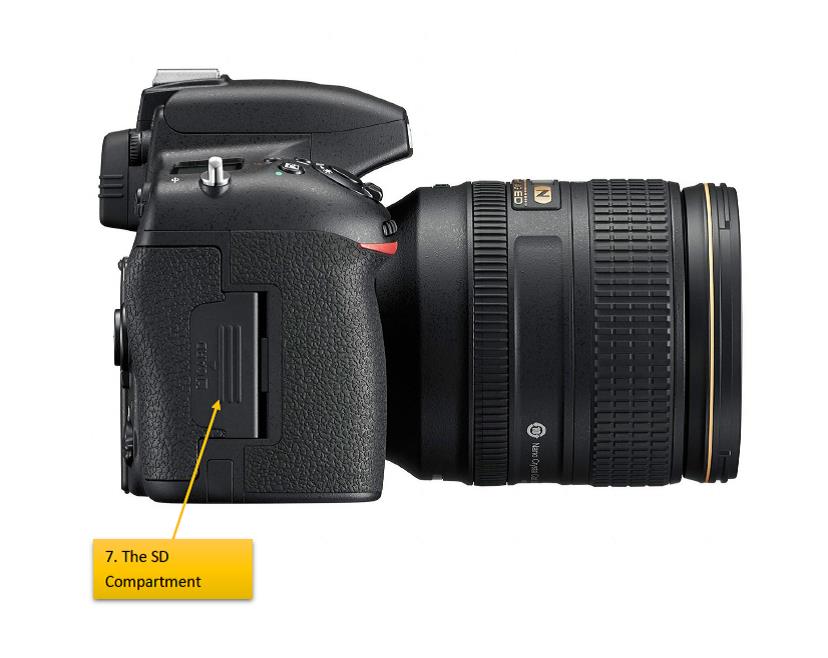
After the memory card is inserted, you might be prompted with a message to format the card. All this means is that the card will be “introduced” to the camera, so later, when you’re importing the pictures on the computer, the correct folders will be set up.
Another good tip is to format your memory card after uploading the files to your computer/hard drive, and not deleting the images from the computer. This is because SD cards have a lifespan.
When you delete the images from your computer, you decrease the lifespan of that SD card.
To avoid this, insert the memory card back into your camera, locate the format option, and click it. Doing this only deletes the directory files, and not the actual images.
In summary, formatting, as opposed to deleting, causes less wear and tear on your SD card.
4. Choose your Image Quality
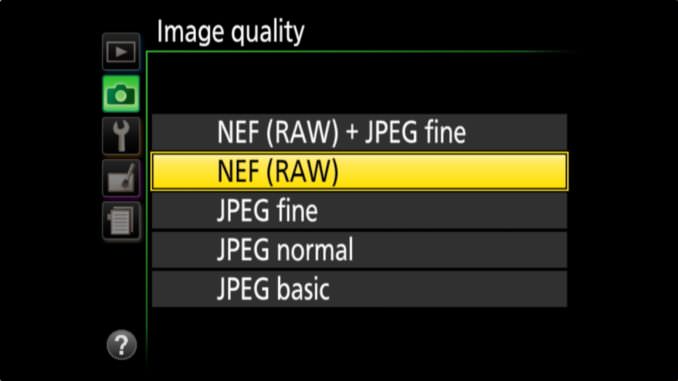
After formatting your memory card, go back to your menu and look for “Image Quality.”
Here you can pick which file format you want to shoot in (either RAW or JPEG).
Credit: havecamerawilltravel.com
RAW files take up more space but are exactly what they say, raw. This means that you keep all of the image data, which in turn gives you more flexibility when editing.
JPEG files take up less space and are formatted files, reducing the dynamic range detail.
I recommend choosing RAW files because you obtain all of the data from the image, which can especially help when processing the photos later.
5. Get Familiar with your Mode Dial
Your mode dial is responsible for which camera mode you are in.
The most popular modes are:
- Manual Mode
- Shutter Priority Mode
- Aperture Priority Mode
- Auto Mode
I have a full article explaining all of these settings, which you can read here.
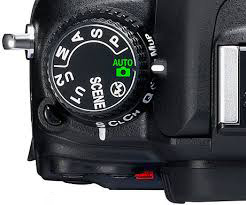
Nikon Mode Dial
The mode dial decides which settings you can and can’t control. For example, manual mode lets you control all of the settings.
6. Identify your Shutter Speed, Aperture, and ISO Buttons
Once you are in manual mode, you can control all of your camera settings, which include shutter speed, aperture, and ISO.
An important step, however, is to locate the buttons that control these three crucial settings.

The shutter speed is usually controlled by the dial on the right side of your camera.
Aperture and ISO move around from camera to camera more sporadically, so the easiest way to see where they are would be to look it up.
Once you identified where all of the settings are, you can now start changing each setting individually to obtain a different effect.
7. Know how to get into Live View Mode
Live view mode is when you can see what your camera sees on your LCD screen, located on the back of the camera.
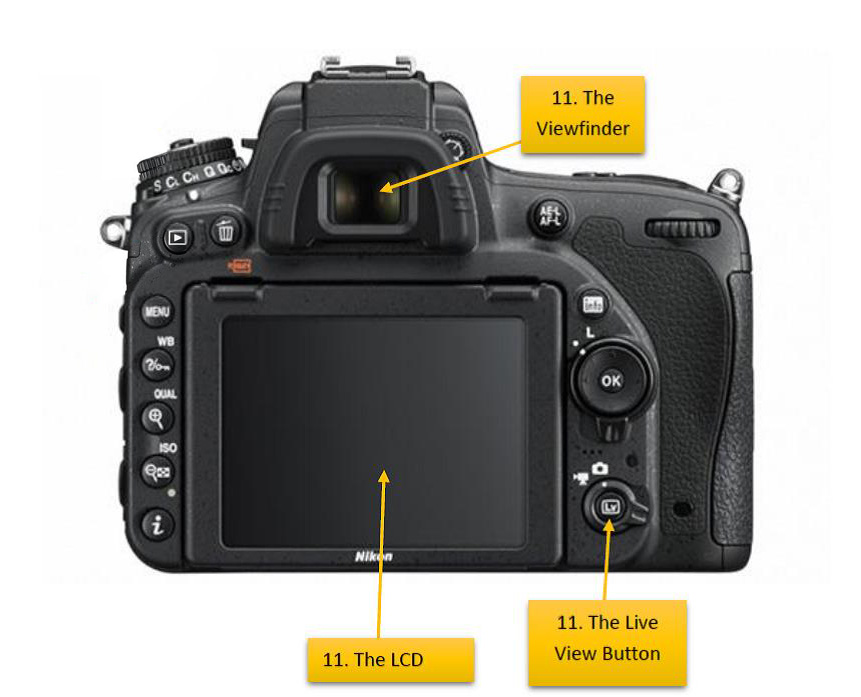
All DLSR’s can preview the scene either through the viewfinder or the LCD screen, but only one at a time (Mirrorless cameras can do both simultaneously).
This means that if you are checking the scene out through your viewfinder, you will not be able to see it through your live view mode. There is, however, a button that can alternate between the two.
Once you click it, it will either transfer the scene to the LCD screen or the viewfinder. Again since this button varies so much from camera to camera, the best way for you to locate it is to look it up.
There you have it! With these 7 tips, you should have a basic idea of some of the most important areas on your camera, and be able to begin taking pictures!
If you want to learn more about certain camera parts or different modes, click the links provided.
Have fun and keep photographing!

