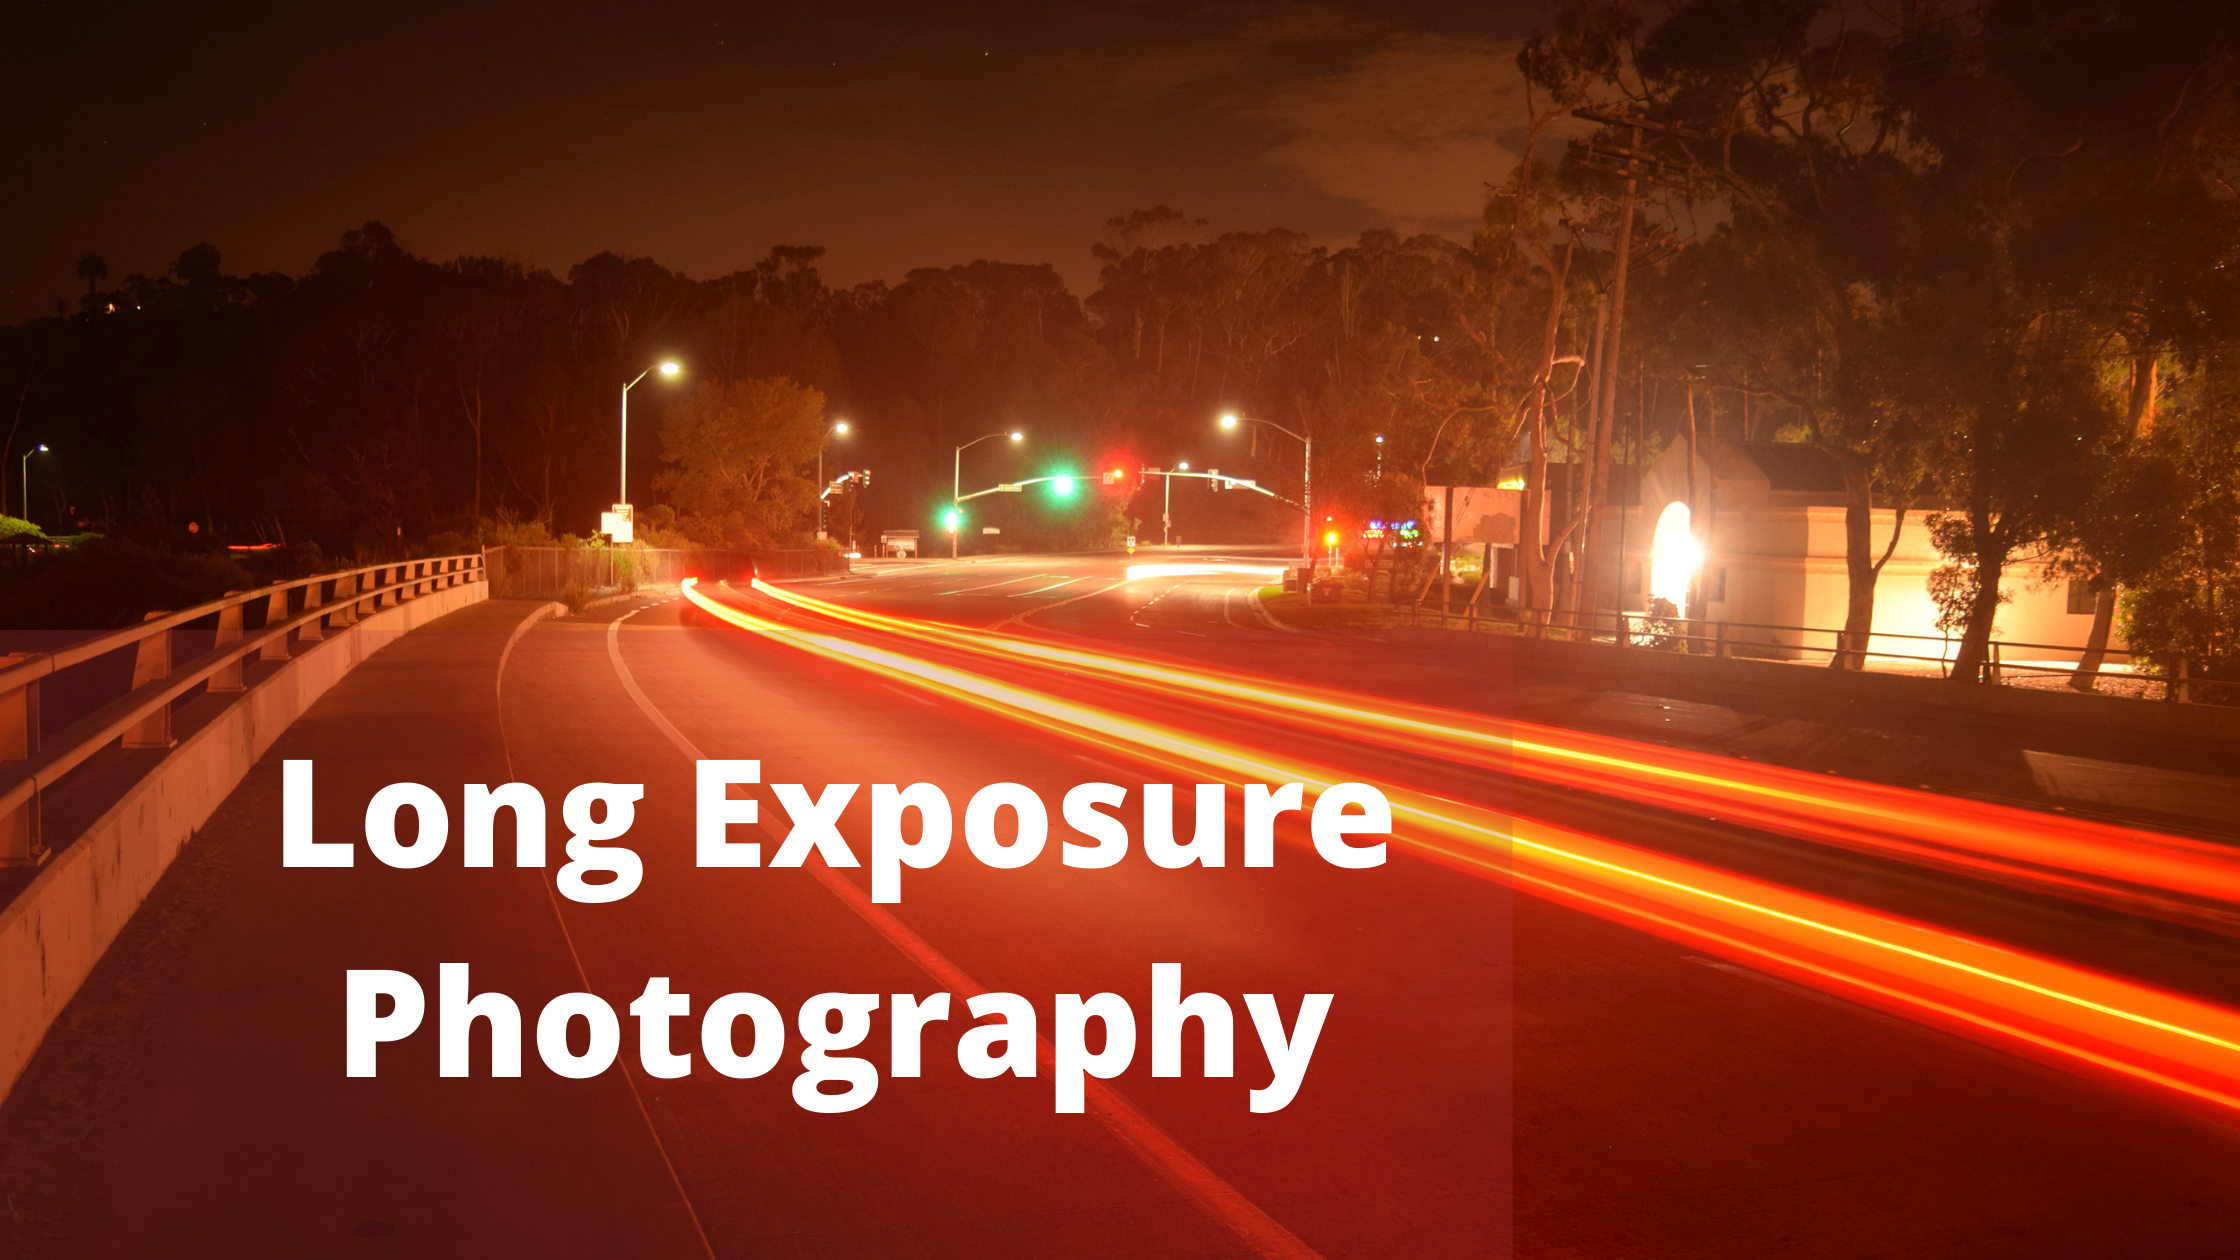
Long exposure photography can be an amazing element to add to your images.
It definitely is unique in the sense that it blurs all movement of objects. This means you can really set your images apart from the “standard” approach, and rise to a completely different level doing long exposure photography!
This technique is primarily used in landscape and astrophotography, and even if you haven’t heard of the term before, I can bet that you’ve seen examples of it.
What is Long Exposure Photography?
Creating a long exposure simply means that your camera shutter is going to be open for an extended period of time.
The setting that controls this is shutter speed. If you have read my article on Unlocking Your Camera’s Potential with the Three Factors of Exposure, you know that shutter speed controls the amount of motion captured in an image. You can either freeze your subject or have them look like a blur.
In the case of long exposures, objects will look like a blur. As this may sound strange now, blurring certain elements can create some very unique and awesome images!
The most popular example of using long exposures is either on water or at night with the stars.
Both instances, you set your shutter speed to 1, 2, or 30 seconds, press the button, and wait! Once the exposure is done, you will see a very unique image on your screen.
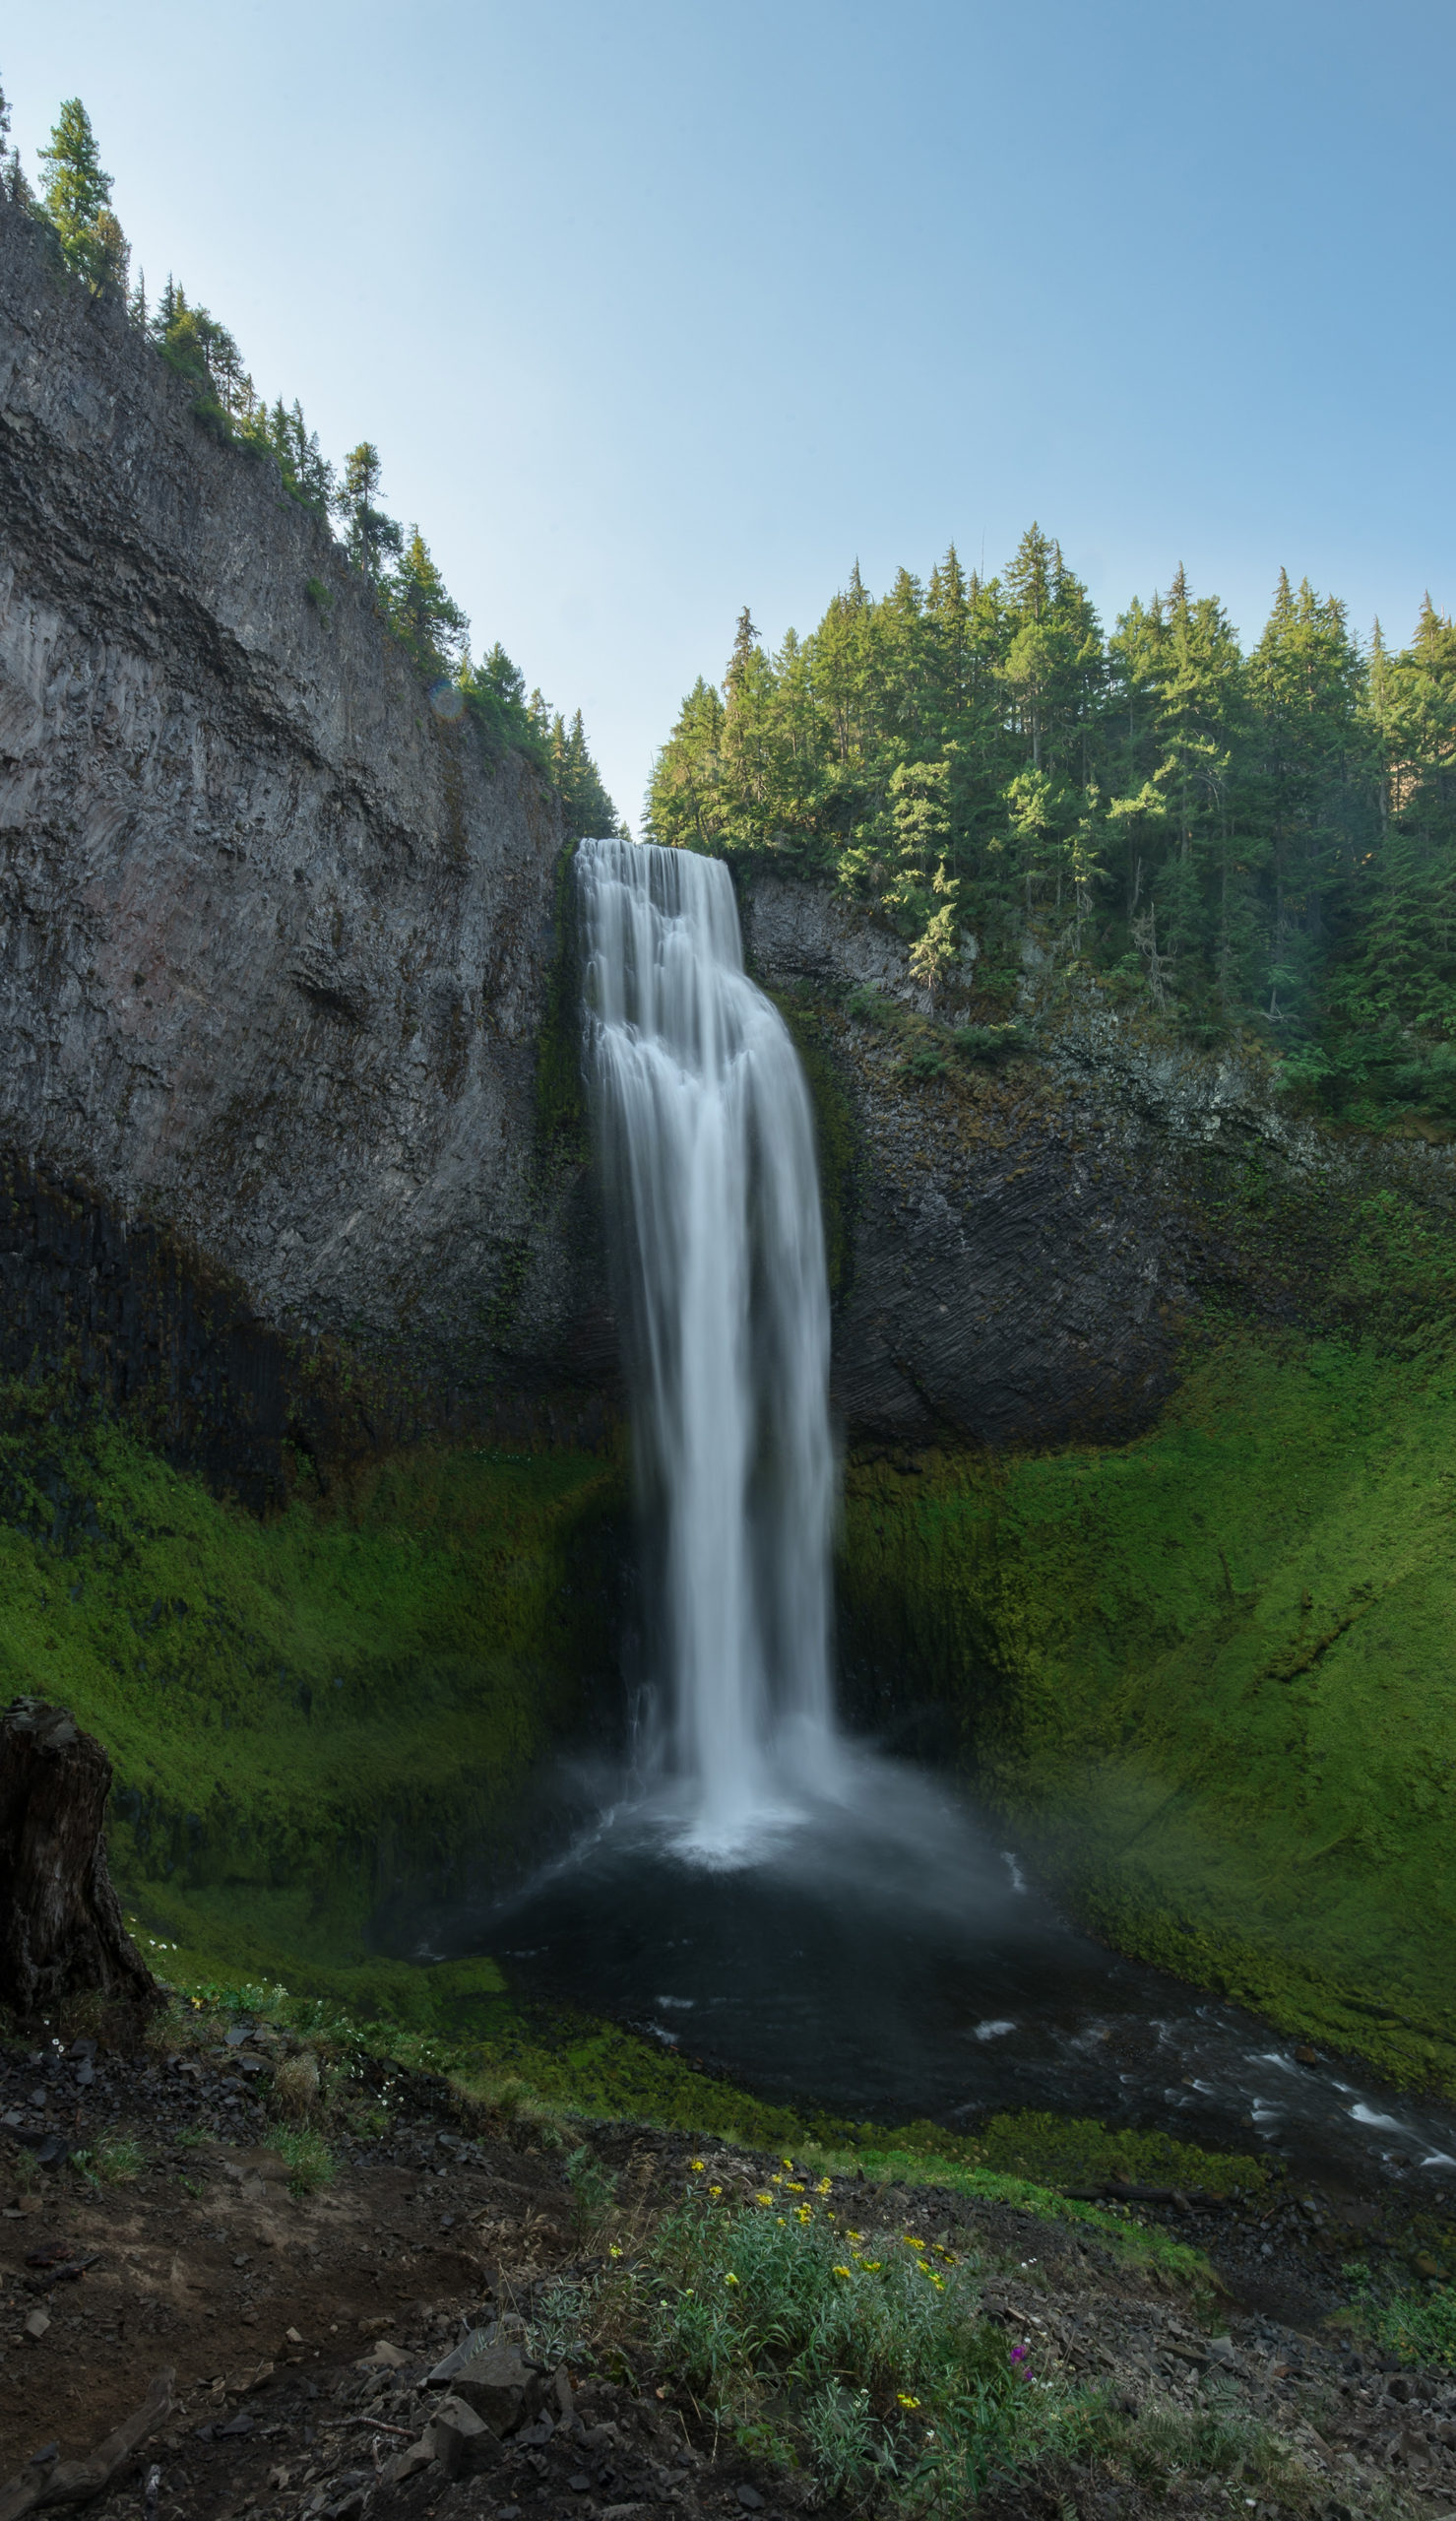
Let’s say you were photographing a waterfall. Using a long exposure will mean that instead of freezing the individual water droplets, the water will blur, creating a “silky” look.
I want to quickly add that if you are planning on shooting a waterfall or the ocean during broad daylight, increasing the shutter speed will increase the brightness in your image. This is when you start using Neutral Density (ND) filters (sunglasses for your camera) to darken the image.
I will talk about ND filters in a later article but if you don’t want to invest in filters at the moment, then try and plan on shooting the waterfall during or a little after sunset. Since the scene will be darker, it will be easier to get away with a 10-second exposure without blowing out the image.
If you are shooting at night, everything is dark… DUH! So to properly expose the image, you would have to shoot for 20 or 30 seconds. You can take it a step further and set your exposure for a few minutes or even a few hours!
This can result in star trails! If you want to learn how to photograph star trails, check out my article about it here.
What Do You Need?
- A camera with manual mode
- A sturdy tripod
- An external remote
- Patience!
You’re going to want a camera with manual mode so you can manually control your shutter speed.
Most cameras only go up to 30 seconds. If you want to go longer than that, let’s say a few minutes, then you want to switch your mode dial into Time Mode.
To get to this mode, scroll your shutter speed dial all the way past 30 seconds. You will then run into Bulb Mode. Scroll one more time and you will get to Time Mode.
This mode will allow you to press the shutter button, wait for however long you want the exposure to go for, and then press the shutter again, ending the exposure.
To obtain the best results with this mode, I HIGHLY recommend purchasing an external remote. If you want to learn more about external remotes, click here to read my article about them.
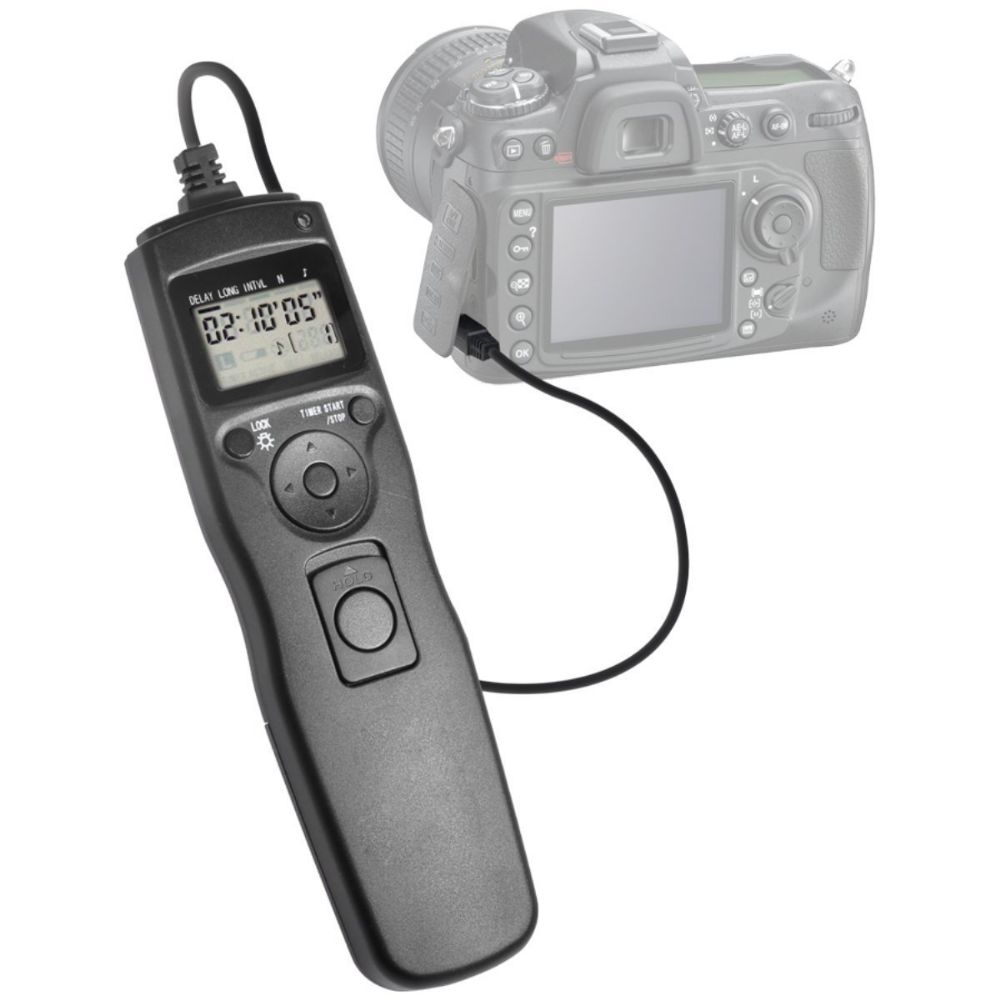
Using an external remote will allow you to not have to touch the camera, giving you a less likely chance that your camera will experience any movement during the exposure.
This is because the whole goal of long exposure photography (besides creating awesome images) is to not have your camera move AT ALL during the exposure!
This brings me to the next item, which is a sturdy tripod. When you are shooting in entire seconds, you absolutely NEED a tripod. As much as you think you can stand still enough, let me be the one to tell you you can’t.
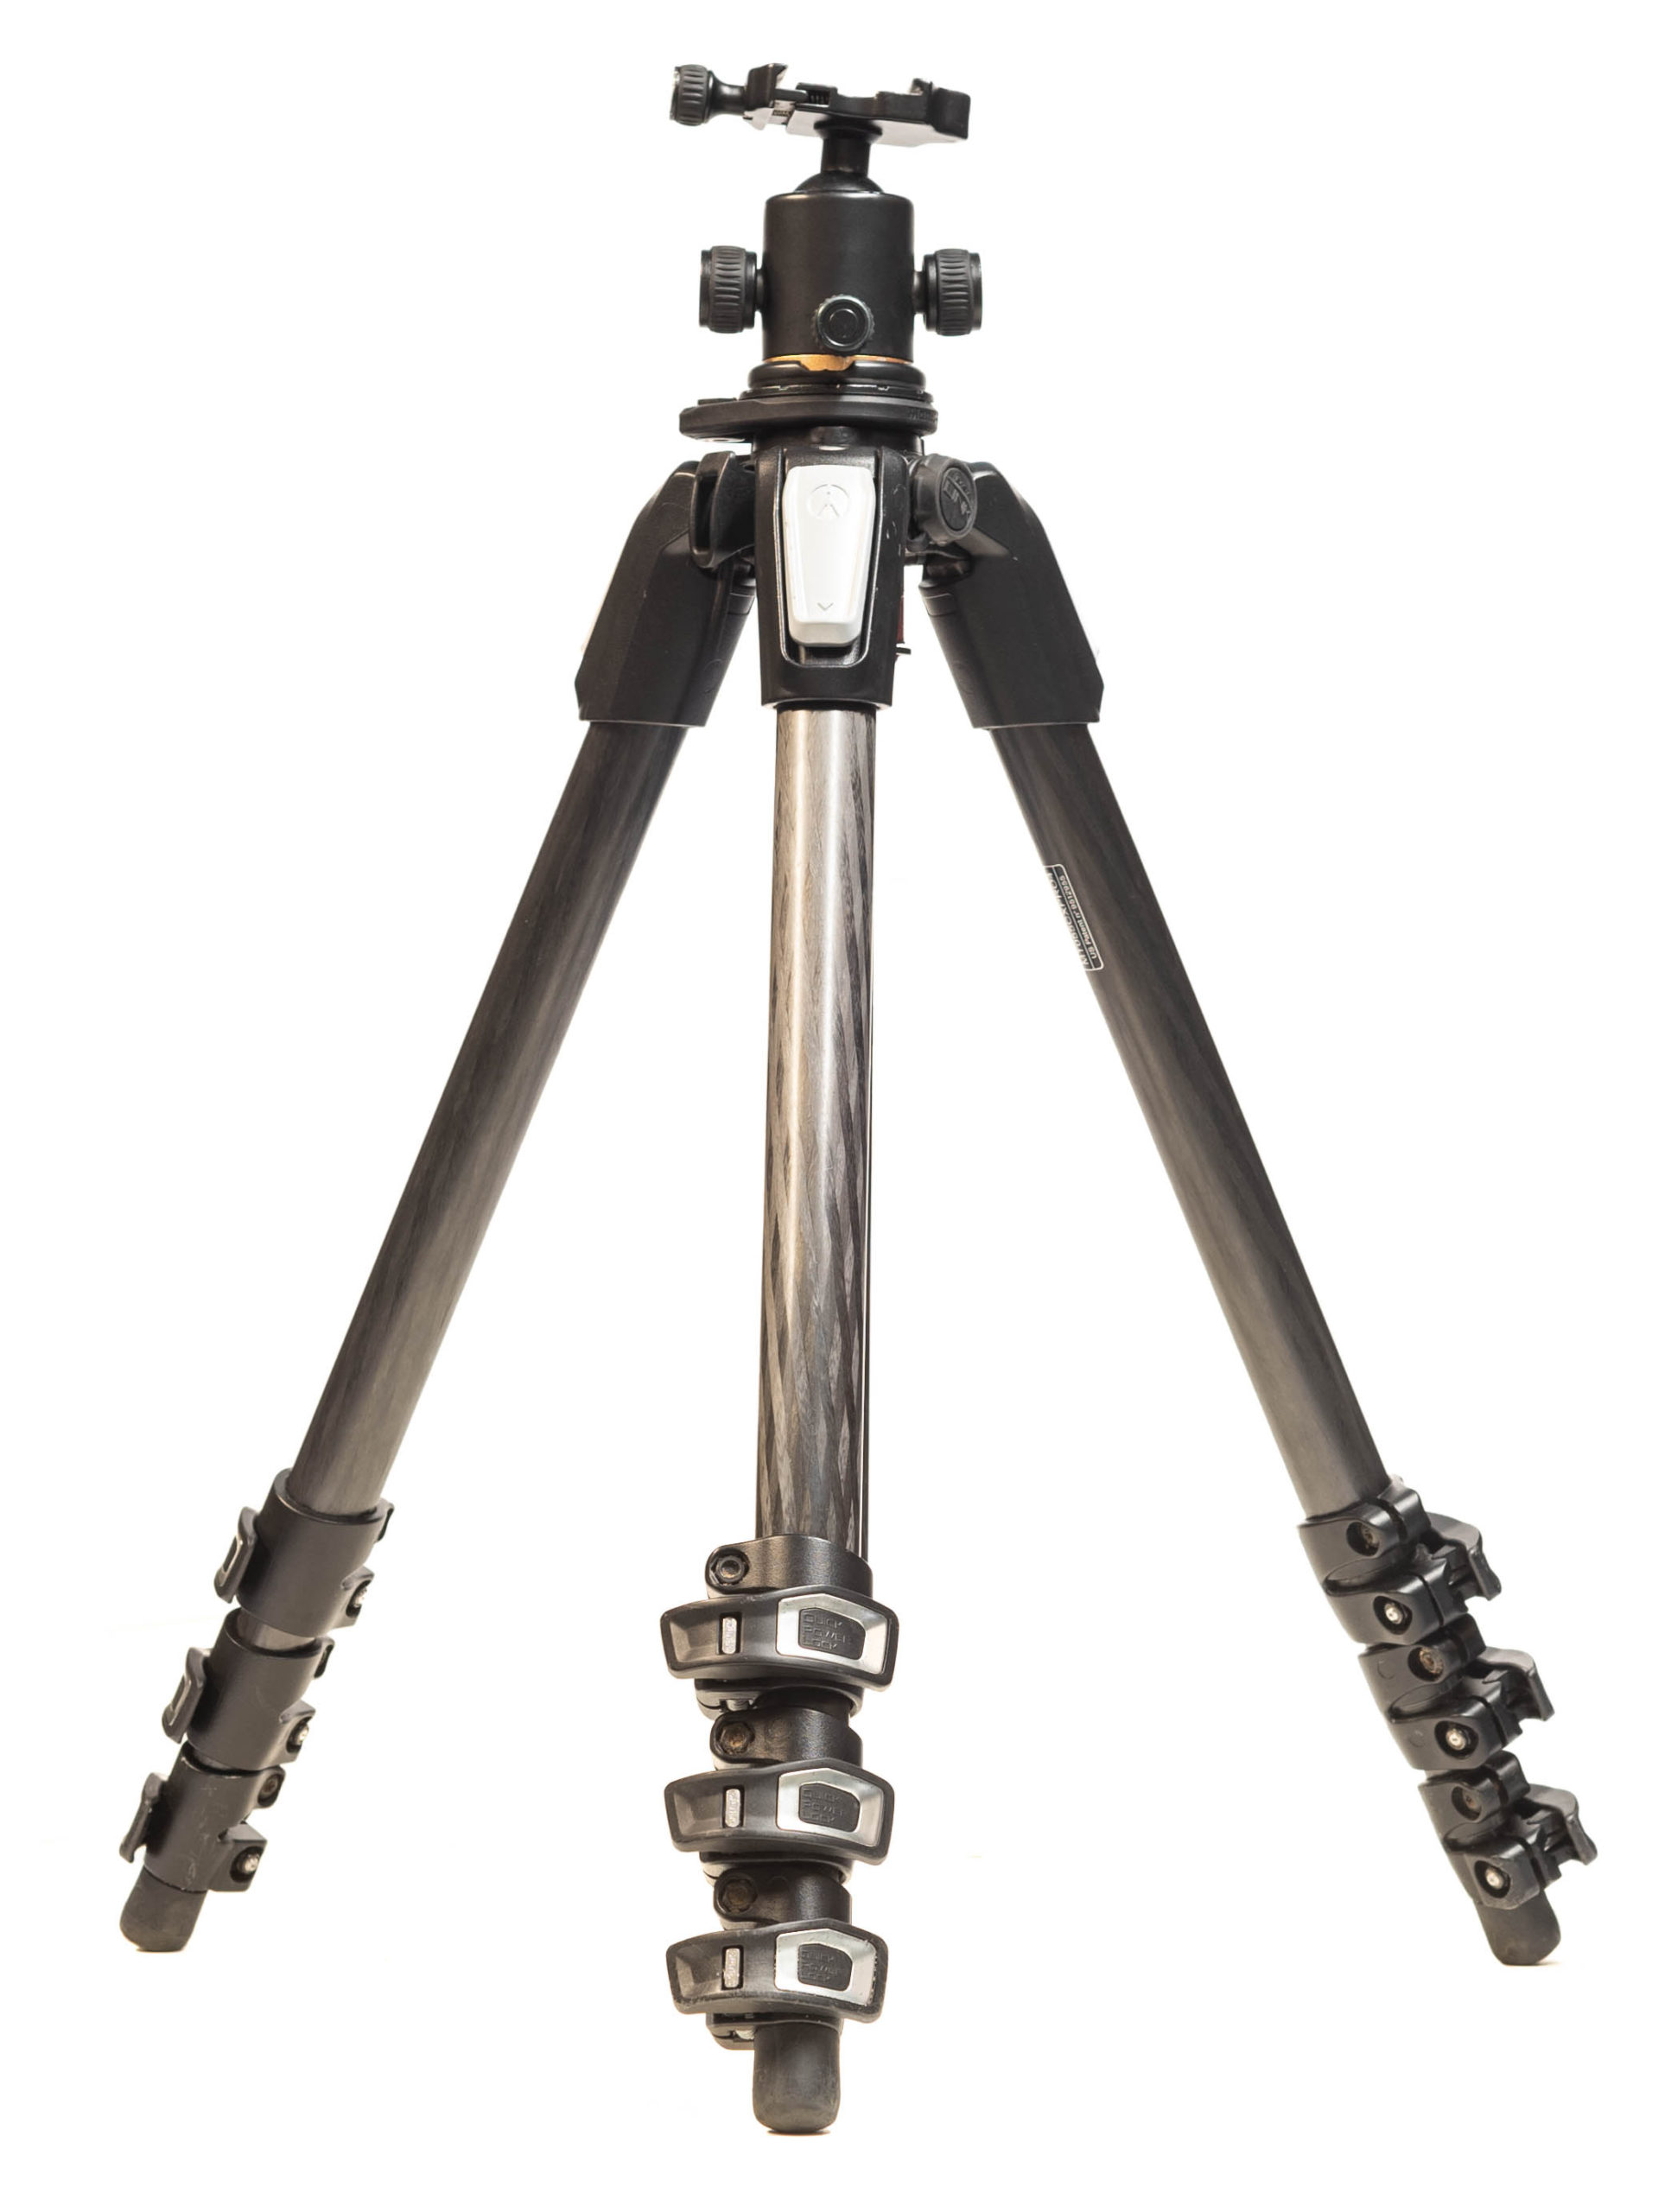
Luckily, a tripod solves this problem easily! Just place your camera on the tripod, and it will hold the camera in place with no extra movement. This will ensure that you capture the sharpest photo possible!
Lastly, you need patience. Unlike “normal” exposure photography where you snap away, long exposure photography requires some patience.
You will be letting the camera take a picture for seconds and sometimes minutes. And you will most likely take multiple photos like this. This means that there will be a lot of sitting around waiting for the exposure to finish.
Instead of sulking around, anxiously waiting for the image to appear on the back of the screen, I recommend that you look around and enjoy nature for all it has to offer. Photographers, myself included, seem to get wrapped up in just the picture.
This can consequently pull us out of the moment, having us lose sight of our surroundings and environment. A bonus to doing this is it usually makes the time go by faster!
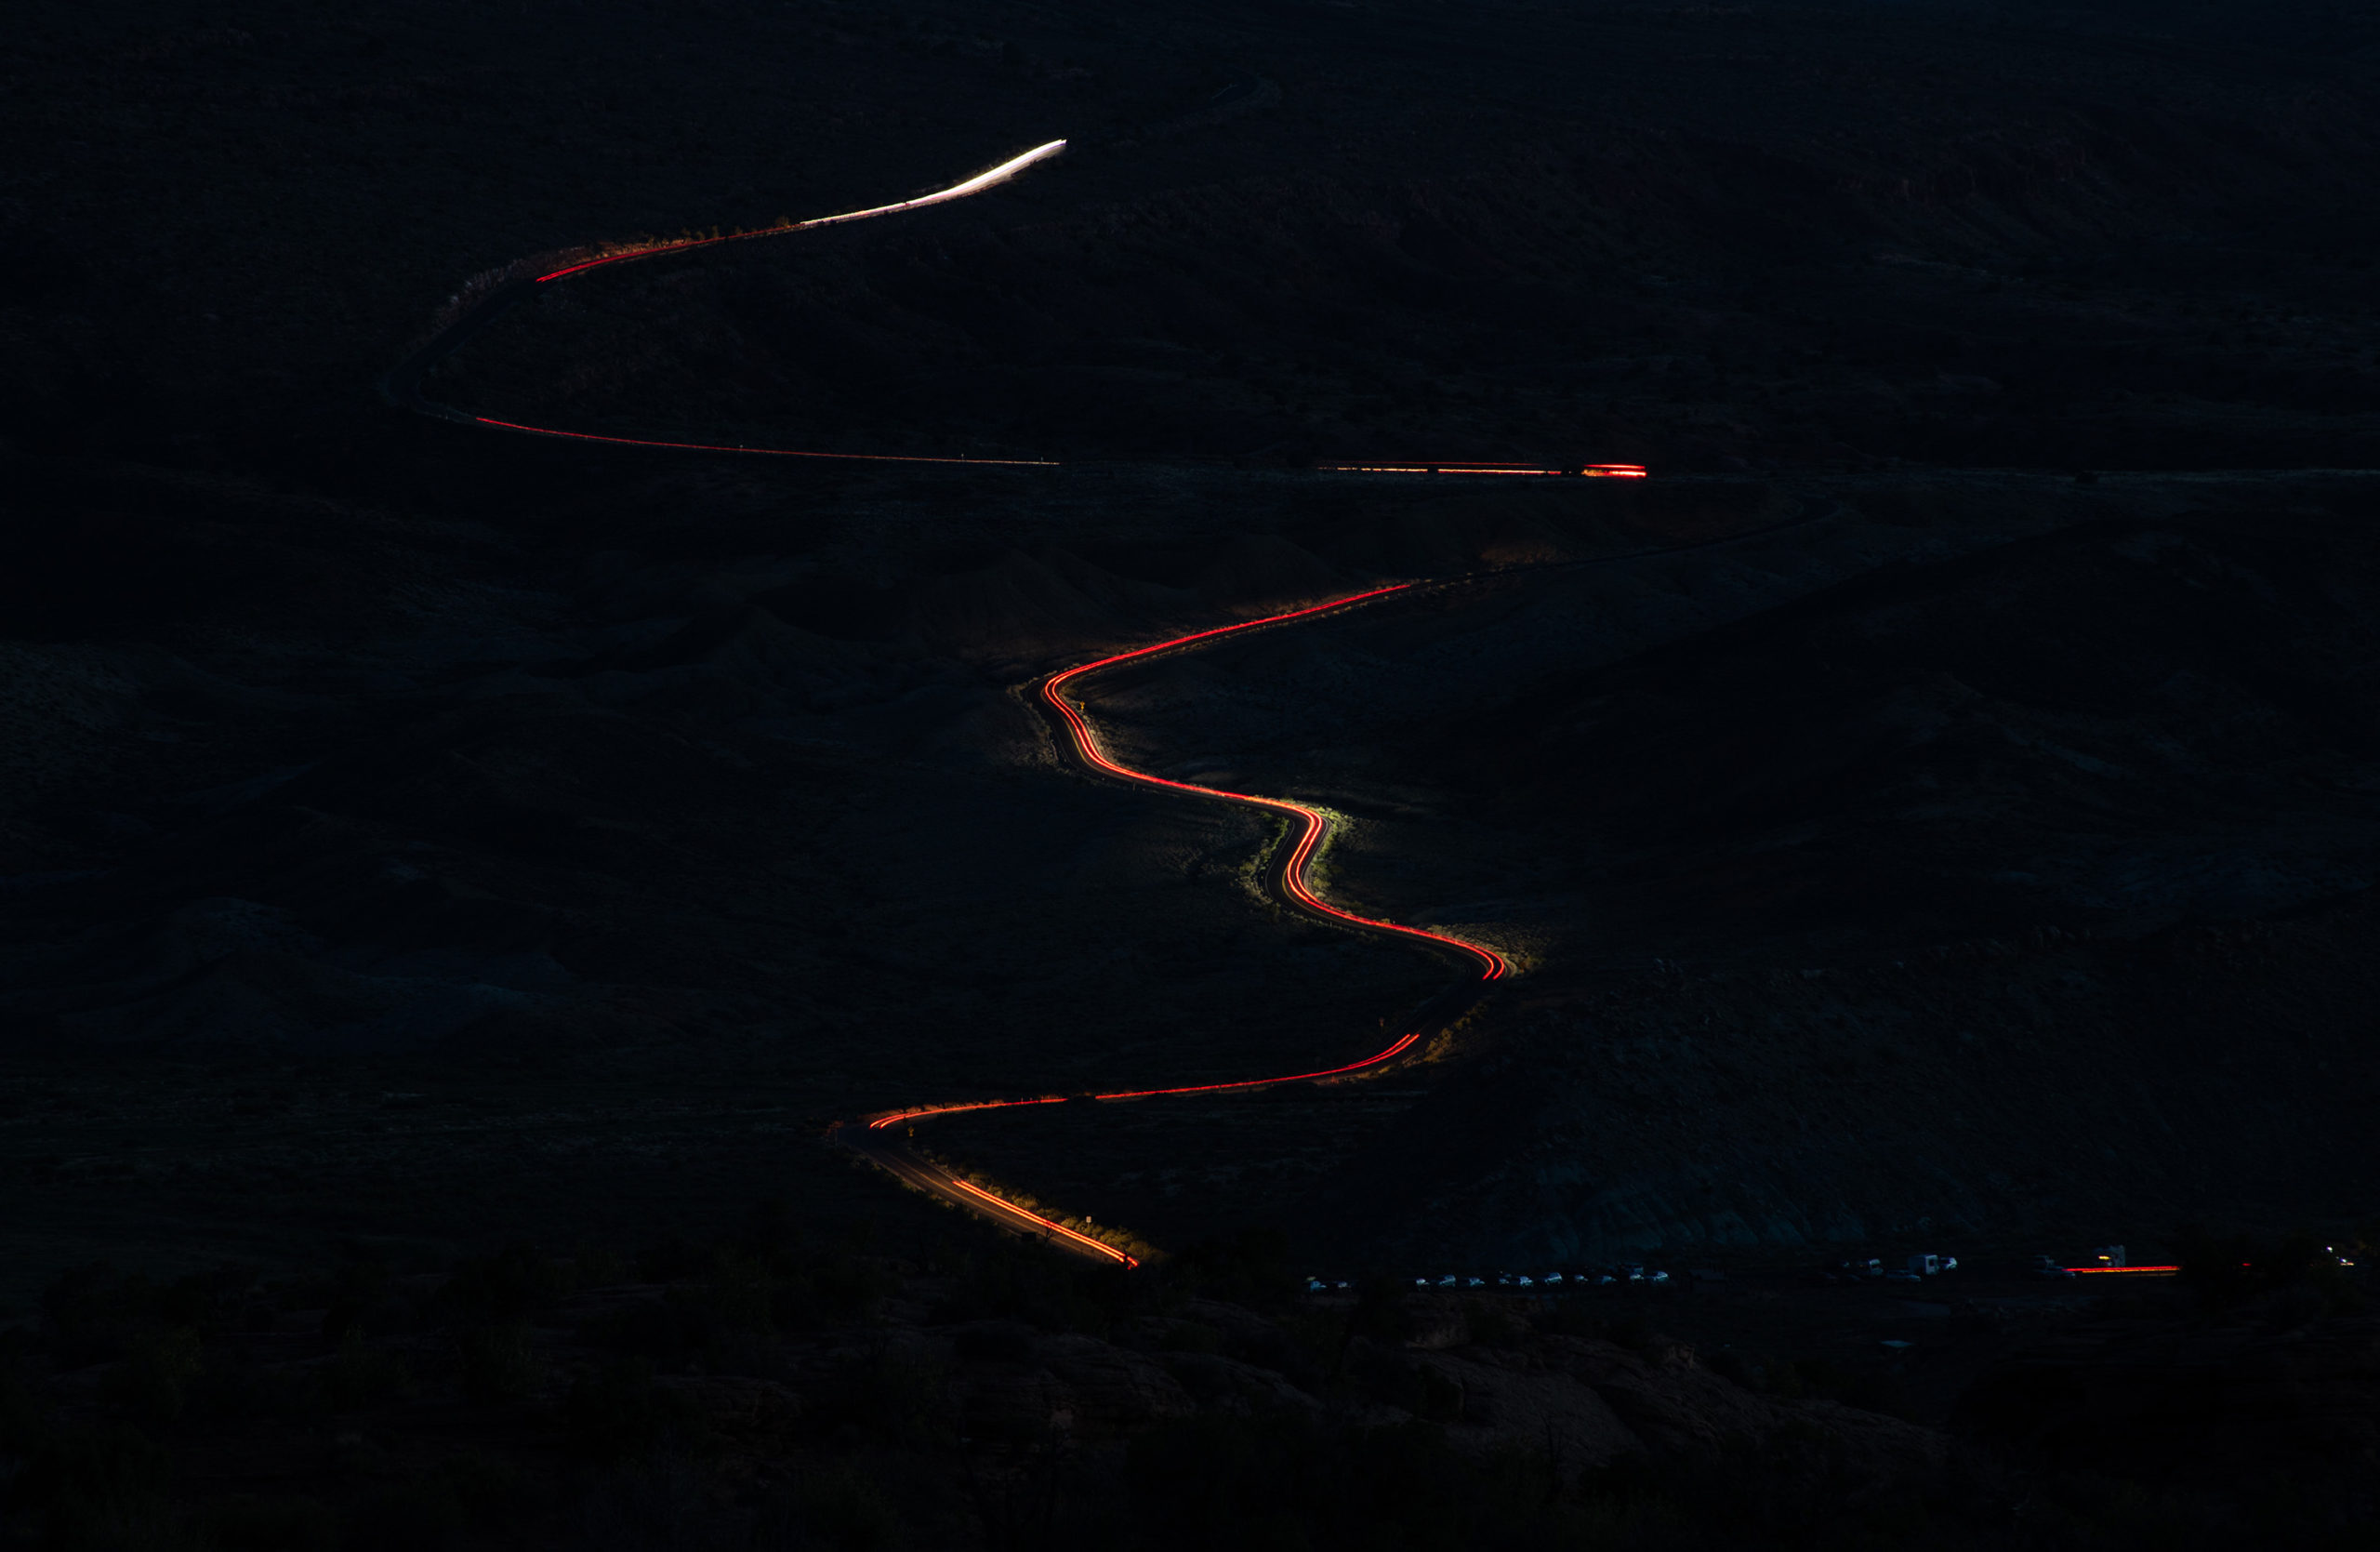
Car trails along a mountain!
Hope this helps, and definitely try out long exposure photography! It is a really easy way to capture even the most “mundane” scenes in an interesting way!
Here are a few examples and ideas that you can use to try out long exposure photography:
- Car trails – Take a long exposure of cars driving at night with there headlights on
- Light paint – Wave a flashlight around in the dark (Check out my light painting article here)
- Star trails – Check out my article on how to photograph star trails here
- Steel Wool – Check out my article on how to photograph steel wool here
- Waterfalls
- Oceans, lakes
Have fun and keep photographing!


Another great article, Adam!!! Thanks for the detail!
Thank you!!