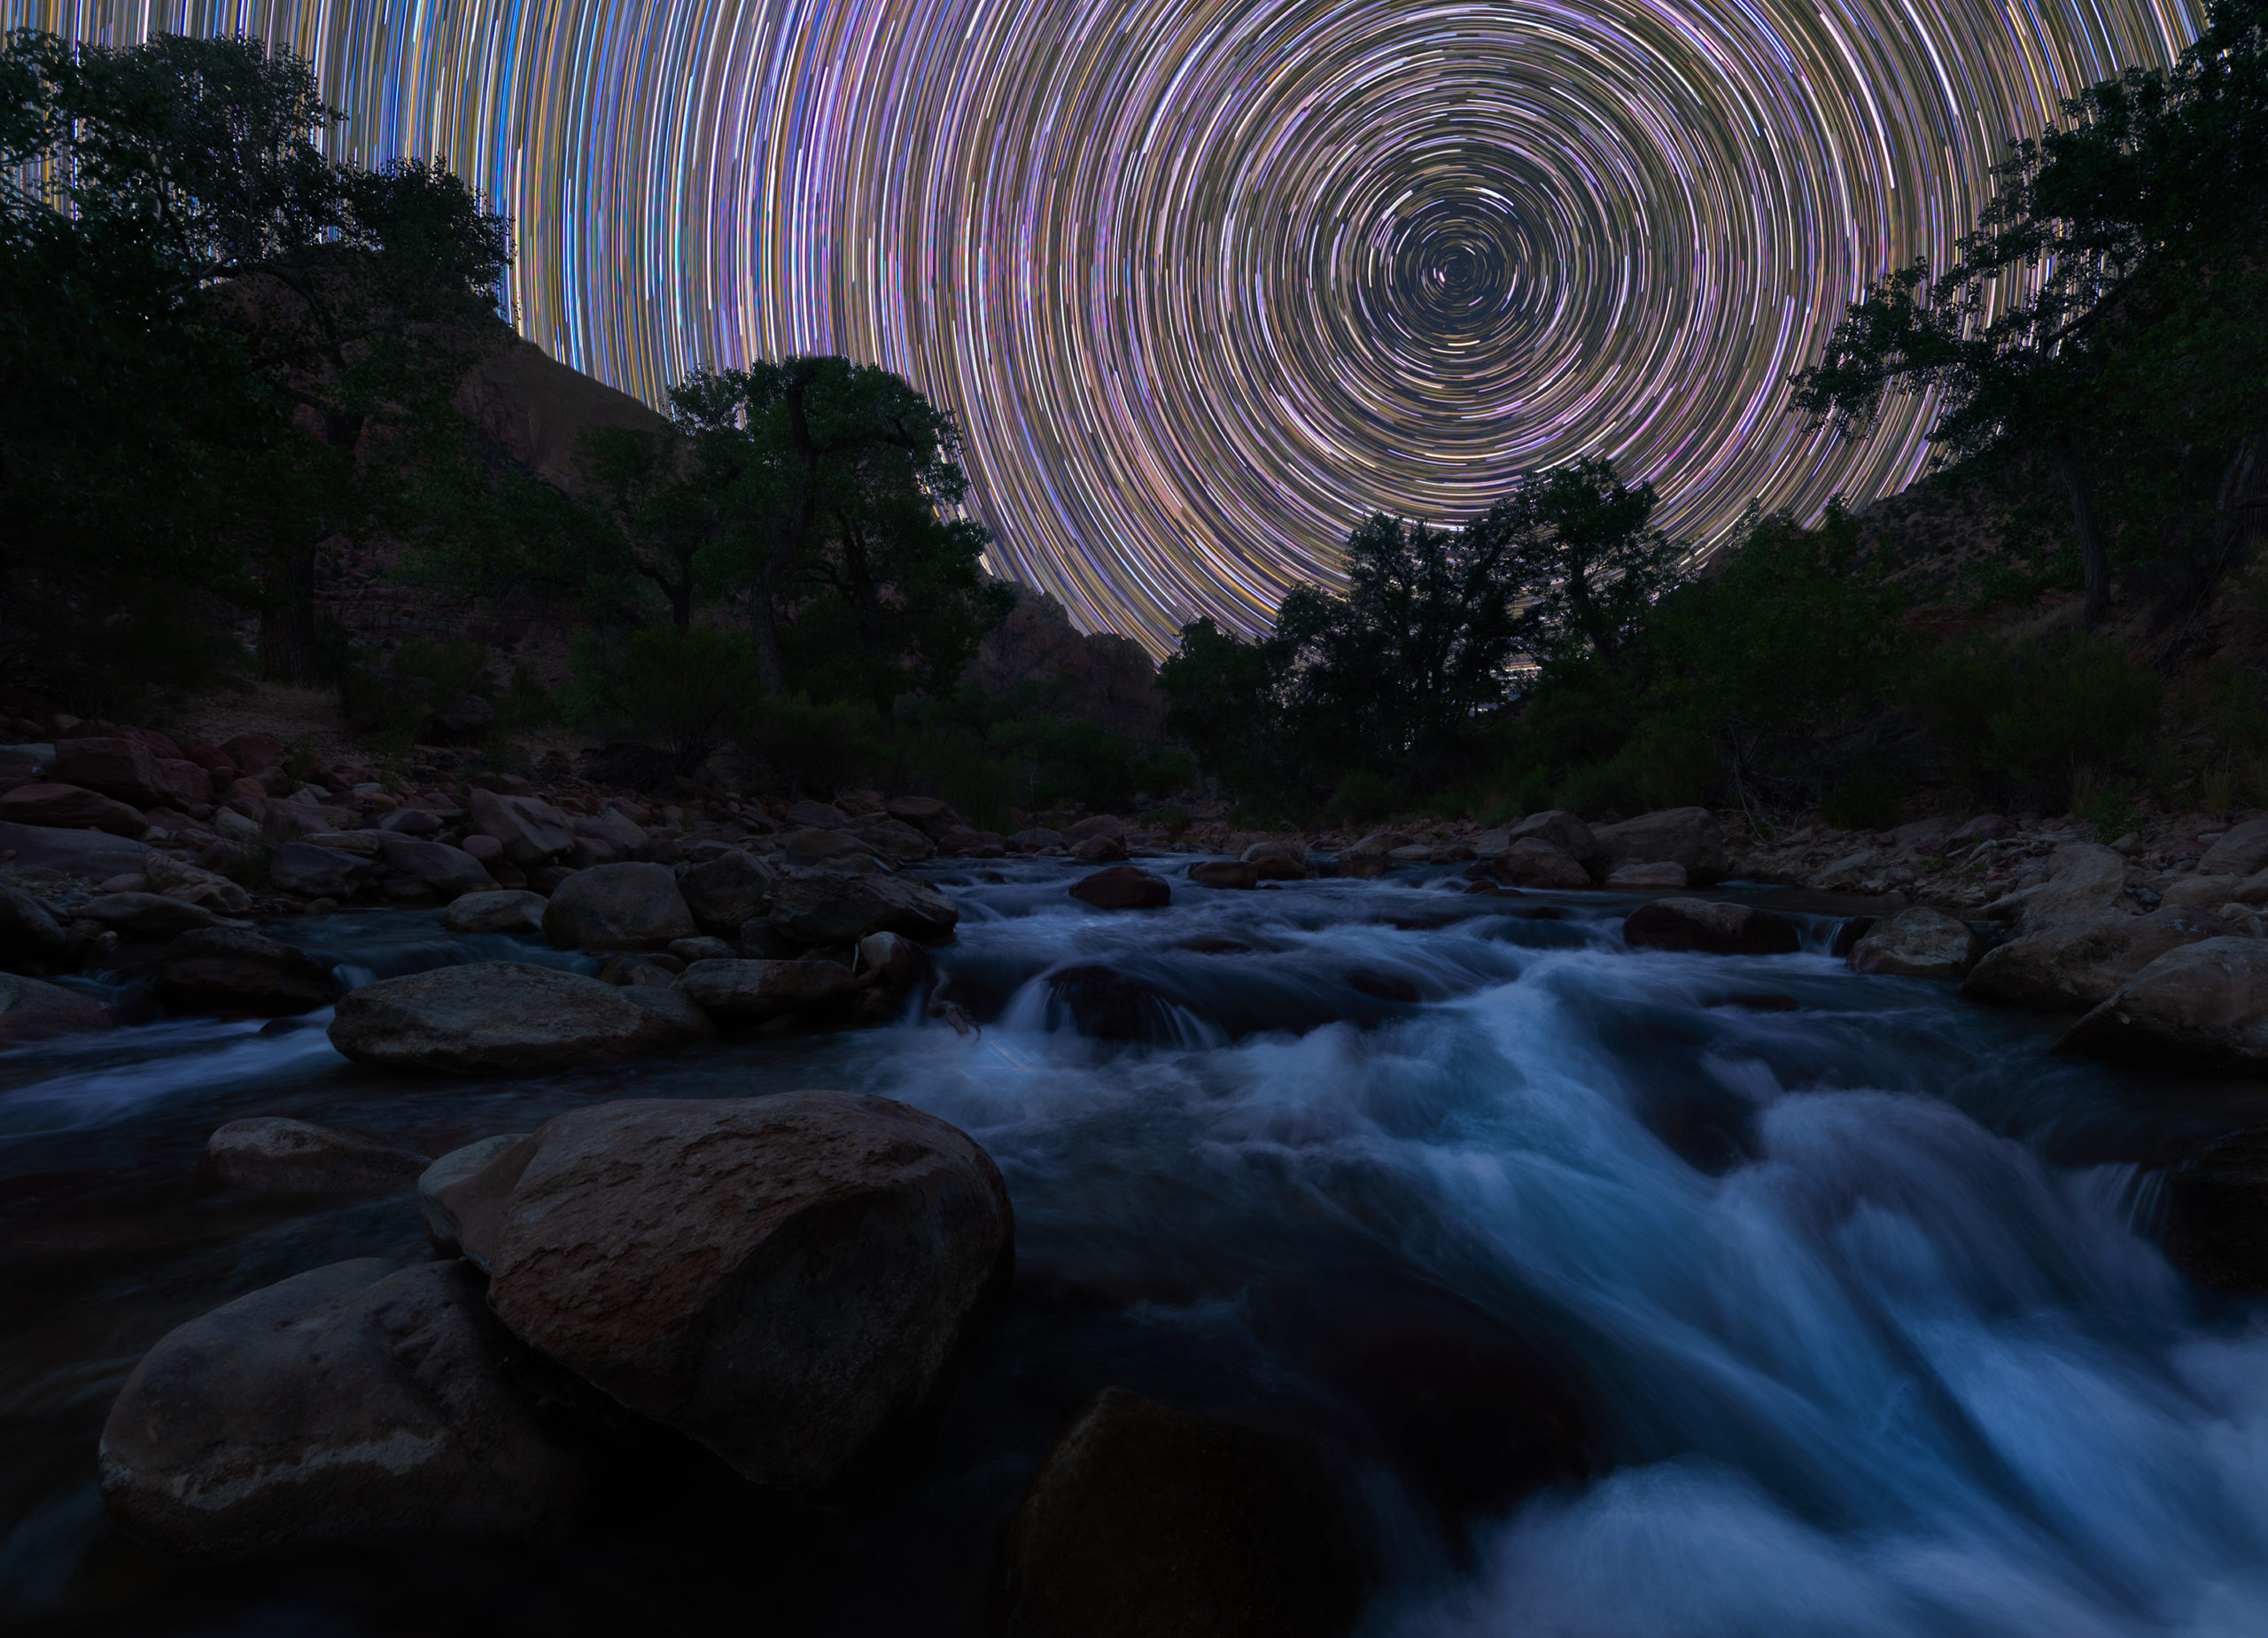
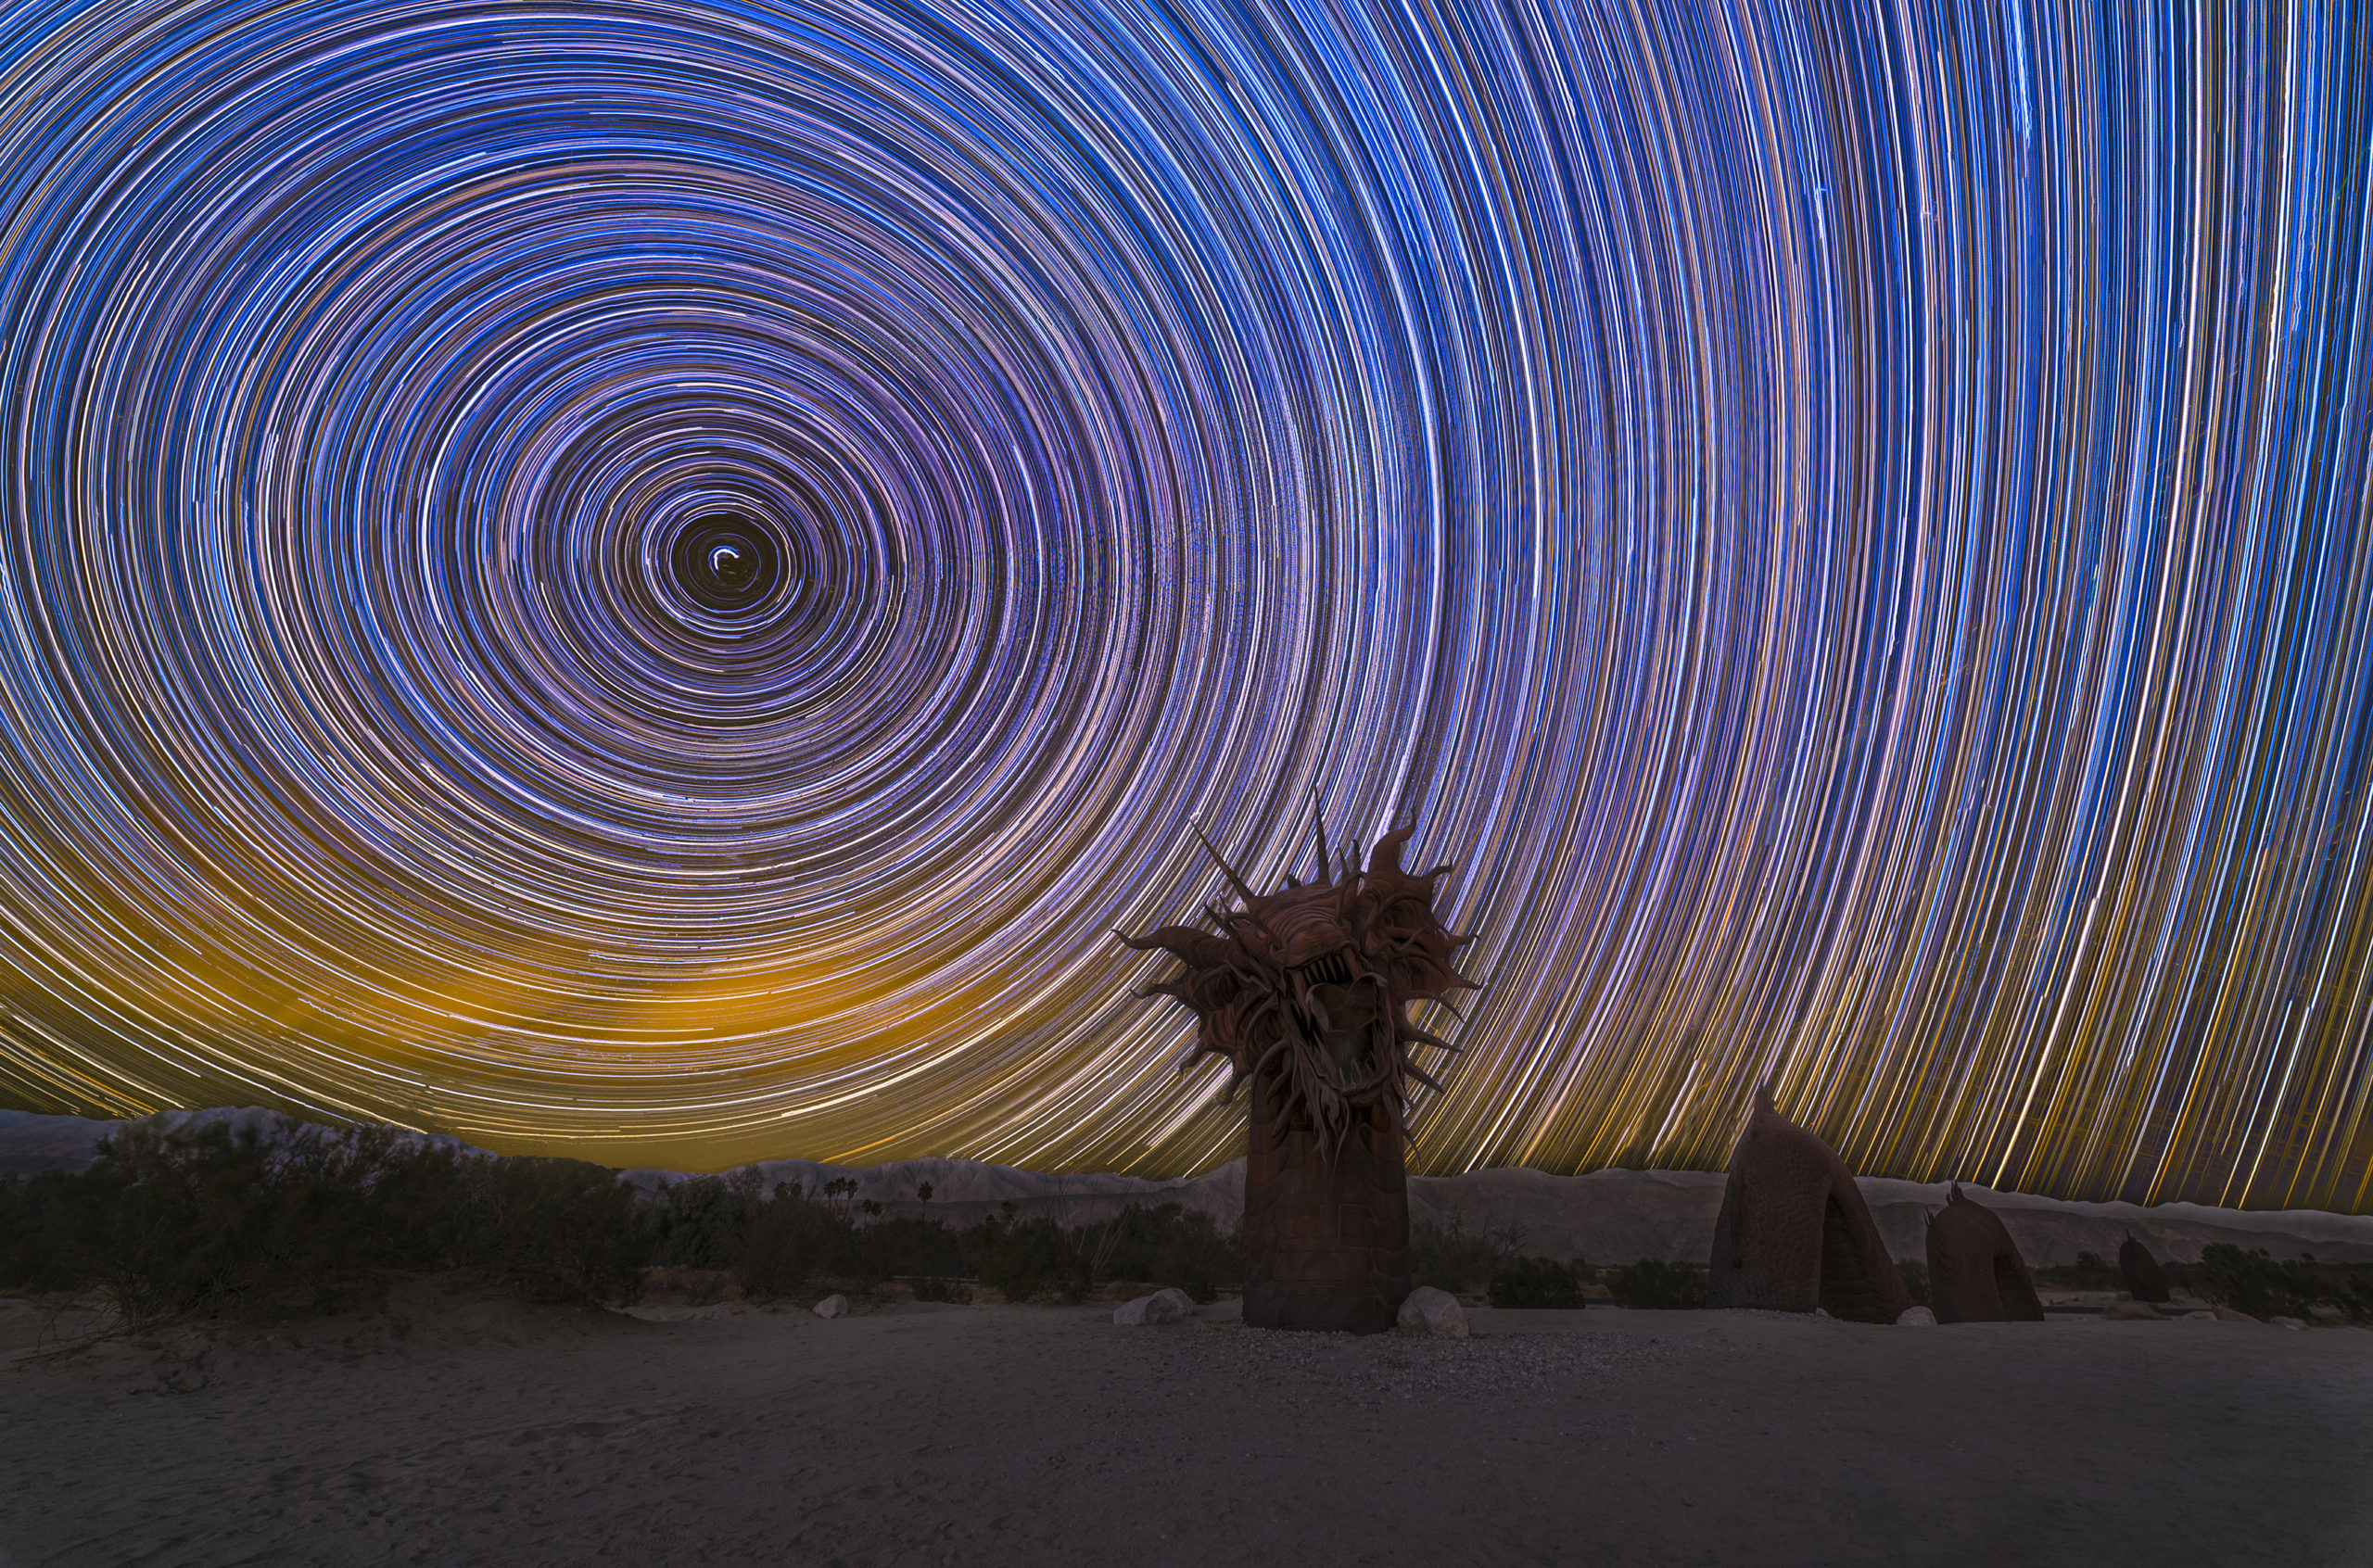
Star trails are one of the main factors that drew me to night photography. When I first saw an example of a star trail image, I was blown away.
I didn’t know what they were but I wanted to create them.
Learning the process of capturing the stars rotating against the sky as the Earth ever so slowly spins, is a surreal experience, to say the least. The best part is that the results can be extremely rewarding!
As I started to research the technique more intensely, I noticed that some photos had beautiful colorful star trails, while others remained rather bleak and monotone. In this article, I will show you how to photograph star trails (from a beginner’s standpoint), explain how to introduce color into the image, and how to create star trails in post-processing.
What you Need:
- DSLR Camera with Manual Mode
- Wide Angle Lens with a large aperture (f/3.5 or lower)
- Sturdy Tripod
- Remote Shutter Release
- Starstax and/or Photoshop
If you read my article on how to shoot night photos, this part might seem familiar.
To be able to capture star trail images, you have to be able to clearly see the stars, and to see the stars you have to go somewhere dark.
Check out this Dark Sky Map to see where an area close to you is dark enough to view and capture the stars.
You also don’t want to be skunked by clouds, so check the area’s forecast ahead of time to know when it will be clear out.
Lastly, you want to go when it is close to a New Moon so it is as dark as possible.
Great! Now that I have to lead you somewhere deserted, in the middle of the night (I promise I’m not trying to kill you), you are now prepared to photograph star trails!
Settings
Since it is dark out, you will be using long exposures to take your images. Since the Earth is constantly rotating, the stars will ALWAYS be moving. Luckily for us, the movement of the stars (technically the Earth) makes it easier to capture star trails!
Here are the settings I recommend you start out with:
- Shutter Speed – 30 sec.
- Aperture – F/3.5 or F/2.8
- ISO – 3200
This is where the shutter remote comes into play!
There are two ways to capture star trails:
1. Take a timelapse and blend the images together in post-processing
I have personally always used the first way, as I believe it gives better results.
With this option, you are technically not creating the star trails in the camera. You are just taking a timelapse.
First off, take a few test shots and make sure your picture is in focus! If you want to learn how to focus at night, read my article here.
Also, turn off noise reduction in your camera settings menu. This setting can cause a big delay in between exposures which is not something you want!
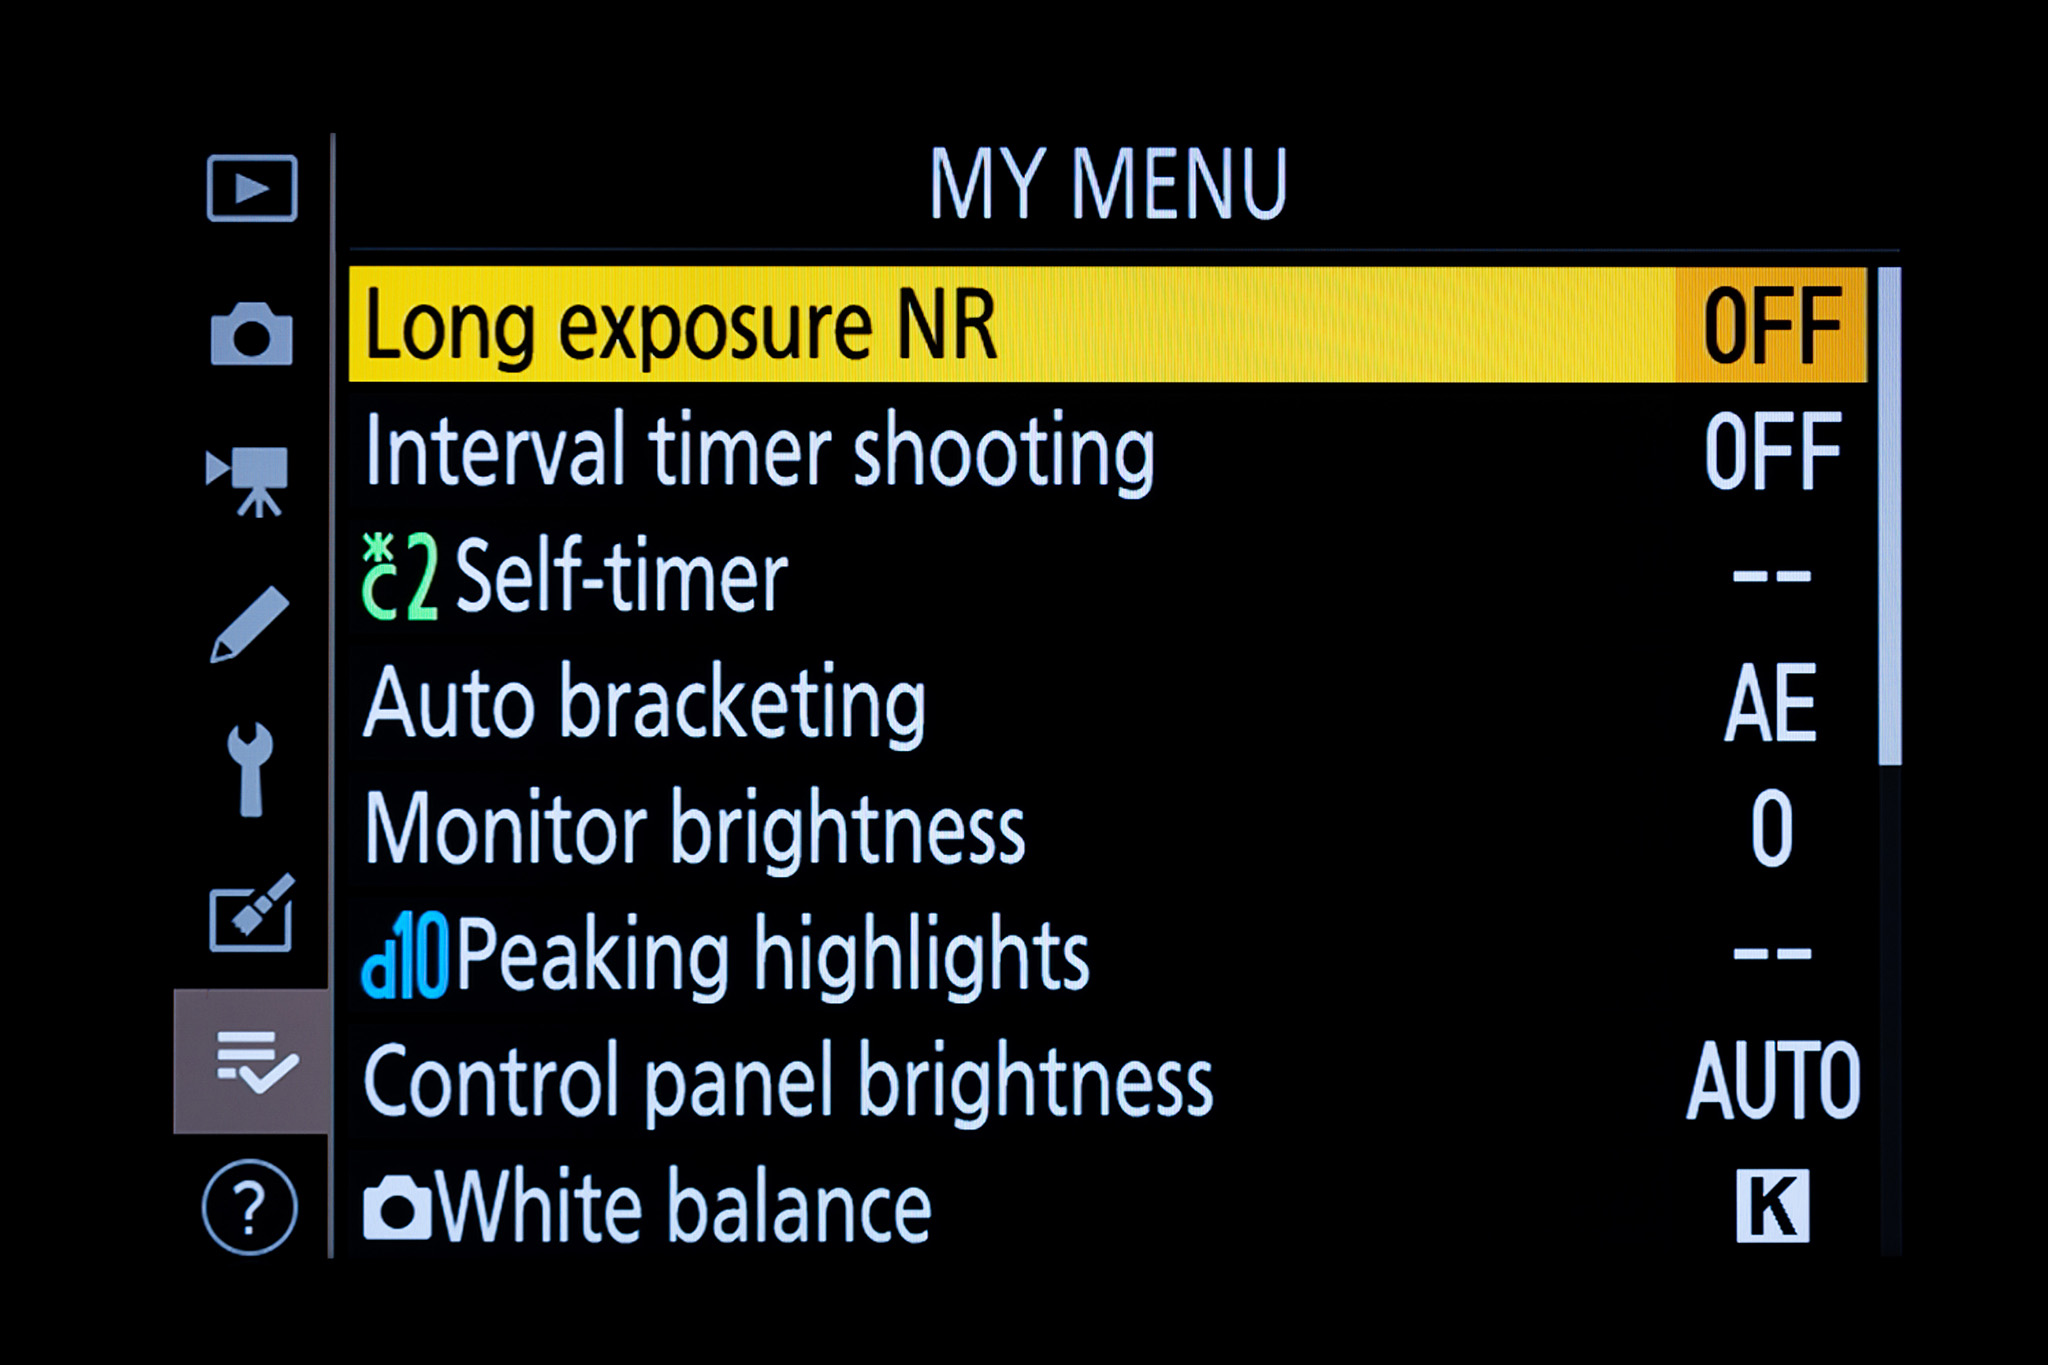
Credit: Amazingsky.net
When regarding time-lapses, the “interval” is the amount of time between when one picture is taken to when the next picture is taken.
For star trails, we want that time to be the quickest possible. This usually happens to be 1 or 2 seconds depending on your shutter remote.
We want the least amount of time between images so there aren’t any gaps in between the pictures.
So on your intervalometer (shutter remote) set the interval to 1 second. Then, set the number of photos to the highest number allowed or infinity. This way, your shutter remote will continue to take pictures until you physically turn it off.
My first star trails image ever was around 30 minutes. If you have the time and patience, I recommend shooting for at least two hours. This will yield the best results.
Compared to my first attempt on the left, you can see that photographing longer provides more fluid star trails.
You can basically have your timelapse go until it starts to get light out. If you decide to go this long, you will be required to carefully change out the batteries every few hours.
This also means you could accumulate a couple hundred pictures. Make sure you have at least a 32gb SD Card to provide enough space for your images.
My longest star trail timelapse I ever took was around 10 hours long!
2. Take ONE long exposure
If you decide to choose the second option and shoot a single long exposure, you don’t have to worry about intervals. The downside is that your camera could overheat.
Remember, to get a decent star trail image, you need to shoot for at least 25 minutes or more. A camera taking a single exposure for 25 minutes is bound to overheat and introduce hot pixels into the image. These hot pixels are very annoying colorful dots that can be scattered throughout an image and can be very challenging and time-consuming to remove.
Imagine trying to shoot a single long exposure for a couple of hours! It might not go so well.
You are also potentially wasting a few hours for only one image. These are very risky odds.
The timelapse option is the best choice in order to obtain high-quality star trail images.
Where to Point Your Camera
Now that you have your settings and intervalometer all set up, where do you point your camera? Is there a certain area in the sky that results in better images?
The most popular direction to point your camera at is Polaris, the North Star. Polaris does not appear to move like the rest of the stars because it is positioned close to the line of Earth’s axis.
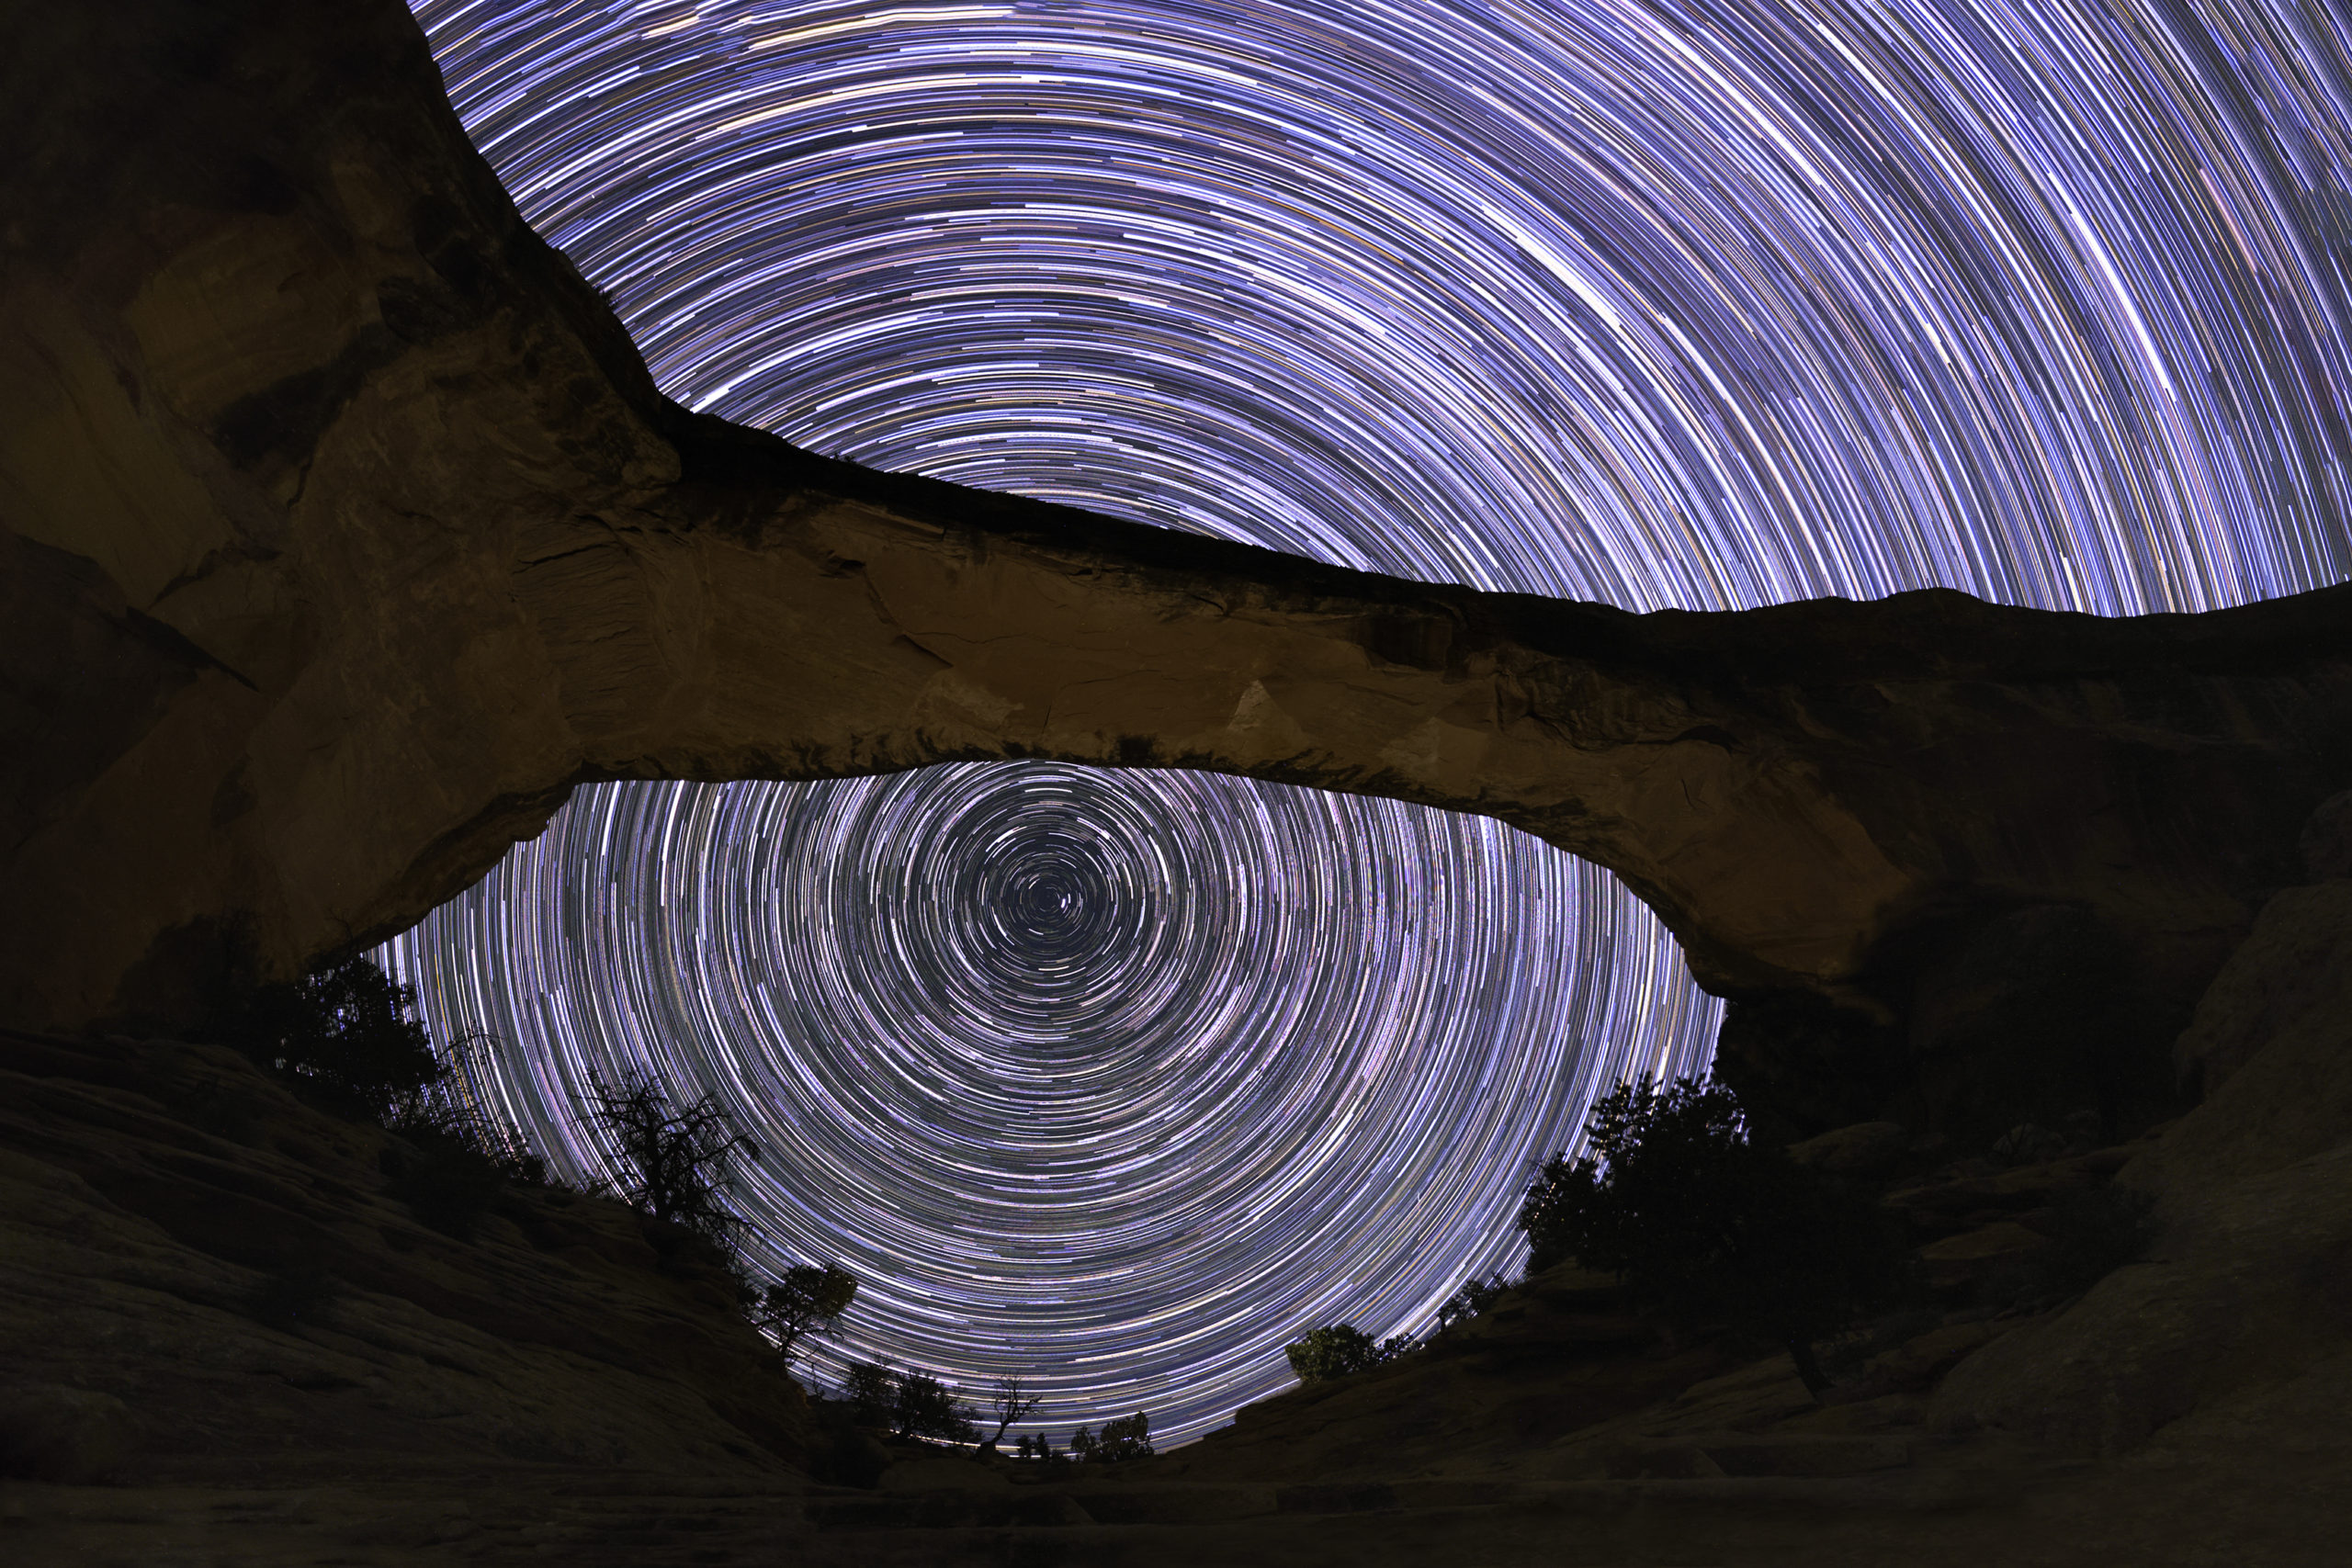
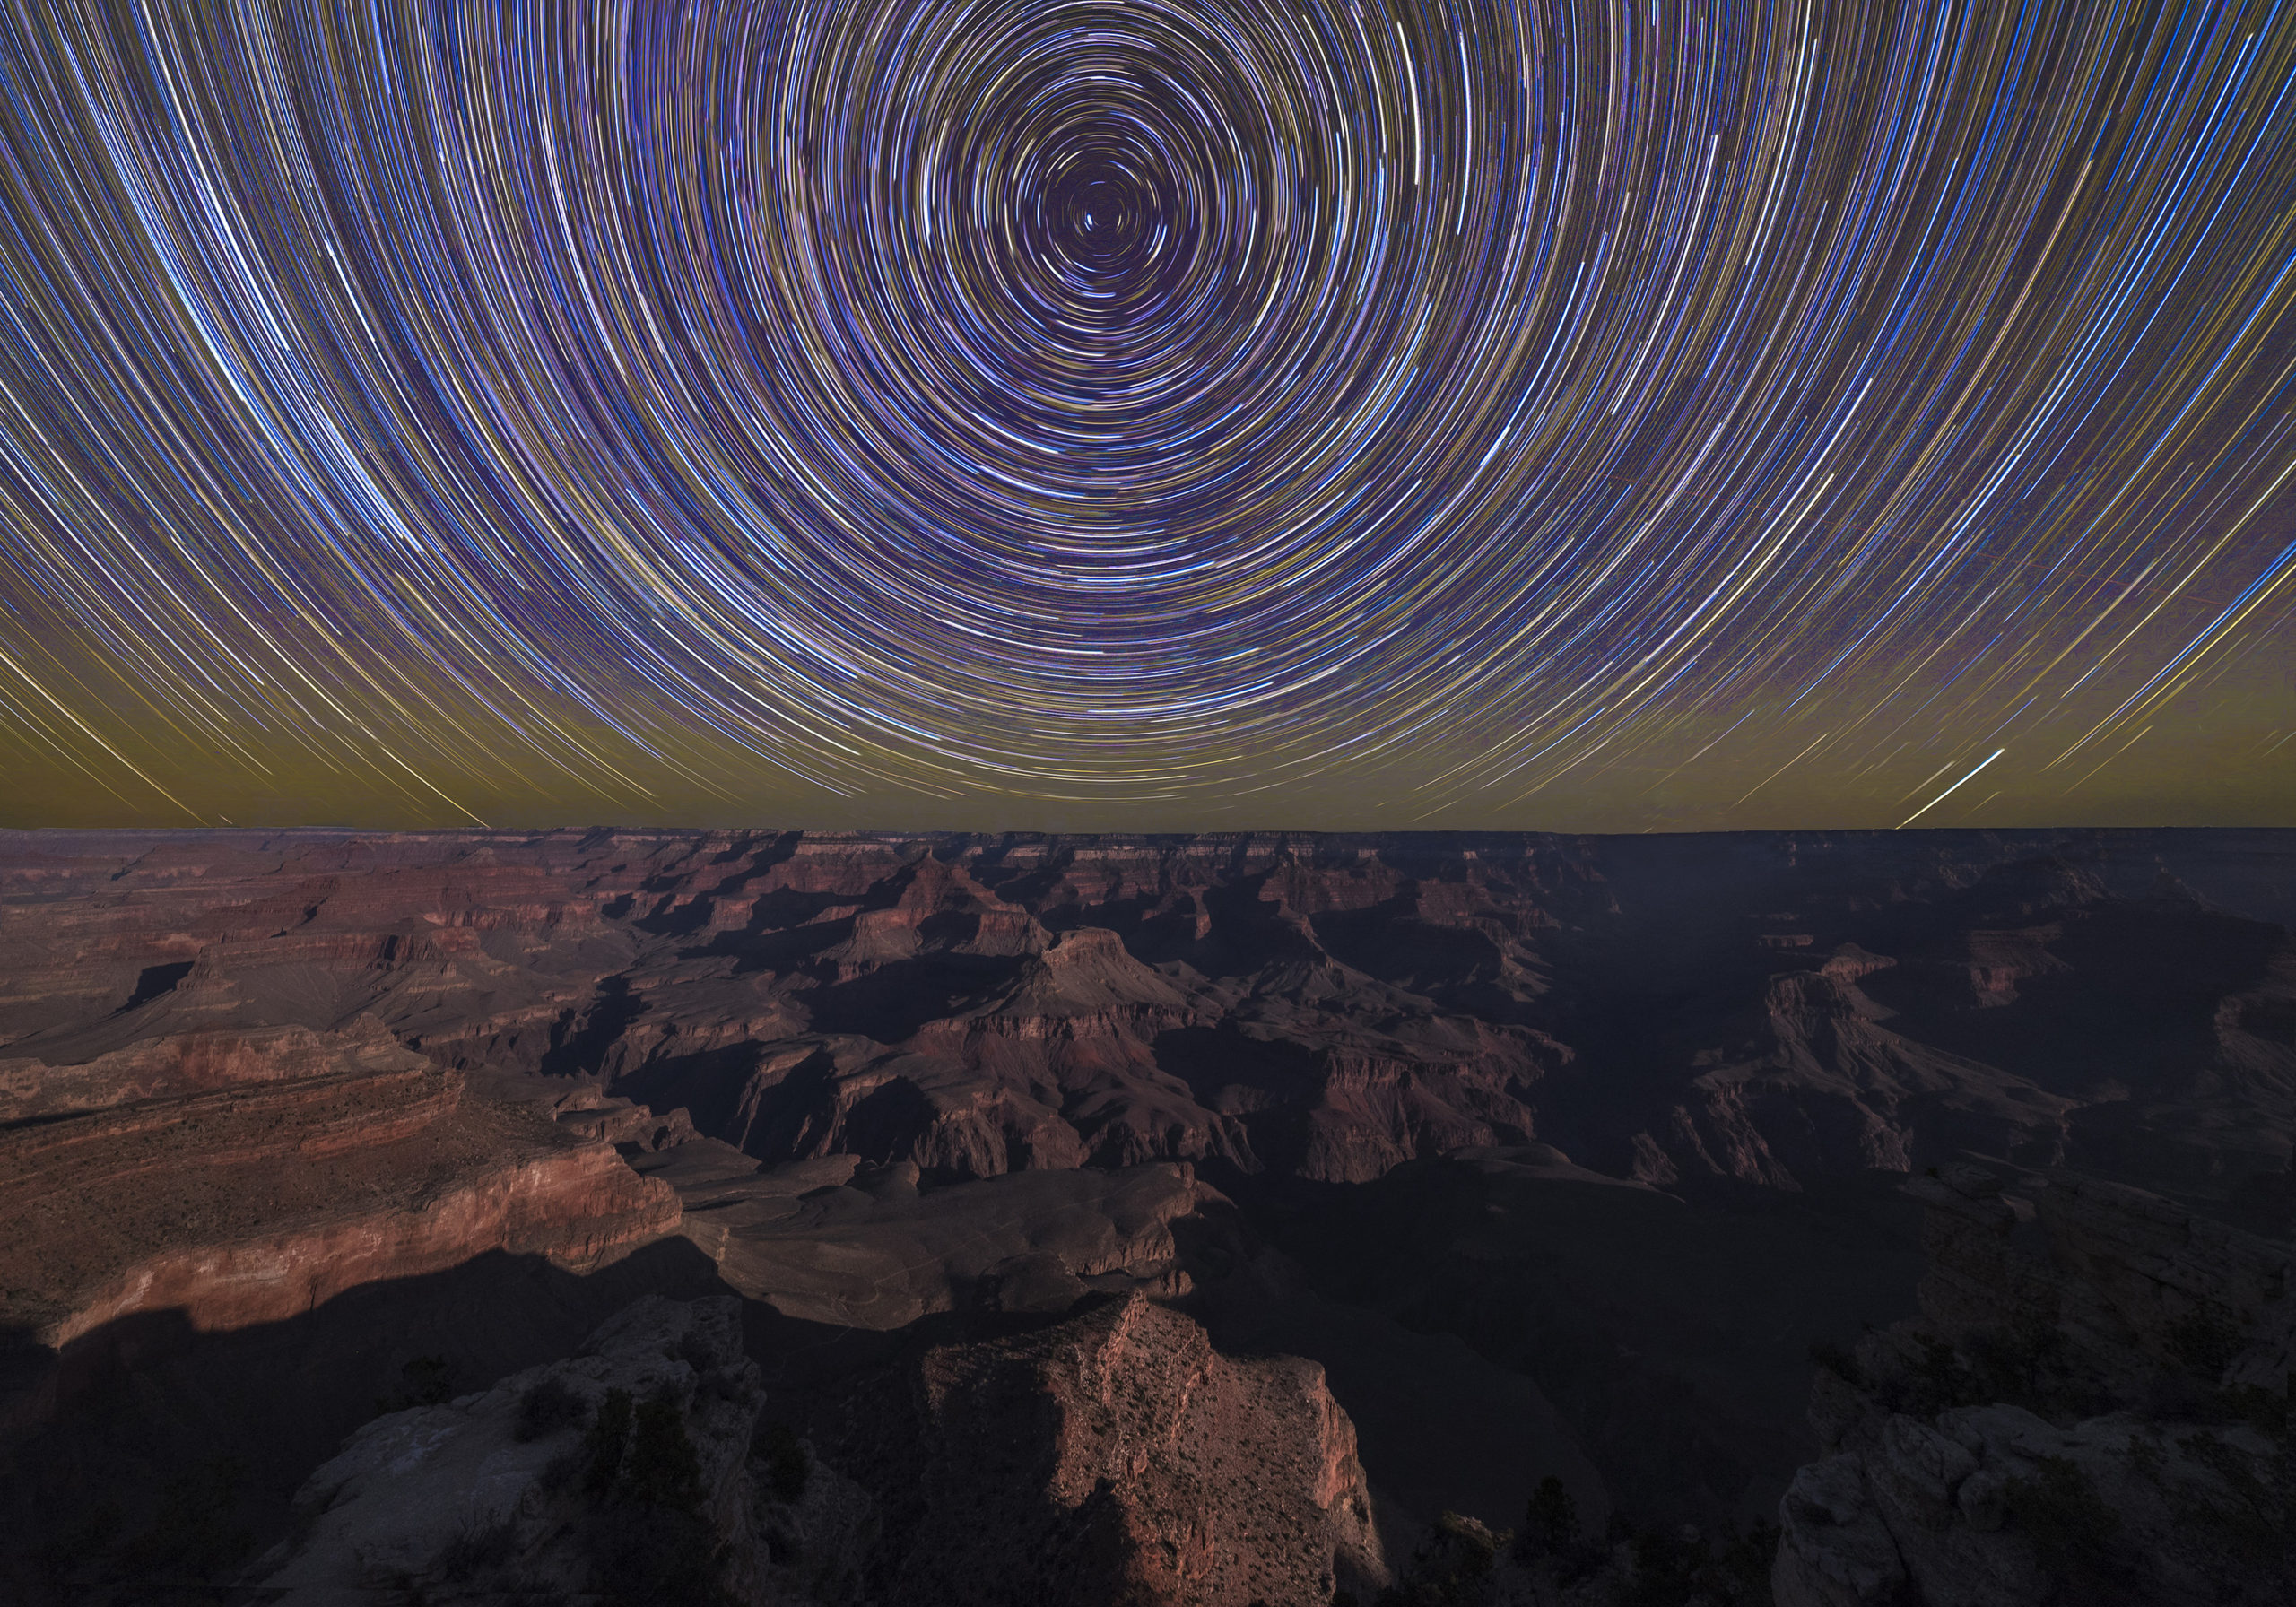
Framing Polaris in the center of the image can make for a great composition. This timelapse sequence lasted about 3-4 hours.
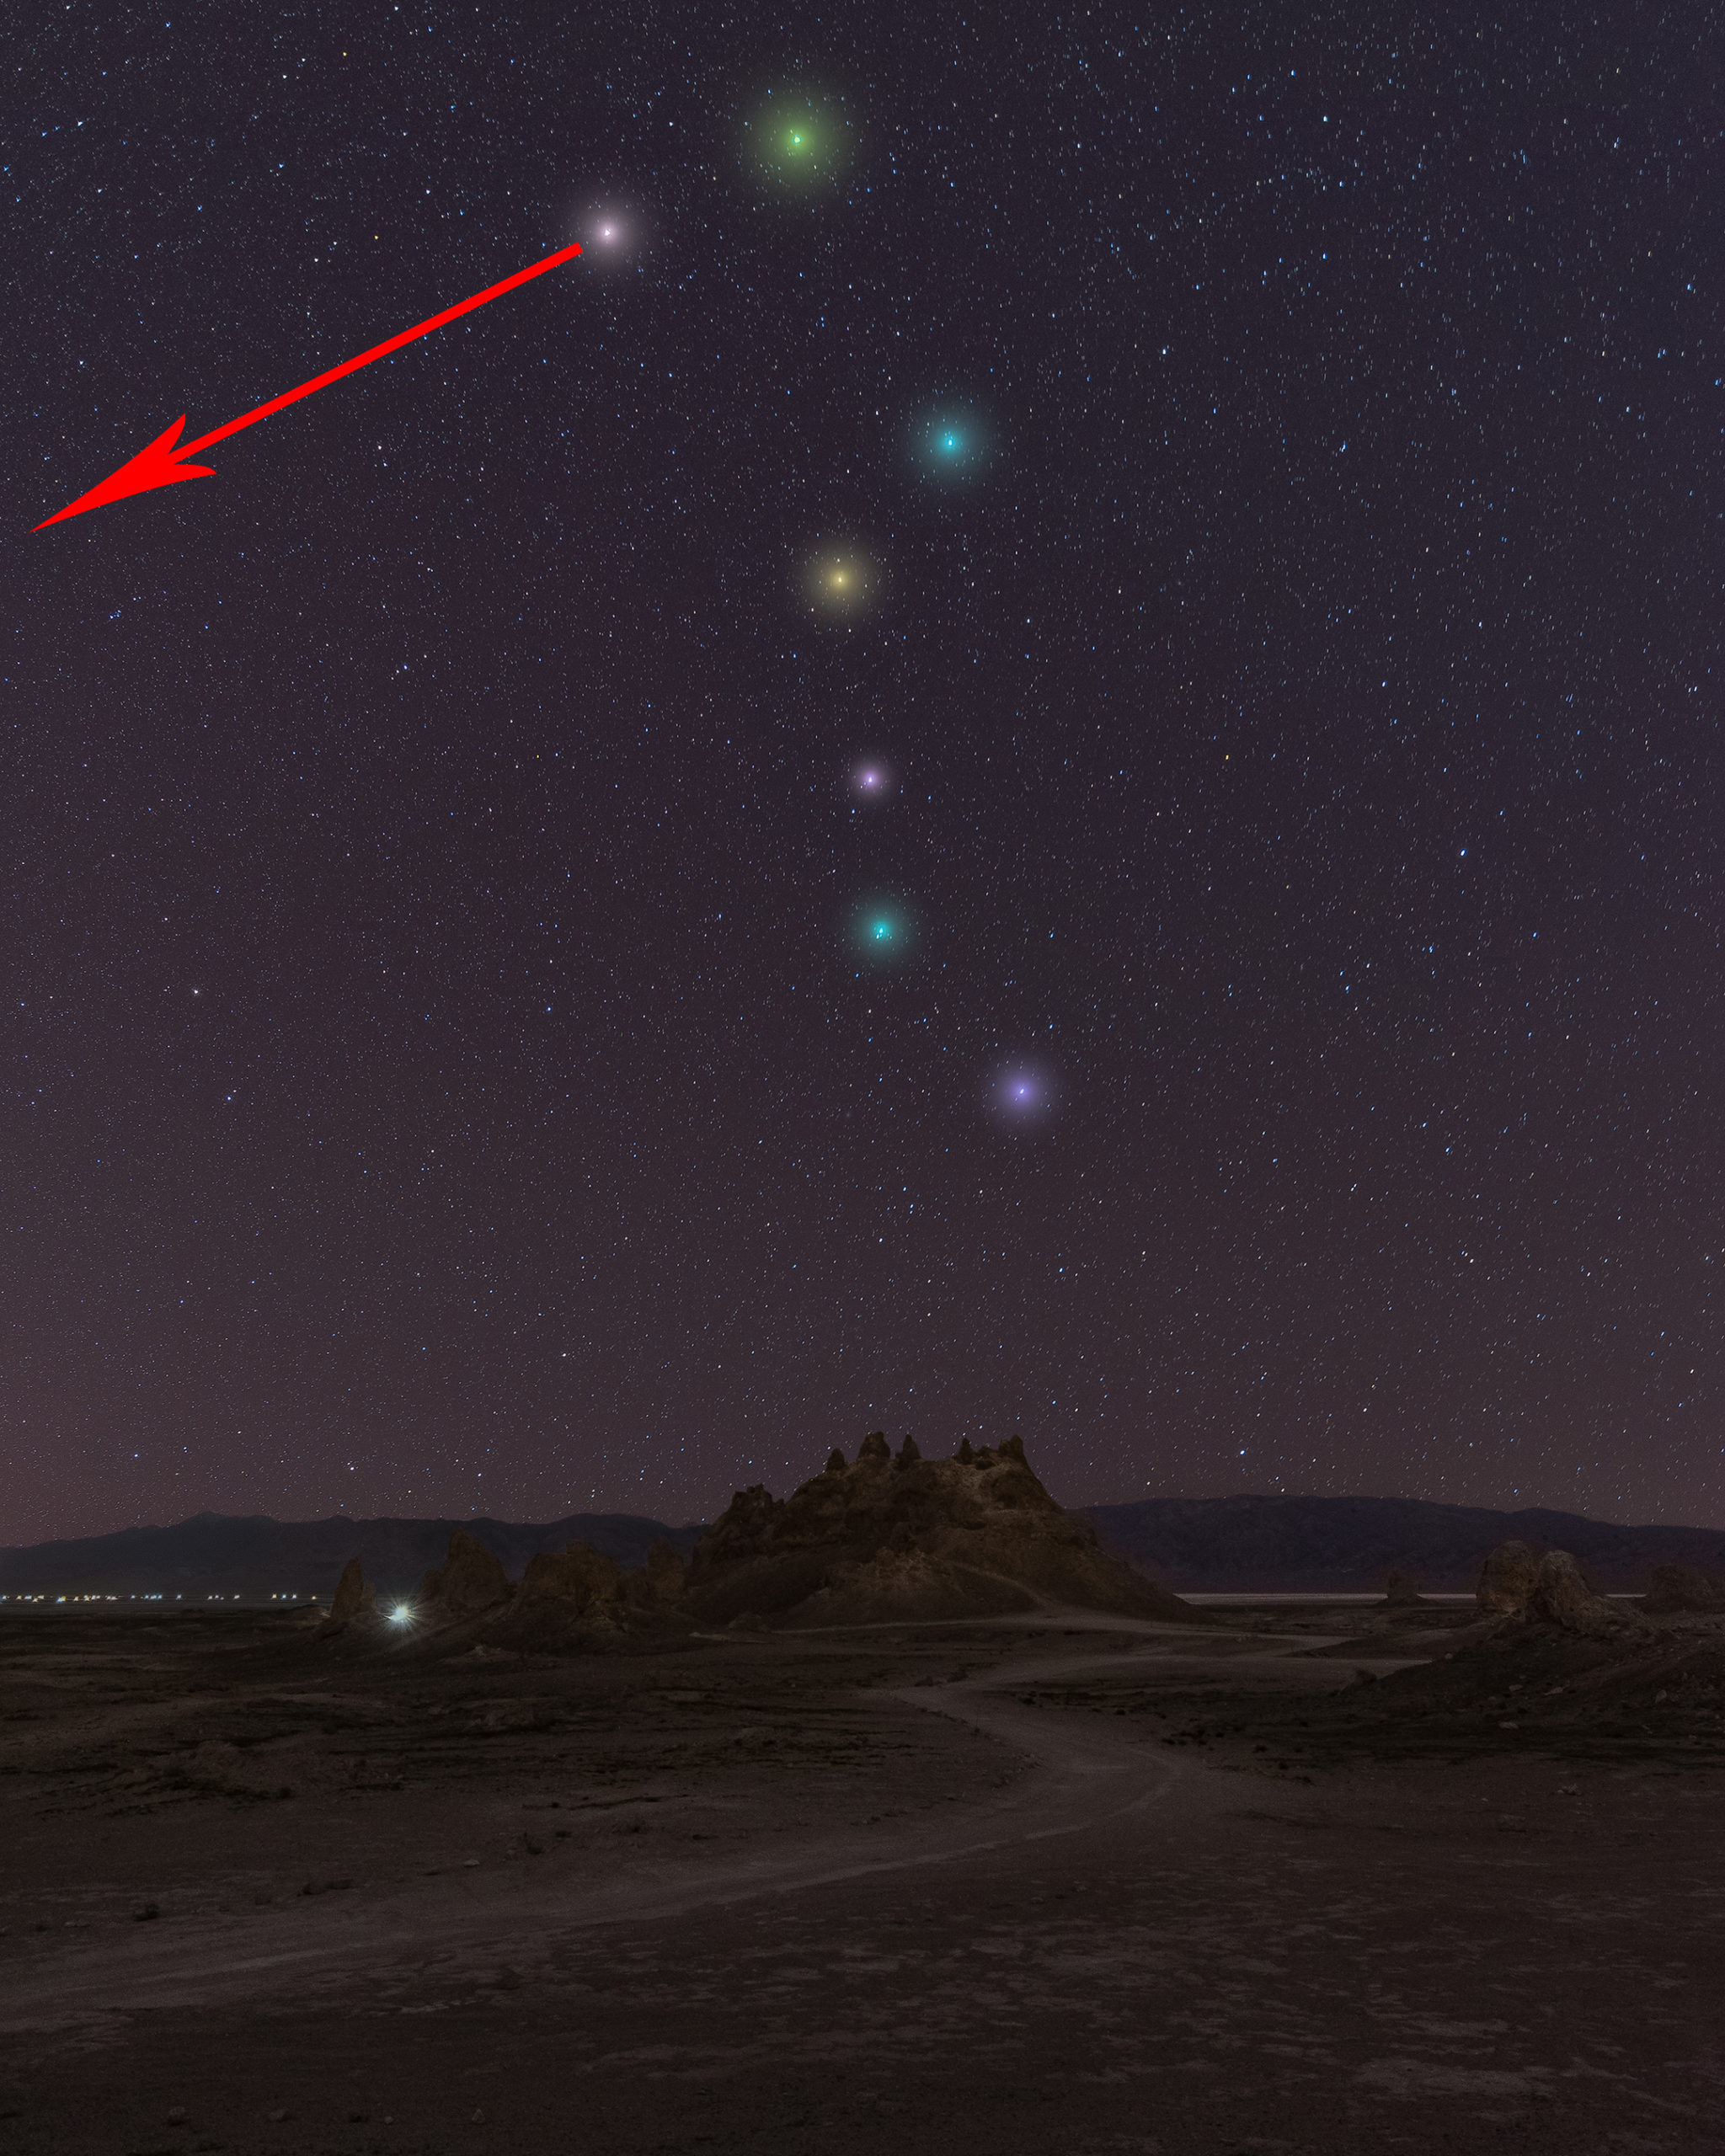
Now the question begs how do you find Polaris?
The easiest way is to locate the Big Dipper constellation which is shaped like a big question mark. Find the top two stars and follow them left until you see a rather bright star.
You will know if you are in the right direction because Polaris is placed exactly North, hence the name, the North Star.
There are other applications that can easily tell you where Polaris is as well as other constellations and stars.
Most star trail images contain Polaris in the photo, and for good reason! It is a very eye-catching composition. The stars appear to rotate around one singular point.
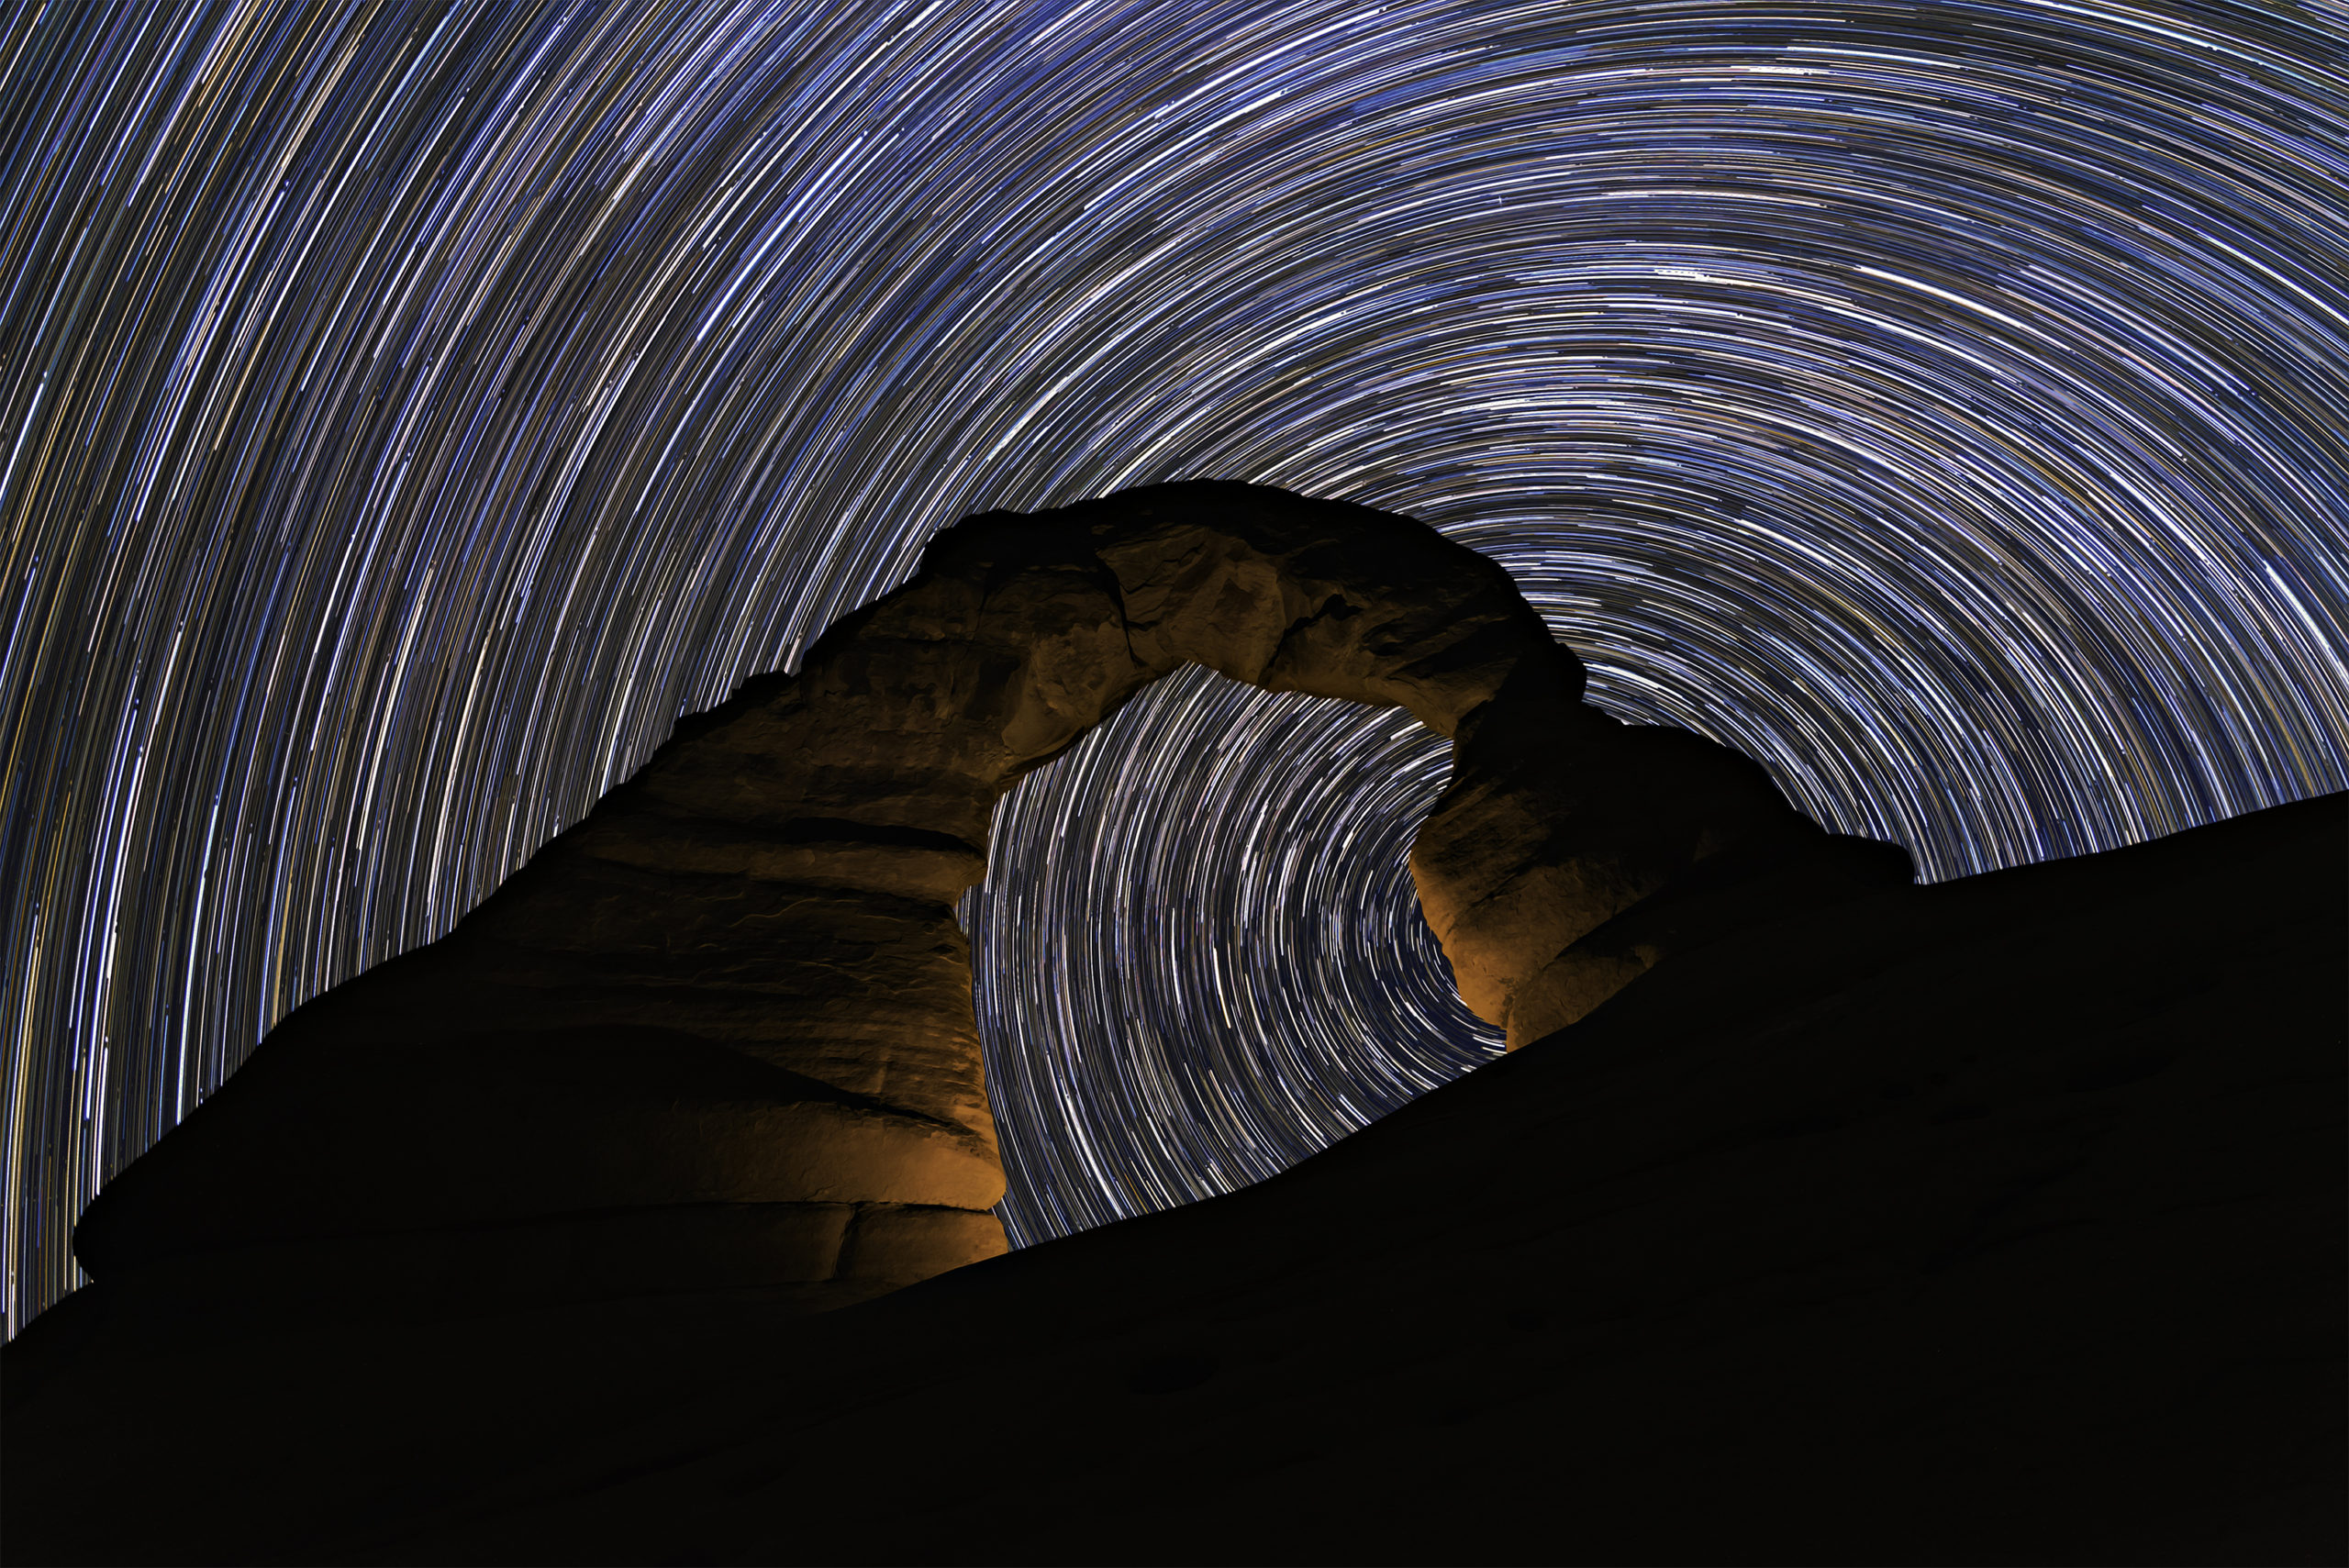
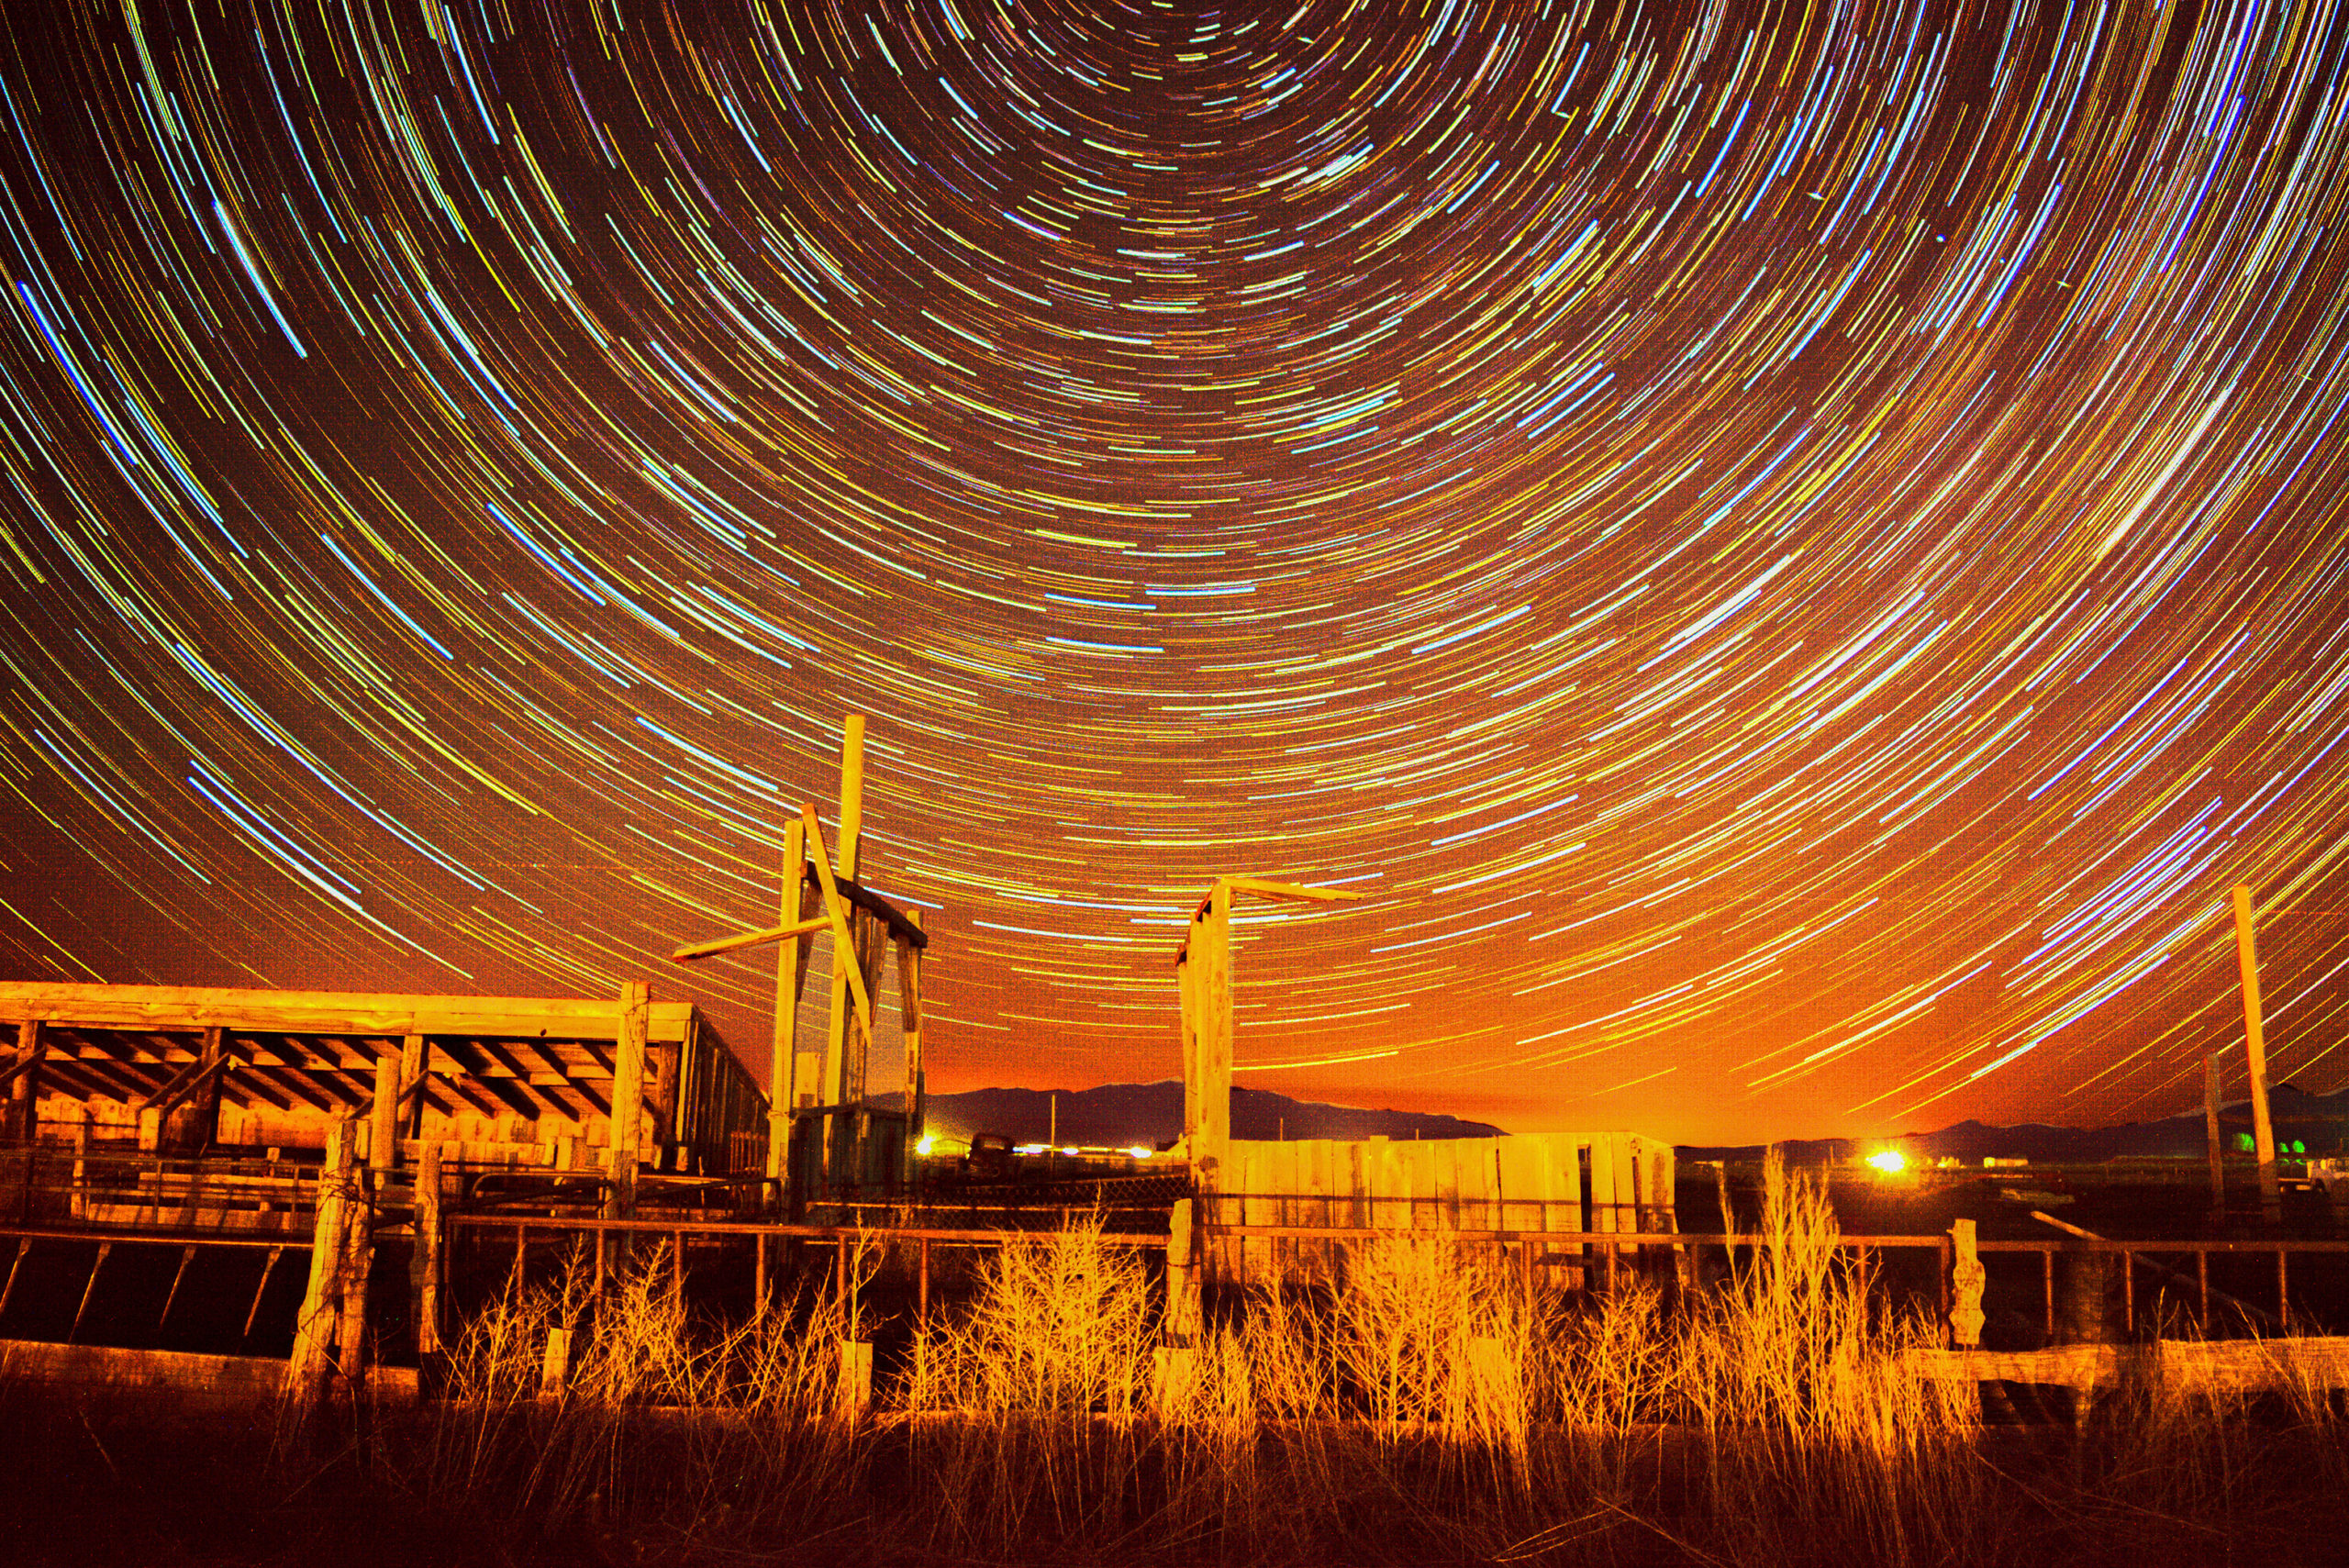
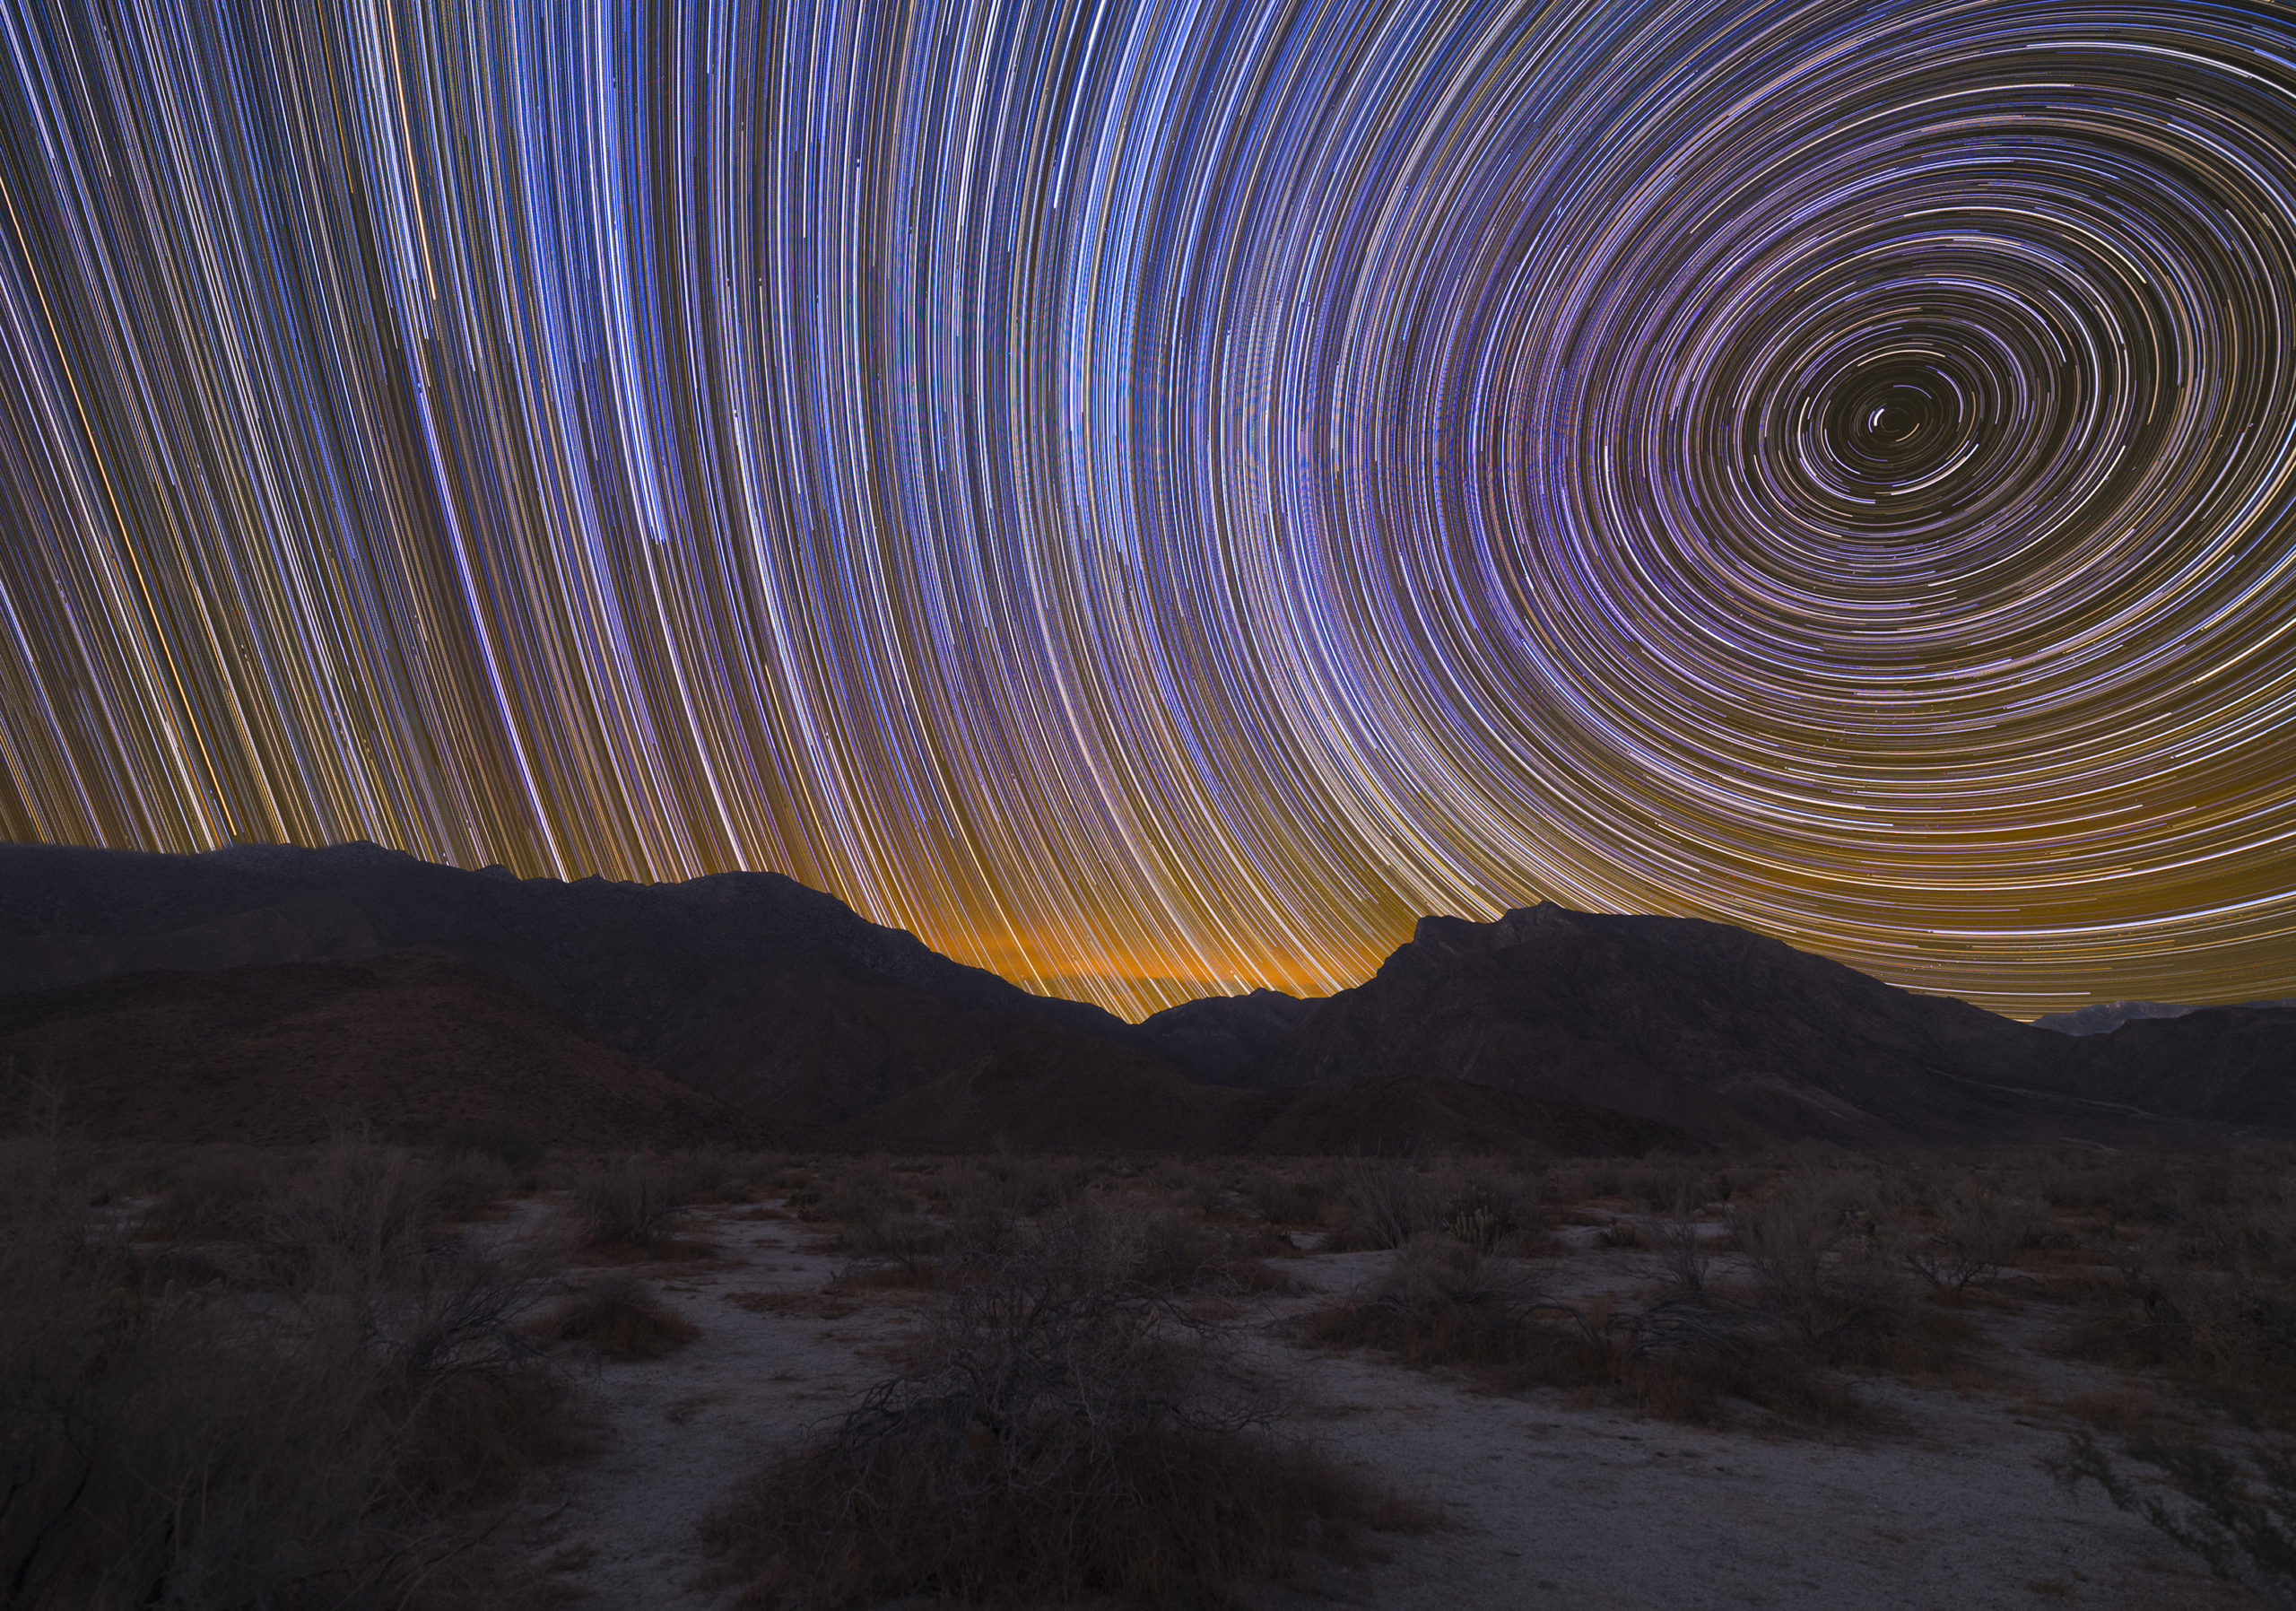
But this is not the only route you have to go. You can indeed turn right, left, or backward from Polaris and capture star trails. This will give you a more unique image with the star trails appearing to move vertically.
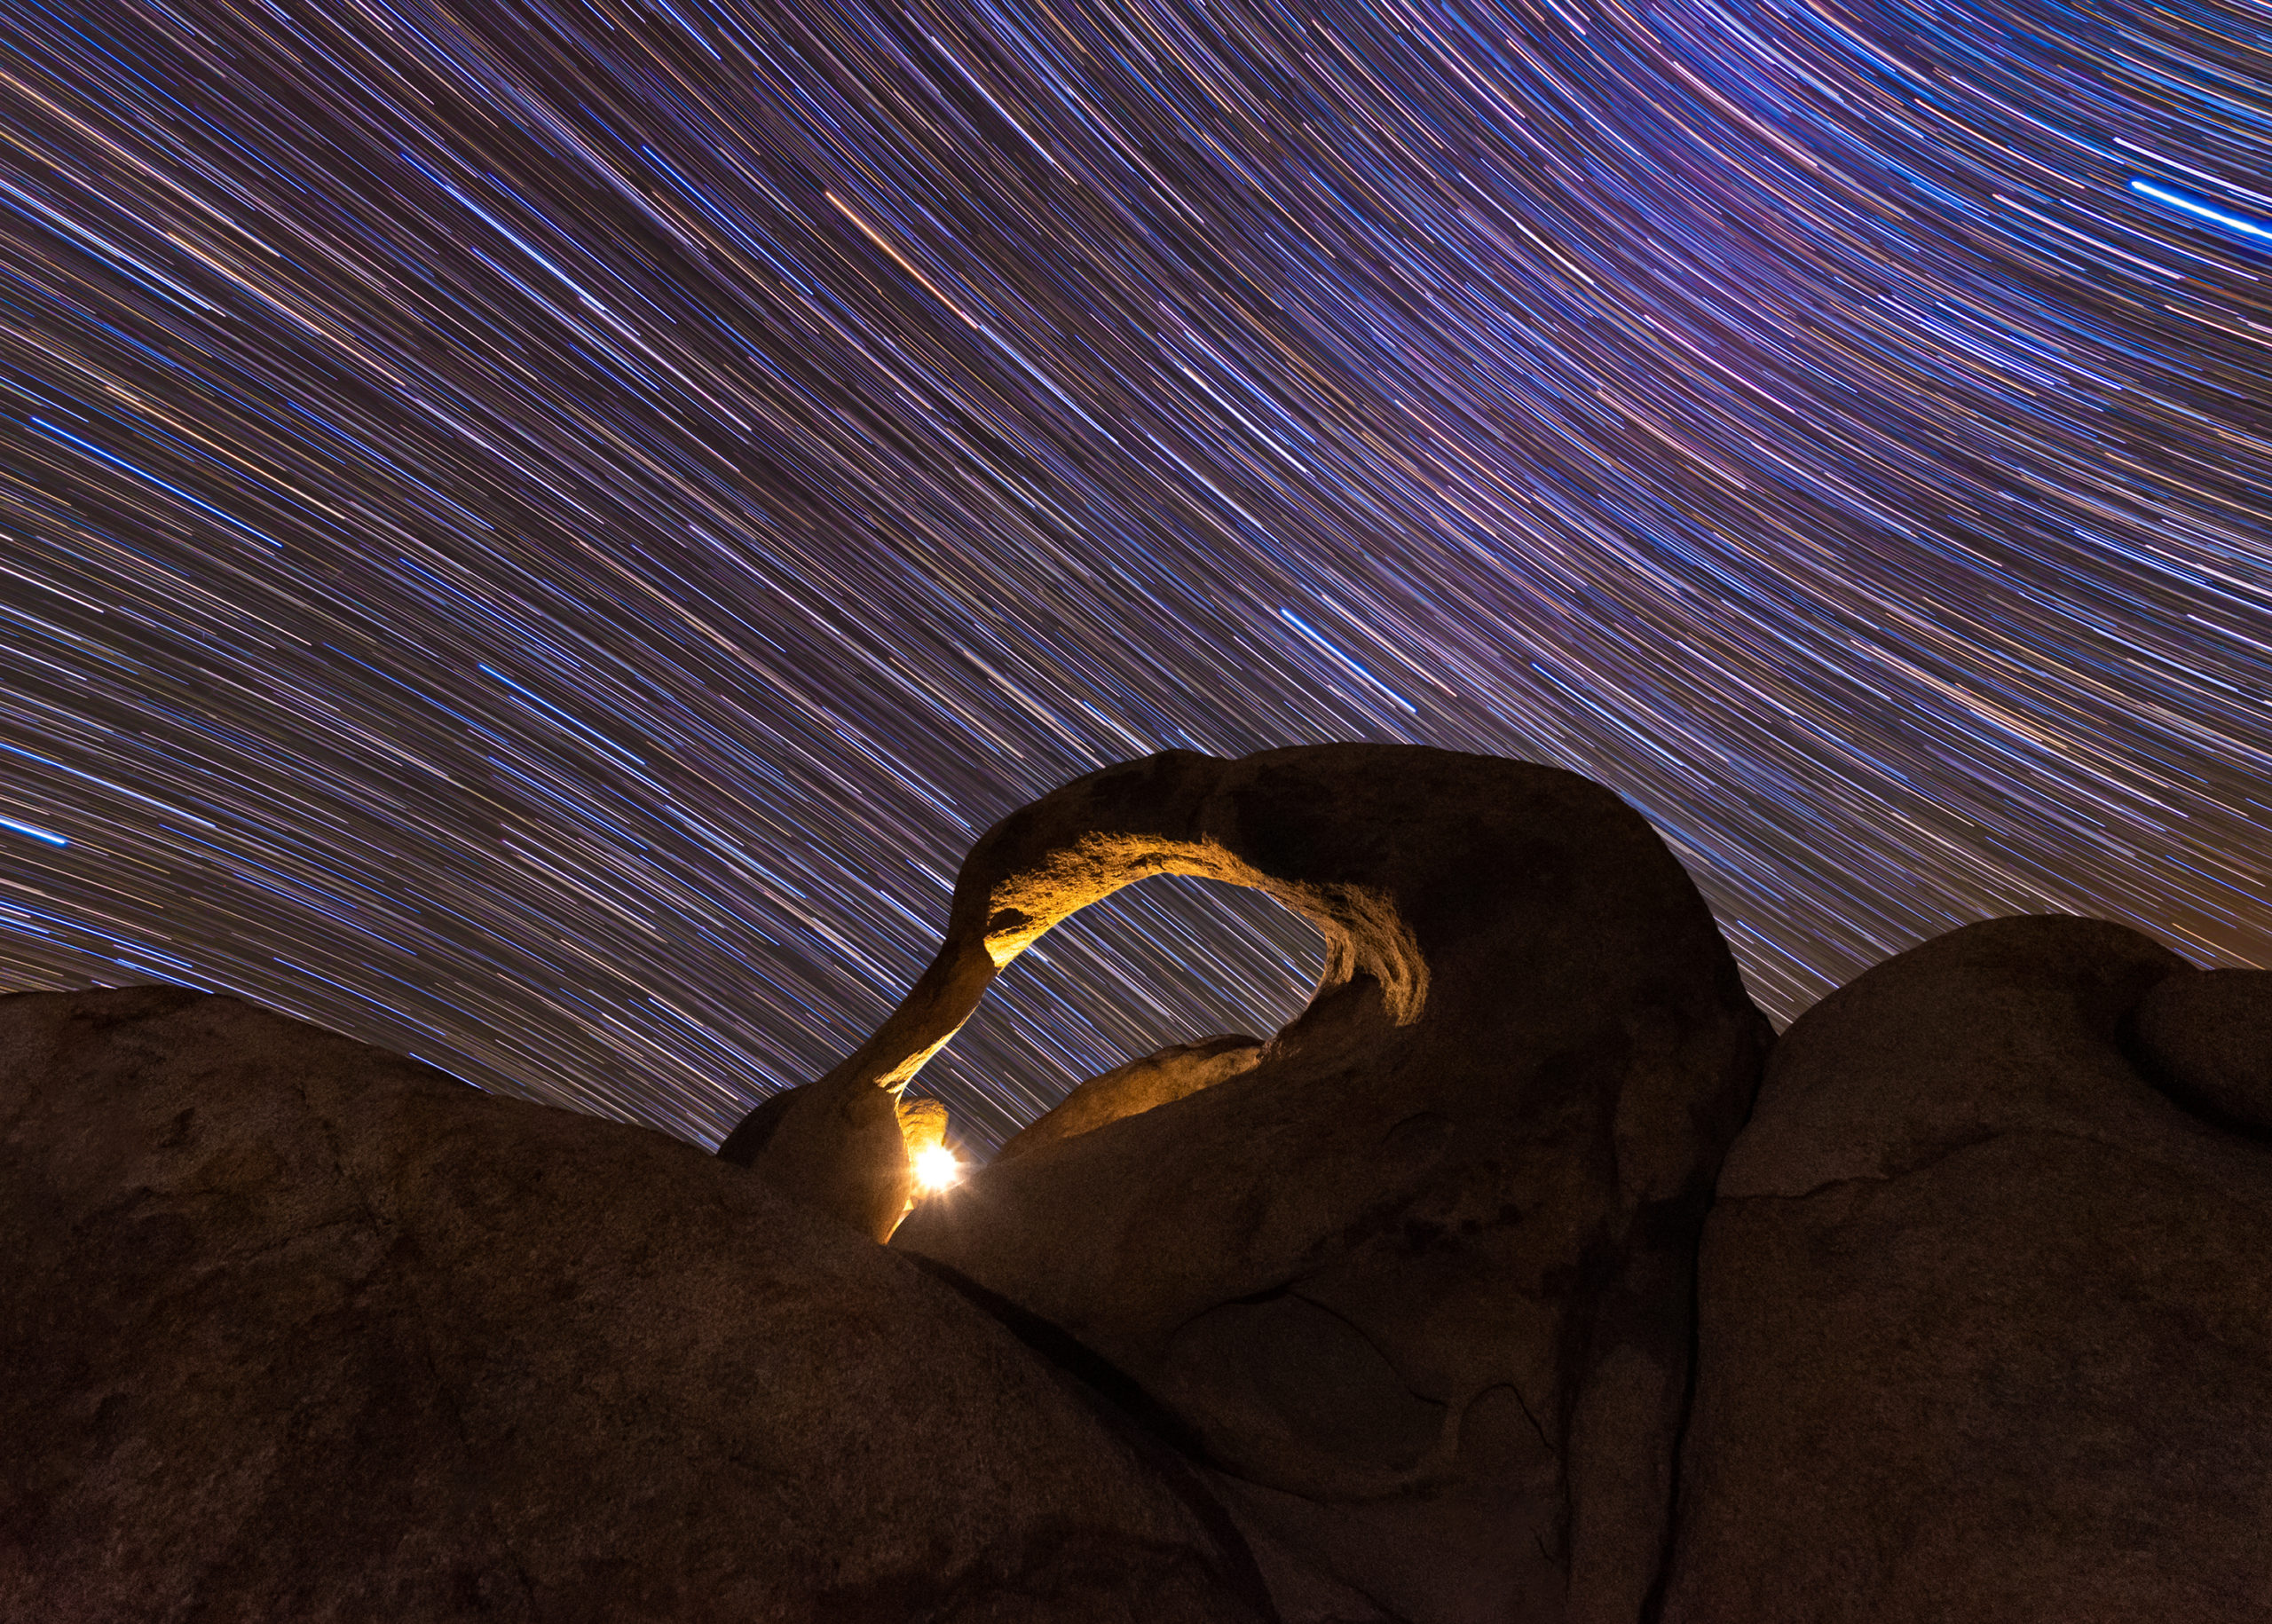
For this shot, I framed Polaris off to the side to get a different result. This sequence took about 3 hours to photograph.
How to Keep the Color in Your Star Trails
Once you have gotten the basics down on capturing star trails, some might be looking for something more.
Some might be interested in having the star trails be colorful!
I personally like colorful star trails more than monotone star trails, but that is just my opinion!
Colorful star trails are obtained in the camera and also in editing.
Your settings are going to be a little different than the generic settings:
- Shutter Speed – 30 seconds
- Aperture – F/3.5
- ISO – 800
If you are comparing these settings to the ones above, you will notice one of the only differences is in the ISO. These settings will also make the image a tad bit darker. The above settings slightly blow out or overexpose the stars, making them mainly white.
With these settings, we maintain the true color of the stars! That’s right, stars are actually different colors! A star’s color indicates its temperature, distance to Earth, and composition.
Colder stars are red and warmer stars are orange, yellow, and white. The hottest stars are blue.
In post-processing, you can also boost some of the colors using the Vibrance and Saturation sliders.
How to Edit/Blend the Images?
Finally! You have gone out at night, spent hours taking images, and are now ready to see some results!
First off, this section is for the people who chose to shoot a timelapse.
My biggest recommendation is a FREE desktop application called StarStax, which you can download here.
It is made specifically to create star trails.
StarStax only accepts JPEG or TIFF Files. No Raw Files.
Here is a step by step process on how to create star trails in StarStax.
1. Open StarStax and go to File > Open Images

2. Select the images from your computer and click “Open”
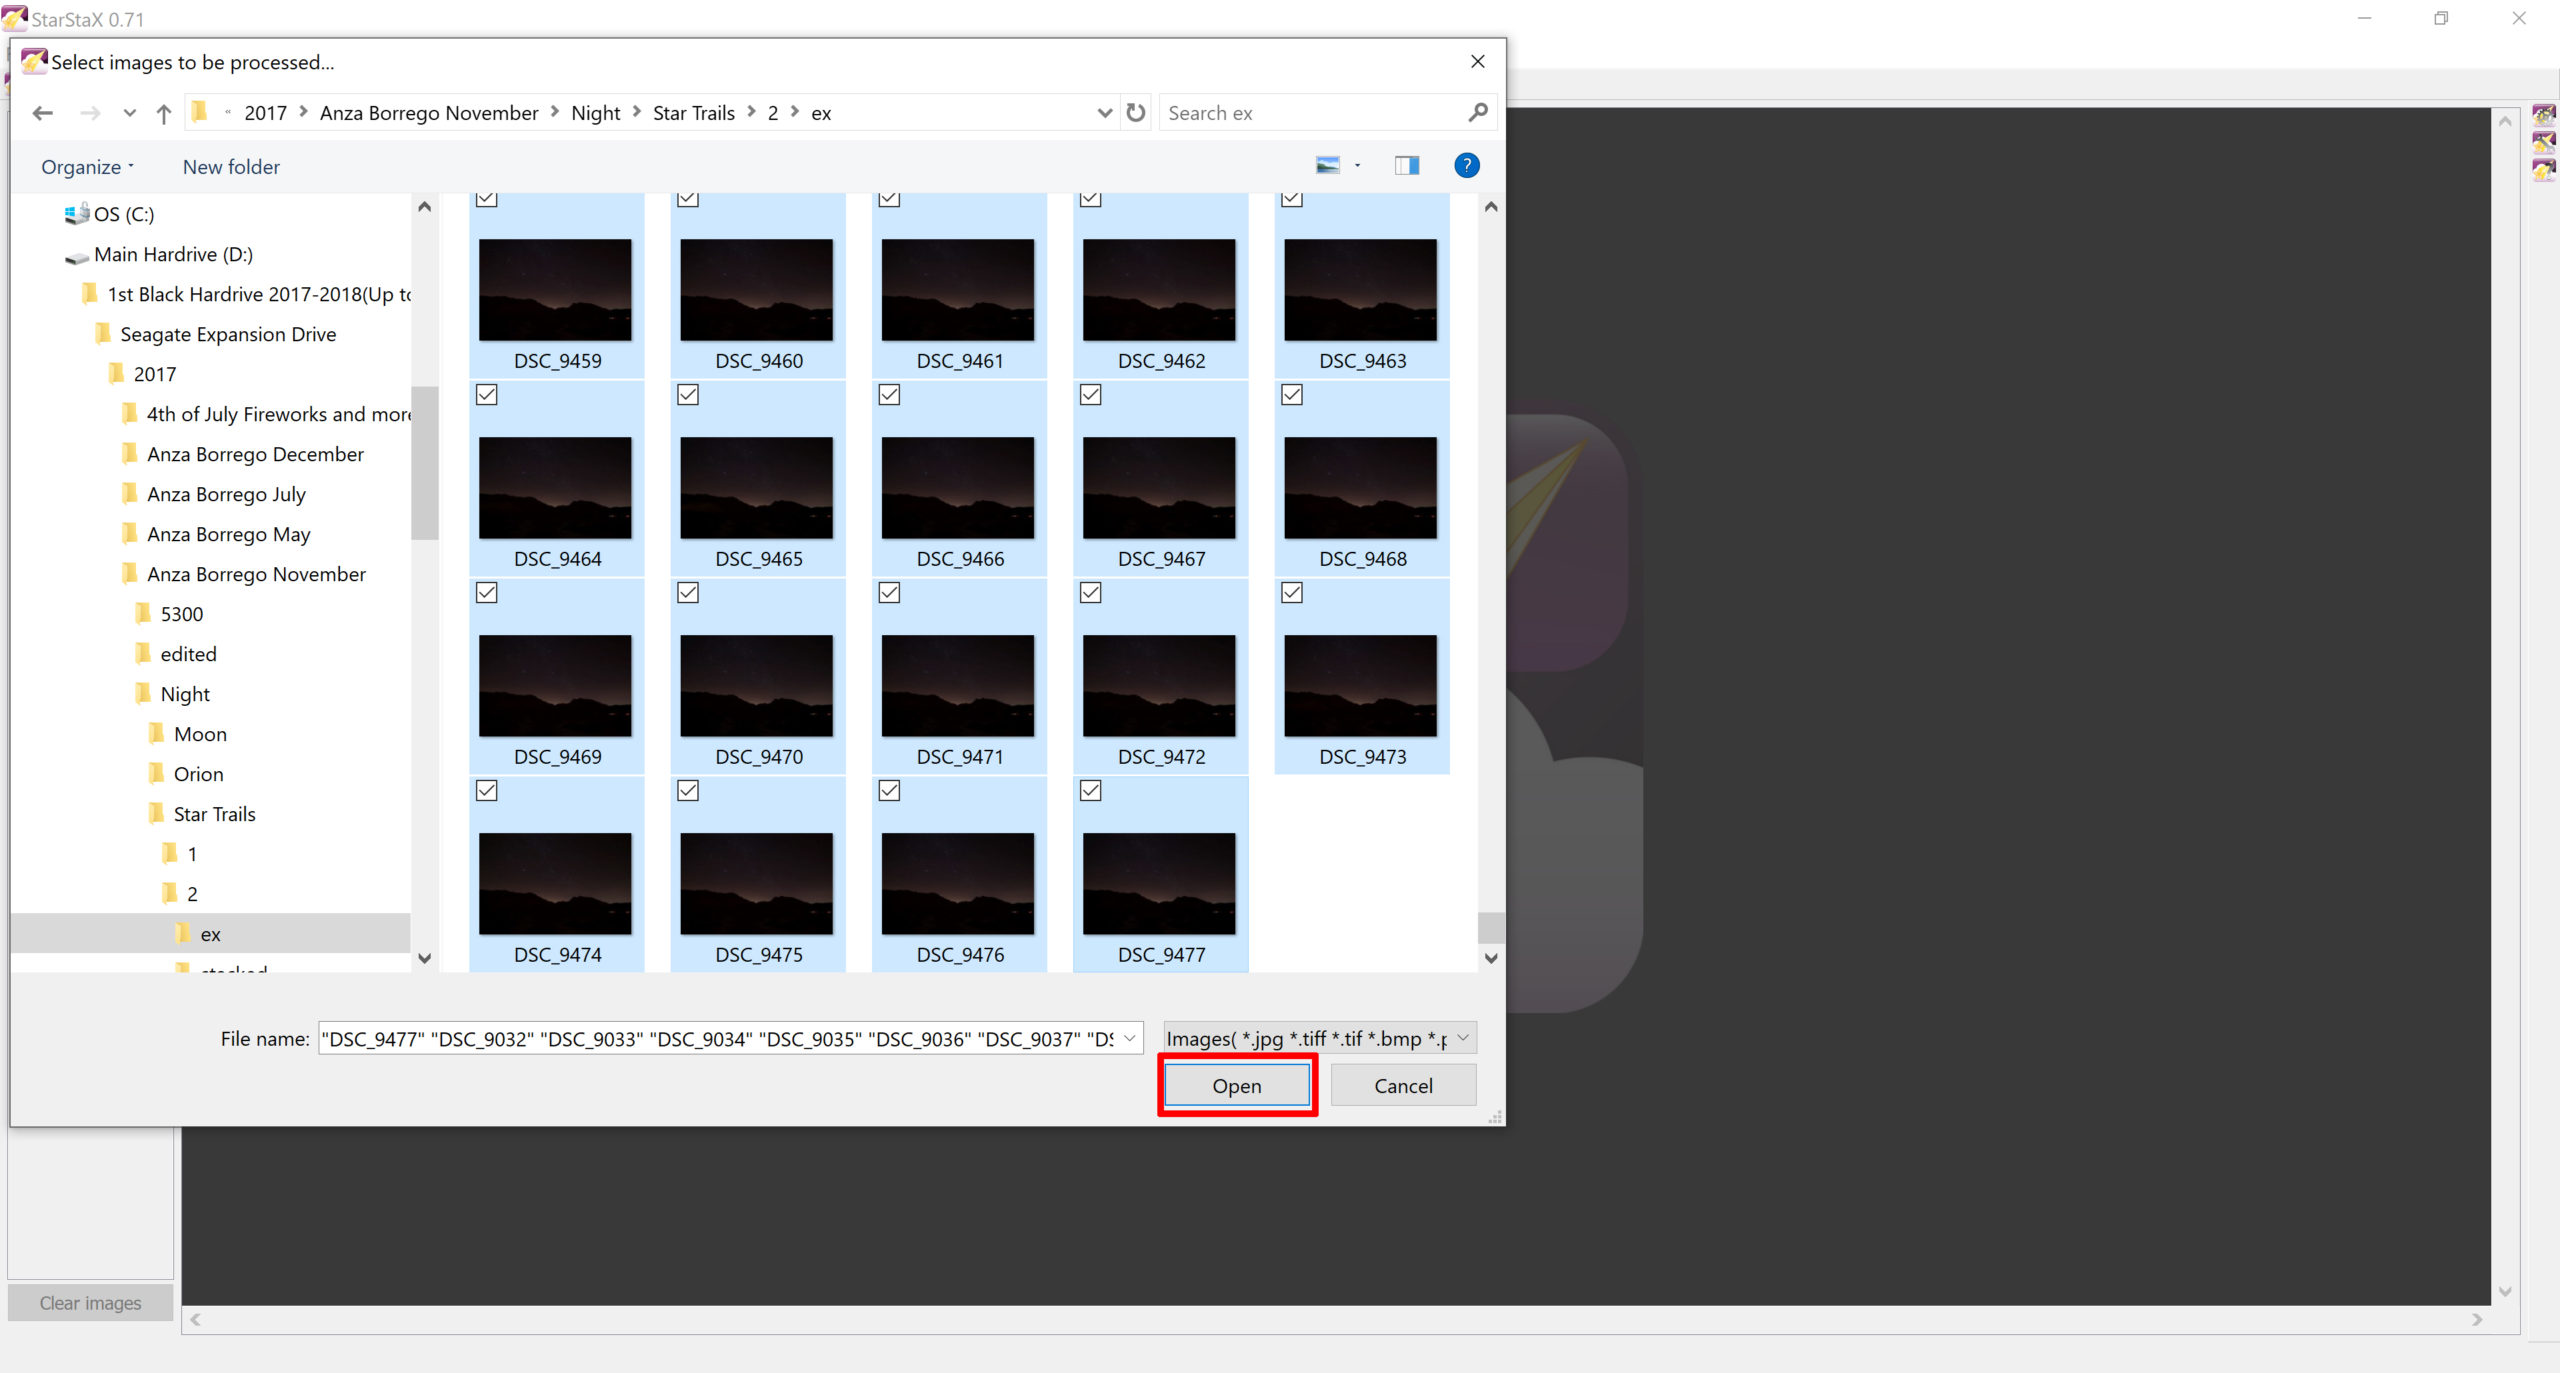
3. This is where all of your files will be
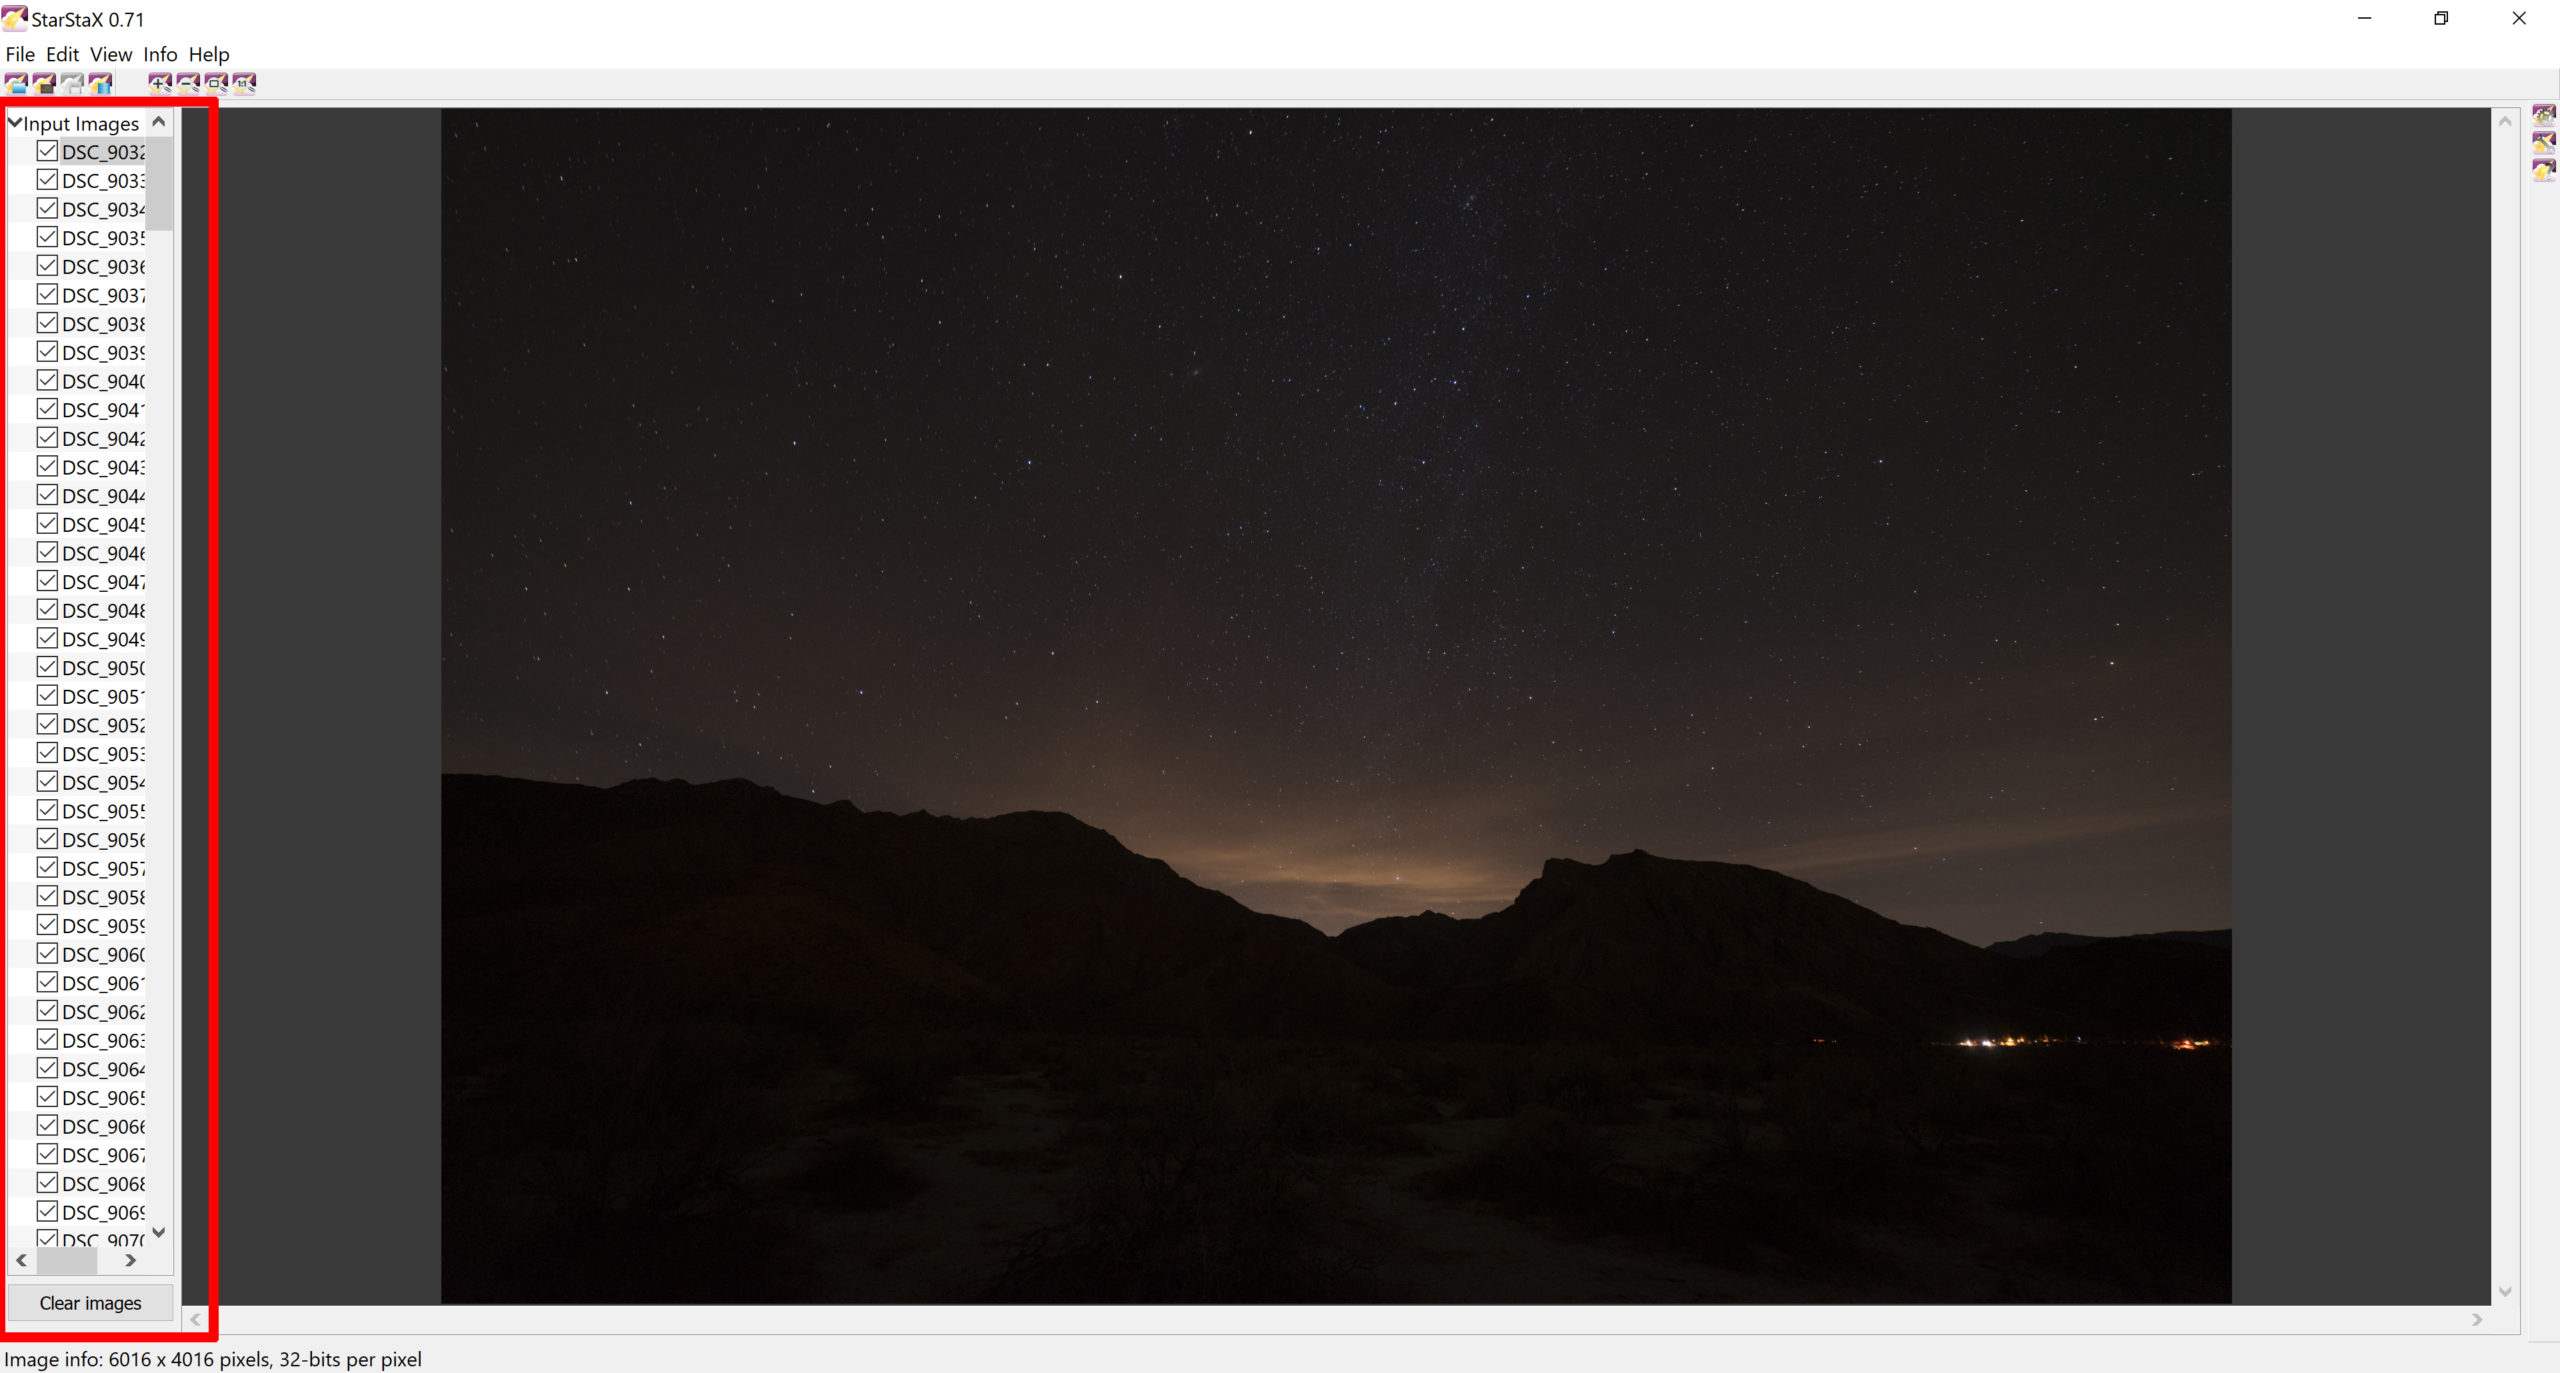
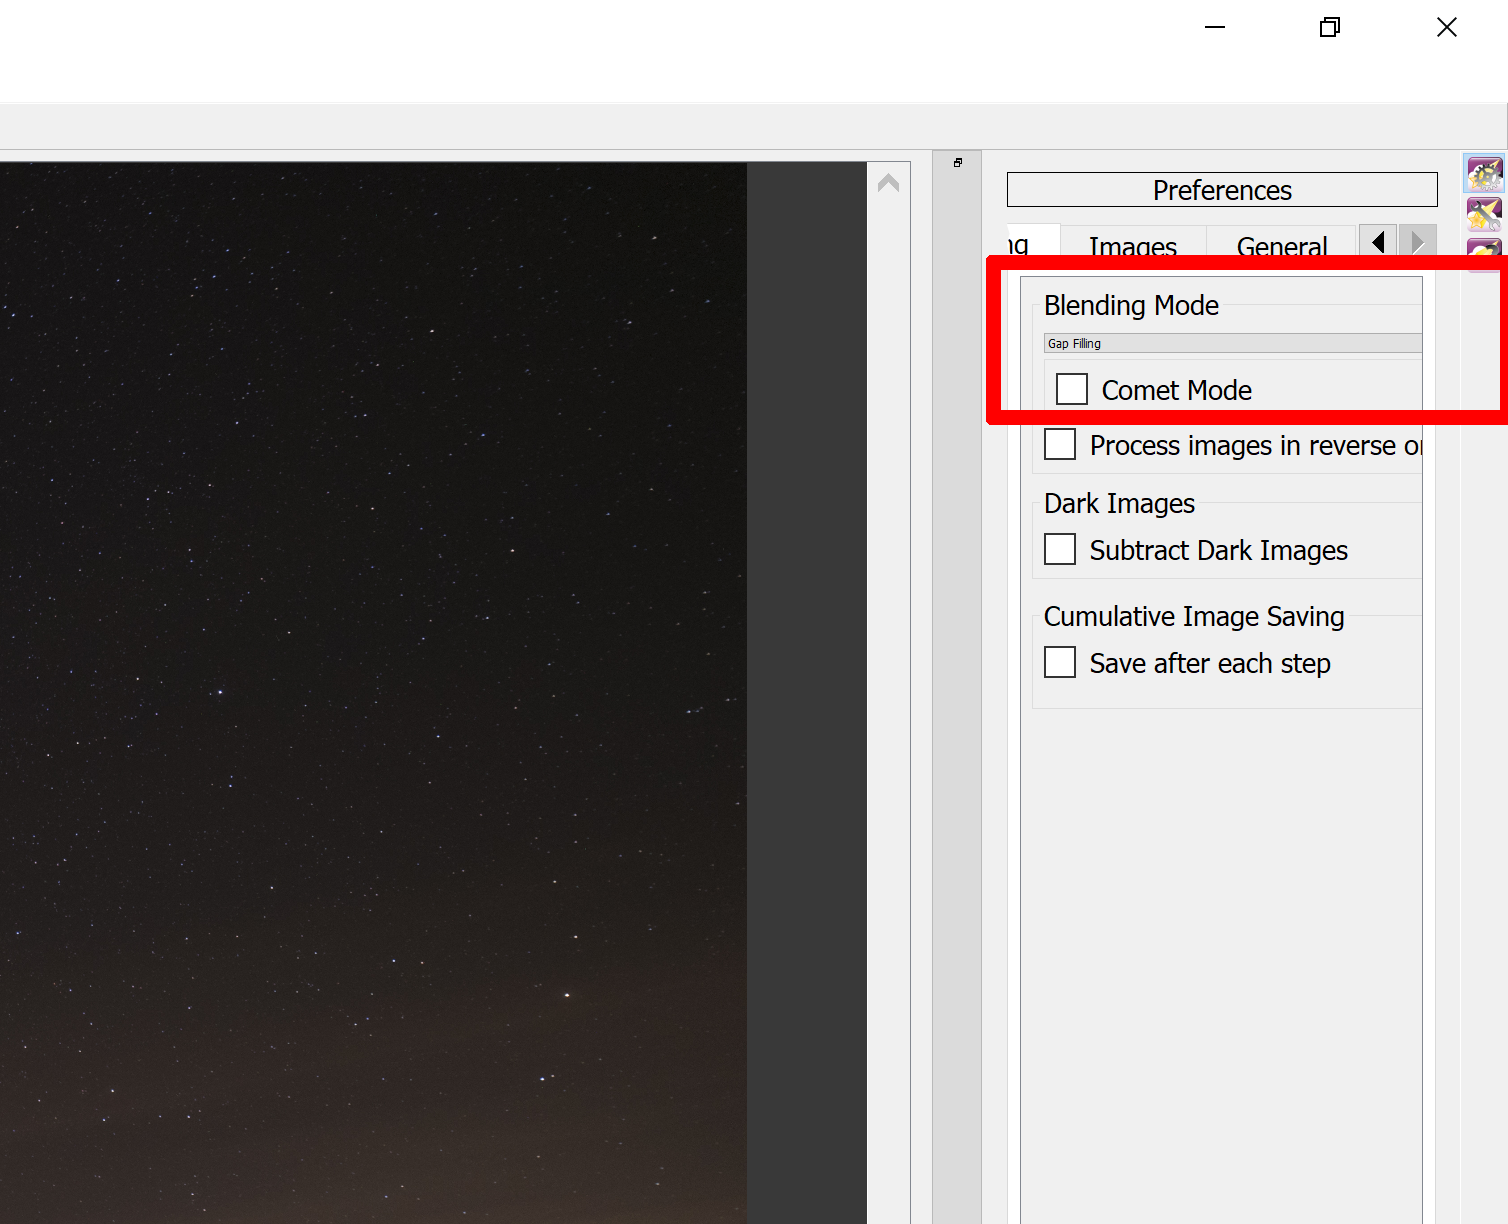
4. Go to “Settings” on the right side and make sure Blending Mode is set to “Gap Filling”
5. On the left, click the 4th icon to the right which will start blending your images
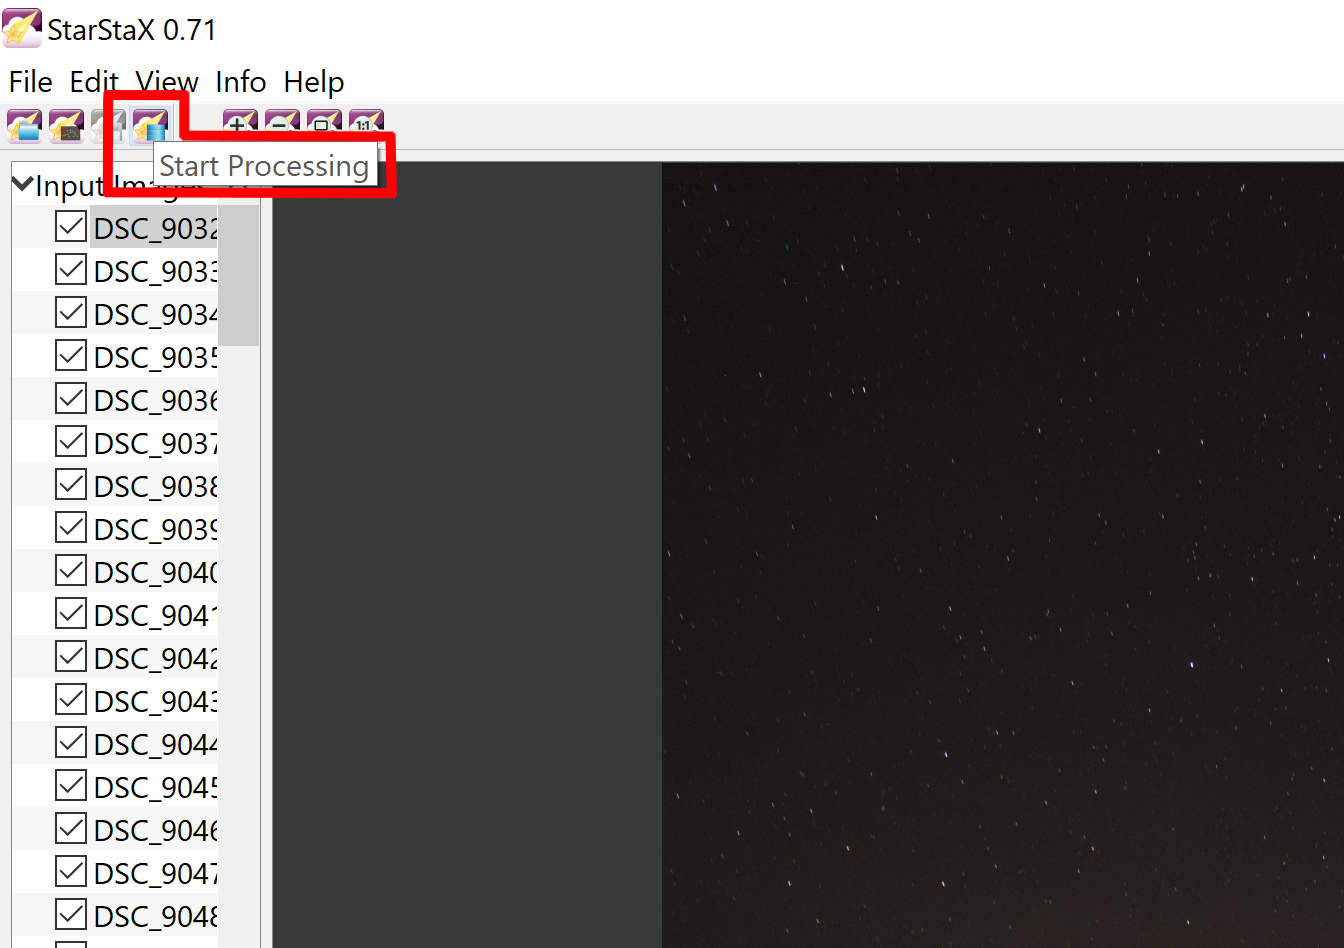
6. Once blending is done, you will see your star trails image!

7. On the left side, click the 3rd icon to the right and save the image

After editing in Lightroom and Photoshop, here is the final result!
It is a quick and effective way to blend your images together and create beautiful results!
There you have it, you now have the knowledge (and hopefully the excitement) to go out and create star trail images! Add that with a little bit of patience and a strong curiosity, and your images will have no limits!
Have fun and clear skies!
